Truly Elegant White Christmas Decorations
Hello to all my artsy friends! I’ve got 3 white Christmas crafts that are taking old projects and turning them into new Christmas treasures.
I did a whole video, if you want to check it out below so you can see all the details of putting these projects together.
If you haven’t already, make sure to “Subscribe” to my YouTube channel, so you know when I create new posts!
// DIY white Christmas wreath
Let’s get started by disassembling this Halloween wreath.
Now that we got the foam wreath form back to its original state, I am going to take this white felt that I found at Dollar Tree and cut it into strips that we will wrap around the wreath form.
I am doing all my crafts in a pretty white theme today. I love adding neutral Christmas decor, because it can blend in with whatever colors you already have in your home.
I tried to secure the edges of the felt strips all on the same side, so that will be the back and then the front doesn’t show any seams.
I used this Dollar Tree ribbon to form a bow. I folded it over and then snipped little triangles from the middle and tied with some floral wire.
After I fluffed up the bow, I attached it with some hot glue to the bottom of the wreath.
I had some baby’s breath from Dollar Tree and snipped off all the flowers. I also picked out all the white spheres from some vase filler.
I started from the bottom and tried to keep things somewhat symmetrical as I went along, alternating adding the vase filler and baby’s breath. I kind of faded out towards the middle of each side.
Then for the top, I attached a ribbon with the glue on the back.
I think this white berry Christmas wreath came out so pretty and elegant. Plus, it will work all winter long since it isn’t specifically decorated to Christmas.
// DIY Mrs. Claus
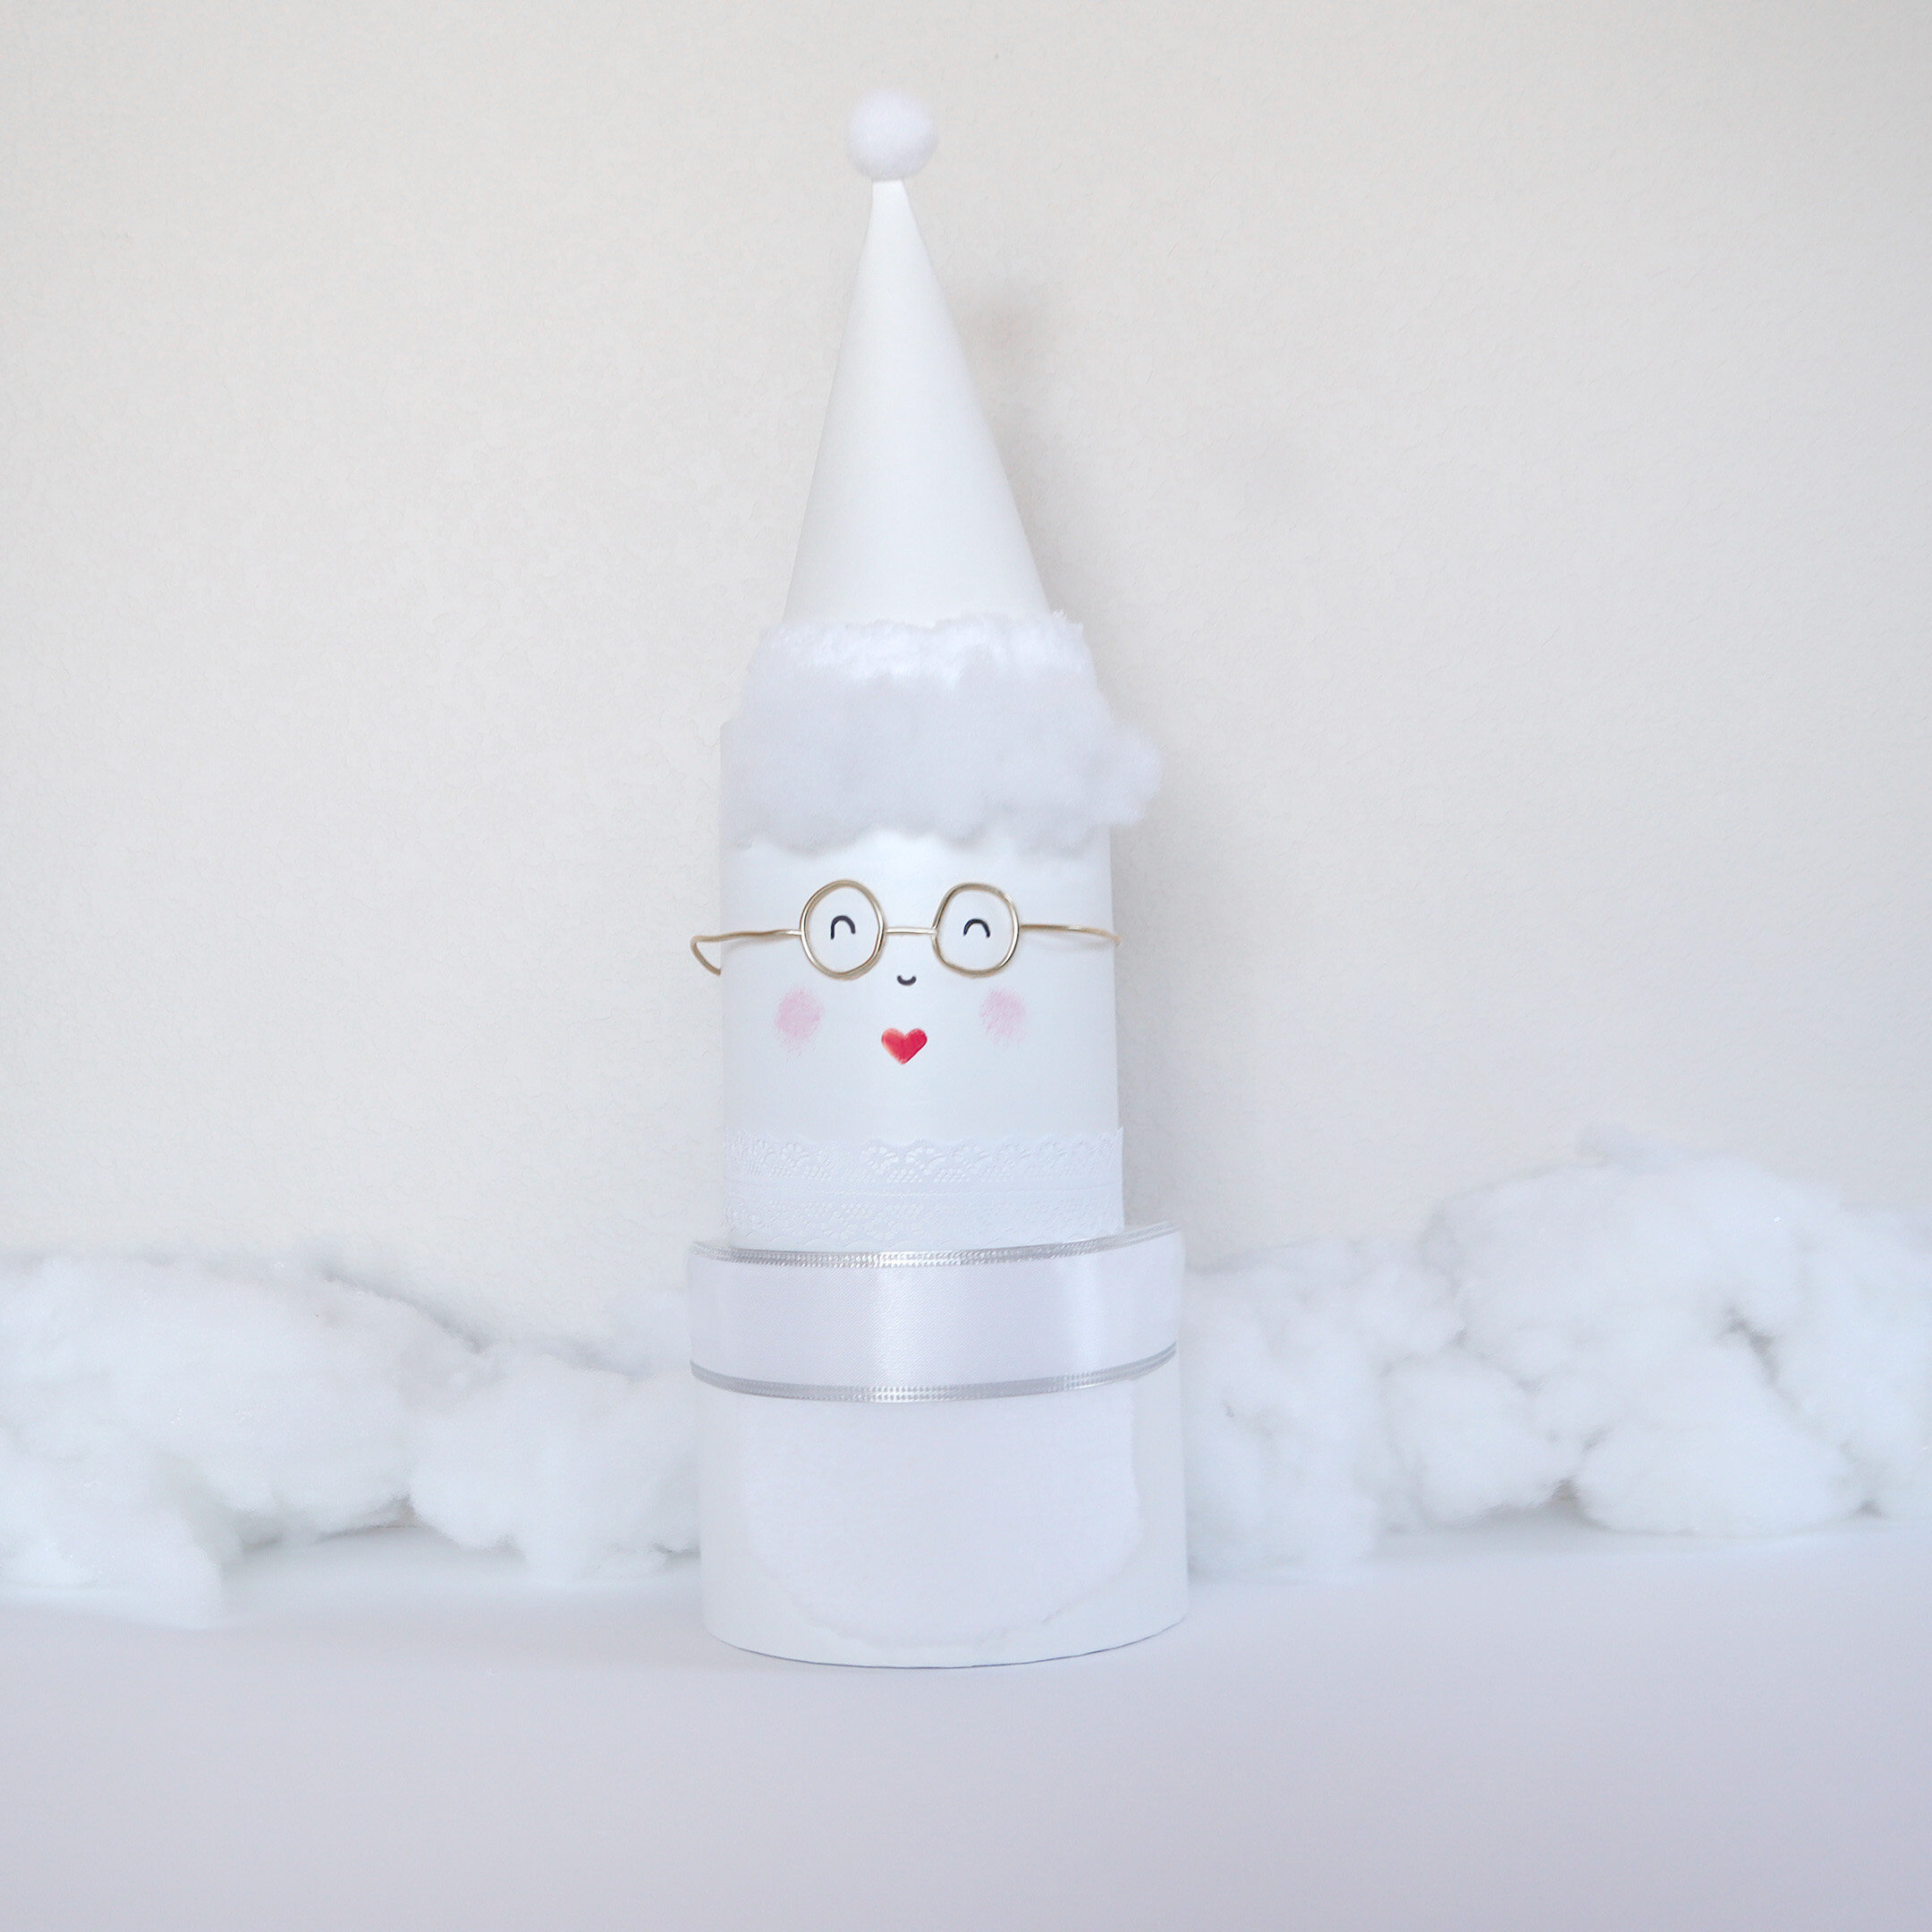
You know, I think Santa gets way too much attention. I bet Mrs. Claus is behind the scenes making Santa dinner, feeding the reindeer and doing tons of other chores. I think Mrs. Claus deserves some love for all her hard work, so we are going to create a cute little version of Mrs. Claus from some old gift boxes.
If you want to see how I flipped these the first time, here’s the post for that.
I started with her hat by cutting a piece of thick paper in a square and then rounding one edge.
I attached some microfiber cloth to the rounded edge.
Then I sealed it shut with glue and then attached a white pom pom to the top.
For her body, I gave the old gift boxes a coat of white spray paint and attached them together. Then I popped the hat on top.
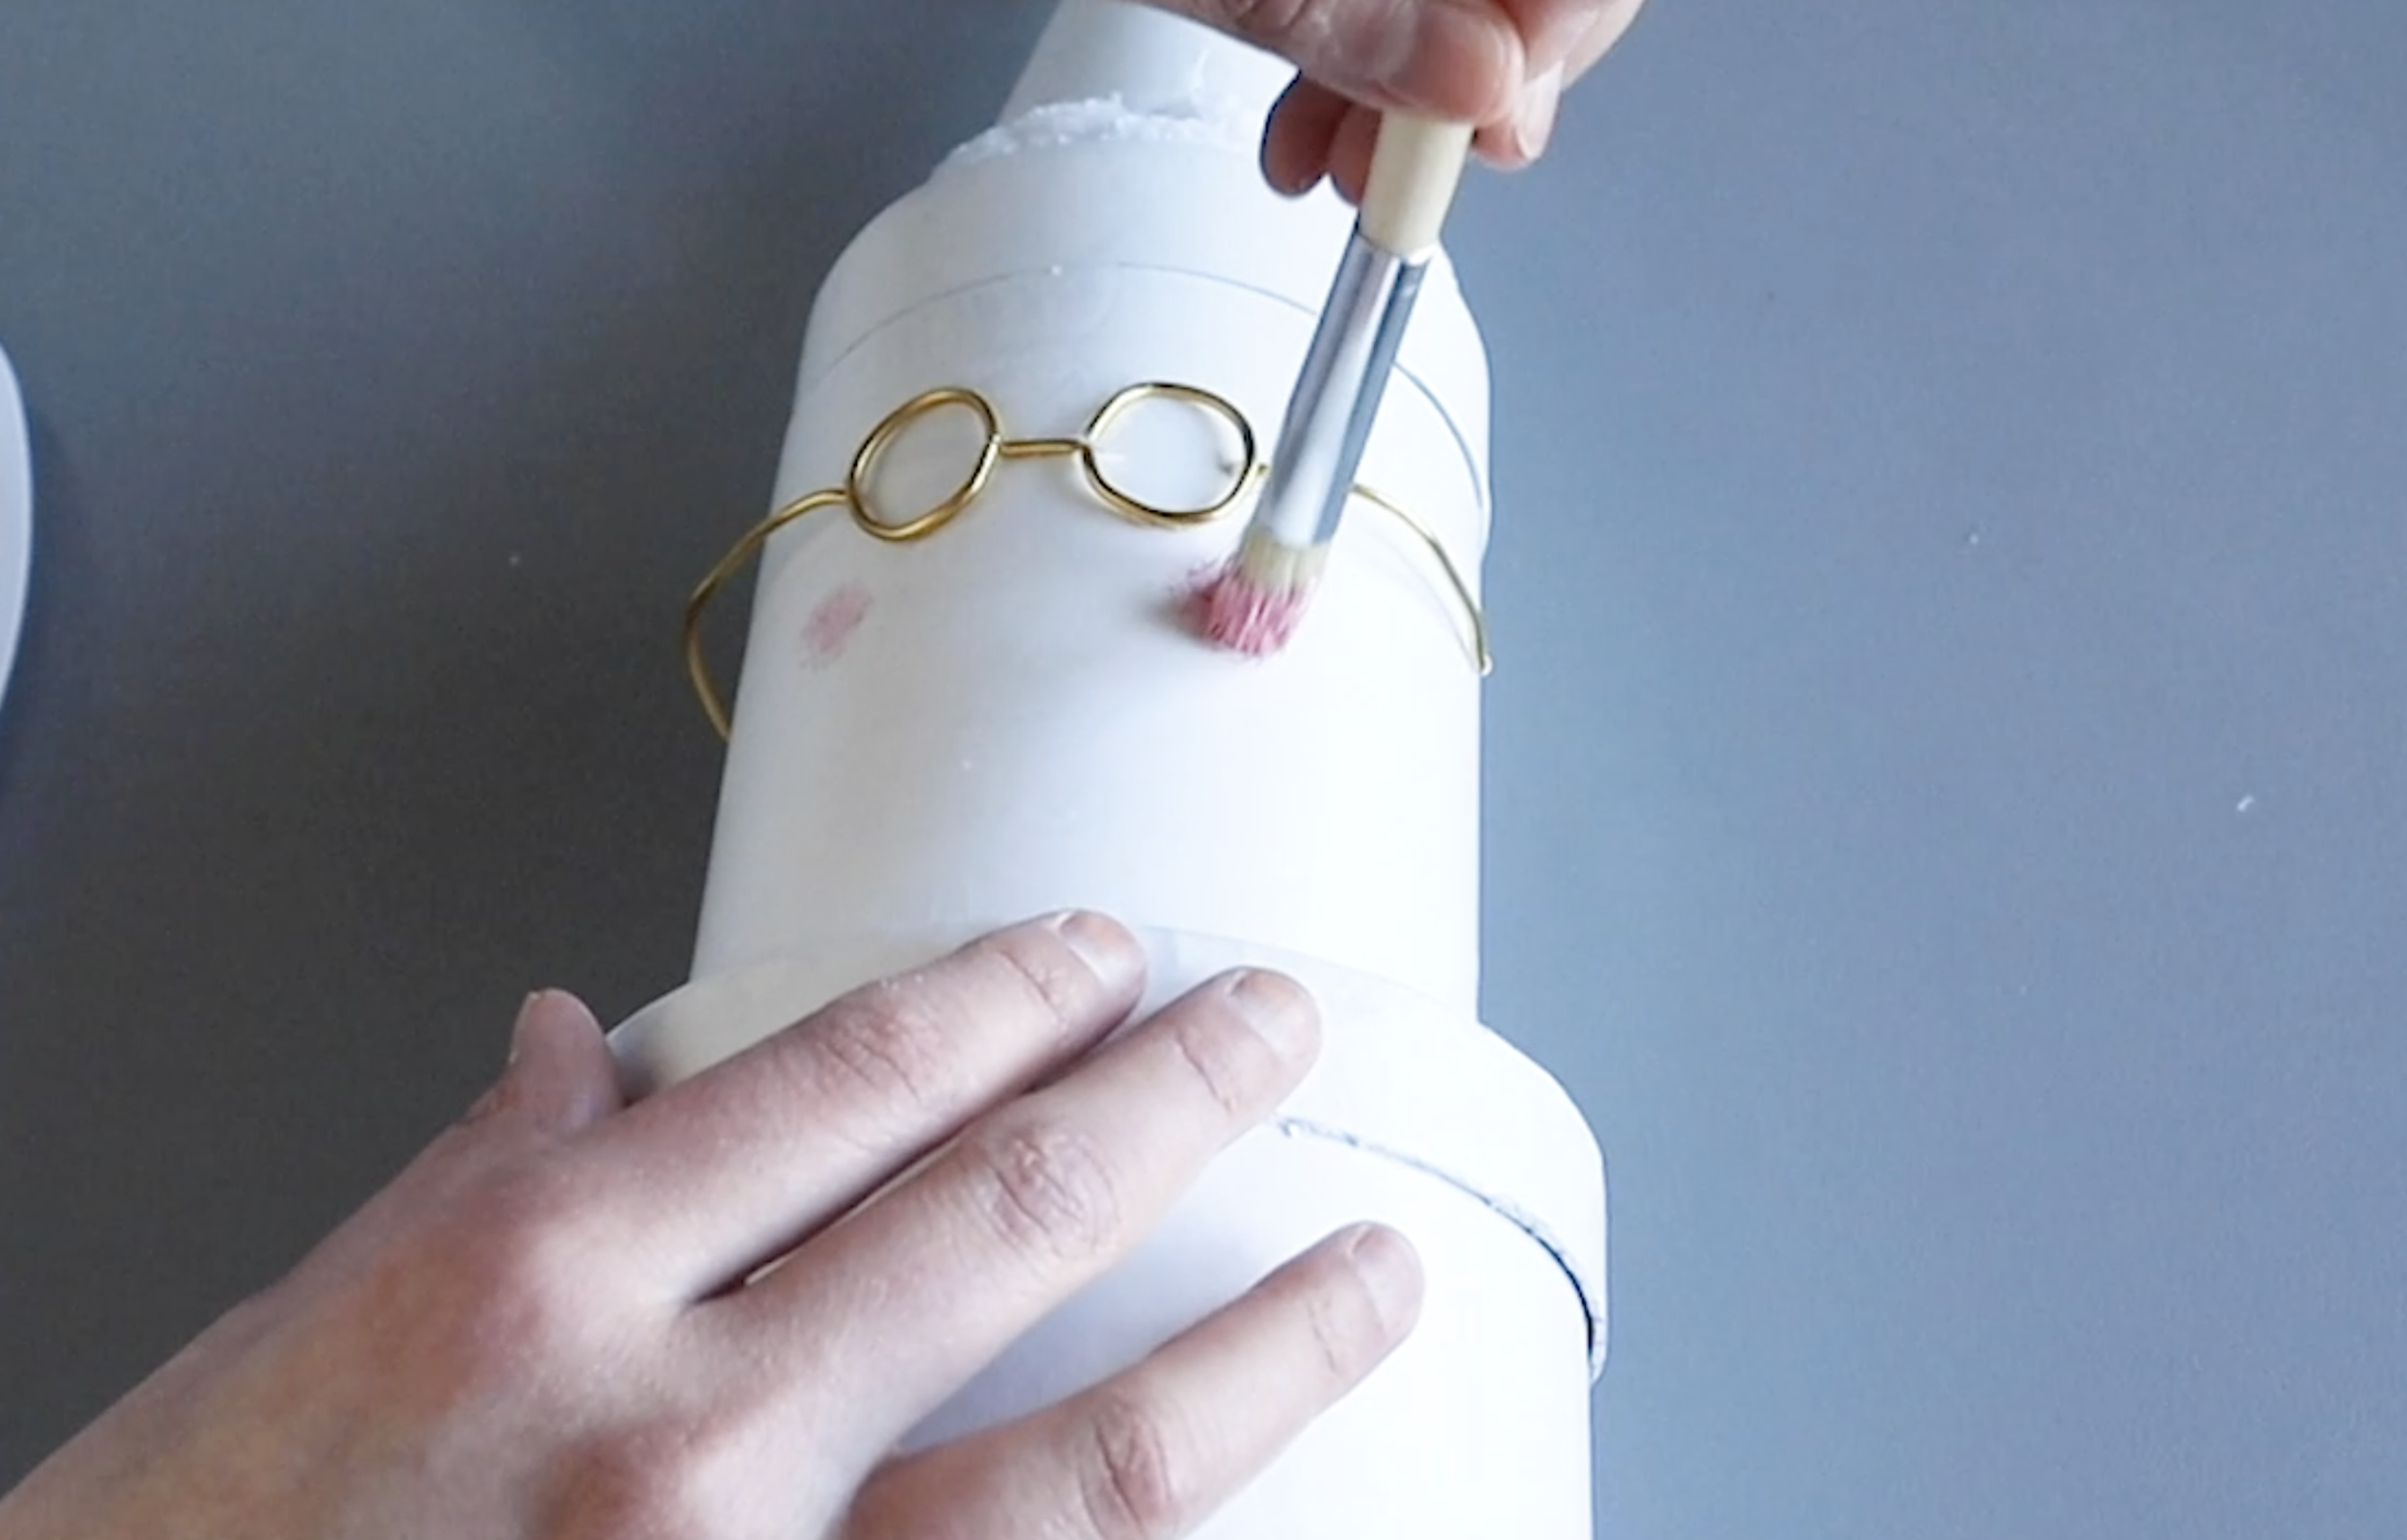
I created some glasses from gold floral wire from Dollar Tree and then added some pink paint for her cheeks.
I drew a red heart for her mouth. I am using a Sharpie paint pen, which I love for crafting because they are oil based.
Then I added her eyes and nose with those paint pens.
For her collar I wanted some white lace and the only one I had was on this Dollar Tree burlap ribbon. Luckily, it came off the burlap ribbon really easily.
For her apron I used a piece of that microfiber cloth, which you can find in the automotive section at Dollar Tree.
Then I attached some of that same ribbon that we used on thee wreath. This is supposed to be like the waistband of her apron. It would be really cute to also add a little bow in the back if this will be seen from all sides.
I had some old pillow stuffing and used a little of that around the top of her hat to represent her hair.
I think she came out so cute! Let me know in the comments section below what you think Mrs. Claus is busy doing up in the North Pole right now.
// Christmas Village Display Idea
Our final flip is not as hard as it looks and it makes a huge statement when you’re done. Wait until you see this Christmas village all styled with the fake snow, a tiny sleigh and little trees. I love that we’re taking something that’s trash and turning it into a treasure.
You can use old cardboard boxes for this. But I had made a command center awhile back and had bought a huge frame and this was the cardboard from the back of the frame that I didn’t end up using.
I did some tall houses and some wide to have more variety in my village.
Here is the basic template I had in mind as I cut out all my houses. Here is a tall house with a 4” base, but to do different sizes you keep the same template and just change the 4” to whatever size you want.
If you want a more square house, the base sections would be 4” and then height would be 4” too. Or 6” and 6”, whatever sizes you decide to do.
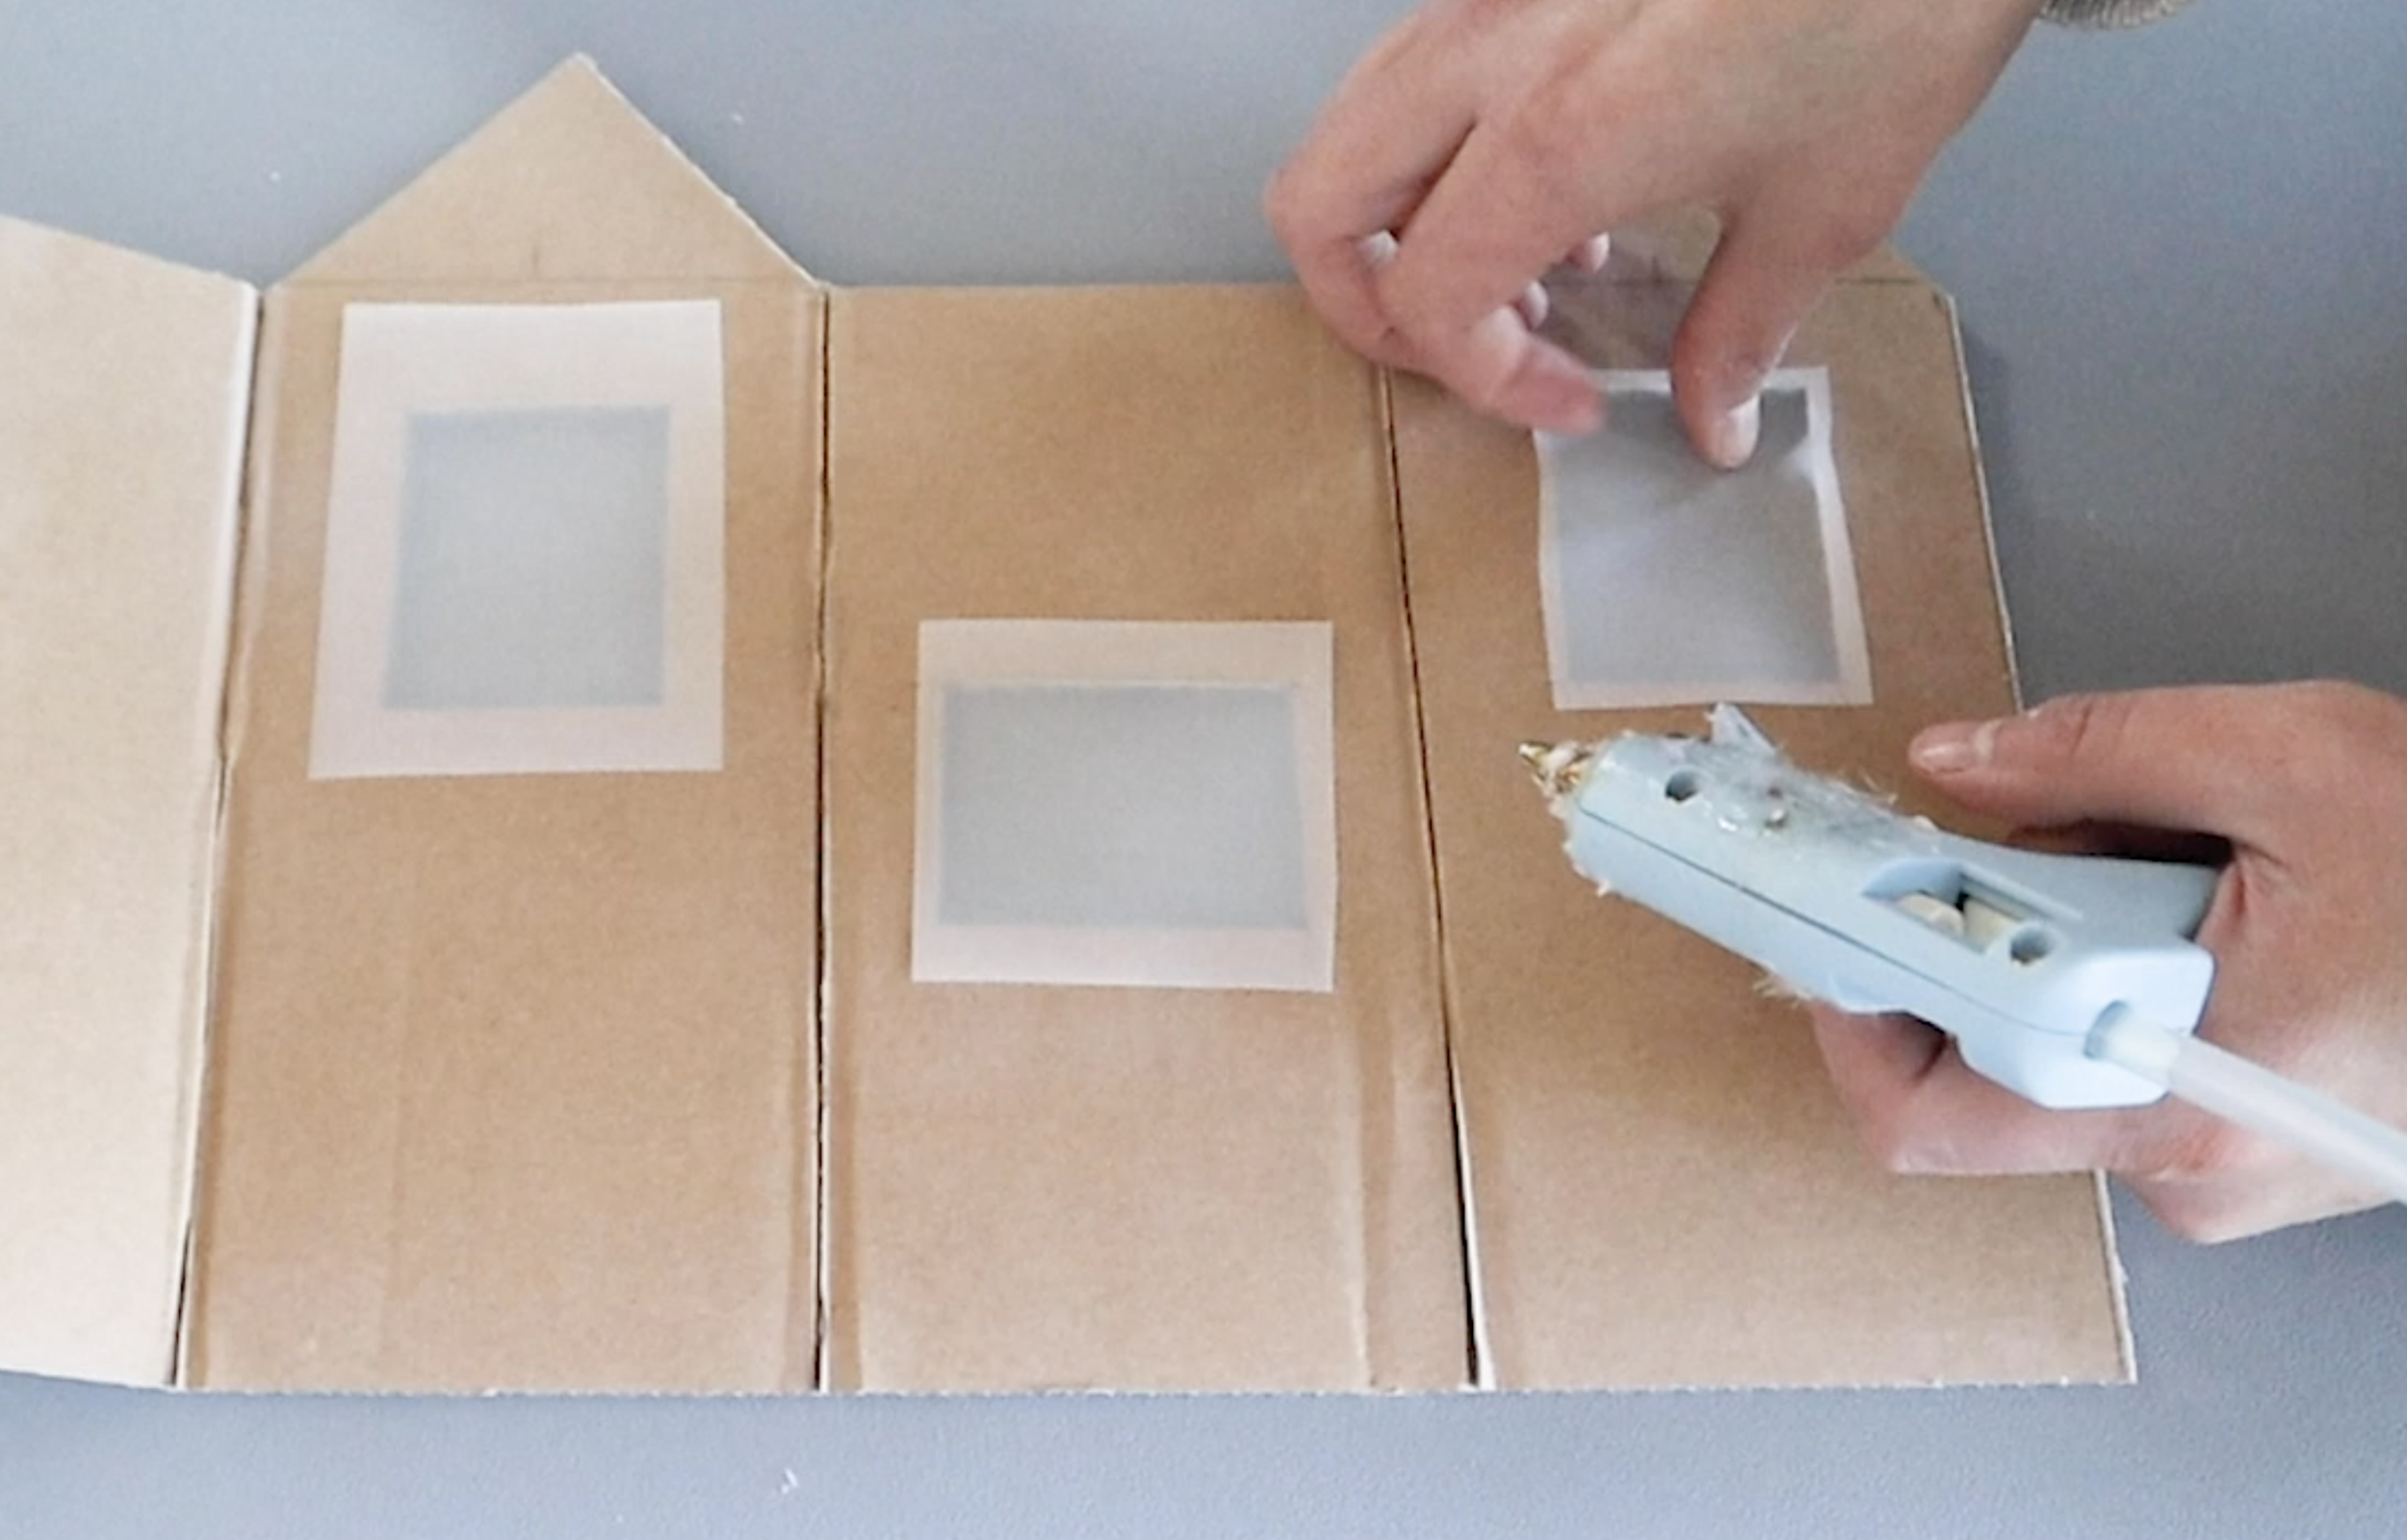
I scored the inside edges very lightly and then I folded, so that score mark ending up hidden on the inside.
I took these outside and spray painted them white, only on one side, because the inside will be hidden when we put the windows and roof on.
I used a piece of vellum on each window opening and then sealed up the house with some glue.
I did a couple different style of snow on the roofs of my houses. On this one I used Mod Podge and then coated it with some sparkly snow.
I added a door and a tiny wreath that I put together with some spare garland.
For this roof, I added some of that microfiber cloth and where there was extra paper showing, I added a bit of Mod Podge and that sparkly, iridescent snow.
And here you have a gorgeous Christmas village, essentially made from trash. I love a good flip!
Don’t forget to “Subscribe” to my YouTube channel by clicking here. I hope you have a creative day!
FTC: Not Sponsored. All opinions are always 100% honest and my own. Some links may be affiliate links. If you click a link and buy something, I receive a small commission for the sale. It doesn’t cost you anything extra and you are free to use the link or not as you choose. If you do use my links, I appreciate your support.














How about some Target Dollar Spot crafts and Dollar Tree coastal transformations. We’ll be putting together tiered tray miniatures to decorate our little coastal vignette.