6 DIY Christmas Ornaments - Hand Made
Today I’m going to share how to make DIY ornaments the easy way. I saw SO many cute Christmas ornaments at Pottery Barn this year….but those prices! These 6 DIY Christmas ornaments - hand made with Dollar Tree items - will save you tons of money and are so fun to make!
If you aren’t already subscribed, make sure to check out my YouTube channel.
subscribe to my youtube channel by clicking here
// DIY Bird Ornaments
I love birds. They always make me think of my Grandma. I have some antique birds from her and they have a prominent spot on my bookshelf in my home office.
So, when I saw this bird ornament from Pottery Barn, I knew I wanted one for myself.
I started with this microfiber cloth that I found in the automotive section at Dollar Tree. I roughly drew the outline of the bird body and cut out the 2 sides.
I sewed the sides together. I’m thinking about getting a small sewing machine. Does anyone have any recommendations for a beginner sewing machine that doesn’t cost too much? I think it would come in handy for small projects like this.
Let me know your recommendations in the comments section at the bottom of the post.
Next, I flipped the bird inside out and used some stuffing from an old pillow. I wanted him nice and plump, so I made sure to put a lot of stuffing in there. Then I stitched up the hole.
I had this Dollar Tree garland and cut a little piece off for the birds beak. You could also use part of a stick or break a piece of a skewer off in a triangle. Whatever you have that’s in the shape of a small triangle will work for the beak.
You can find rounded dot stickers at Dollar Tree. I painted them black with a Sharpie and attached to the bird as its eyes.
Dollar Tree had these pinecones in a small bag and I used them for the birds wings. I love how this bird is mixed materials - it gives him a cute, but rustic look.
I grabbed a few sticks off a tree in my front yard and put those together to make some feet. I used some of the straight sticks to be the feather extending off his wings.
The last step is to add the string to his back. The hot glue sticks really well to the microfiber cloth, you just have to hold it there until it dries.
And here we have our first ornament. I think it looks pretty close to the original. What do you think?
// DIY Reindeer Ornaments
Let’s go to the next Pottery Barn dupe - this reindeer ornament. So, you could do what we did with the bird and sew the body, but we’re going to take a slightly different direction to create this little reindeer.
I’m starting with some floral foam and creating the shape of the reindeers body and head.
I keep getting smaller and smaller with the reindeer I am making. You may have seen my last Pottery Barn dupes post, where I did 2 larger reindeer. I used a bath mat to make those, but for this small one we are going to use that same microfiber cloth that we used for the bird ornament. That microfiber cloth is really getting some mileage here!
There is no measuring or specific dimensions here. I’m just eyeballing how much cloth I need to cover the foam and then attaching everything together with some hot glue.
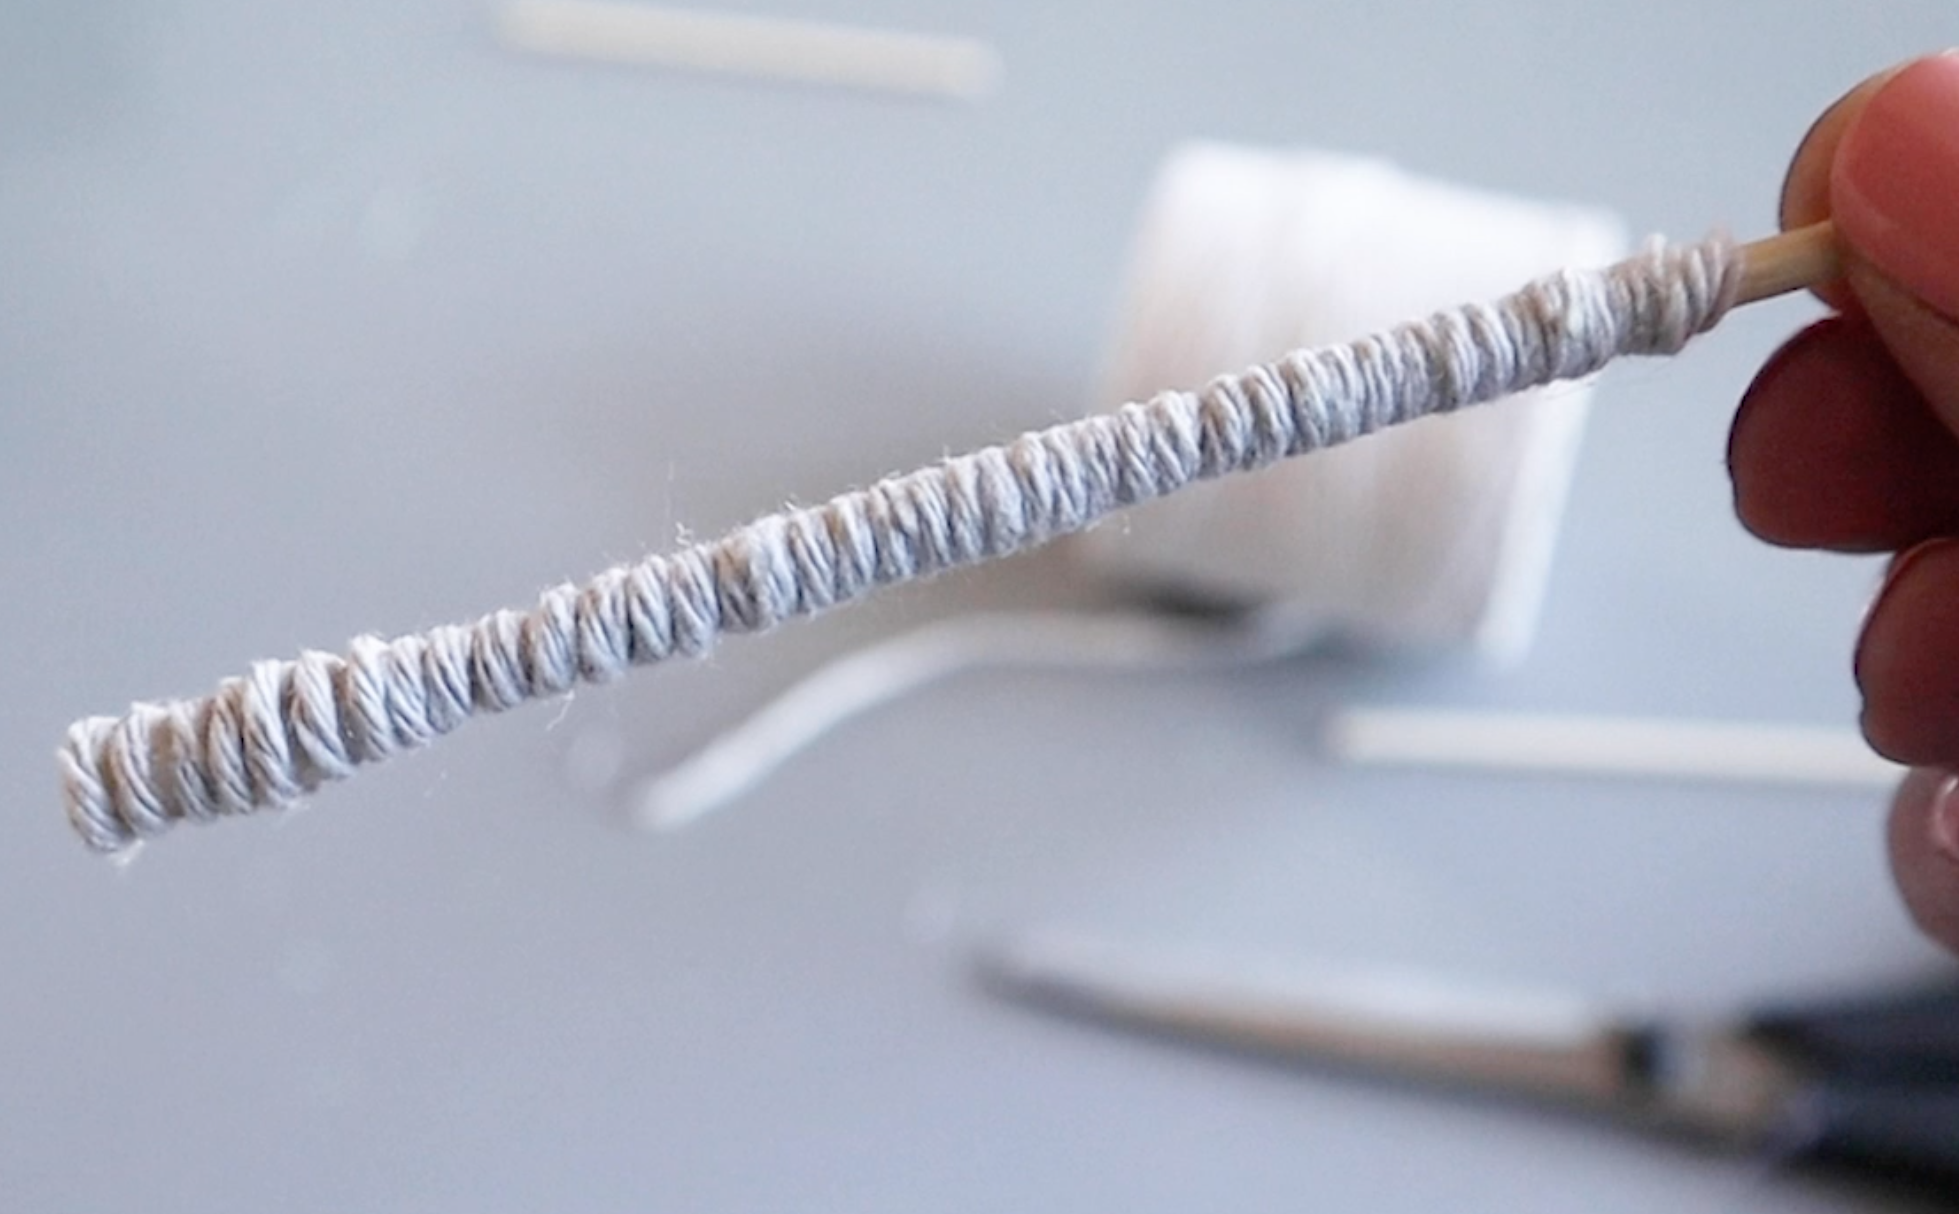
I wrapped some wooden skewers with twine and that dollop of hot glue at the bottom is what make it look like the reindeers hooves.
I poked a hole with my Xacto knife and then added a bit of glue and pushed the legs into the body of the reindeer.
A few finishing touches with the scarf, because every reindeer out in the wild wears a fancy plaid scarf, right? The antlers are just sticks I found in my yard. A pinecone tail, a string for hanging and there you have it, a reindeer ornament that looks pretty close to the original for a fraction of the cost.
// Acorn Ornaments
Are you noticing a trend with the ornaments I’m copying? They’re all pretty neutral in color. Sometimes I switch up the colors I do for Christmas and I want these to match whatever theme I am going for that year. I loved the look of this acorn with the gold sparkly top.
I was laying in bed in the middle of the night thinking of how I would put this ornament together. Yes, my crafts were keeping me up at night. Is that weird?! Well, here’s what I came up with.
I took some floral foam and carved the top and bottom parts of the acorn. I left a divet in the bottom of the top part, so the base of the acorn will fit snugly.
I coated the top of the acorn with some paint and dipped it into the bag of iridescent snow while it was still wet.
Then I attached the two pieces together with some E6000 and hot glue.
And here you have a cute little acorn ornament, for way less than the Pottery Barn one.
// Mercury Glass Ornaments
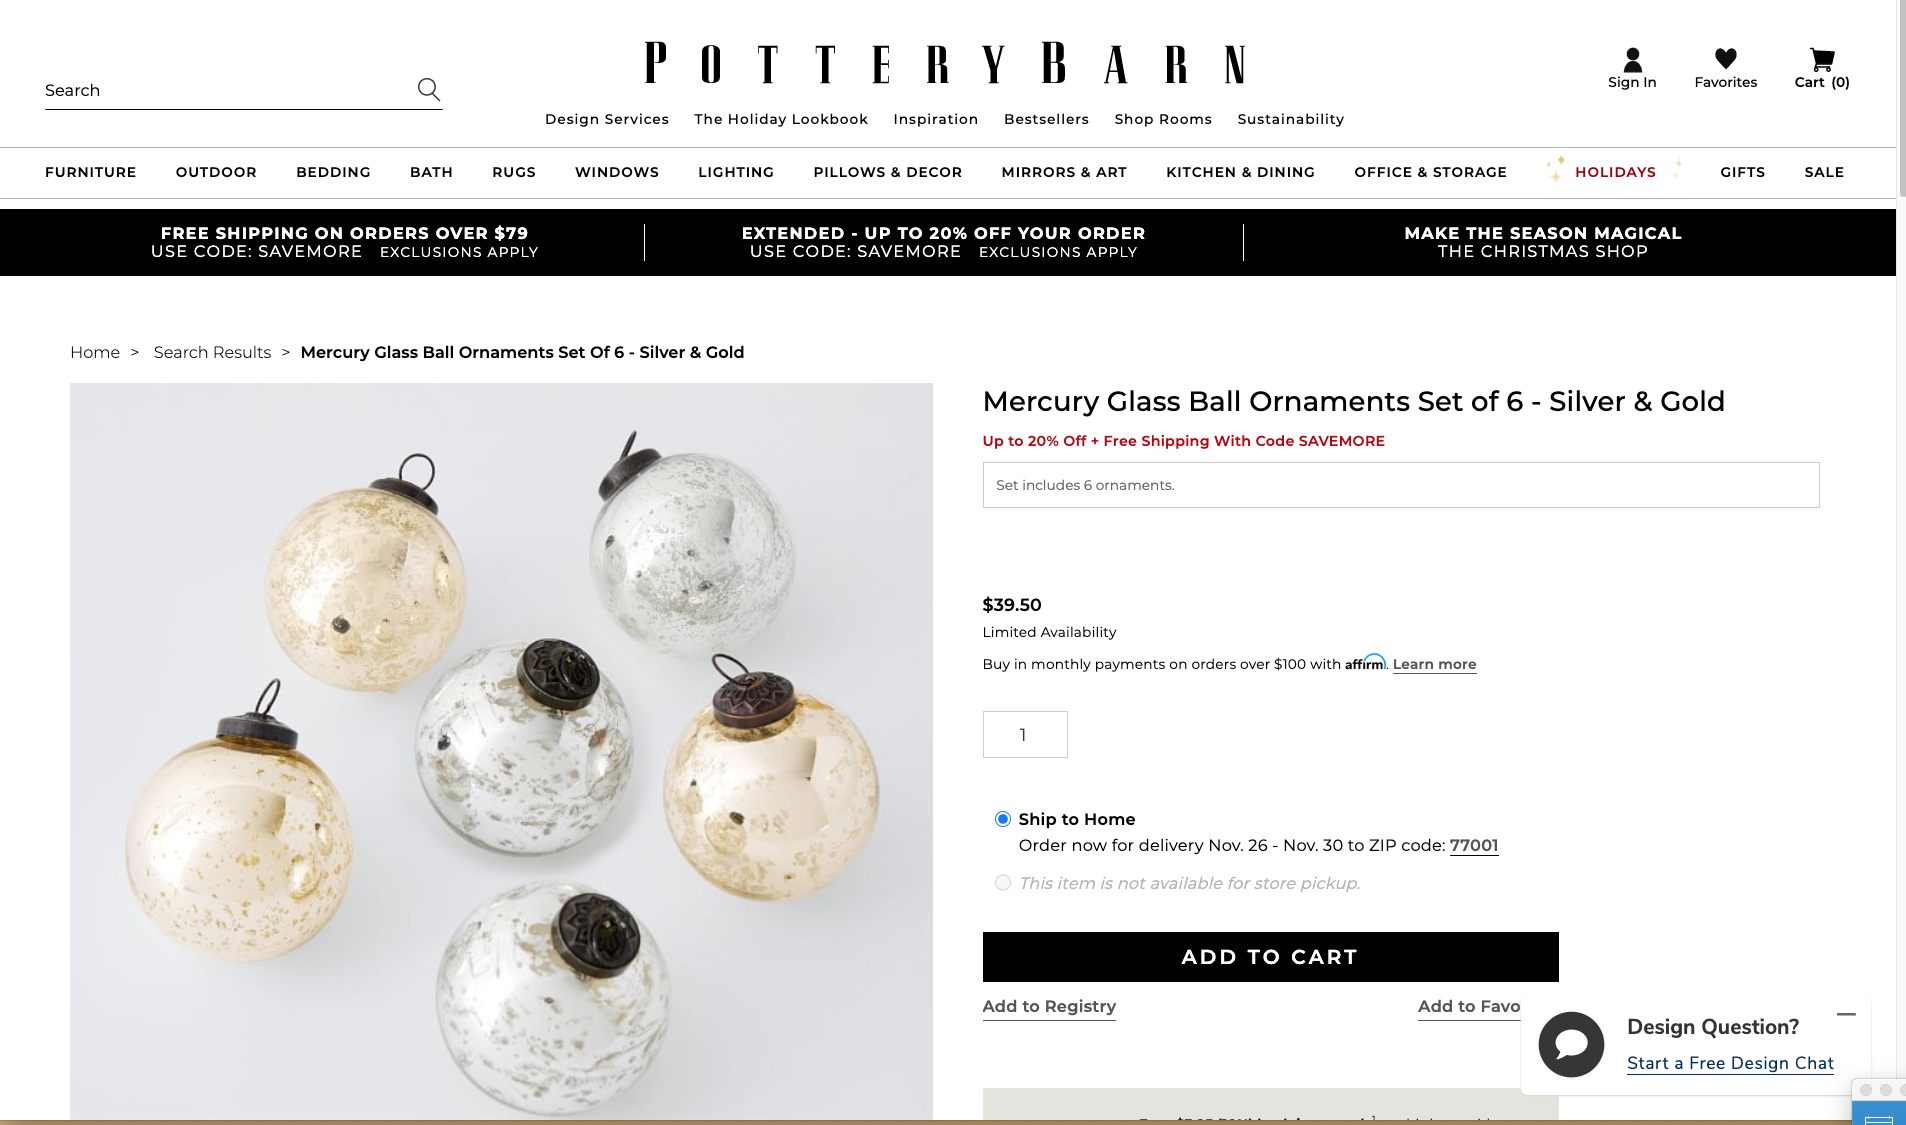
Next we’re going to make some mercury glass looking ornaments like these from Pottery Barn. I have two cats, so the idea of going with a plastic bulb but still getting that mercury glass look really appealed to me.
I started with these clear ornaments from Dollar Tree.
I had this mirror finish paint and finally have something to use it on! I removed the tops of the ornaments and sprayed directly into the ornament.
I used my hairdryer to help swirl the paint around the inside.
Before it was fully dry, I misted some water and vinegar into the inside. And then I shook this around. I repeated this process, letting it dry and then adding more paint and then more water and vinegar. And I also added a little gold paint just because I wanted more of an antique look rather than all silver.
While that dried I painted the tops of the ornaments black to look like the ones from Pottery Barn. I reassembled everything and that completed the whole look.
And here is mine compared to the Pottery Barn version.
// DIY Felt Christmas Ornaments Tutorial
This wreath ornament is so simple and elegant and reminds me of some of the ornaments my parents had on their tree when I was growing up.
Dollar Tree sells felt in a variety of colors and we’ll be using the white one for this wreath ornament. I started by cutting the shapes out.
I cut a small hole in the pieces of felt and looped them onto the mini wreath ring that I made from some floral wire.
I added a few of the mini foam ornaments. These come in a huge bag from Dollar Tree. I have used them on so many projects and haven’t even gotten through the first of the two bags I bought. They had lots of different colors of these too.
And here is mine compared to the Pottery Barn version.
// How to make a Pinecone Christmas Ornament
We’re on the final ornament and then I’ll show you the cost of all the supplies and the price comparison to the Pottery Barn versions.
I loved the look of this white berry and pinecone wreath ornament. I knew I could make it with some of the supplies we already used for the other ornaments.
I started by taking this garland, remember we used this for the birds beak?
I added some pinecones, some of those white foam berries and a few of the sticks I had gathered from outside. I love the look of this.
And here is mine compared to the Pottery Barn version. What do you think of this one? Pretty close, right?
So, here are all the supplies I used. A lot of these you may already have at home like the twine and ribbon. But it comes out to just a little over $10, depending on what you already have. Plus, I had a lot of leftovers of these materials so we can use them for another project.
Some of the ornaments were in sets of 3, so I calculated what it would have cost to buy 1 from the set. So, hand making our ornaments cost about 1/6th of the cost to buy these from Pottery Barn. Yay! Plus being handmade makes them even more special.
I hope you enjoyed these ornaments on a budget. If you’re looking for more Christmas inspiration, check out my playlist here!
christmas playlist
FTC: Not Sponsored. All opinions are always 100% honest and my own. Some links may be affiliate links. If you click a link and buy something, I receive a small commission for the sale. It doesn’t cost you anything extra and you are free to use the link or not as you choose. If you do use my links, I appreciate your support.











How about some Target Dollar Spot crafts and Dollar Tree coastal transformations. We’ll be putting together tiered tray miniatures to decorate our little coastal vignette.