Christian Easter Craft Ideas | He is Risen
Hello to all my artsy friends! If you're looking for religious Easter decorations, you're in the right place. These are so elegant and they're easy to make and budget friendly too. Plus, they celebrate the real meaning of Easter!
I created a video tutorial below – just click the thumbnail to watch all the crafts come to life.
If you’re here for the dove illustration, just fill out the form below. The printable will pop up in a separate browser window after you click the link.
// draw a sketch
It’s always a good idea to do a quick sketch before starting a craft. This will make sure you stay on track and have a clear vision in mind. So, I've got this little drawing that is messy, but I understand exactly what I need to do to accomplish a cohesive look between my projects today.
I'm going to do a blue and white color scheme for all my crafts today. I think that will look so pretty and elegant for Easter. Blue is practically a neutral (hello, blue jeans!), so it will go with lots of different colors and styles of home decor.
// dollar tree cathedral
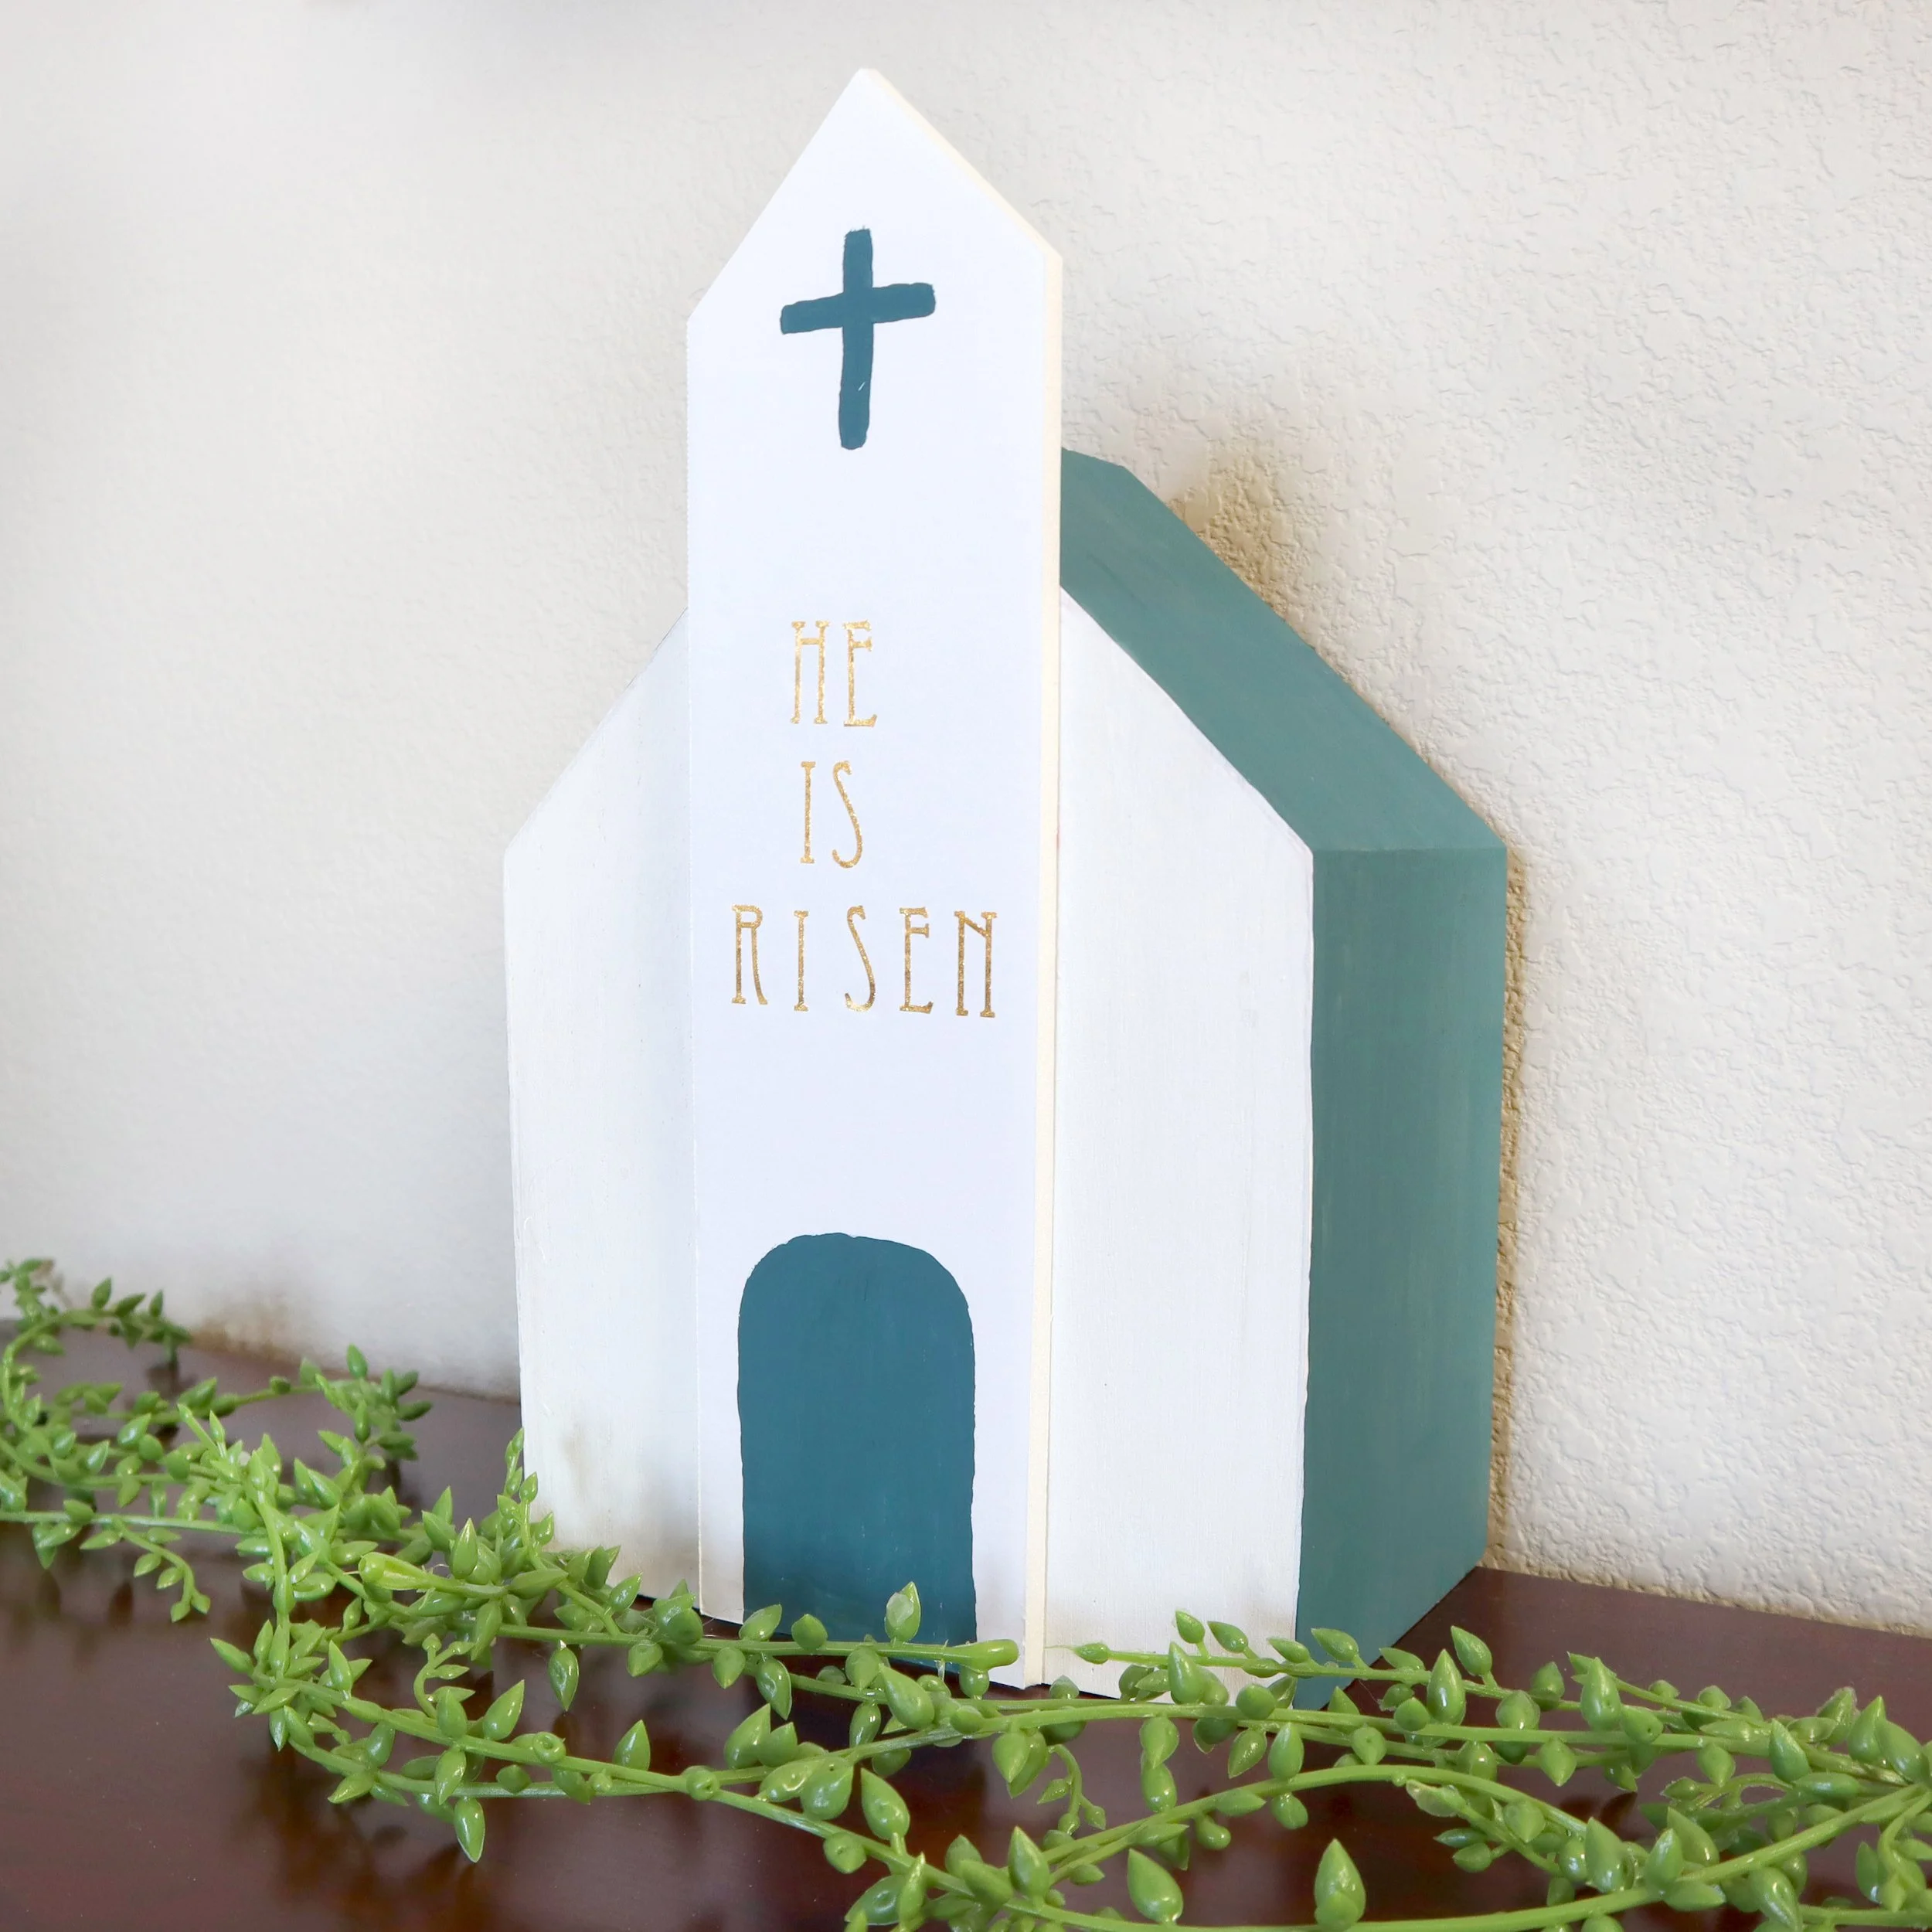
Because this church is made with Dollar Tree supplies, this is going to be a very low-cost project, but will be a big enough home decor piece to make a statement. The wooden house came from the $5 section and I’ve used it for a countdown to Christmas sign, and also decorated it for Valentine’s Day.
First we will smooth off any glue from those other projects. I have a velcro sanding block that I replace the sandpaper after a few uses. Very ergonomically friendly, too. I have ergonomic scissors that are great if you have wrist issues or arthritis. I’ll link those below for ya!
You can find foam core at Dollar Tree in black and white and I have a white piece here. Around 3” wide is a good size for the width of the steeple, so I will cut a rectangle that width out of the foam core.
I have some erasable pens and markers, which are great for projects where you want to mark your lines and then erase them afterwards.
Next, we'll be using white chalk paint and this will dry pretty quickly. Don’t worry too much about the edges right now because we’re getting it all over the front and we'll be painting over the sides with a blue paint.
Next, we're going to paint some detail on the front of that steeple. You'll need a really stiff, sharp edged paintbrush. I just used that with a little bit of paint and free handed the cross and the door at the bottom. But you could use a stencil or draw it out with something erasable first.
You can find these rub on transfers at Dollar Tree they come in all different font styles and colors. I have some metallic gold ones here that I think will work well.
Using these is pretty easy. You just have to cut out the letters, remove the backing, place the transfer down onto the foam core and rub with some sort of hard surface like a credit card or back of a pen.
The last step is to glue the steeple to the front of the church.
And here is the finished cathedral! This would look so great with a few other decor items or on the Easter dinner table.
// holy spirit windows
For our next craft, we'll be using these window panes I found at Target. If you can’t find these at your Target dollar spot, then I will link an option I found below.
If you want a $1 option, check out this cross I recently picked up from Dollar Tree. We are going to place doves on the window panes, but you could do the same technique that I share below and place the doves on the front of the cross.
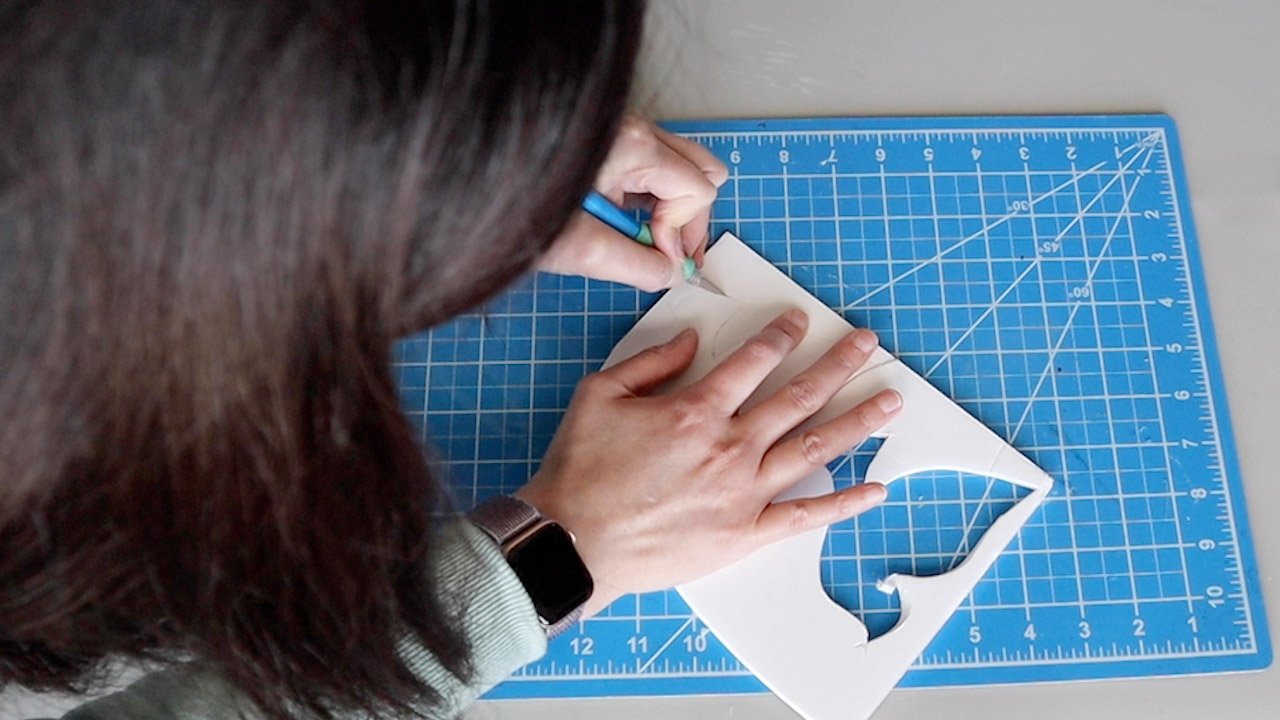
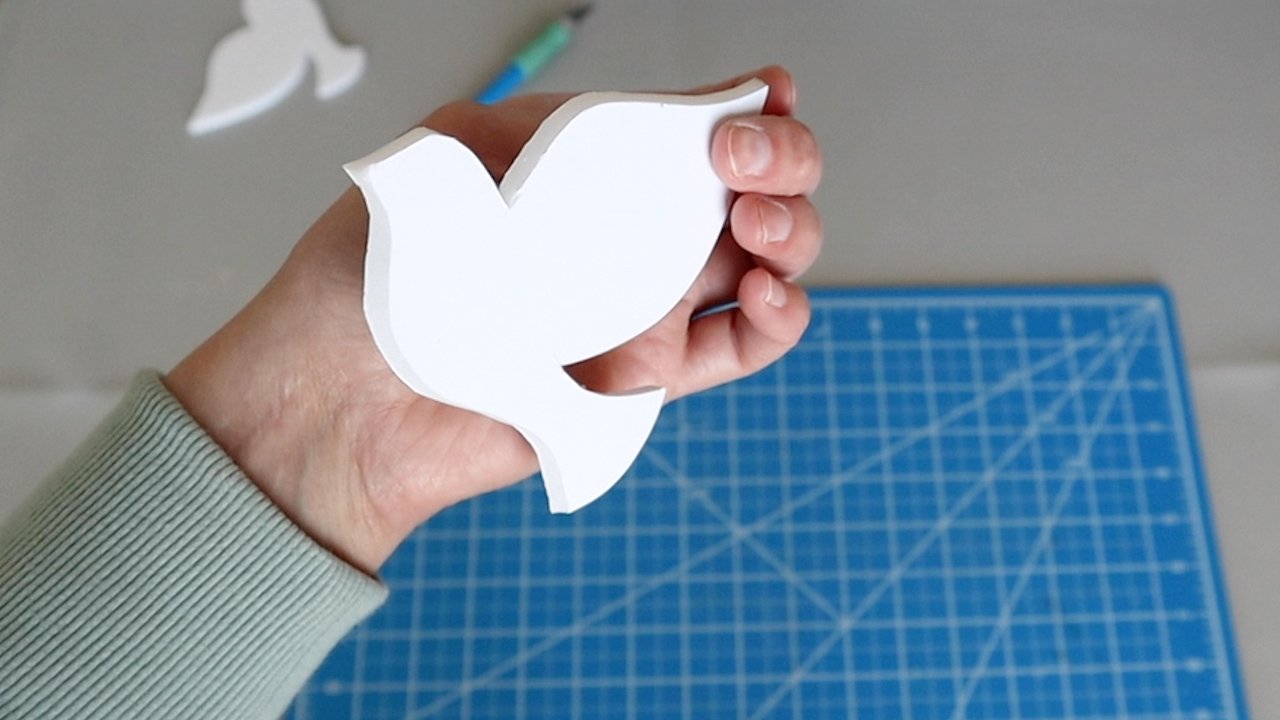
I printed out my template on regular paper (download the template at the top of this post). And then use a pen to trace the bird onto Dollar Tree foam core. Press pretty firmly just to make sure that it's showing the line underneath, but you don't want to go so hard that you tear through the paper…or if you’re really strong handed, through the foam core.
Then use an Xacto knife to trim out the doves.
You can find poster board at Dollar Tree and I’m just going to trace the window shapes onto the white poster board because I want a white background on these little windows. This step is optional because it would look fine having them be see-through too.
Another option is to use translucent marker paper or vellum and that would give a “light coming through the window” effect in a filtered way.
I went to design school (a long time ago), so I have a lot of this marker paper left over. What's great about marker paper is you can draw on it and everything blends really well and easily. Plus, it's great to have on hand for crafts.
I was planning on painting the inside edges of the wood window frame, but because of the window pane not being able to come out without breaking it, I’m just going to leave that inside edge the wood color. I actually ended up liking it better with the inside left the natural wood color because it adds a nice little pop of contrast to the blue edges on the other sides.
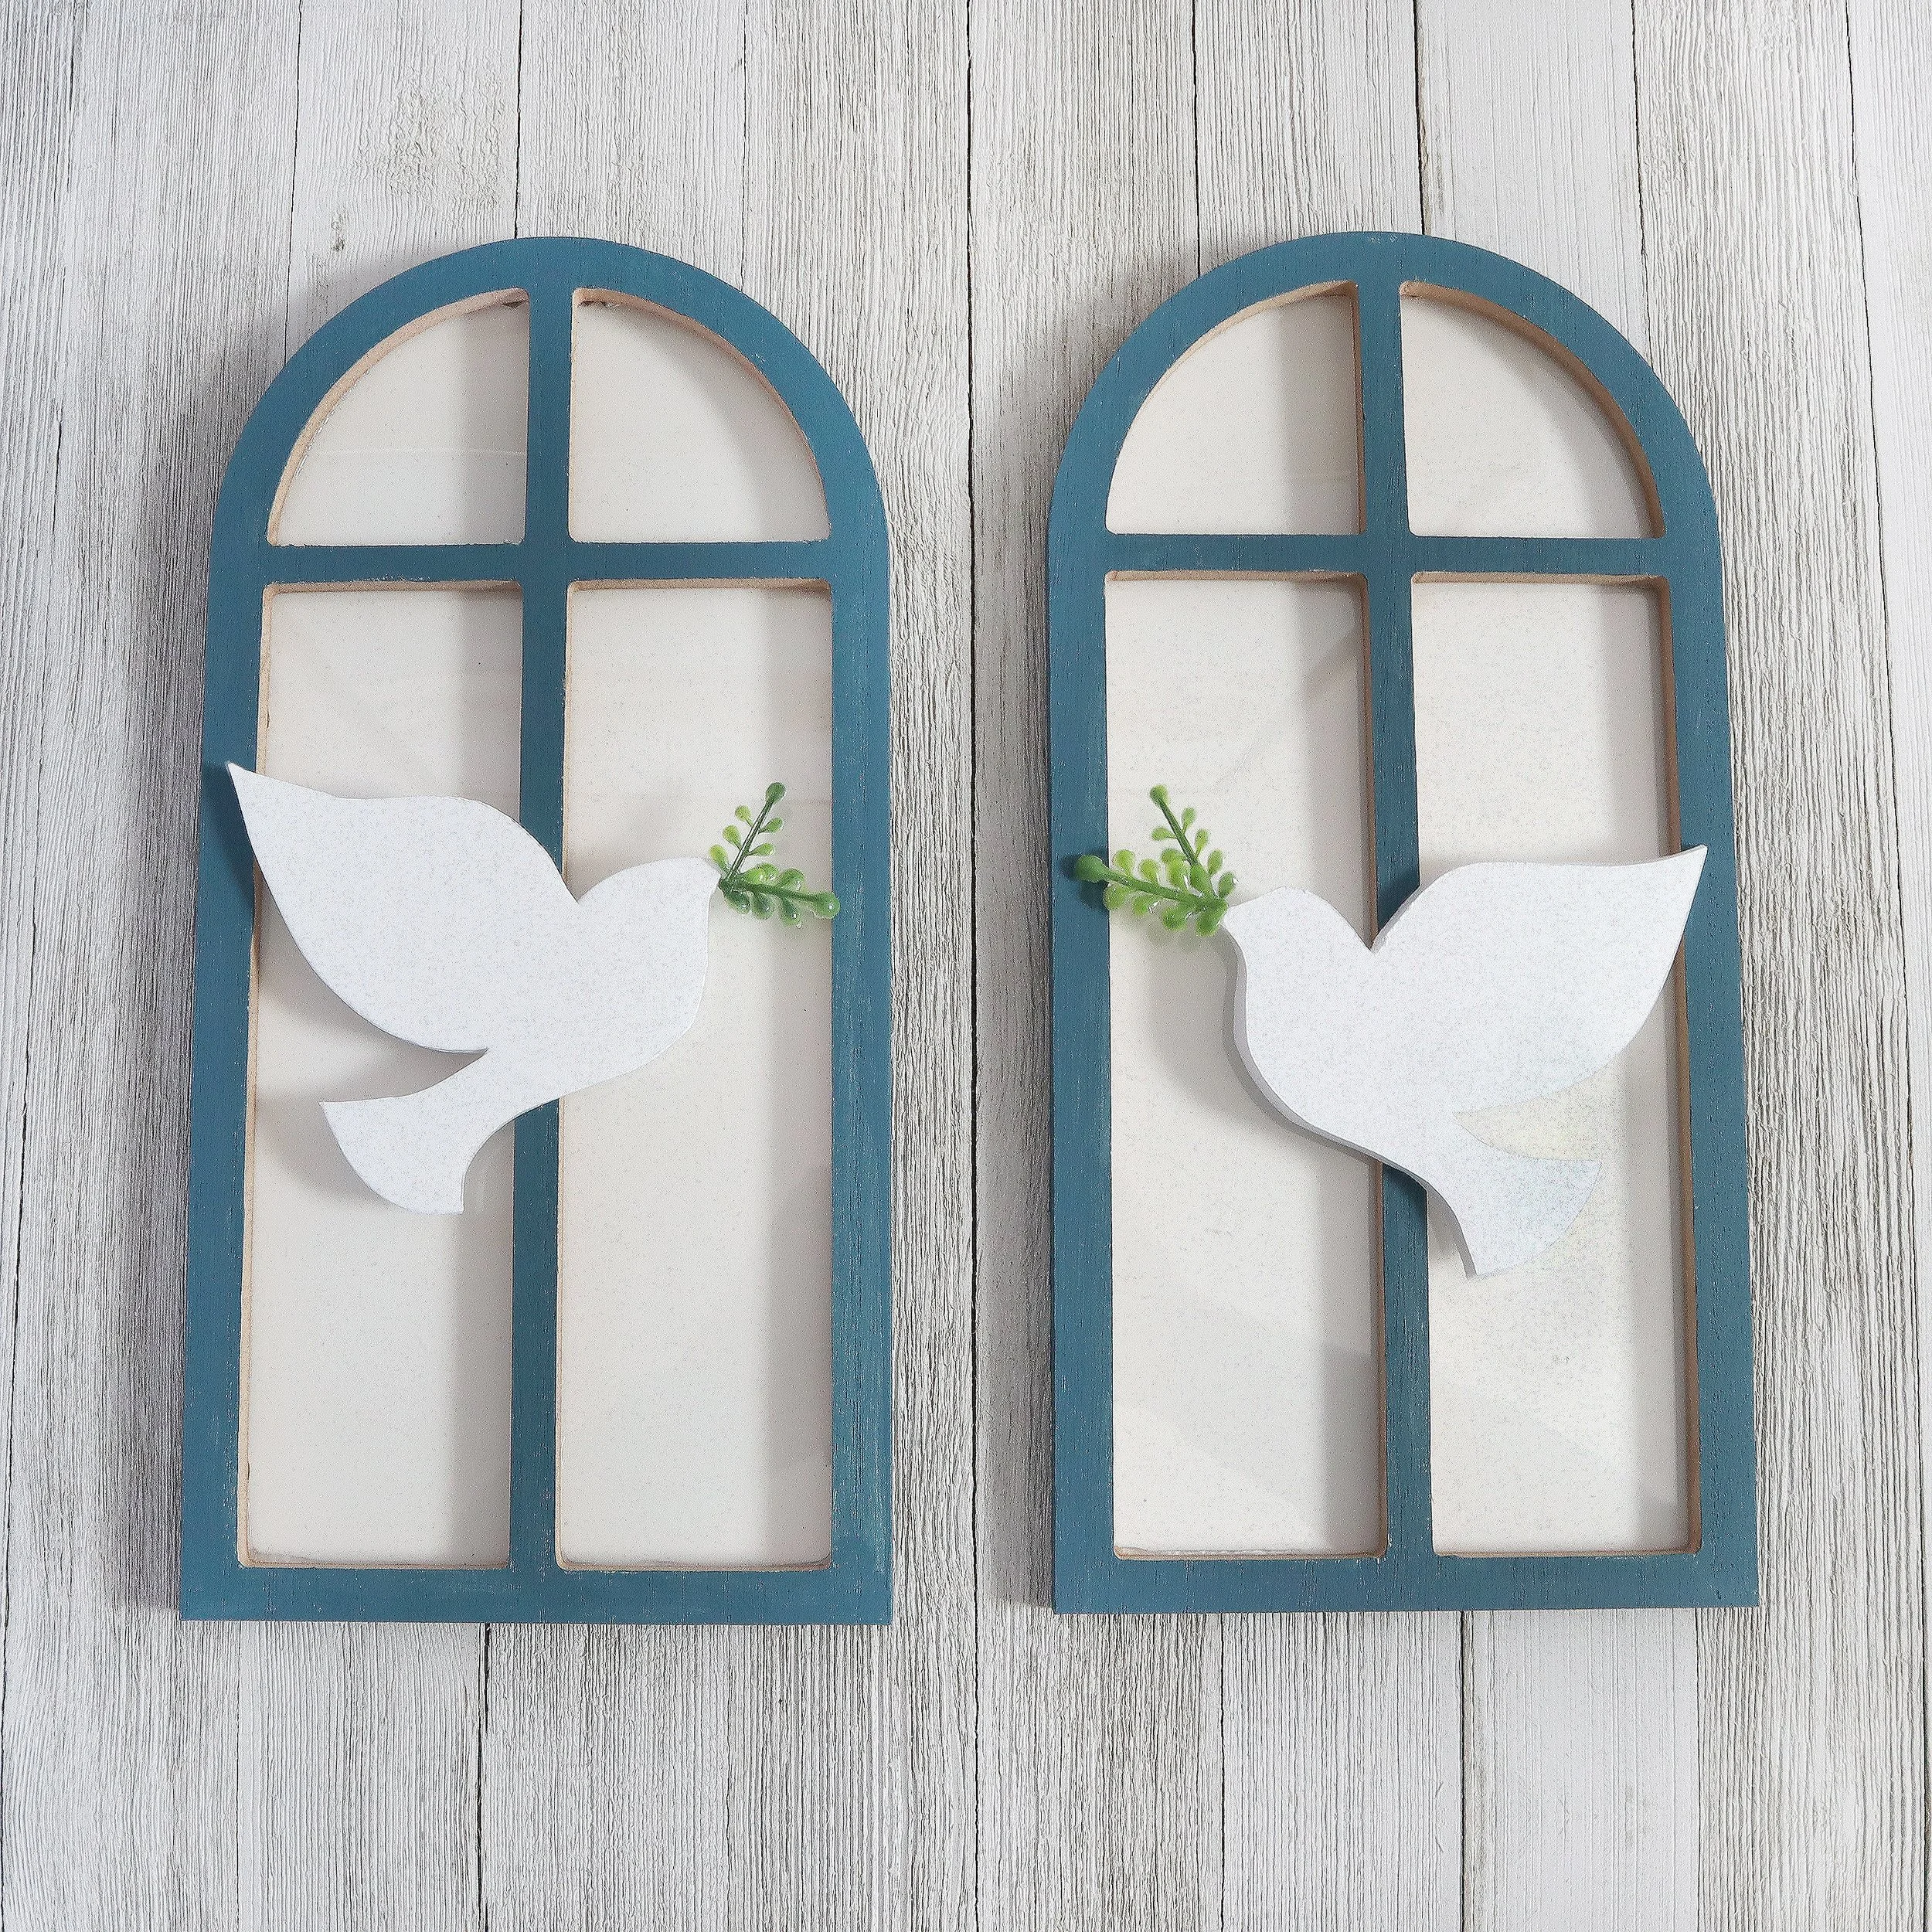
I think some leaves in the beaks of these doves would be beautiful. I love that they represent the holy spirit, which is perfect for Easter, but these are also something that could be used year round.
Here is how the windows came out. These would look great against a kitchen backsplash or hanging on a wall.
// easter blessings sign
For our final craft, I've got something for you from Dollar Tree. These are the burner cover sets and I love these things! I picked up a couple of them when I was shopping there last time, but we're going to totally do something different with these and it’s not to cover a stove!
They come in a set of two, but we are just going to use the bigger one today. We'll save that little one for another craft.
I'm going to use my white chalk paint on the front and on the sides of this burner cover. It took 2 coats to completely cover the design on the front. Plus, it dried really fast!
After the white paint dried, we’ll mask off about a third at the top, and then bring in that blue paint again along the top.
I keep my foam brush strokes going in the same direction because it gives almost like a faux wood look.
I found these gold, three dimensional stickers at JoAnn’s. They're a little more expensive than the Dollar Tree ones, but if you have a bigger sign or you want a specific look, sometimes it is worth it to pay a little extra. You can use a ruler to make sure you're putting those letters on straight.
I think the black and white ribbon here looks so good with the blue and the gold and the white – it's just a really crisp looking piece of home decor. All I did was wrap the ribbon into a figure 8 and then used Dollar Tree twine to wrap around the center and secured with glue.
A little greenery will also be so complementary to the blue and white. You can find all kinds of options at Dollar Tree for greenery.
I felt the edge looked a little bare, so you could use some of this thick rope from Dollar Tree (it also comes in a darker brown).
But I want to match the twine on the center of my bow, so I'm going to loop that same twine around the edge over and over again using dots of hot glue to secure it as I go along.
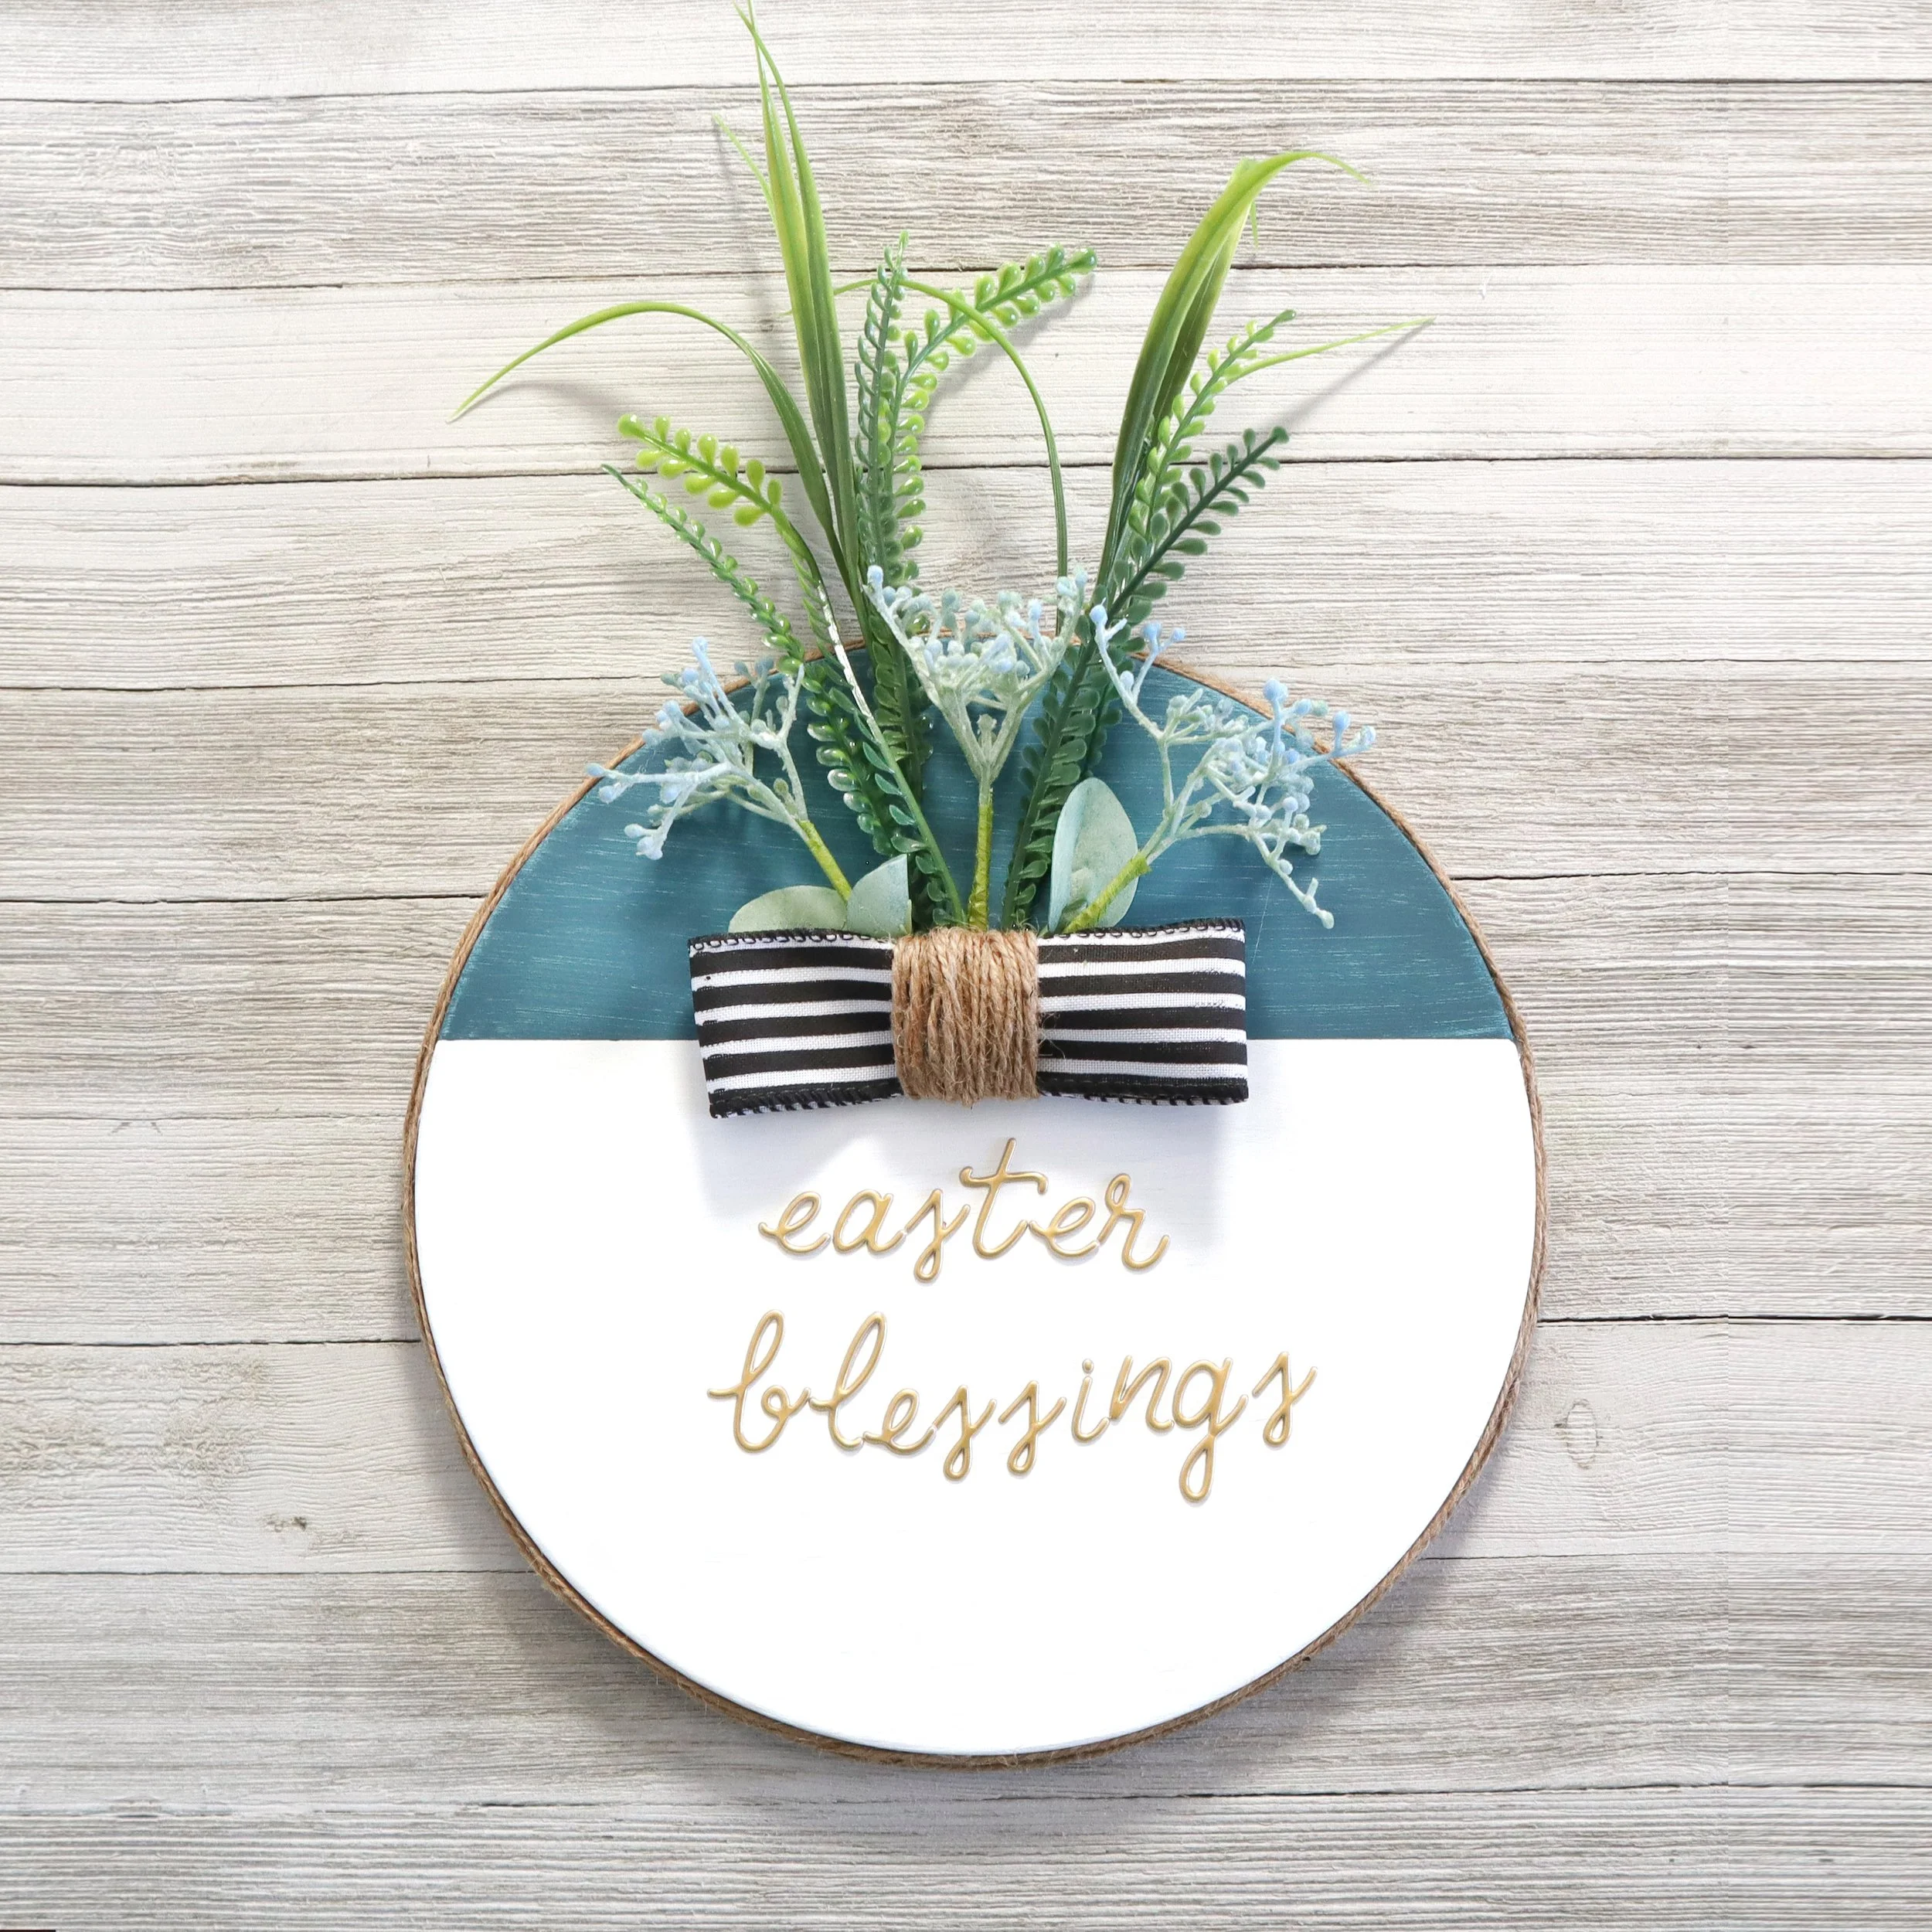
Here is a look at the final Easter Blessings sign. This would be so pretty on the front door, hanging on the wall or even hung behind the backsplash of a rangetop.
I hope you got a few good ideas from these religious Easter crafts. Don’t forget to “Subscribe” to my YouTube channel, if you want new crafting videos every week!
click here to subscribe
FTC: Not Sponsored. All opinions are always 100% honest and my own. Some links may be affiliate links. If you click a link and buy something, I receive a small commission for the sale. It doesn’t cost you anything extra and you are free to use the link or not as you choose. If you do use my links, I appreciate your support.

















How about some Target Dollar Spot crafts and Dollar Tree coastal transformations. We’ll be putting together tiered tray miniatures to decorate our little coastal vignette.