You HAVE to Try This Hot Cocoa Bar!
Who loves cocoa?! I’m so excited about this post, because it is jam packed with DIYs and then I’m going to show you how to put everything we make together into the best DIY hot chocolate bar ever!
For a video of the whole process, just click below. Don’t forget to “Subscribe” to my YouTube channel, so you’ll know right when new creative inspiration goes up!
subscribe to my youtube channel by clicking here
// Cutie Marshmallow Cups
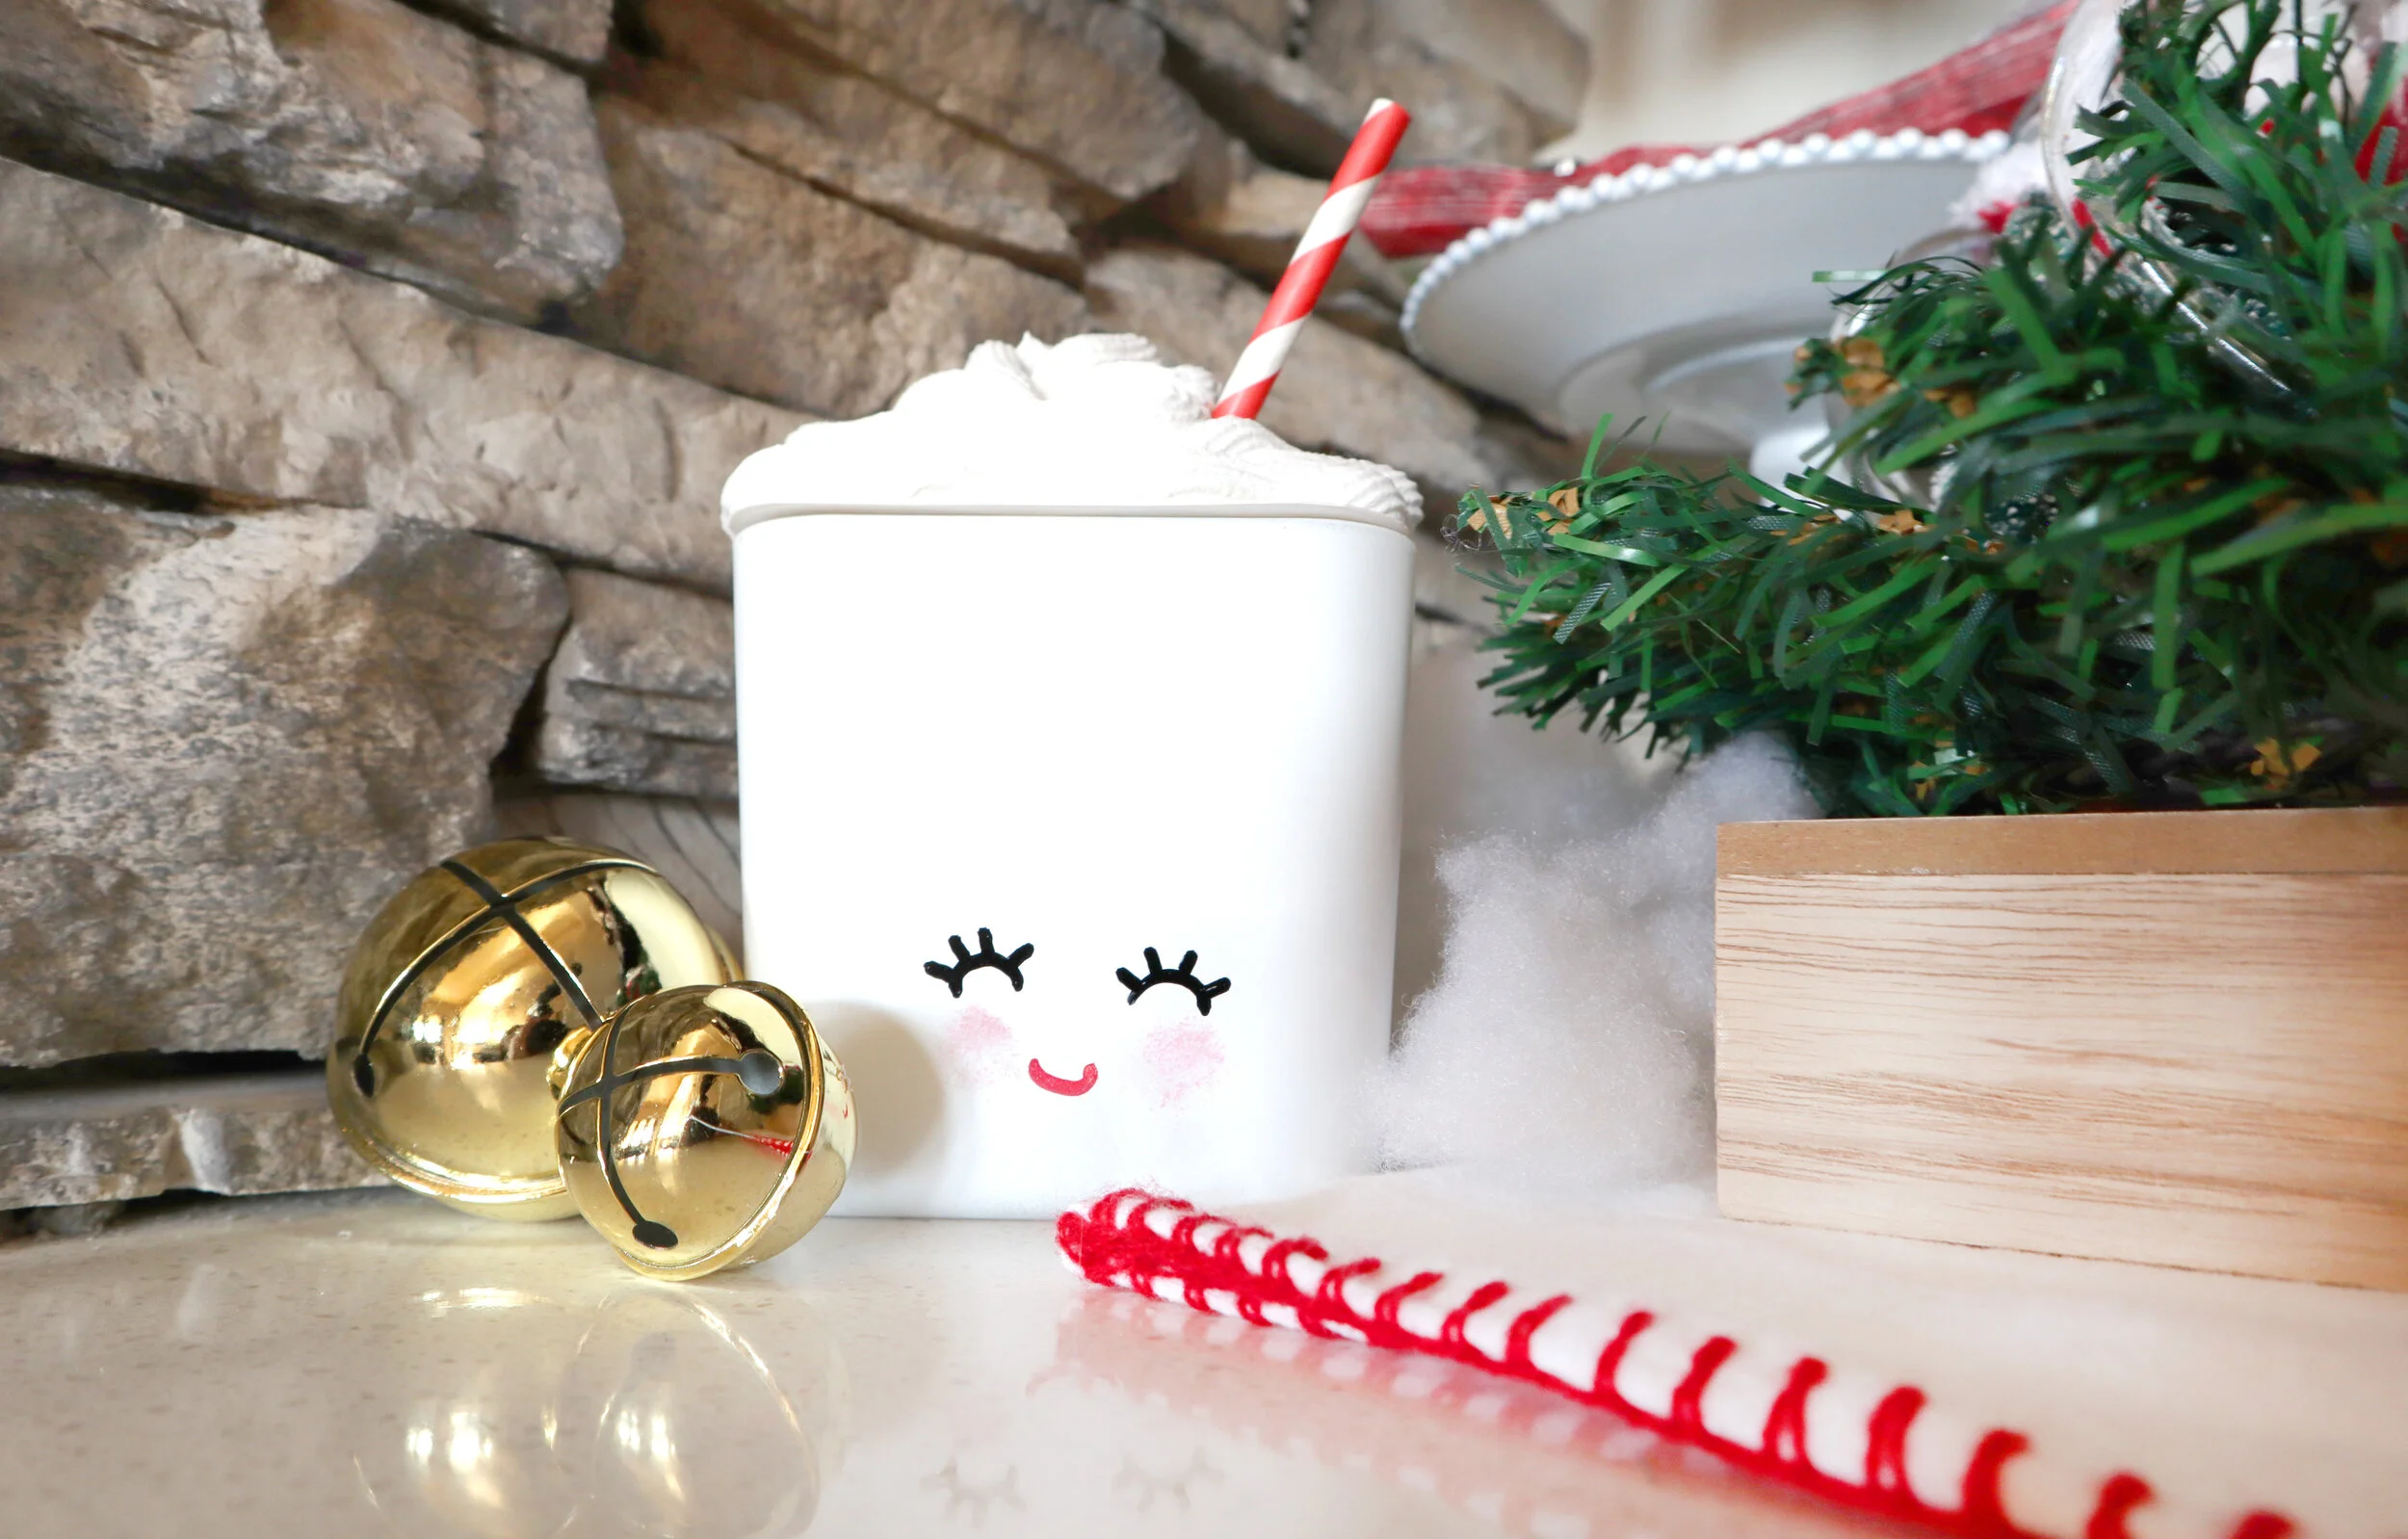
Every cocoa bar needs a cute little marshmallow character smiling at them as they grab their sweet cup of yumminess.
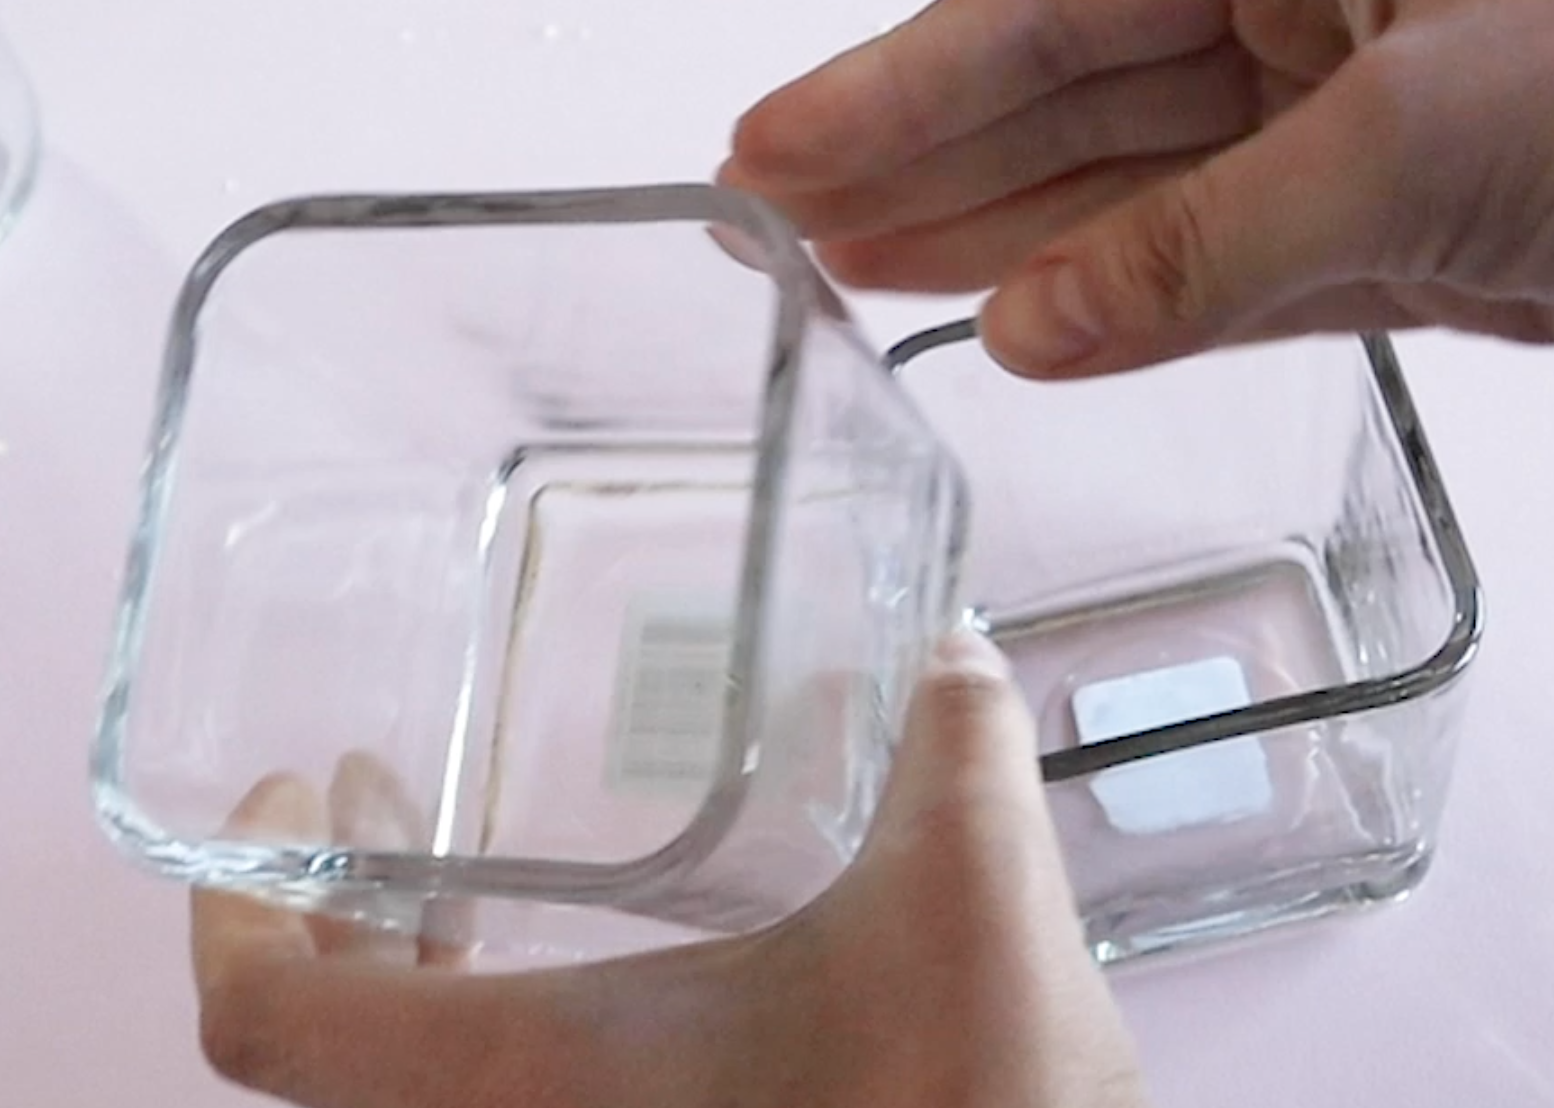
So, let’s make one with one of these glass cubes I found at Dollar Tree. I started by giving it a coat of flat white spray paint. I kept the jar upside down when I painted it, so that no paint would get on the inside (just in case I decided to fill it with something edible).
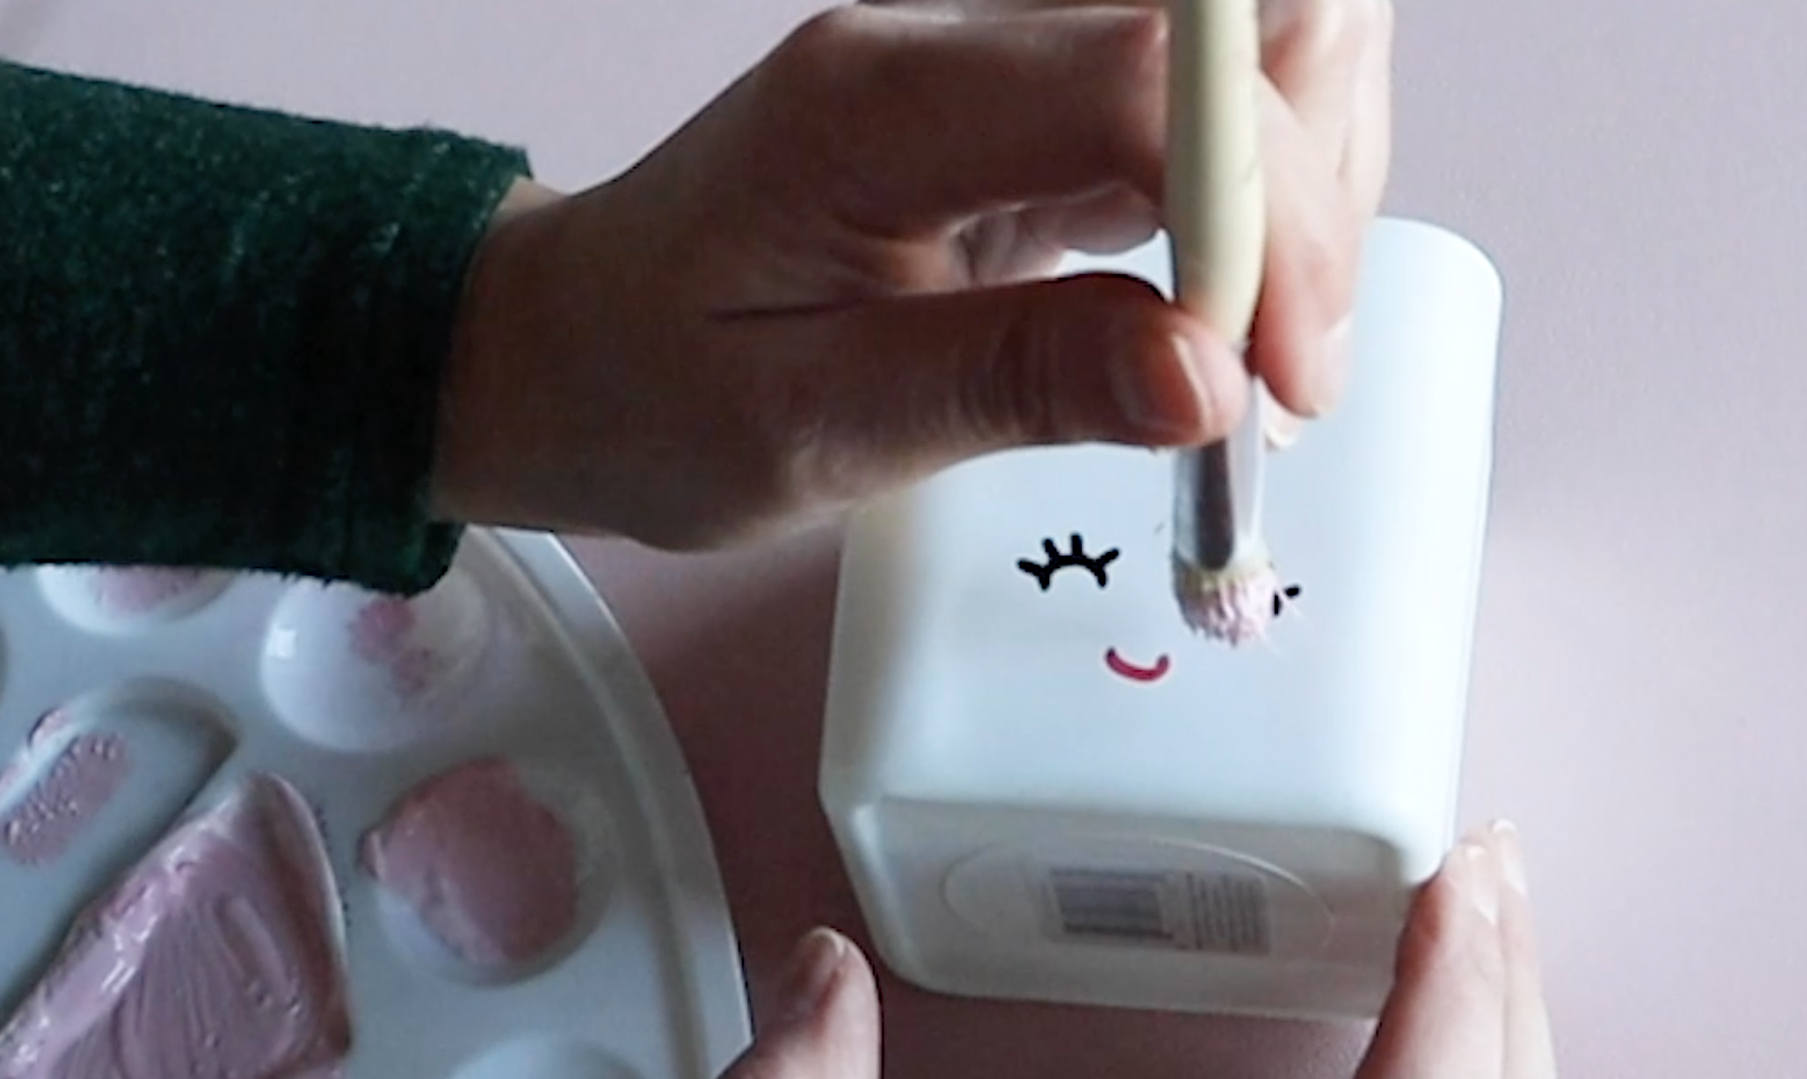
Then I added the cute little face on there with some Sharpie paint pens. I did a little pink paint for the cheeks with a round shaped paintbrush.
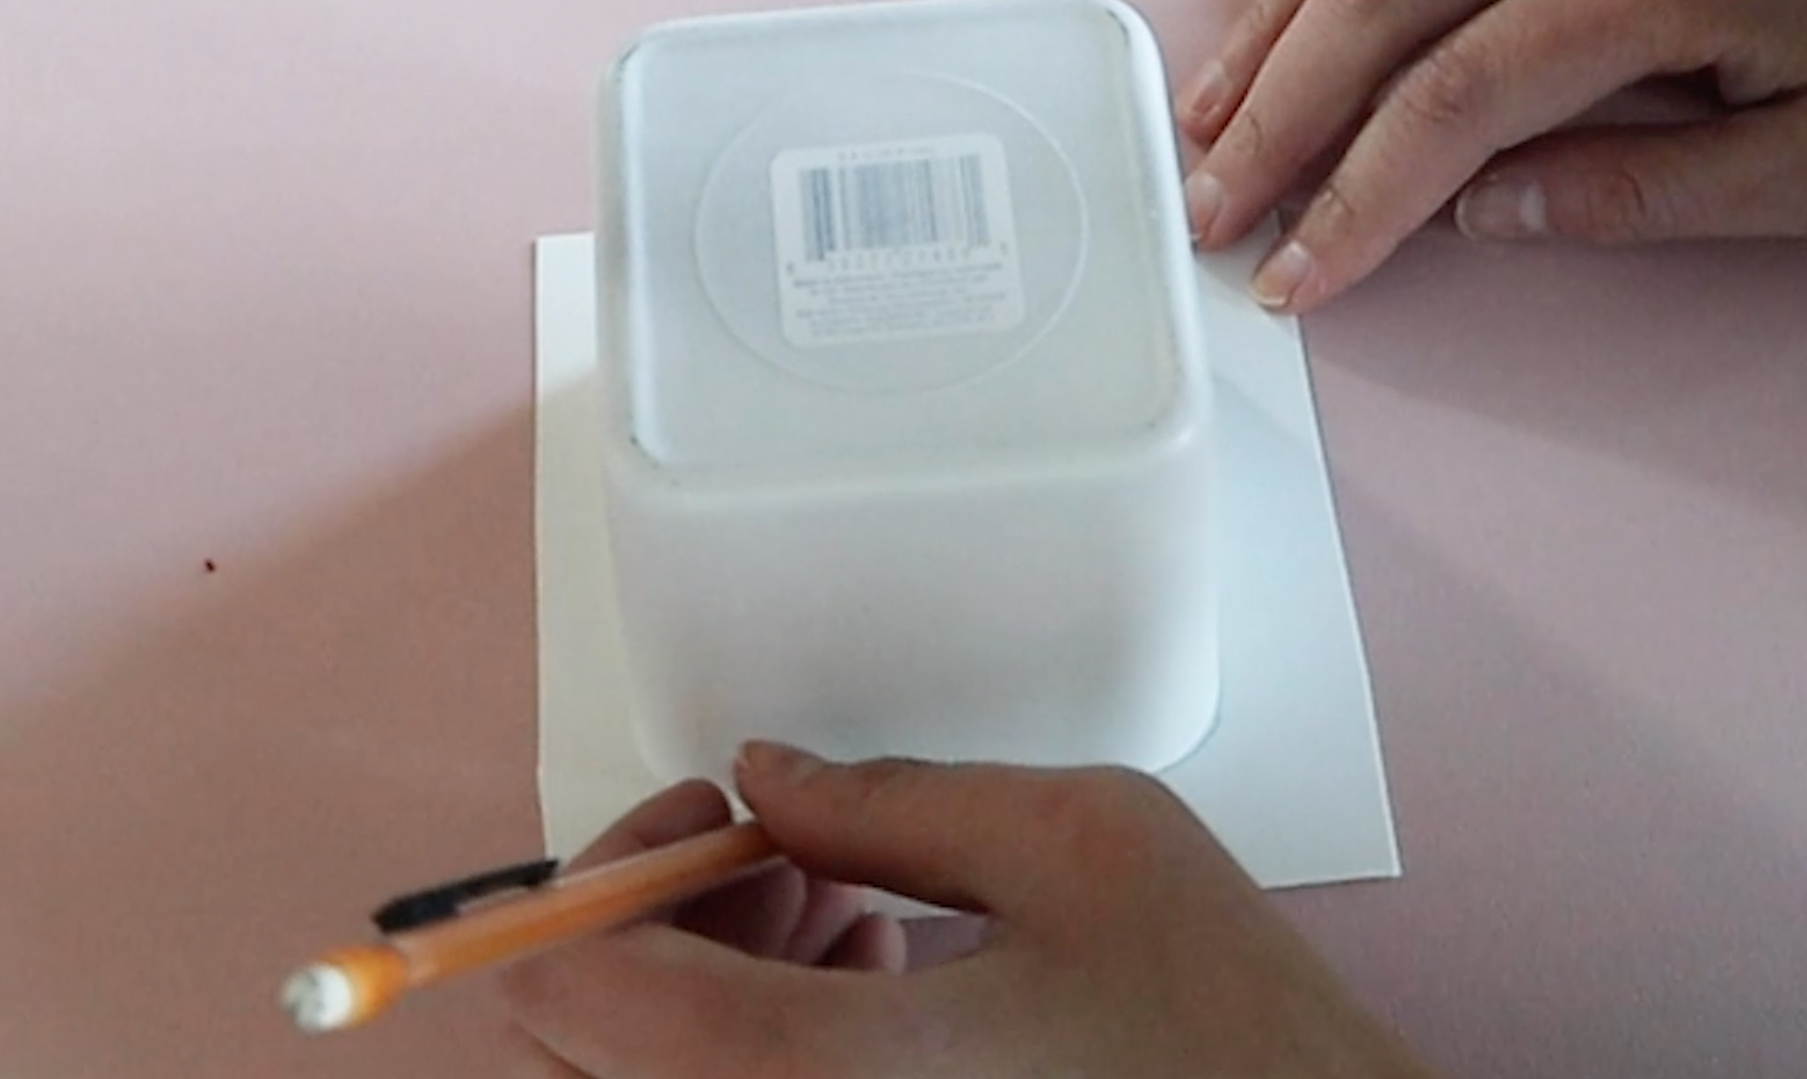
I took a piece of poster board, which you can also find at Dollar Tree and I traced the top of the jar and cut it out.
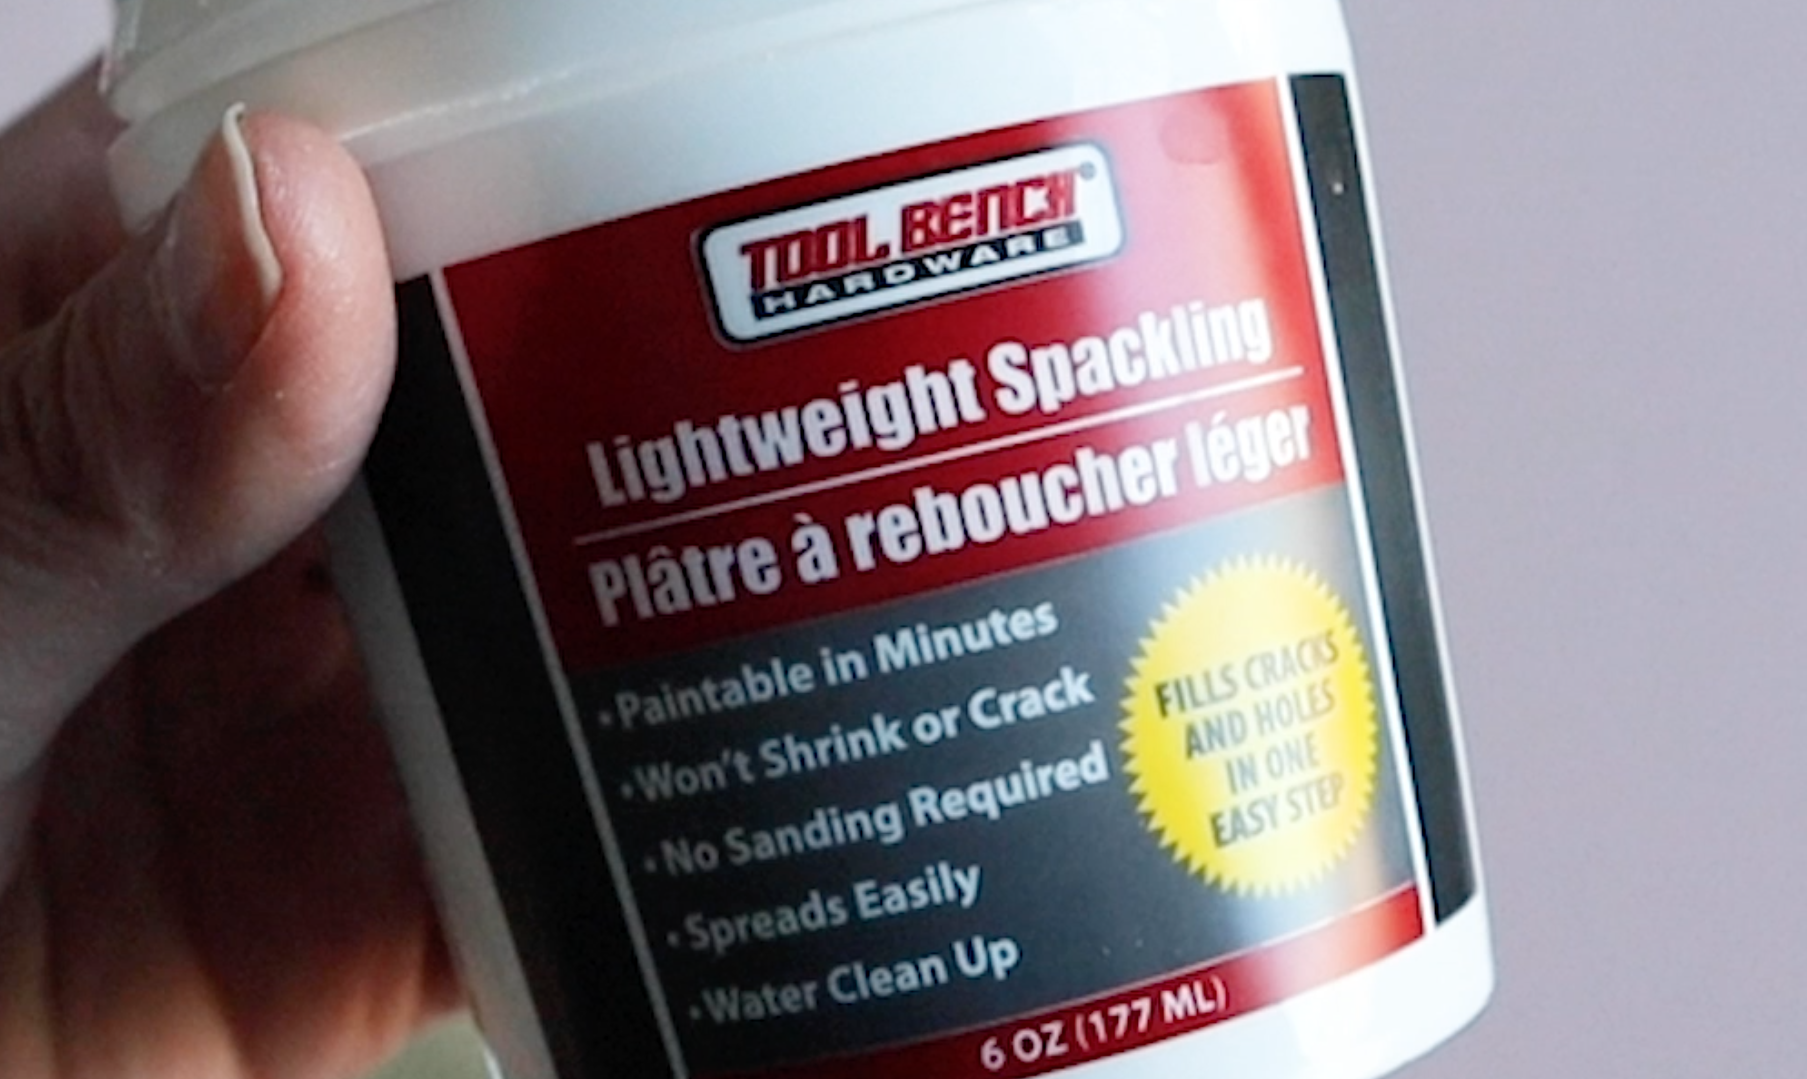
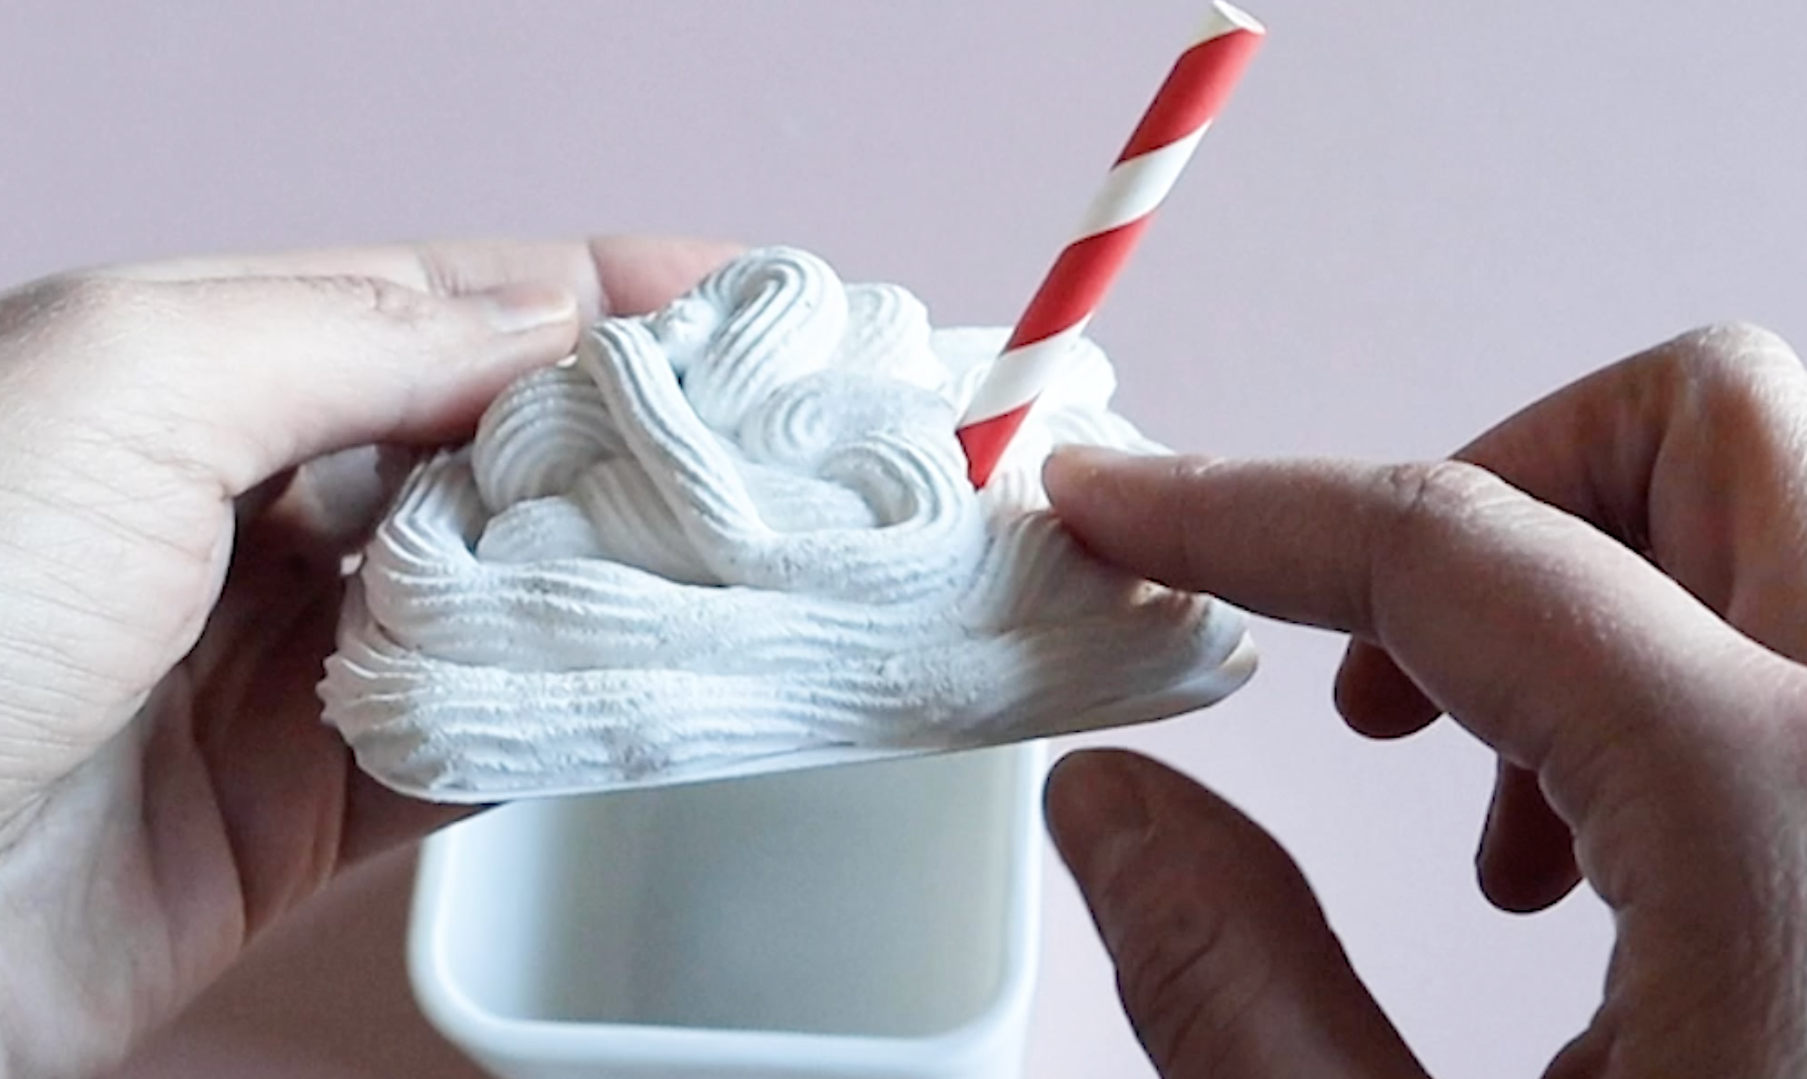
Next, I took some lightweight spackling and mixed it with some white paint. This helped it not be so chunky and really smoothed it out, so it will be easier to pipe. I added this mixture to a ziplock bag with a piping tip at one corner and then piped it right onto the piece of poster board. I put a piece of a straw in before it dried and then I let this harden overnight. You could glue this on top of the jar, but I decided to leave mine as a lid I can take on and off.
// menu sign
I thought it would be fun to have a menu sign where I can interchange the menu for different occasions. I started with a red lid off some jars I found in the dollar spot at Target.
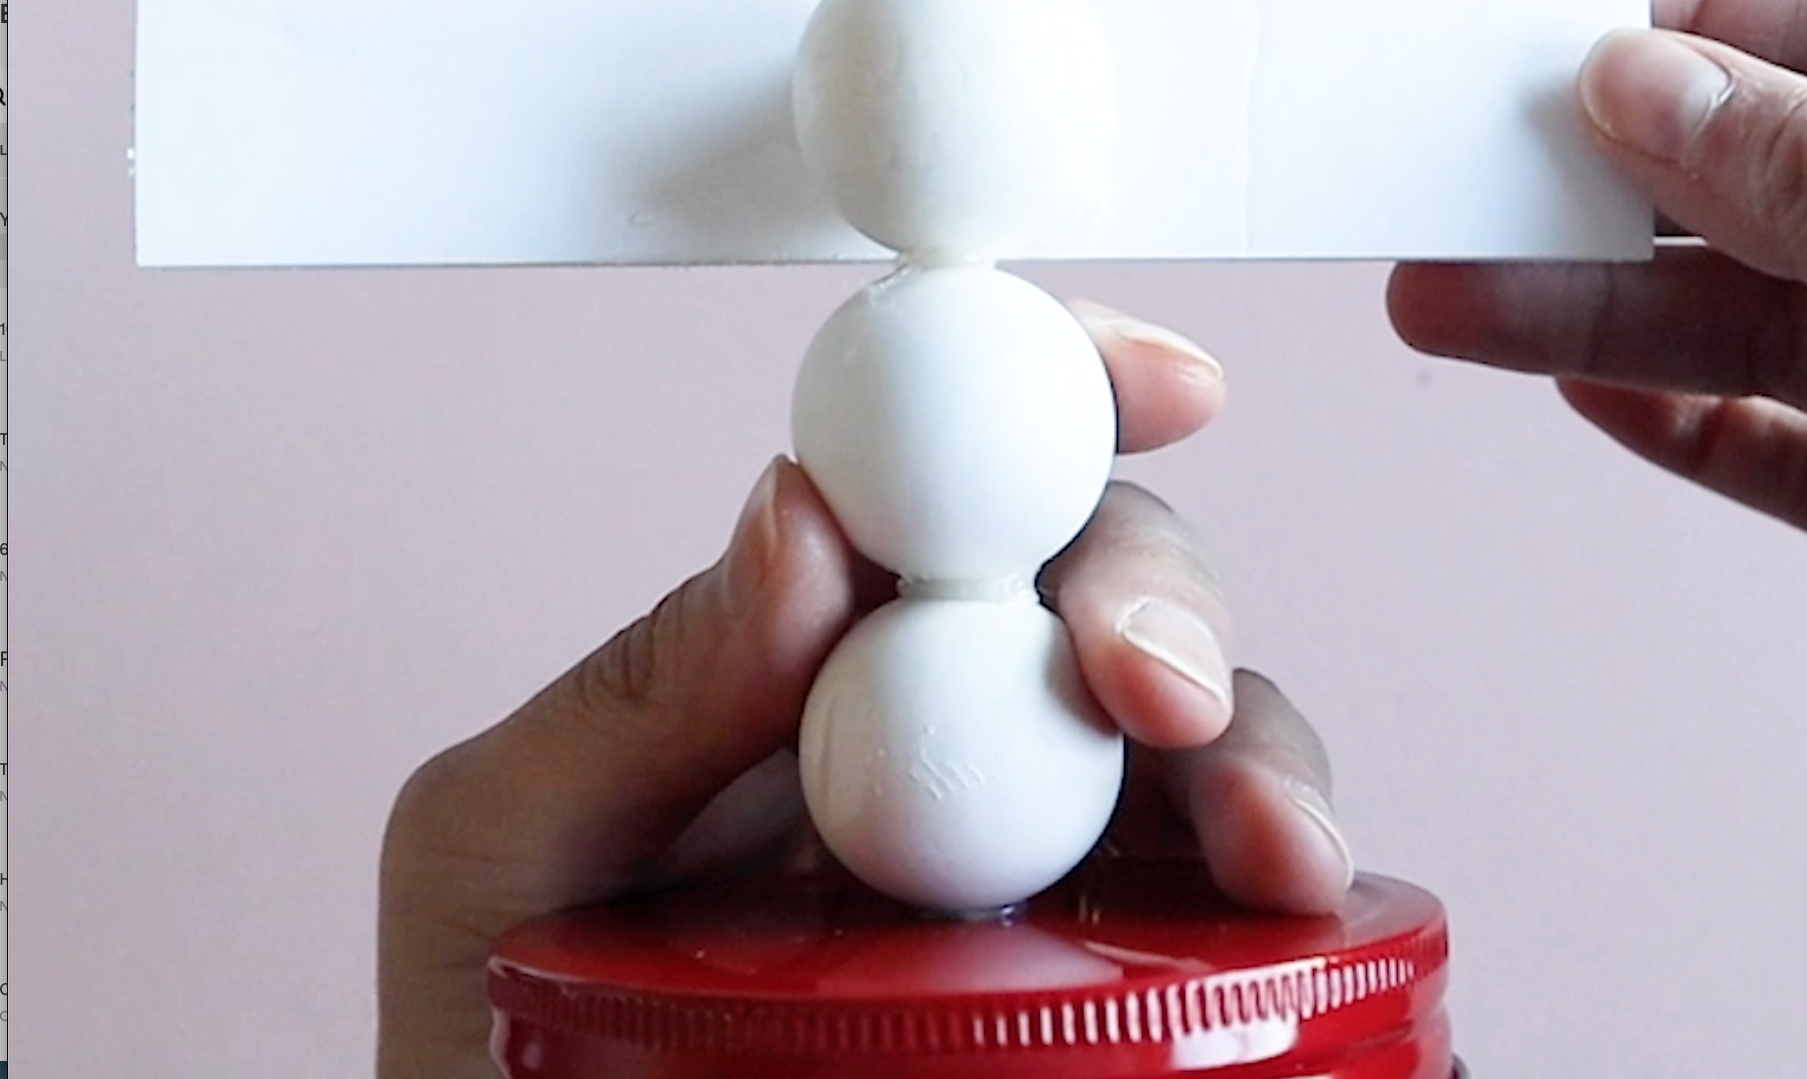
I will also be using these wooden balls I got off Amazon, but if you wanted to use ping pong balls, those would work too. Just make sure whatever you use you spray paint white, so it will go with the red and white theme we are going for in this hot cocoa bar.
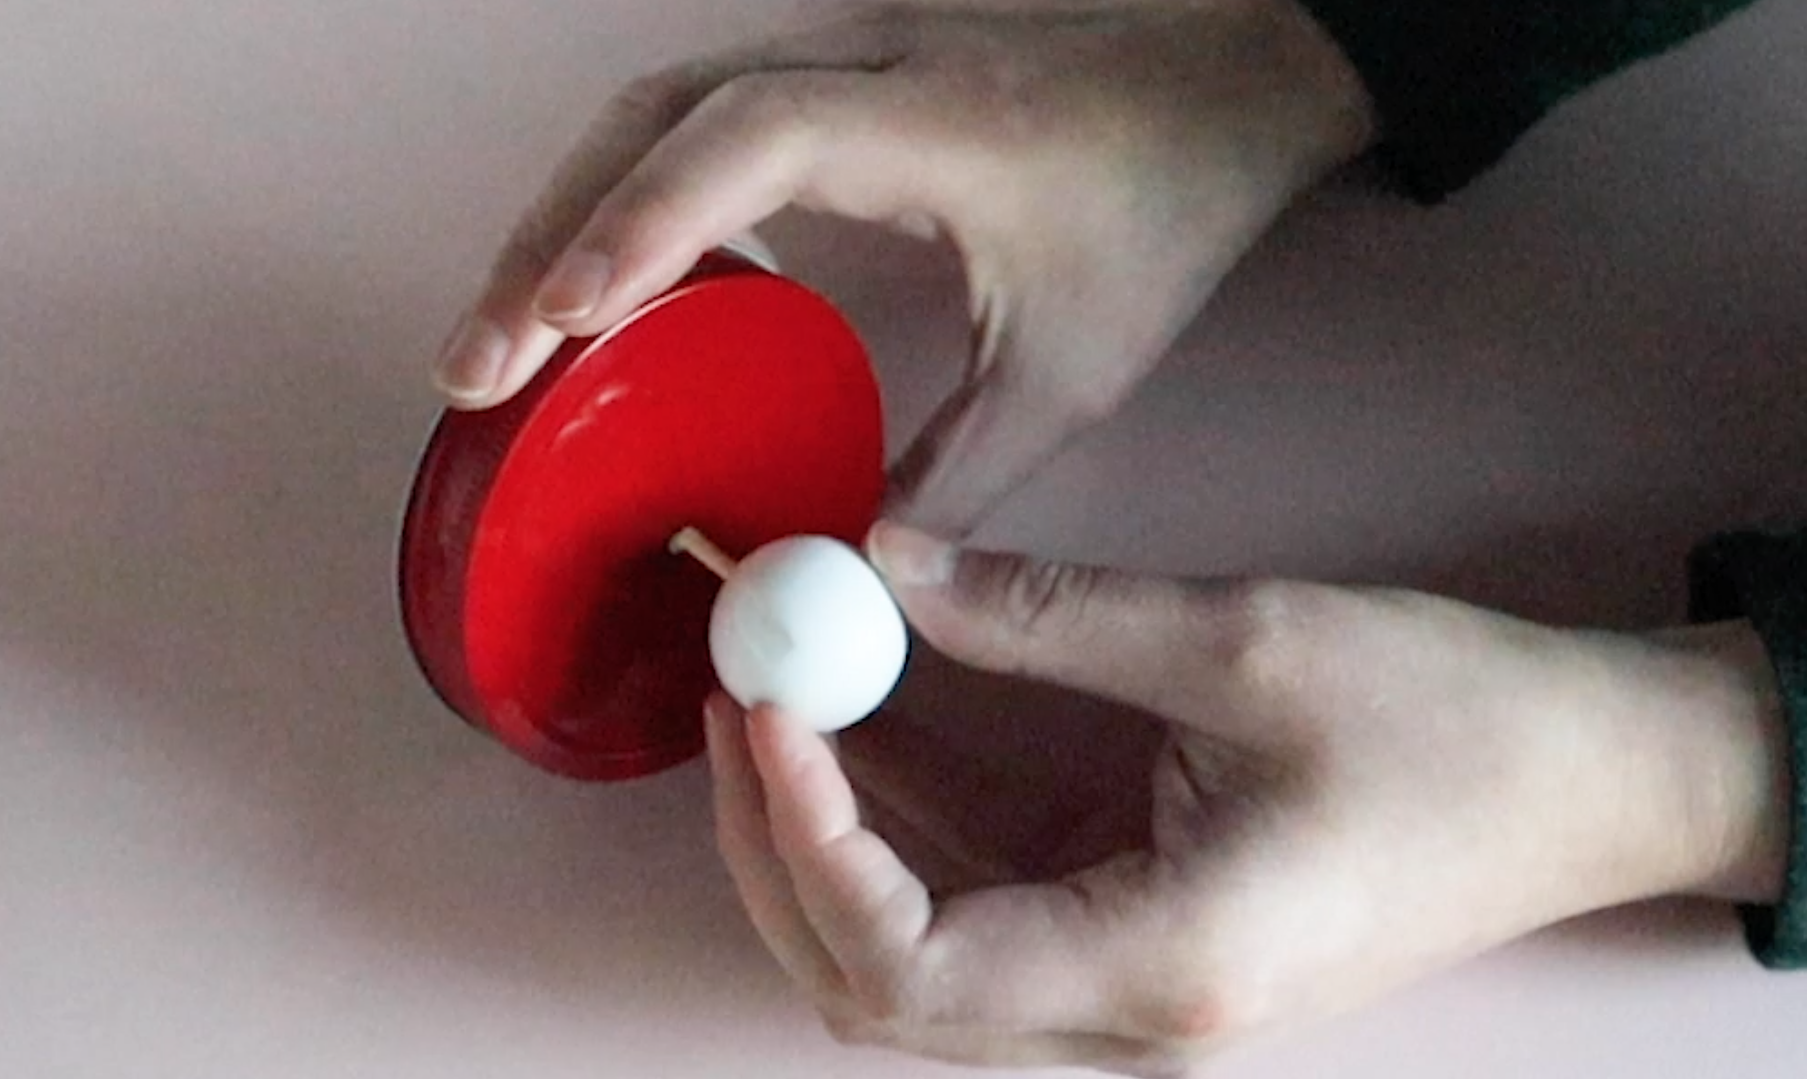
I drilled a hole in the lid and then also a little notch into one of the wood balls. I attached a small piece of a wooden skewer and glued it into place. Then I attached the rest of the wooden balls with a hot glue and E6000 combo. If you don’t use the E6000, it may not hold as well.
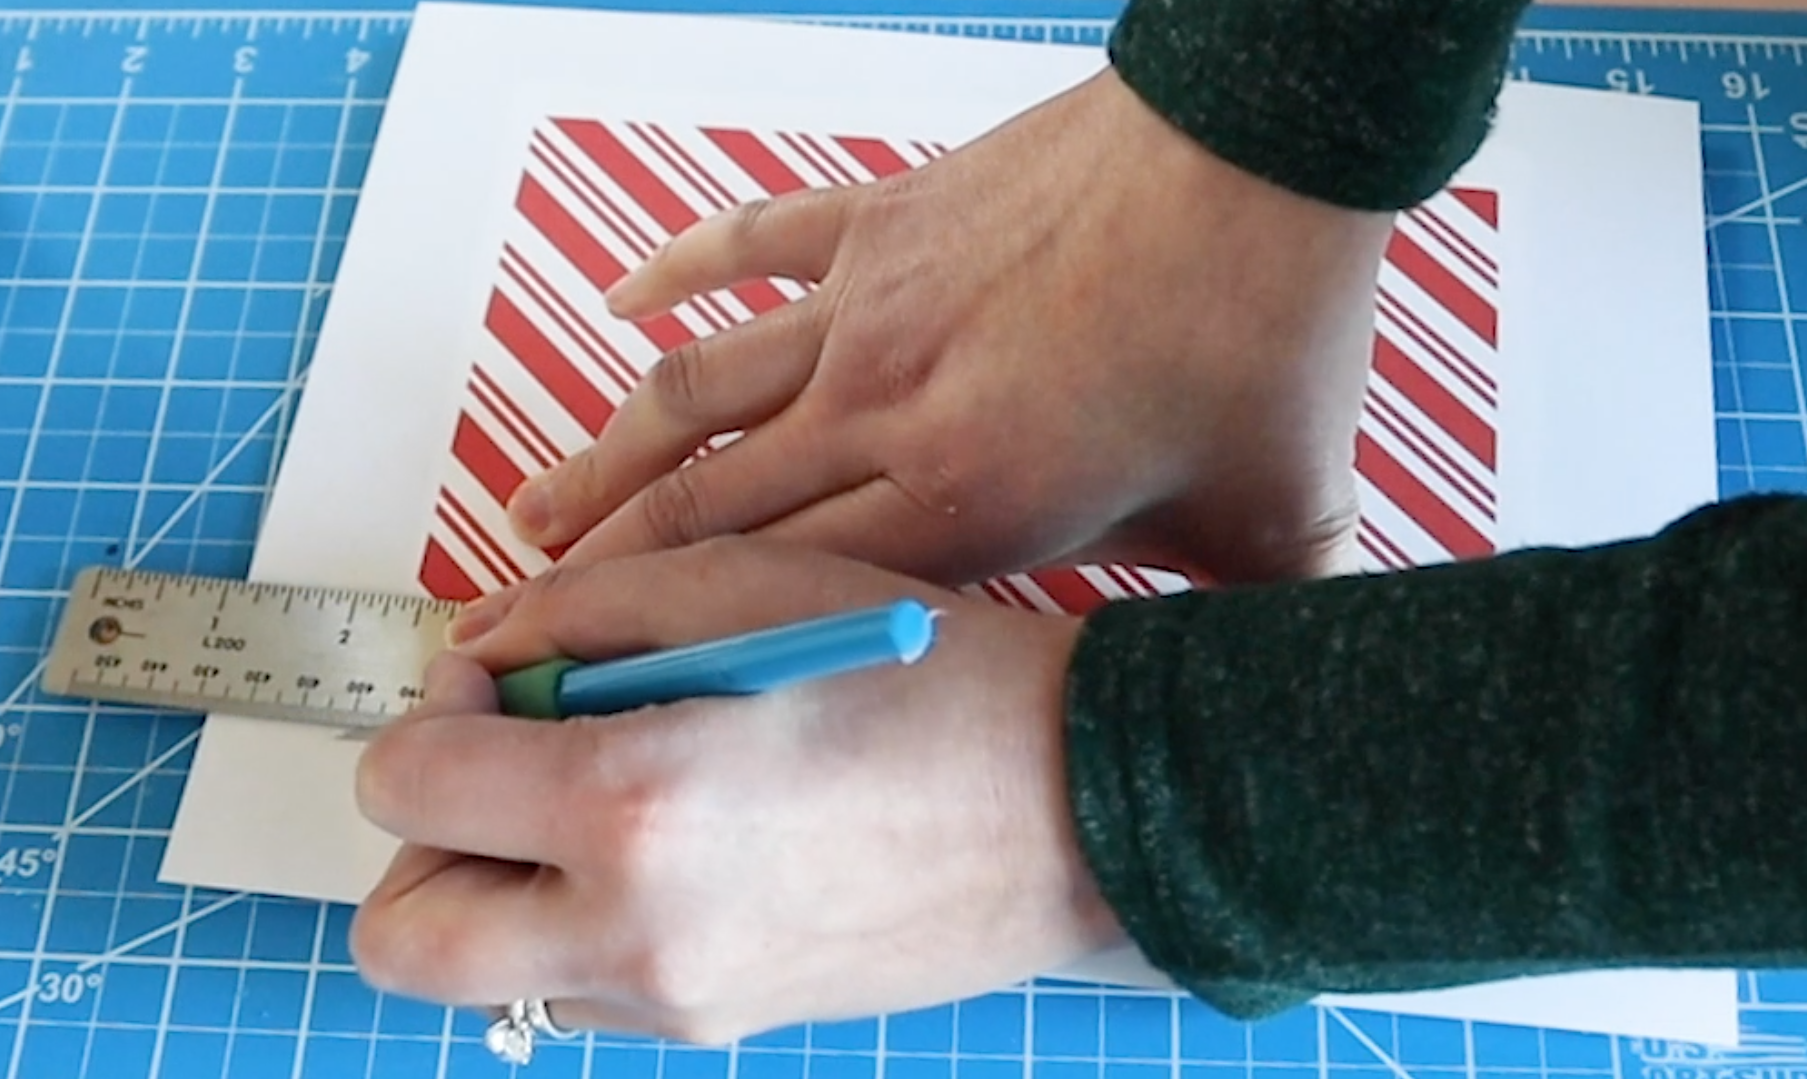
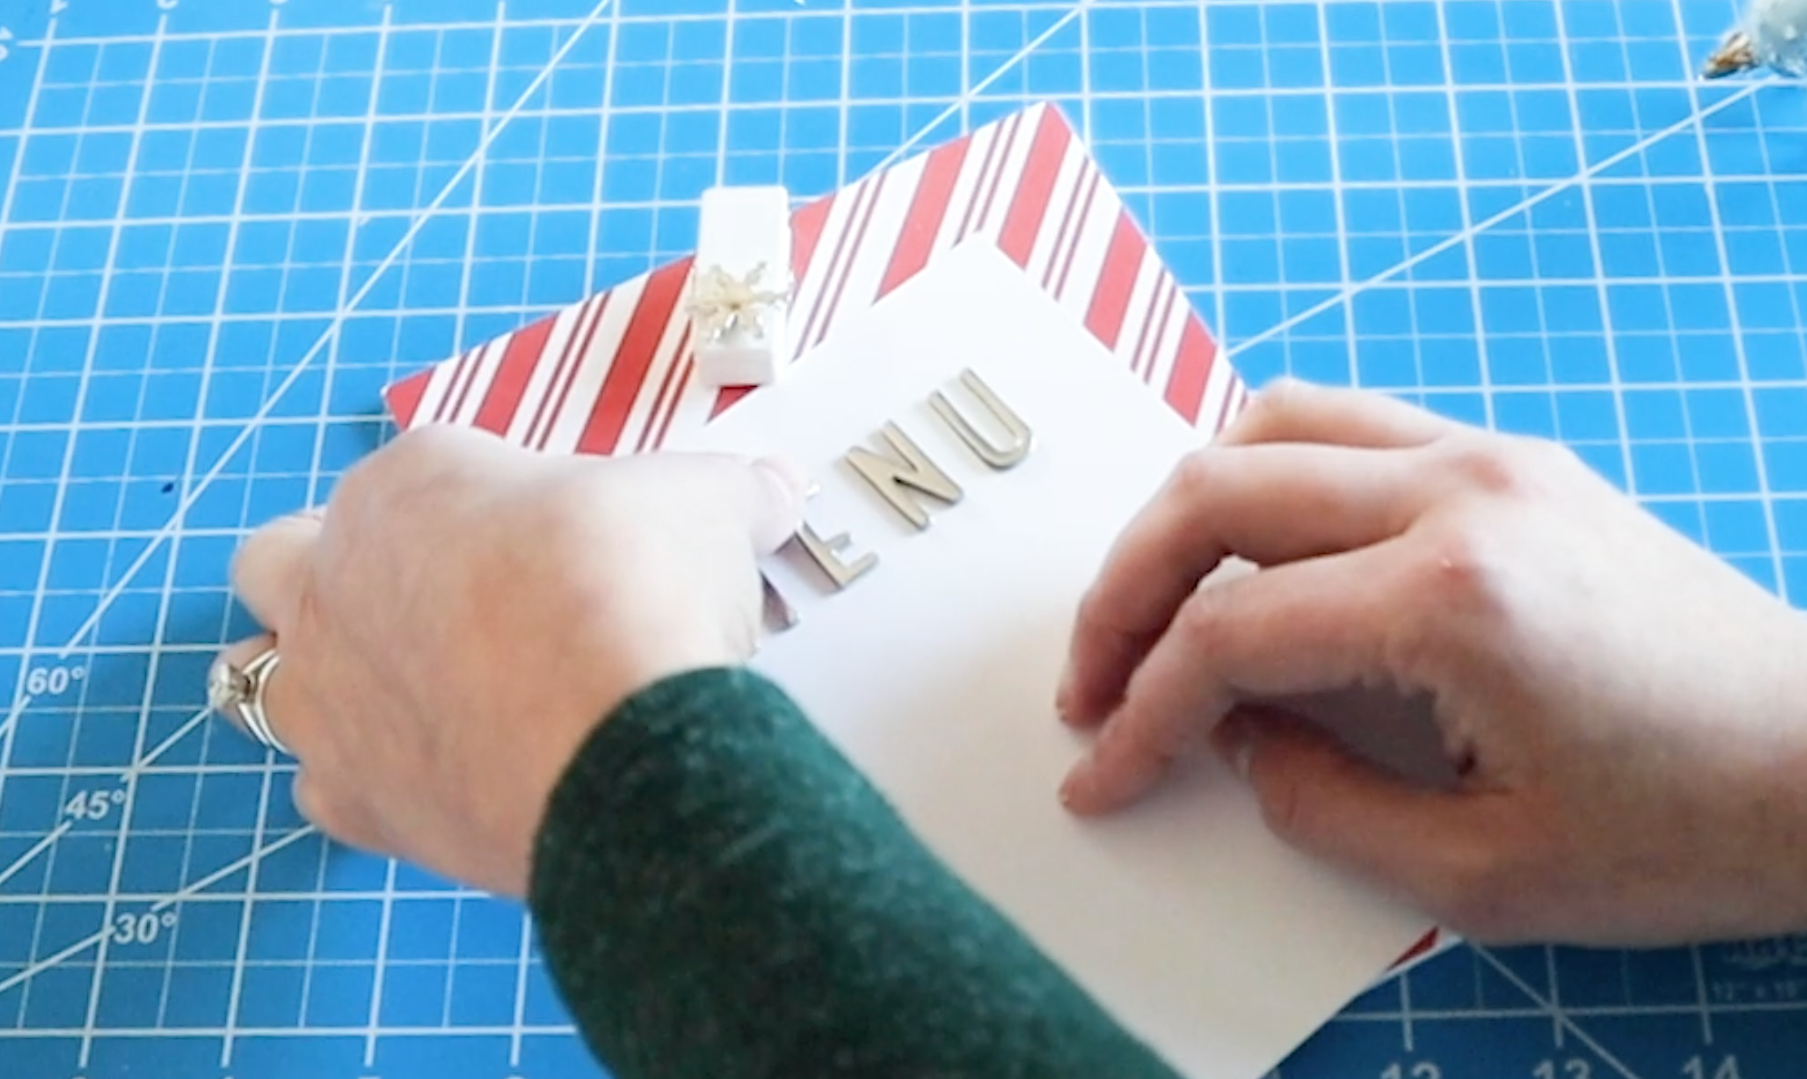
Next, I used some spray mount to put this candy cane pattern on some foam core. Super 77 is the only way to go, my friends. Then trimmed it out with an Xacto knife.
When you’re trimming foam core, make sure to put the blade right outside of where you want the edge to be. When you stick the knife in, it bends the foam core a bit, so if you start outside of the final trim area, you will get those clean trim lines.
I cut out a piece of poster board just a little smaller than the foam core. I had a white clothespin and will use this at the top, so I can swap out menus.
Then I used some sticky letters to spell out “Menu” at the top.
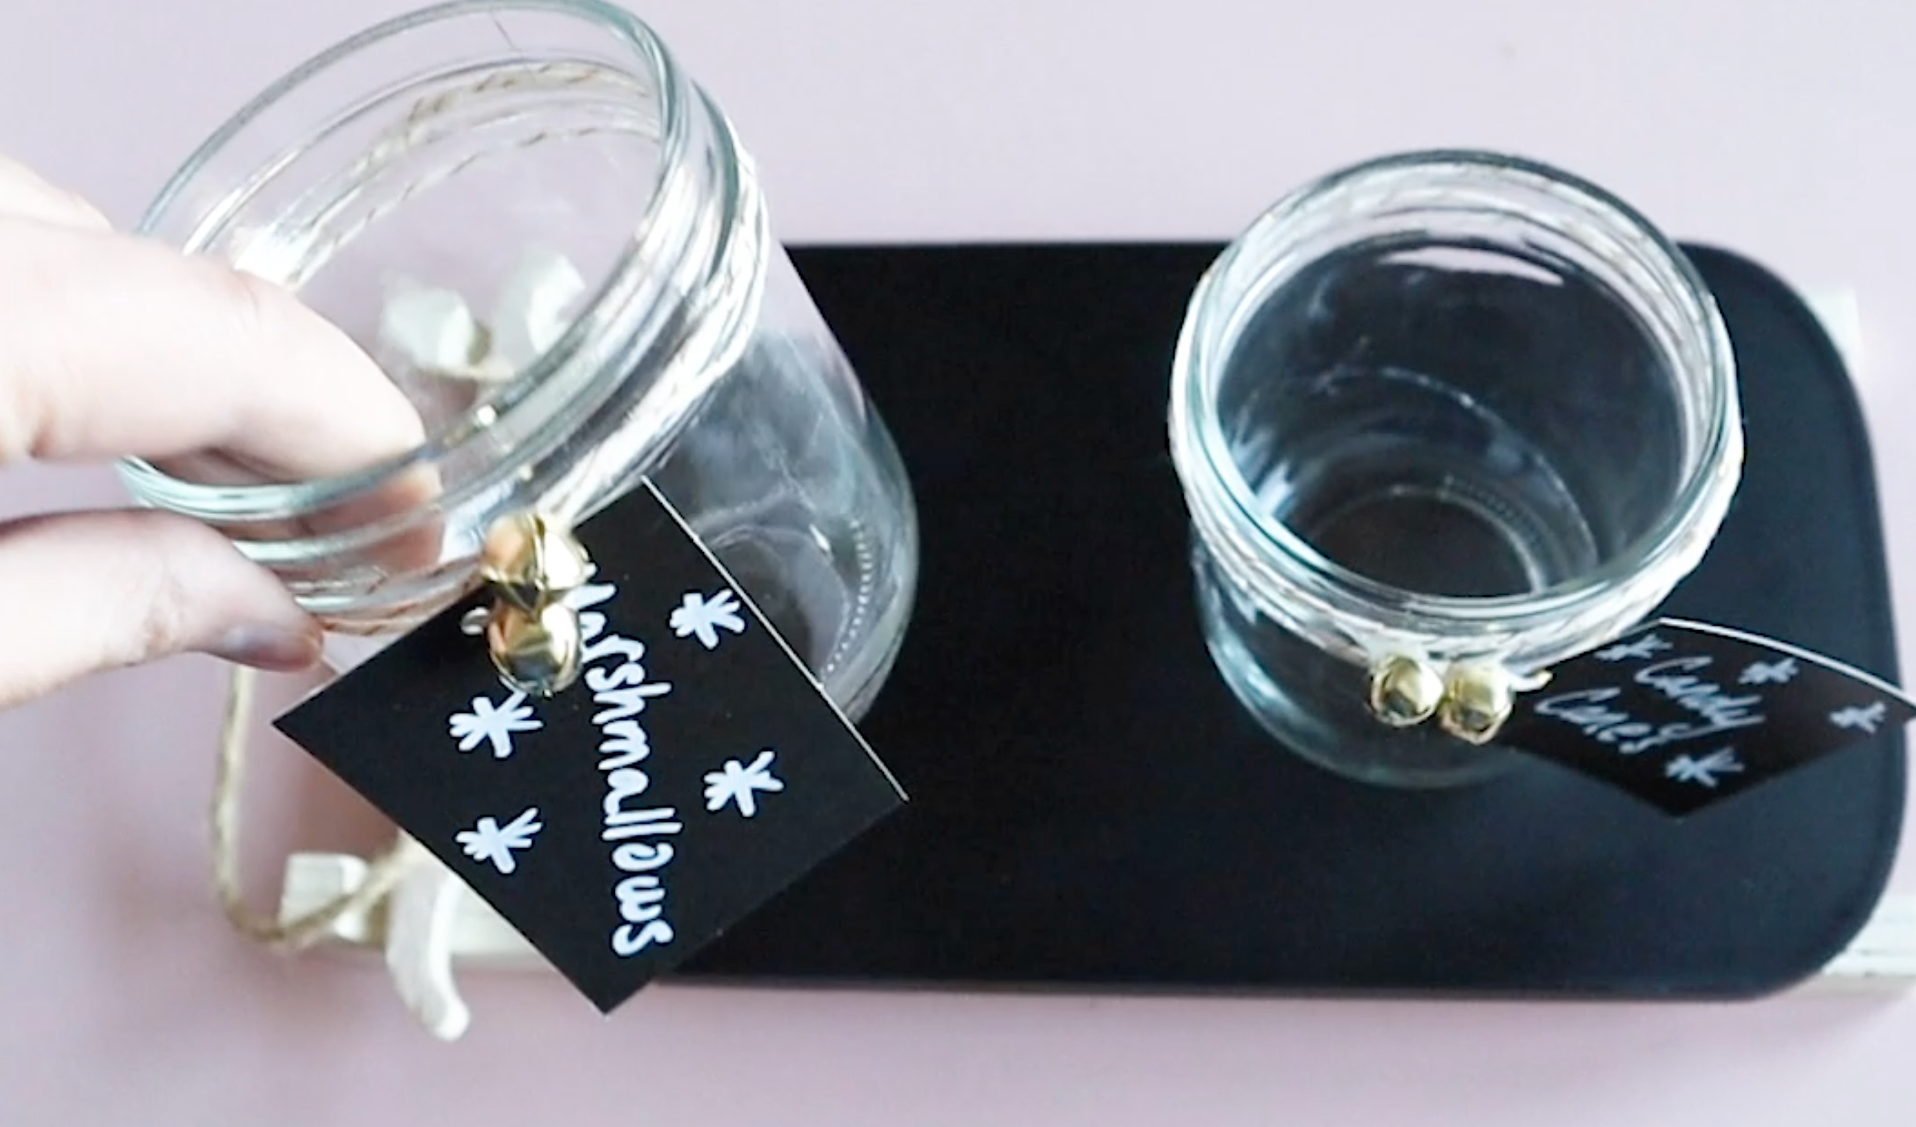
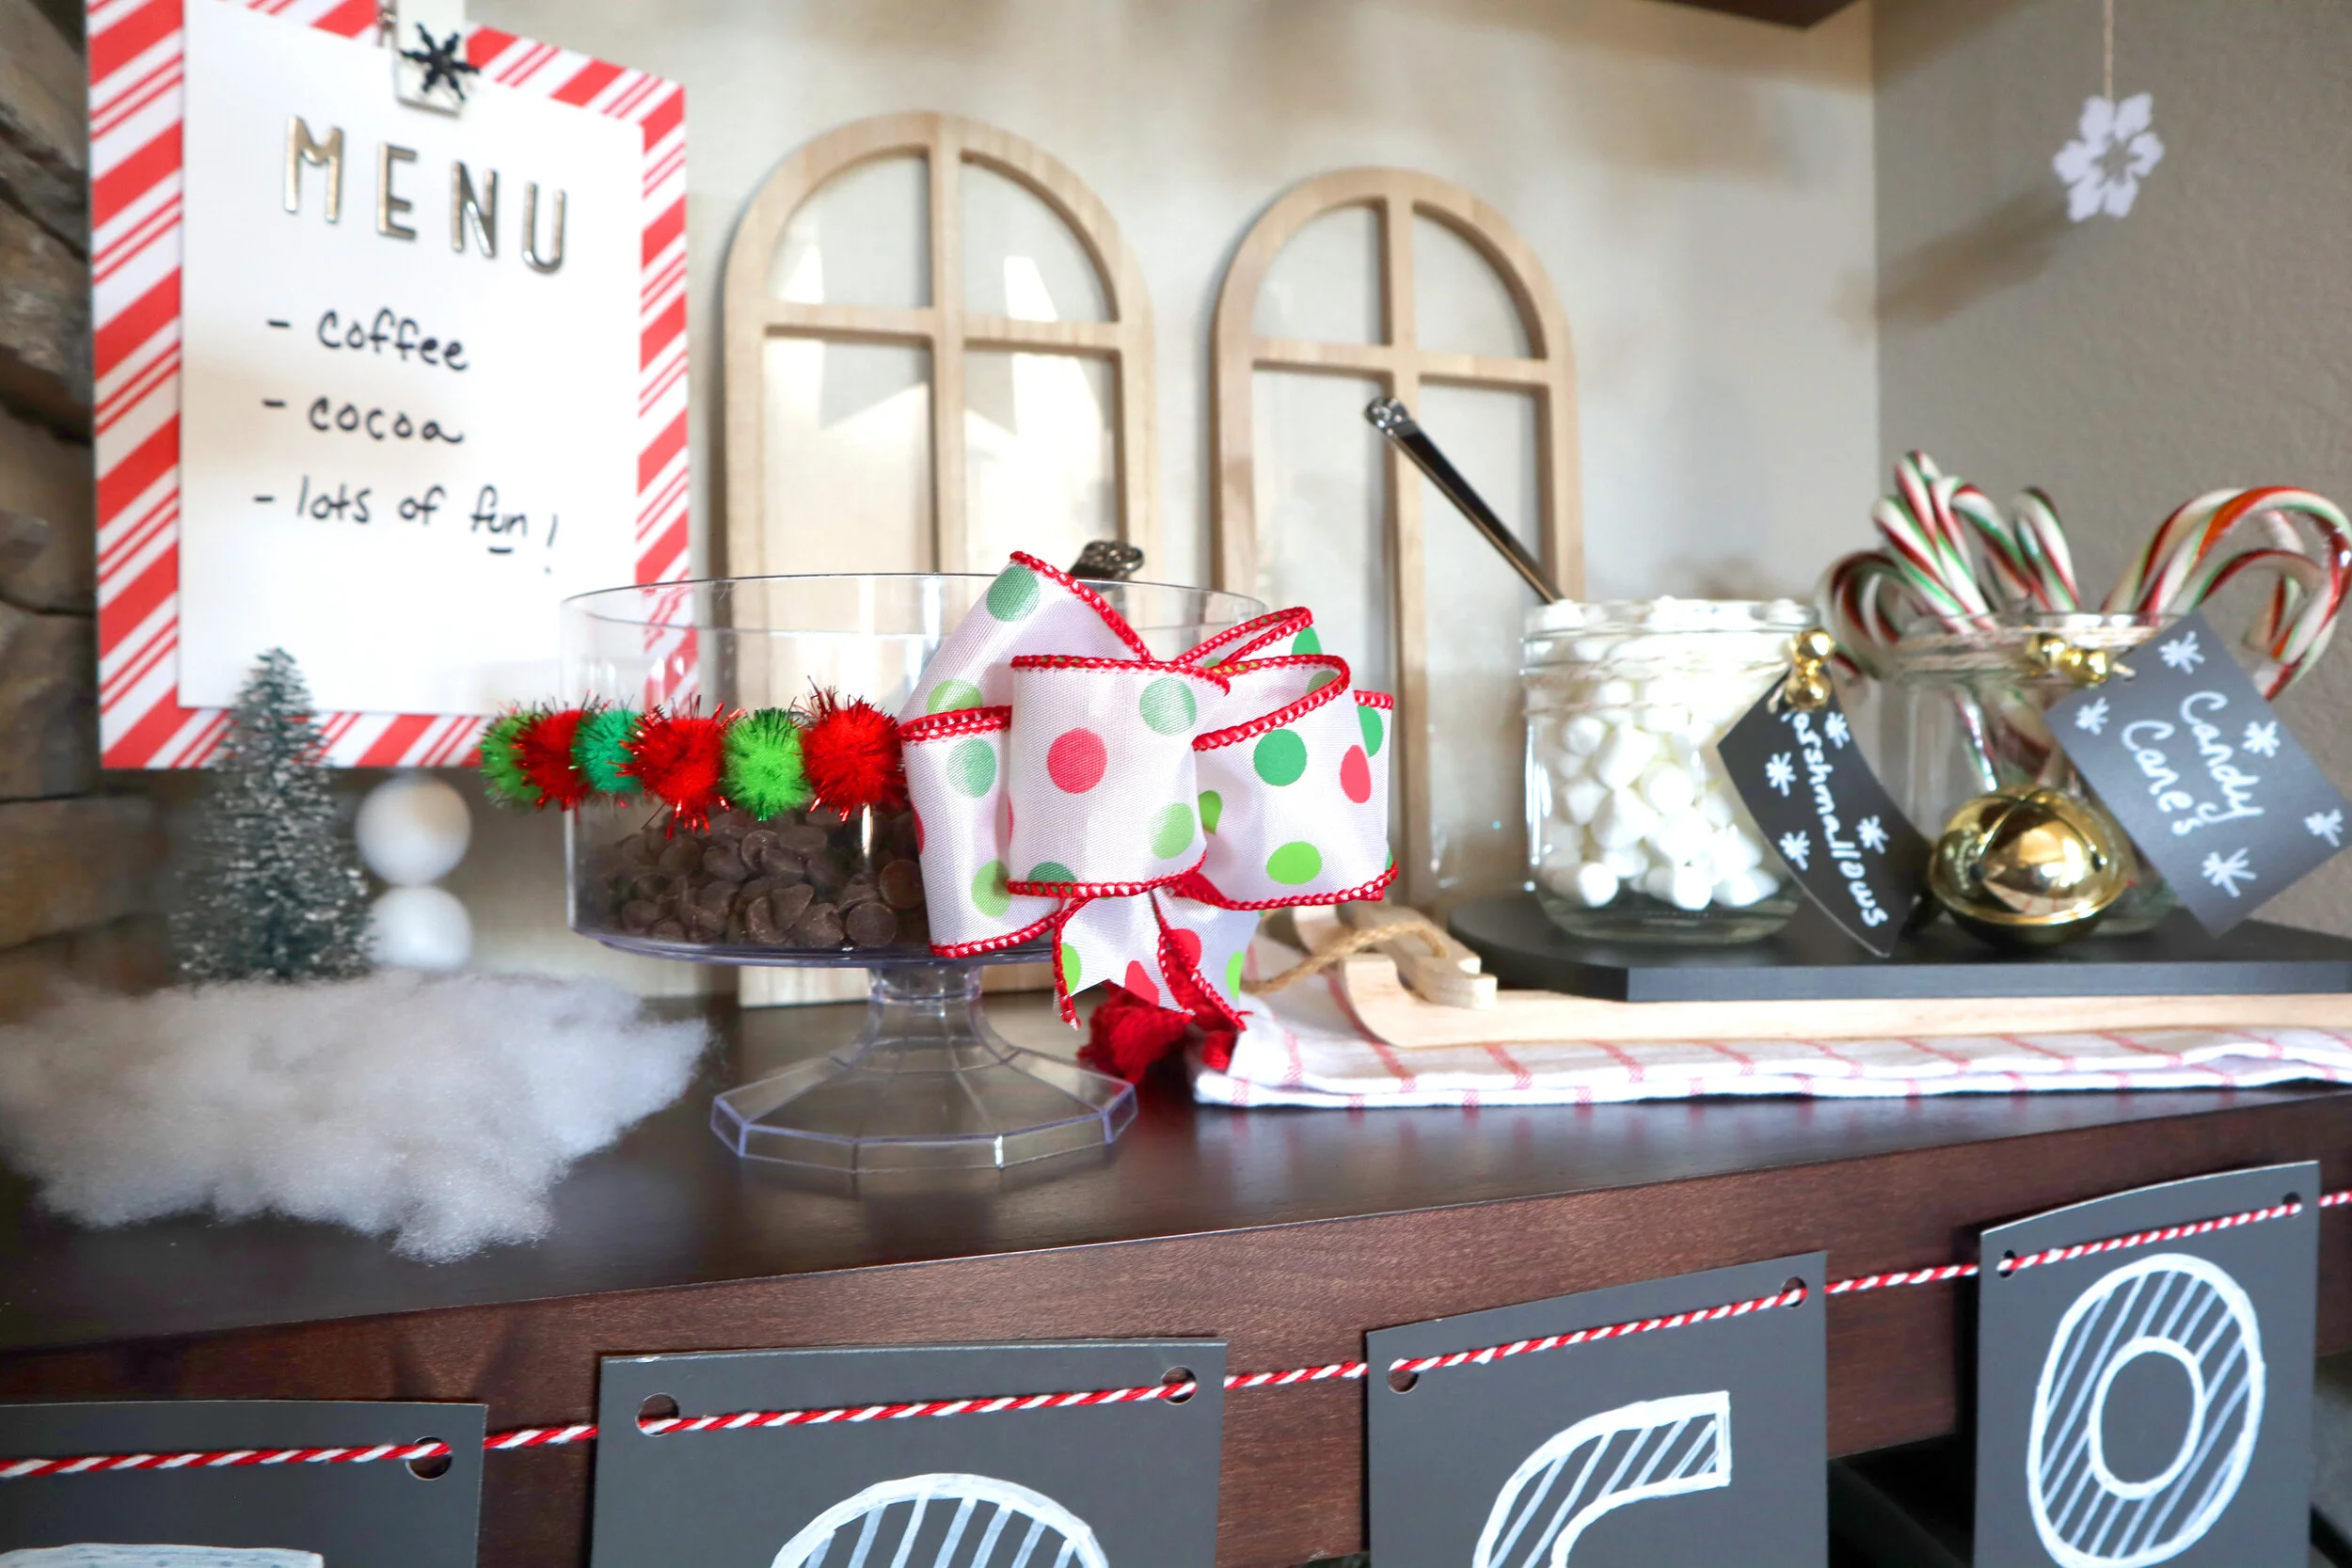
For the labels, I took a white Sharpie paint pen to write out the toppings and then attached those with some string to the jars. The jars are sitting on a little sleigh in found at the dollar spot in Target.
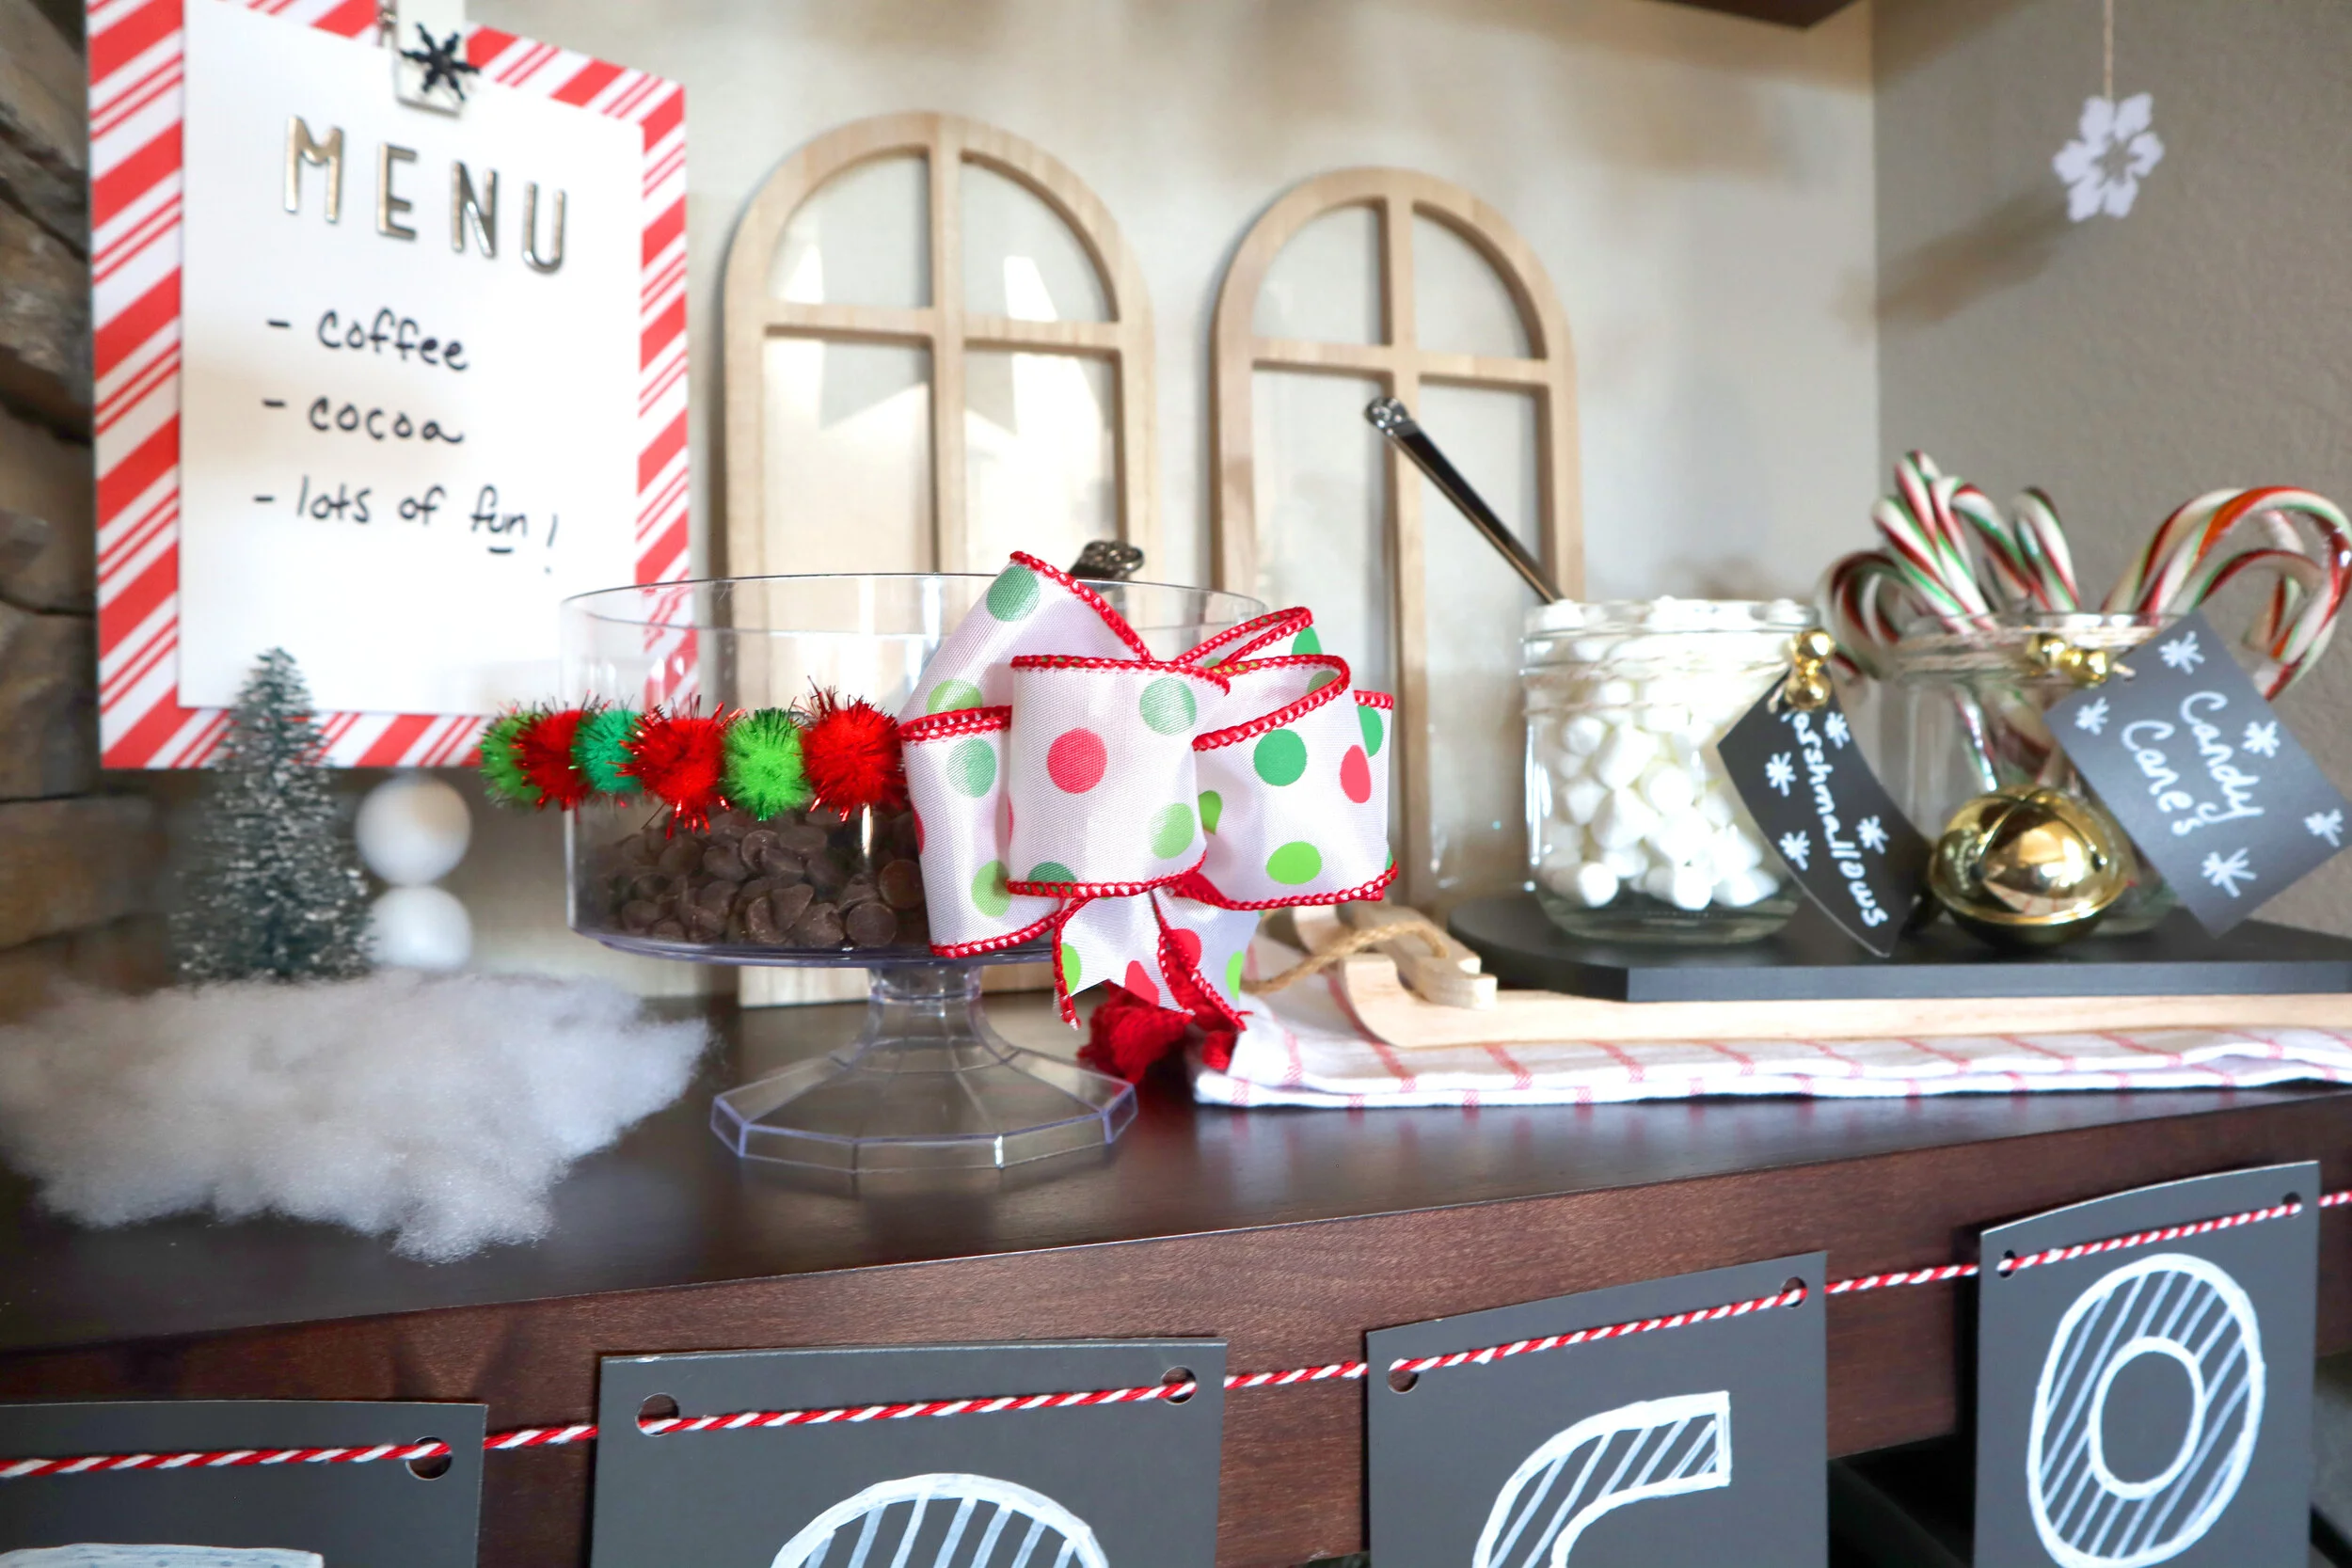
I had found the plastic trifle bowl at Dollar Tree and it is pretty cute on its own, but I made it Christmas themed by making a little bow to put on the front. Then I dug around in my never-ending stash of pom-pom’s and got all the red and green ones out. I kind of placed them around the outside just to make sure I had the right amount. Then I got to glueing! Once I added some chocolate chips (because why not make the hot cocoa even more chocolate-y?!), it looks so cute with the other decor.
Here is the menu all styled with the other items.
// KCup Christmas Tree
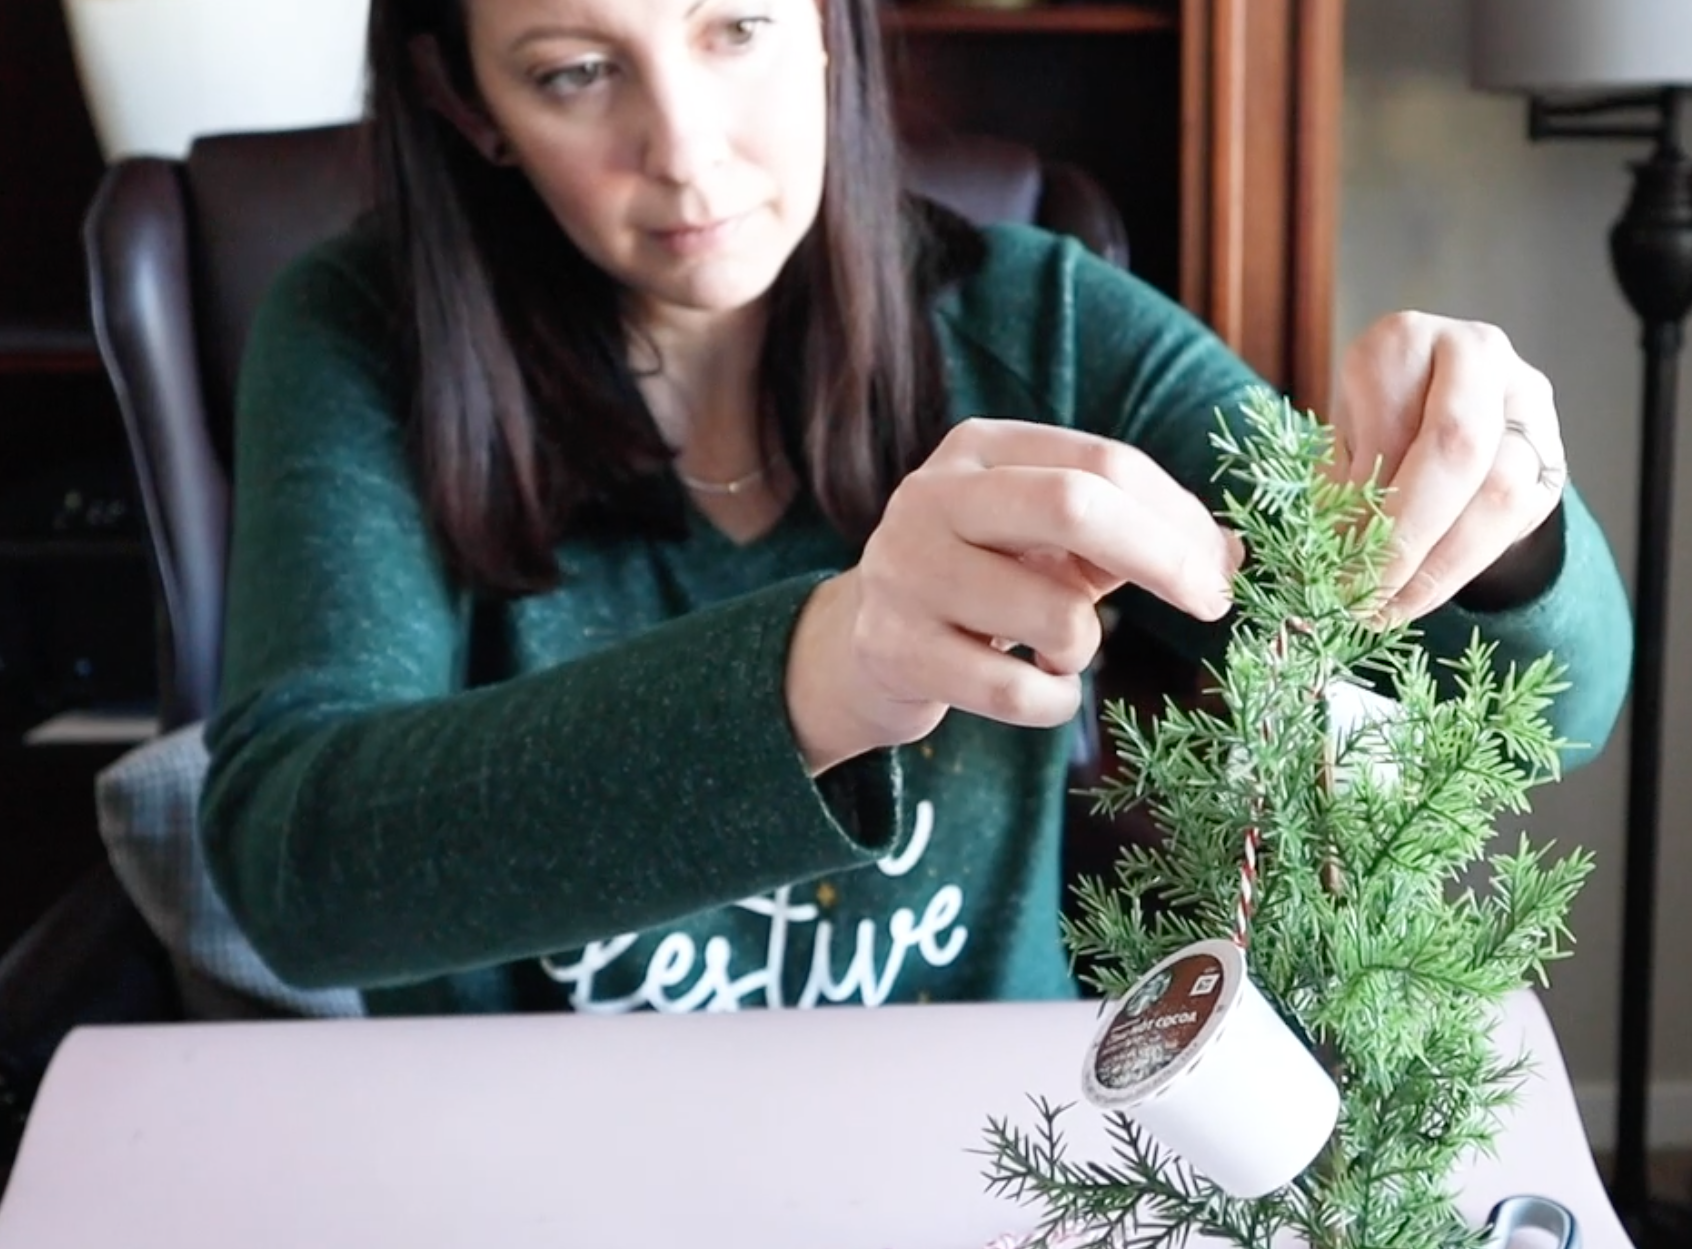
I’m using some of that red and white string to hang our Kcups on a little tree that I also got at Target.
I just tied the string around each Kcup and hung it on the tree. Your guests can pull the Kcup from the top and it will come out of the string easily. It is such a great way to make the area around the coffee machine so much more festive.
// How to Make a Mug Cozy
I’ve been wanting to make some mug cozies for awhile, so here are 2 ways to make them.
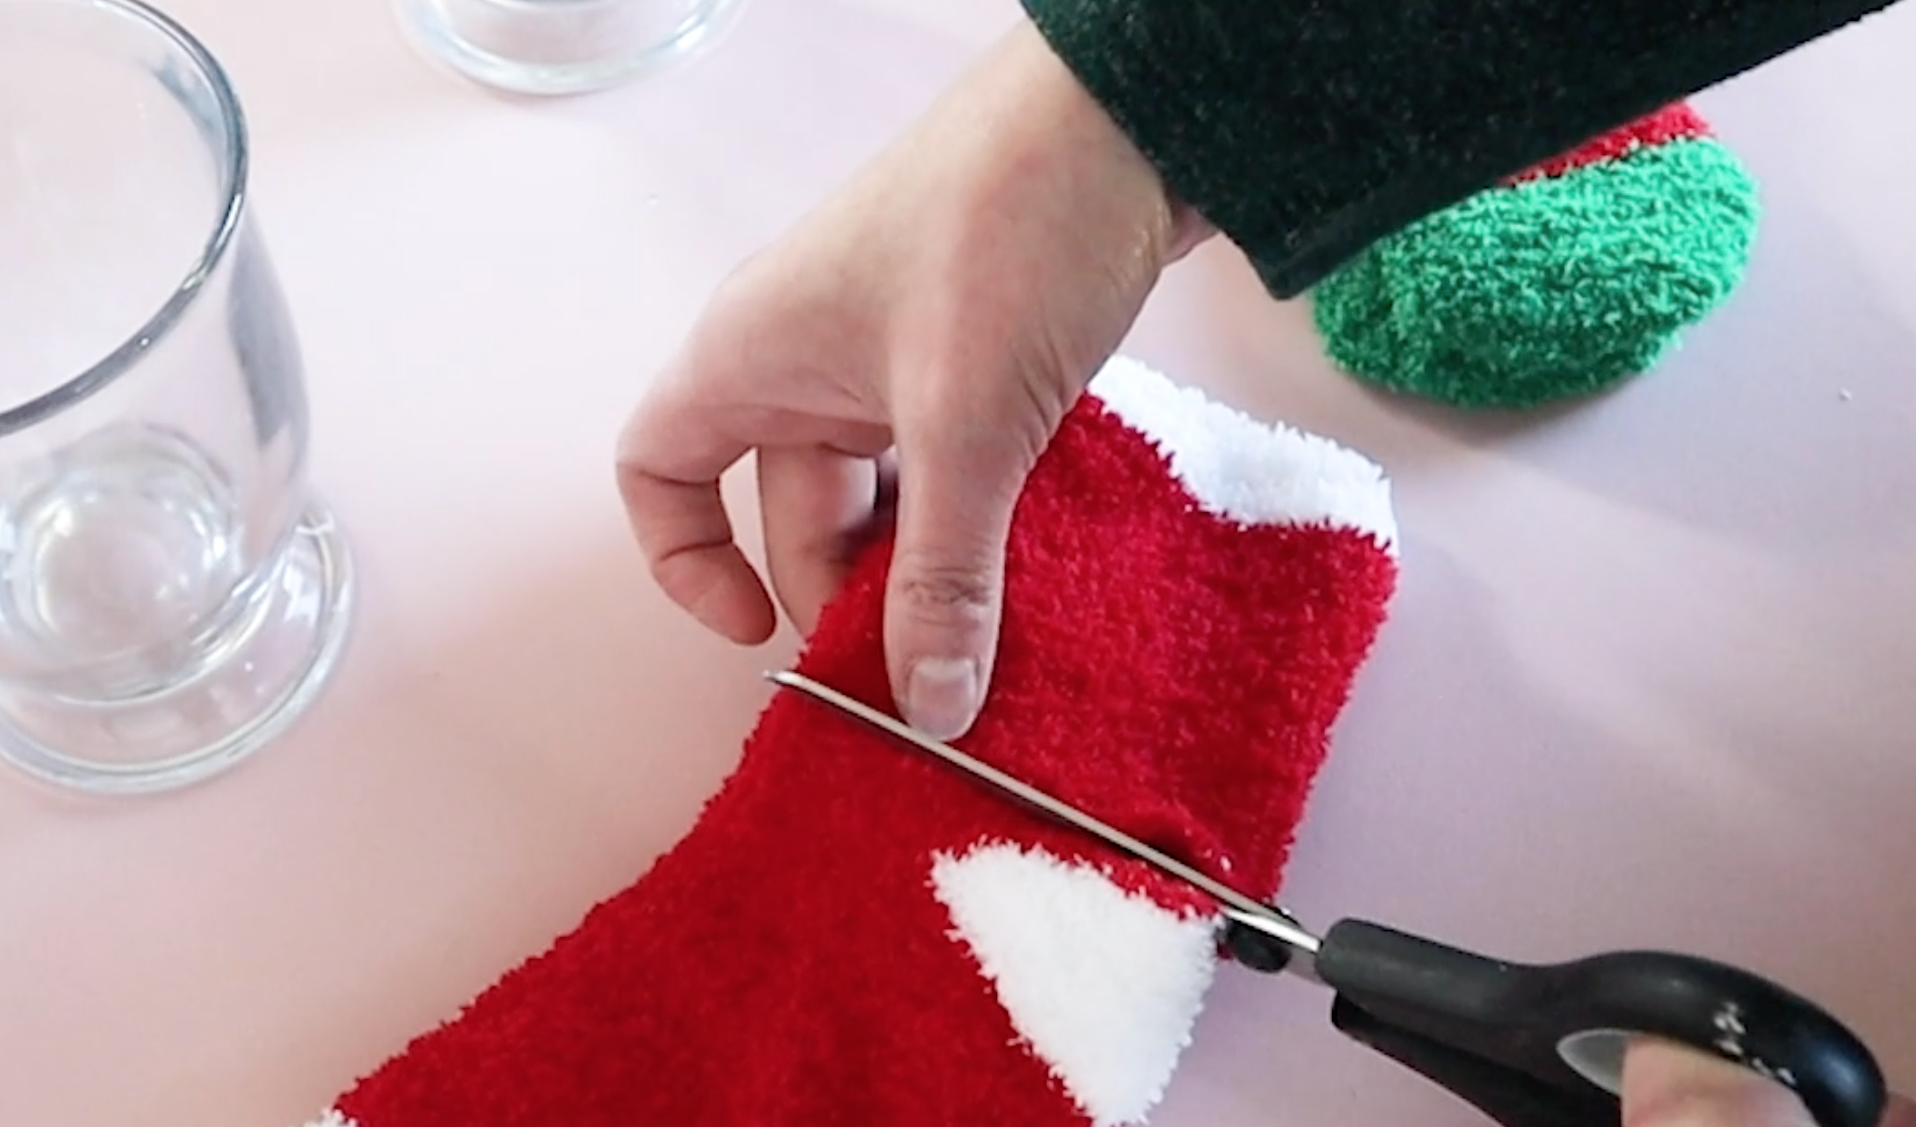
Start with some Dollar Tree Christmas socks…they had so many cute patterns this year! Measure how tall you want your cozy to be and then cut.
I wanted to close the rough edge, so I used some hot glue to do that. Cut a hole for the handle and slip it on the mug. This is so much cuter than a plain glass mug!
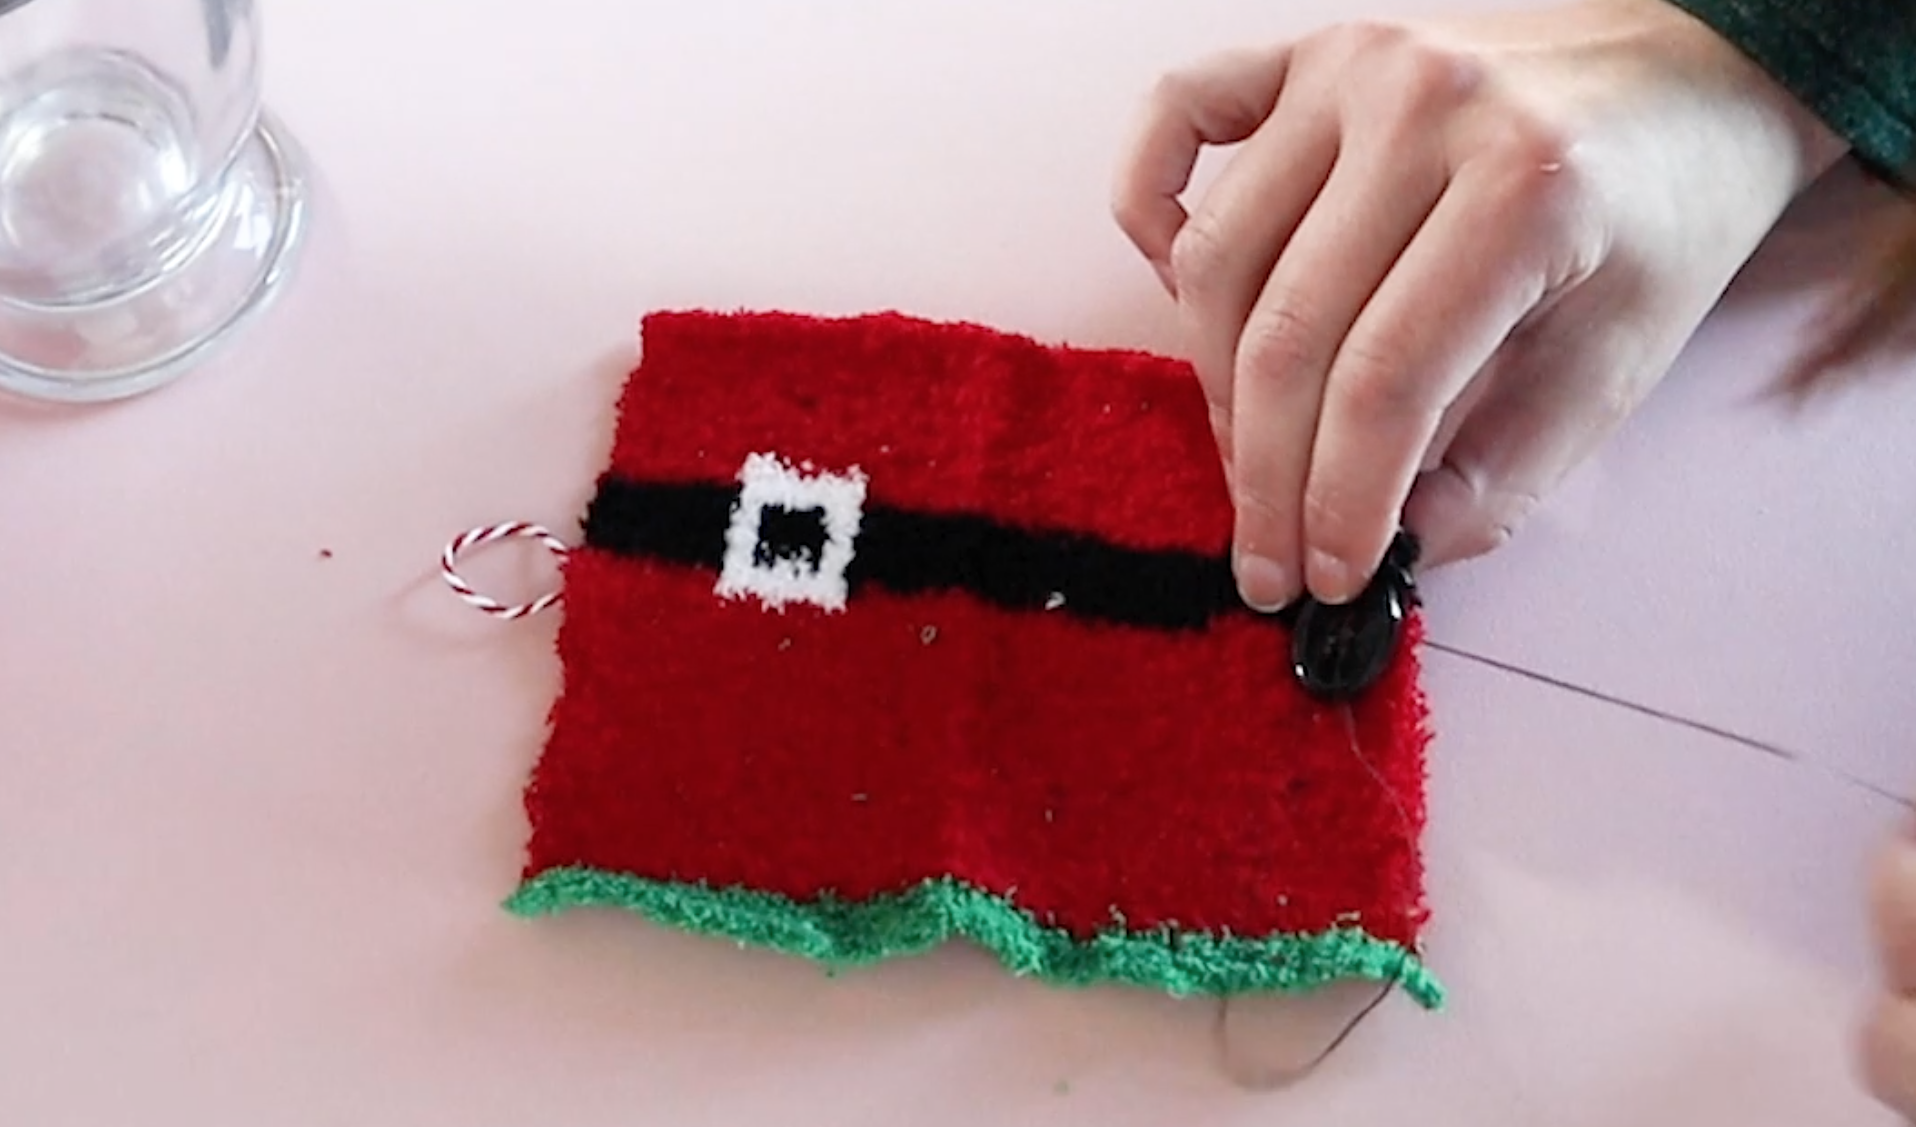
Another option would be to cut the sock in half and then attach a string on one side and a button on the other.
// Hot Cocoa Sign Bunting
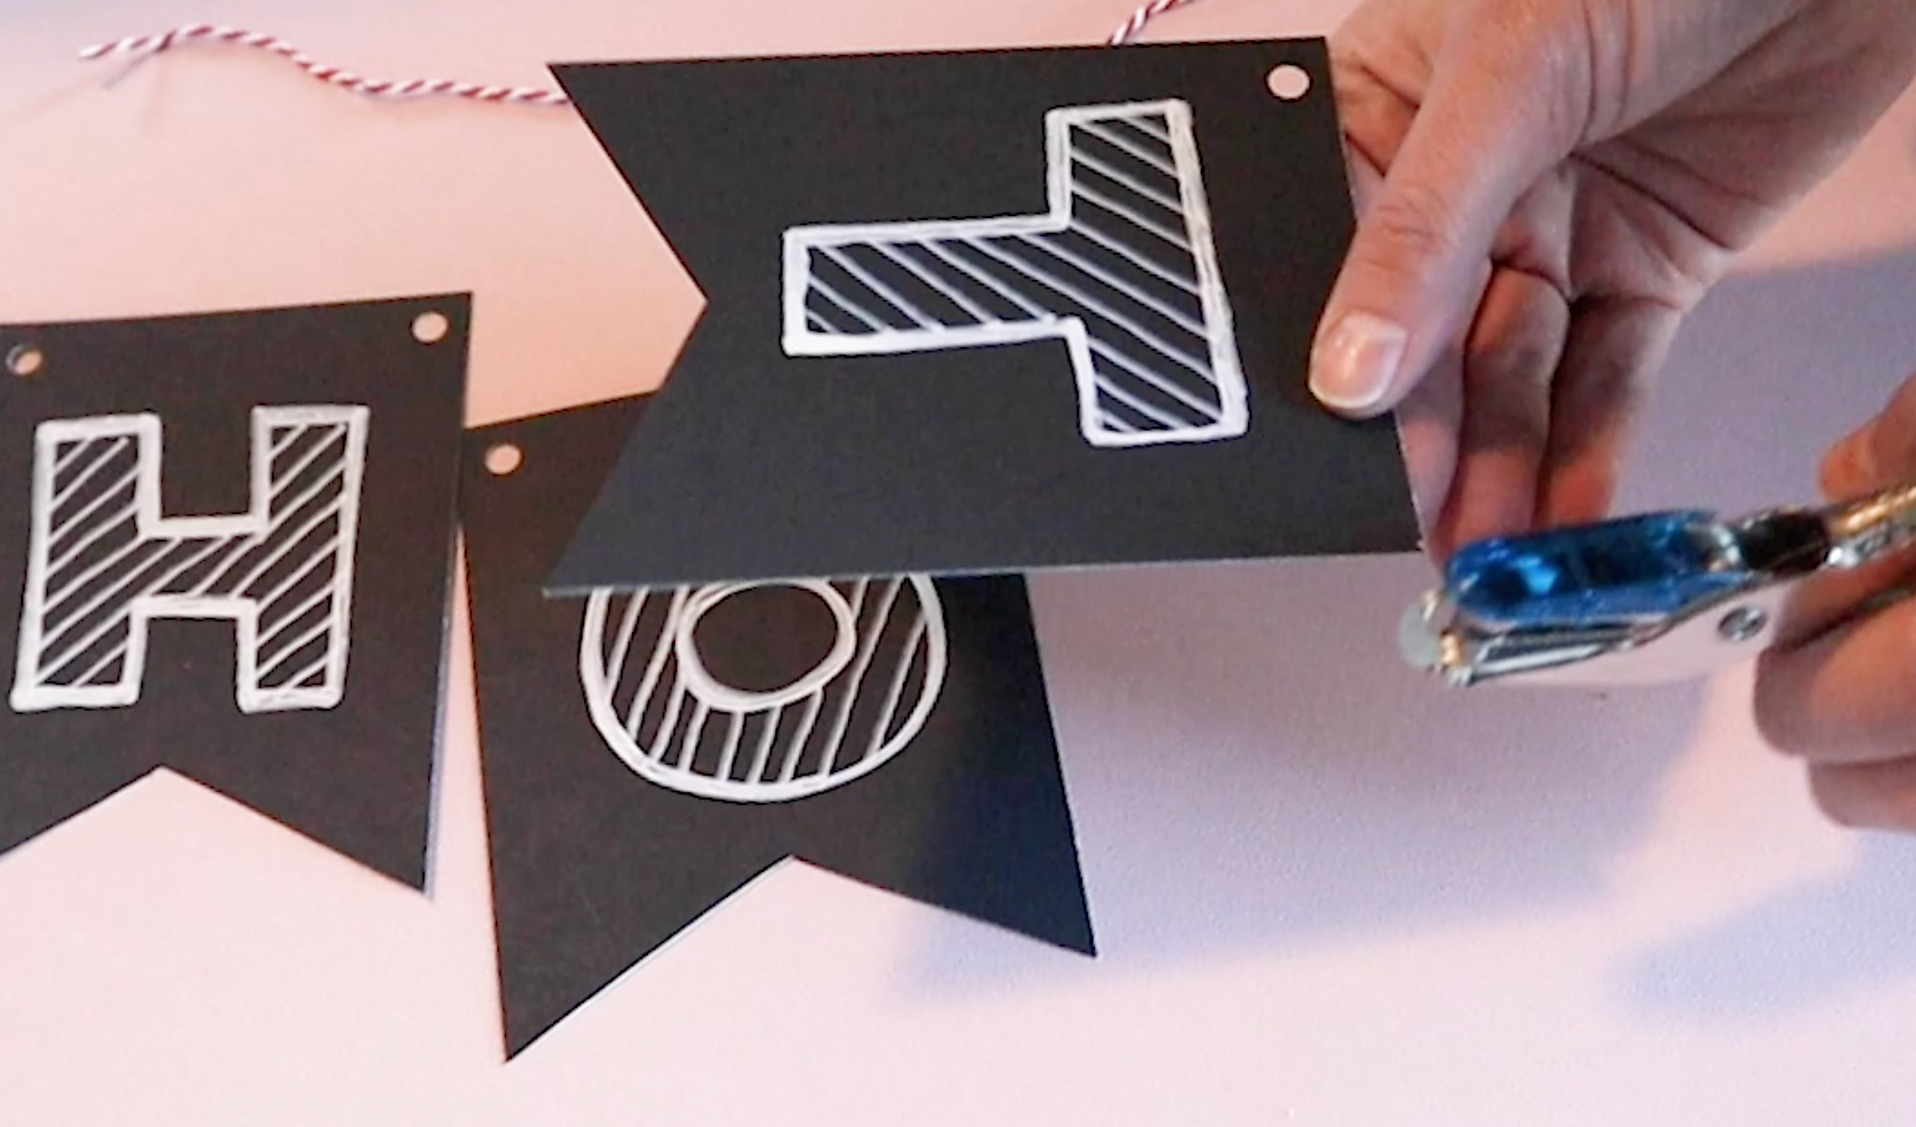
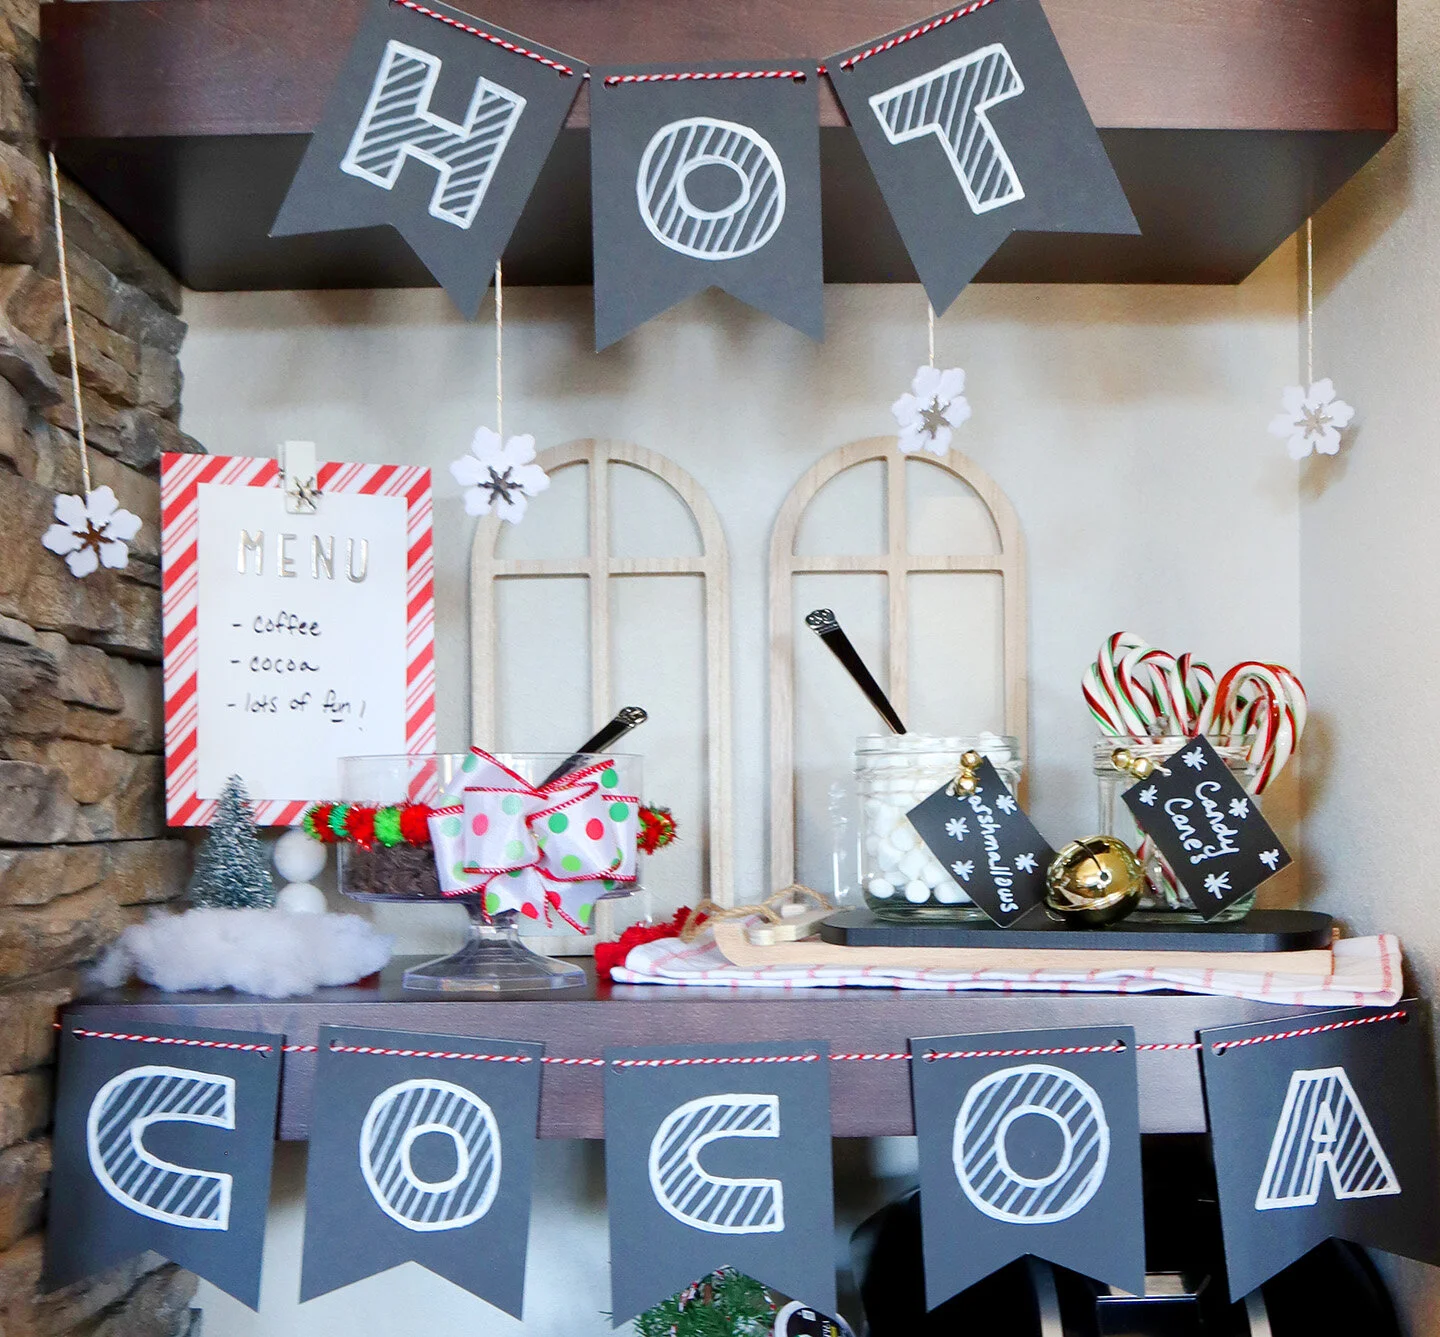
Next, we will be making some hot cocoa bunting to hang on our cocoa bar. I cut some black poster board into 8 segments and trimmed them out into little flags.
I used a white Sharpie paint pen to create some block letters and finished off the letters with a thick outline. This gives the letters a nice clean look.
After using a hole punch, I threaded some leftover string through the signs. We will be attaching these to our cocoa bar with some clear scotch tape.
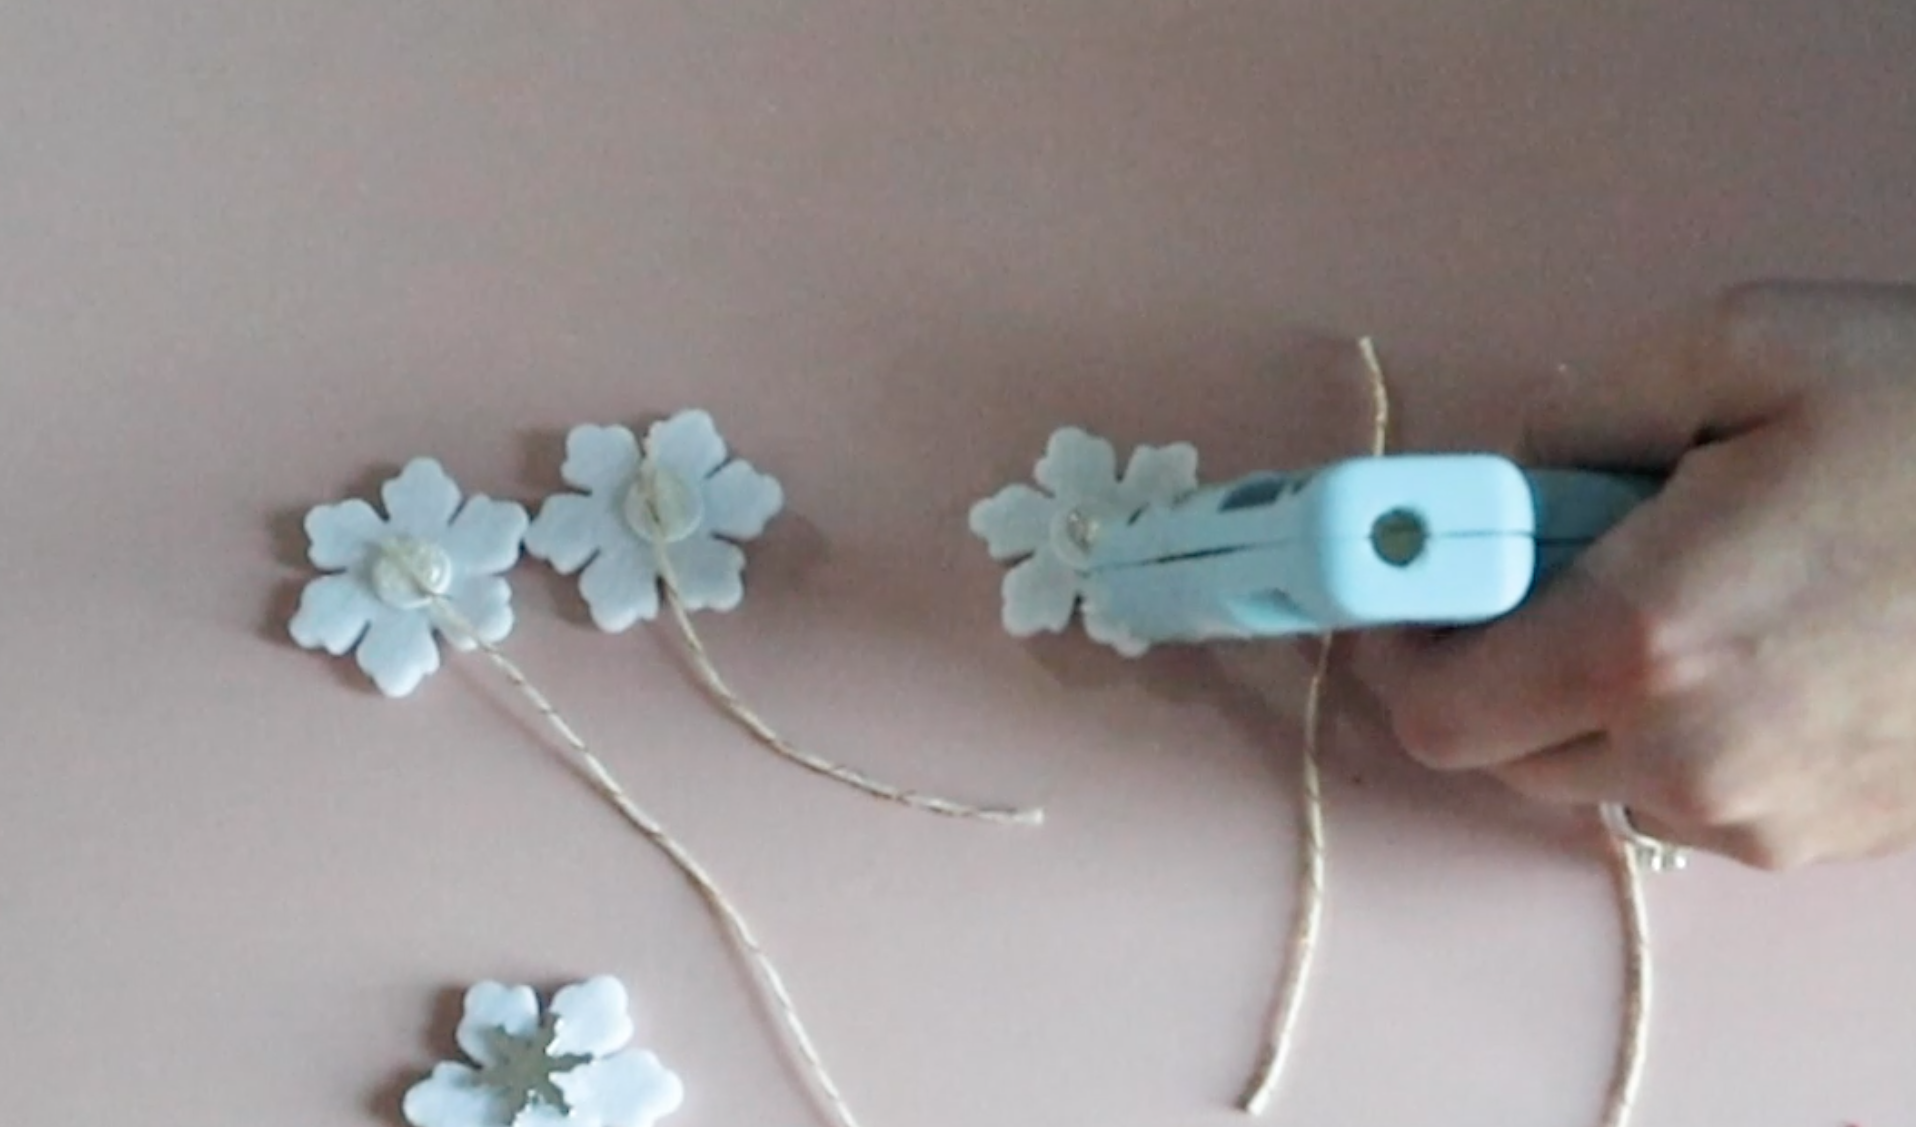
I also thought it would be cute to take these Dollar Tree snowflakes and add some string to the back and maybe hang a few in the hot cocoa bar area.
// Simple Christmas Floral Arrangement
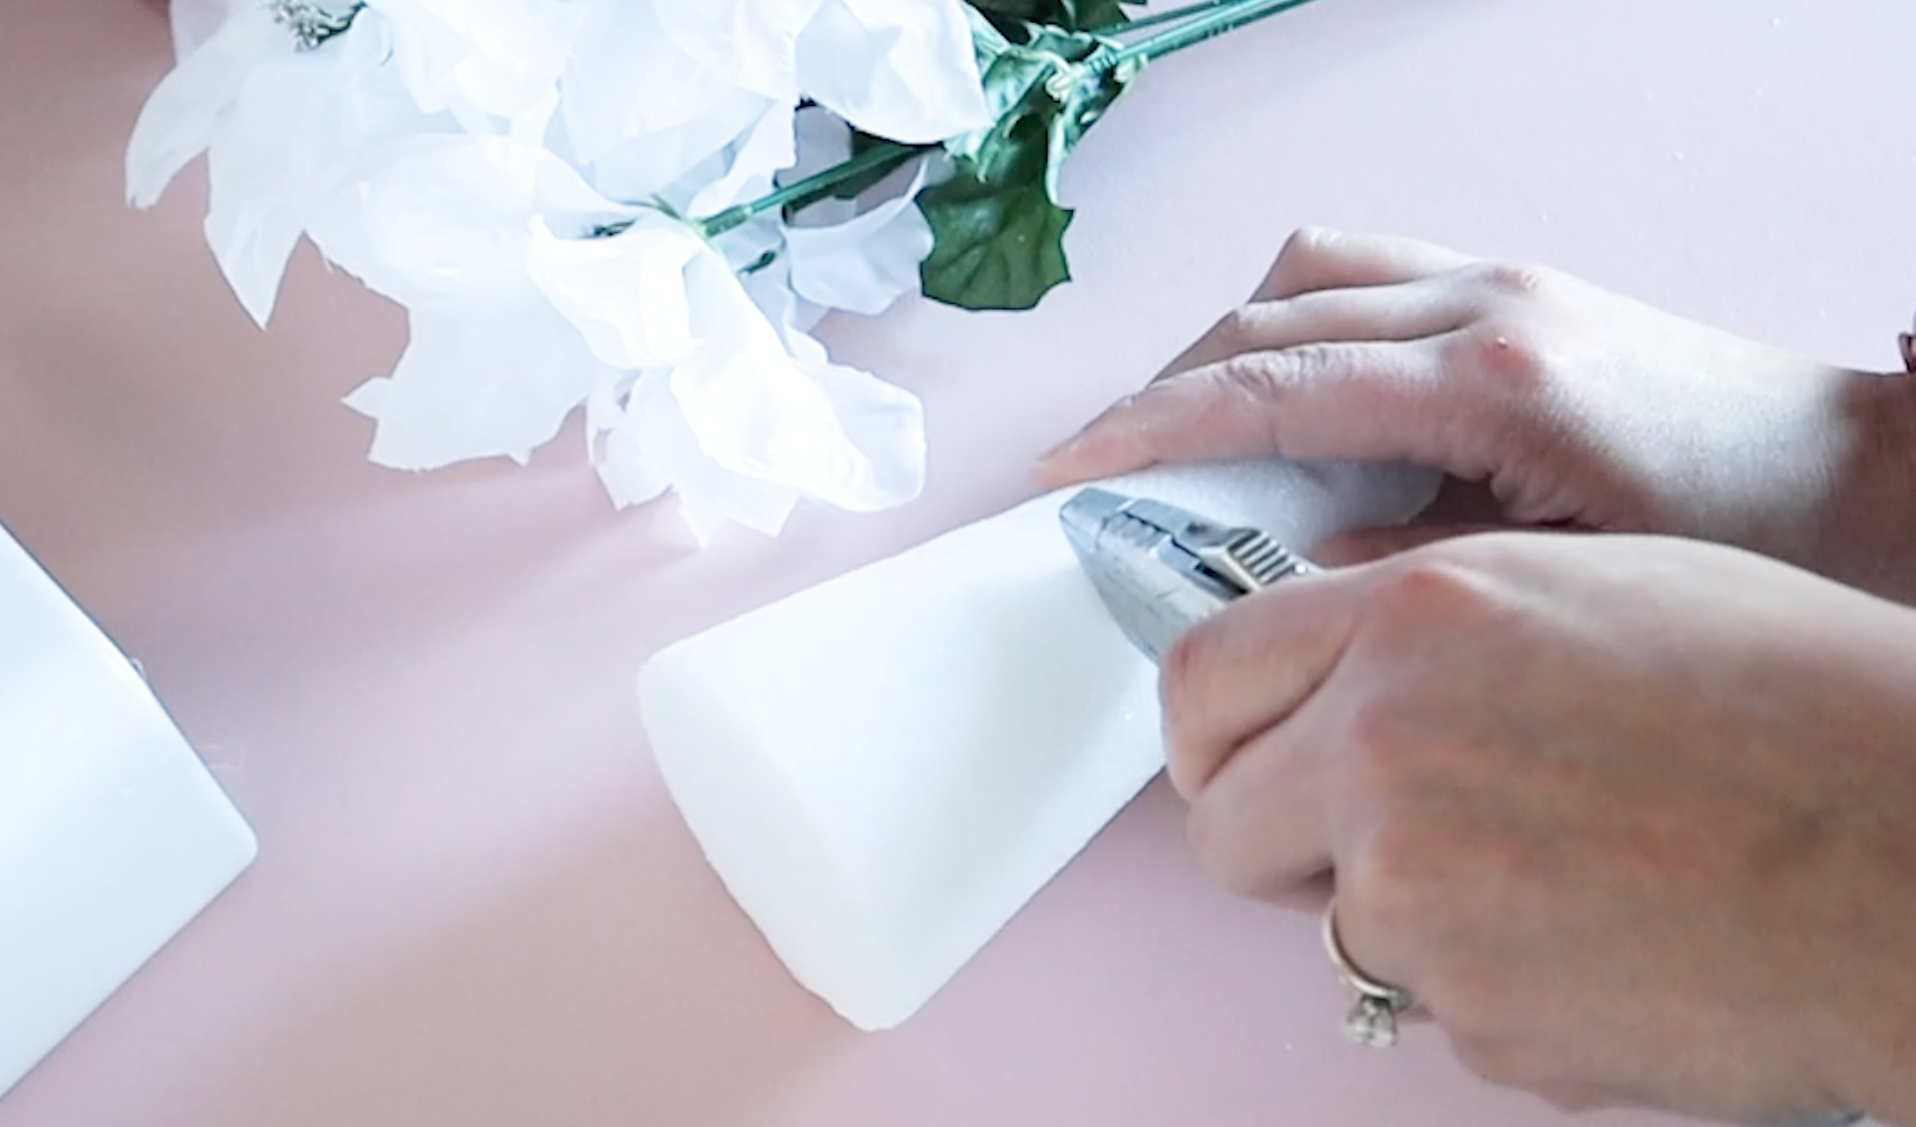
I had a leftover jar that I had painted white and I used some styrofoam inside to hold a few poinsettias and berries.
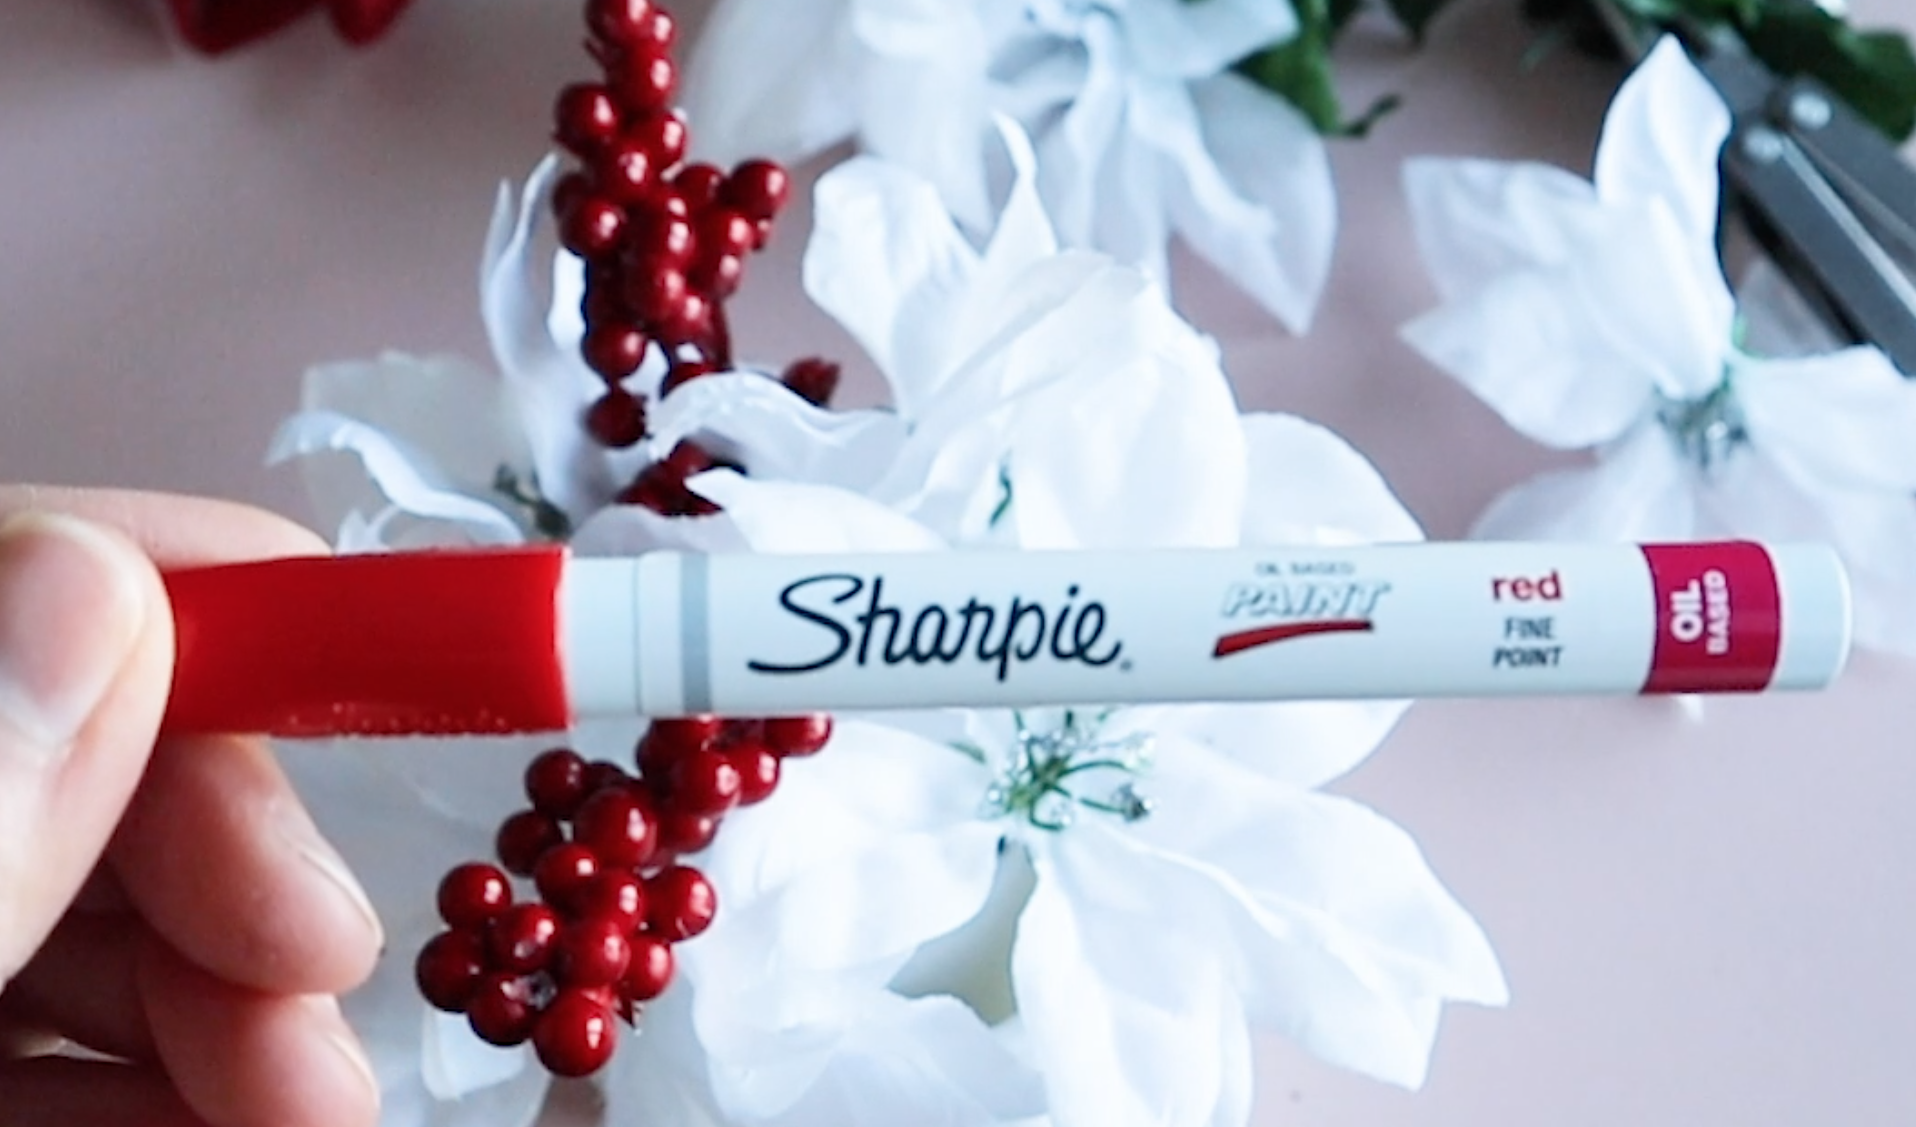
If your berries ever get scratches and show the white foam underneath, you can use a red Sharpie paint pen to cover up the scratch.
// How to Make a Hot Cocoa Bar
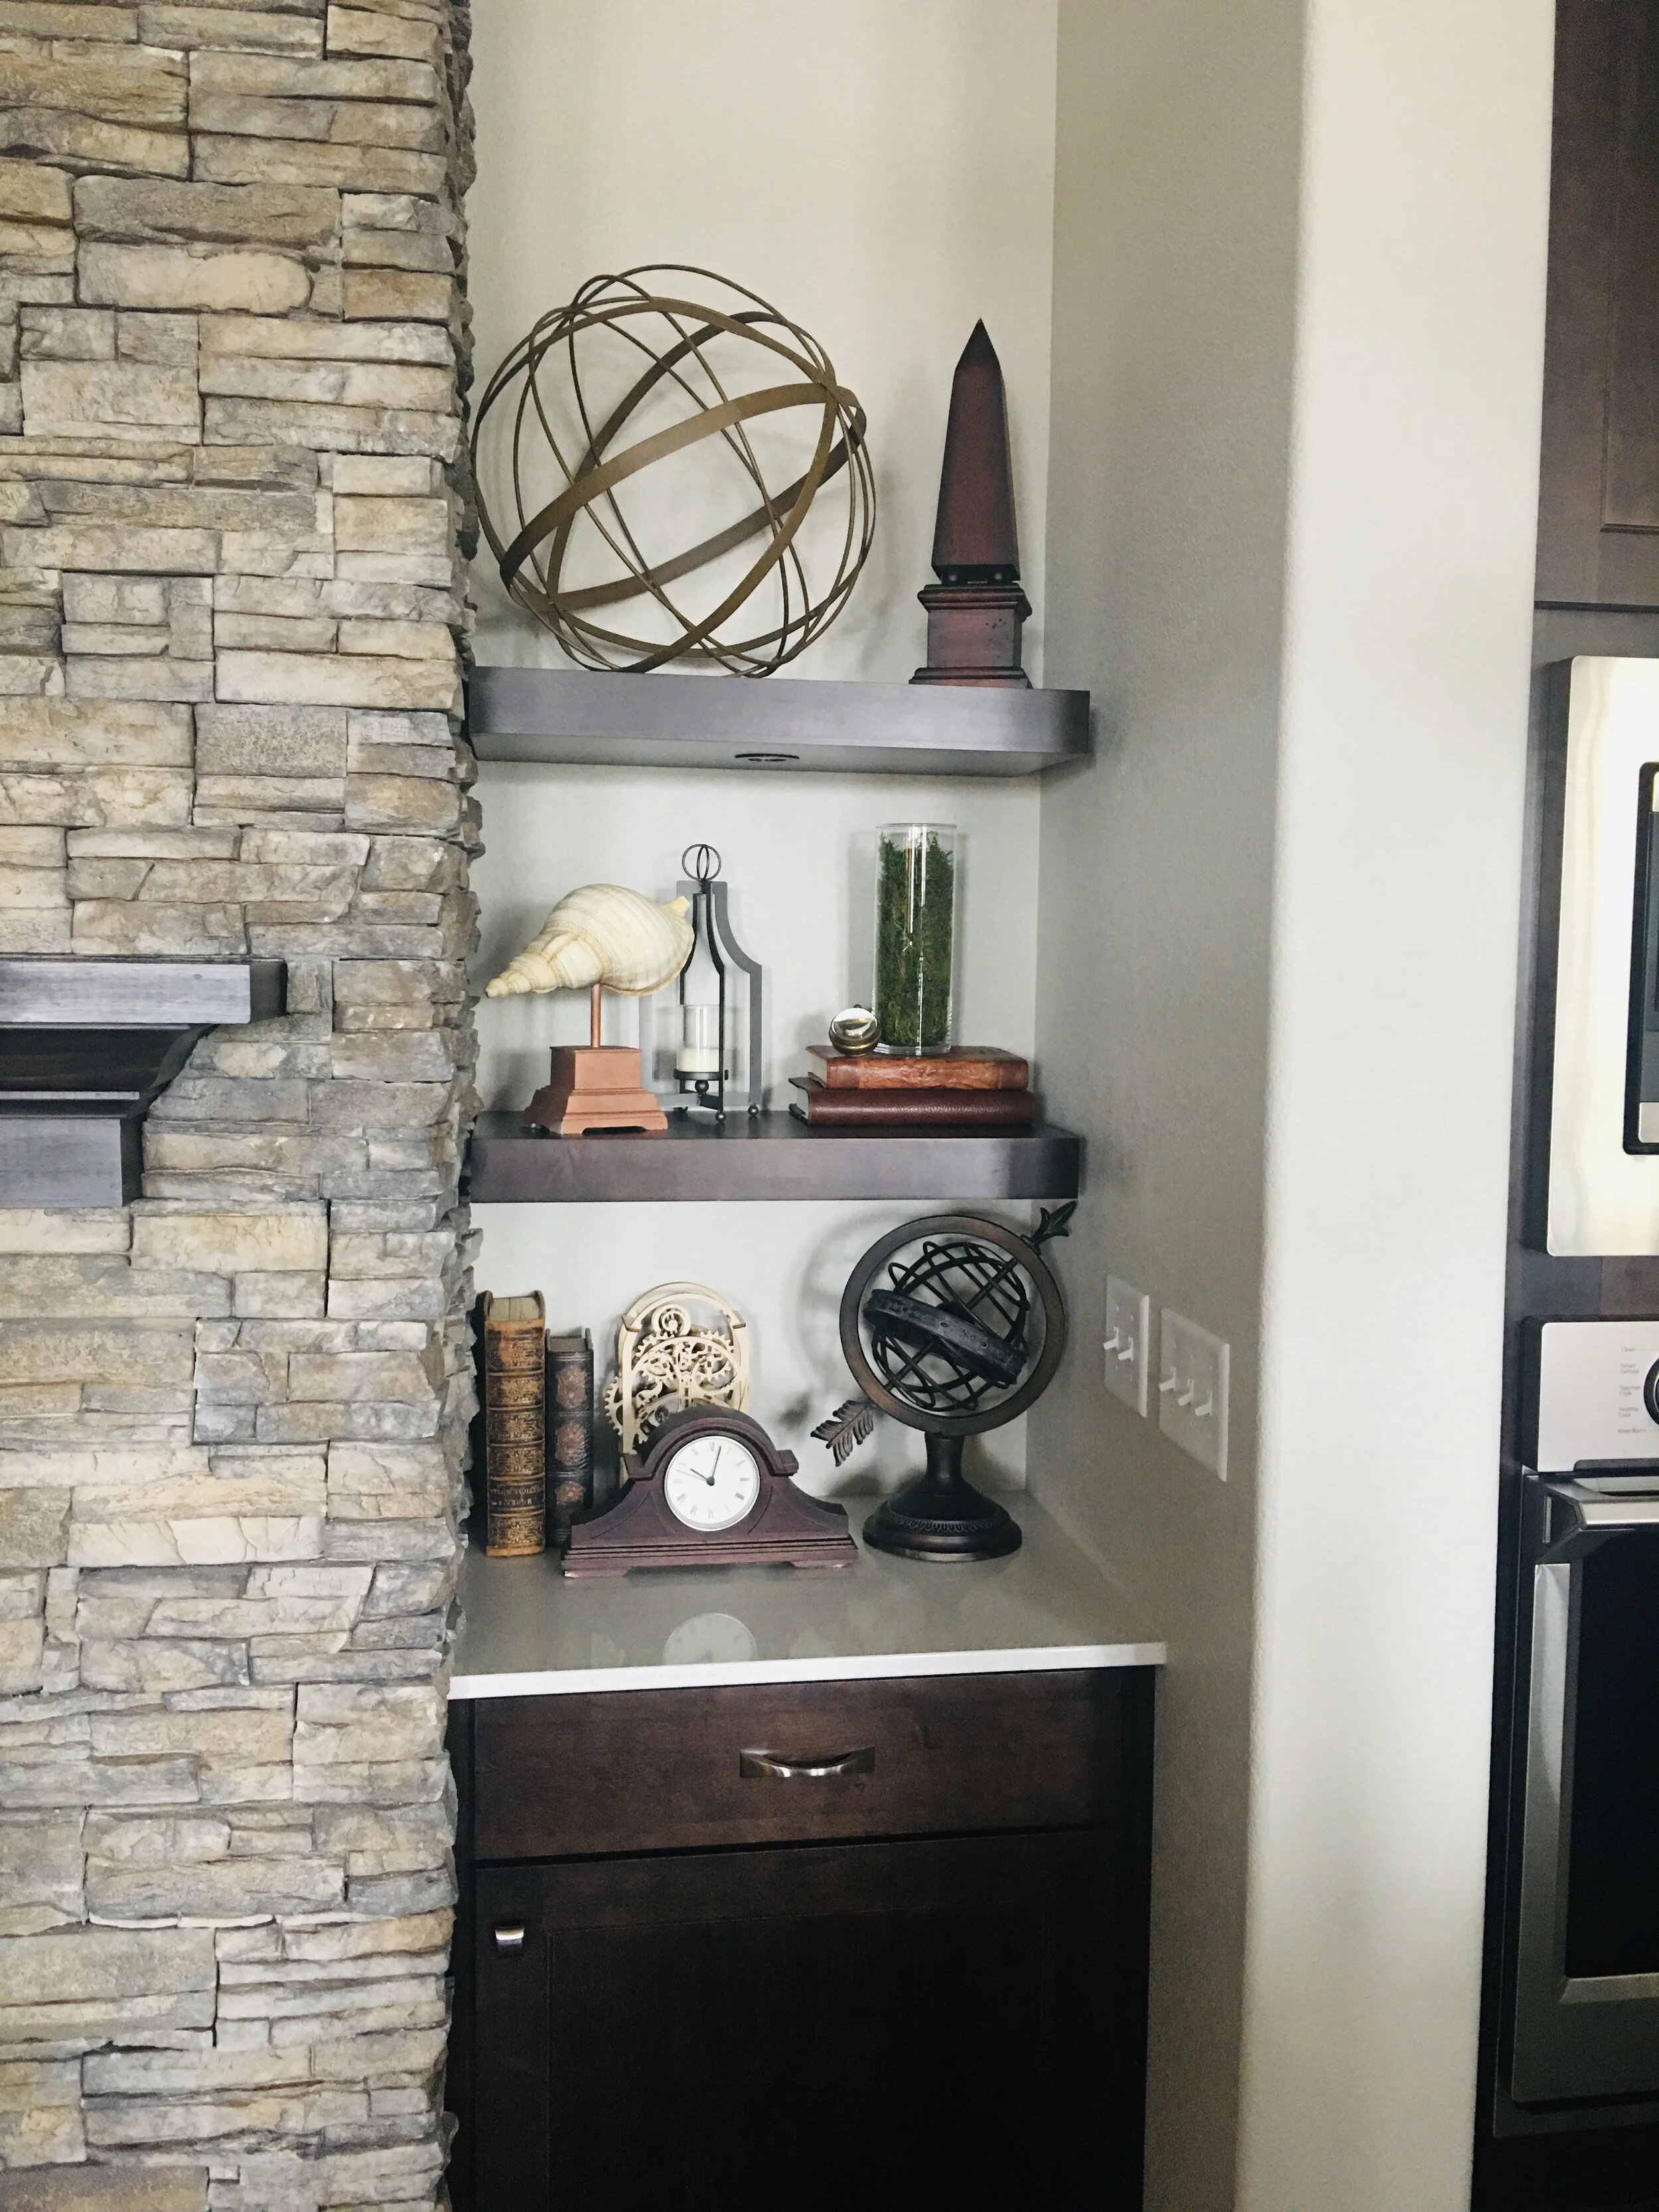
I have this 3 shelf space kind of in between the living room and kitchen. But if you don’t have shelves like this, you could place this all horizontally on a kitchen island. Or another idea is using a kitchen cabinet that you have all decorated up for the hot cocoa bar and just open it in the morning during hot cocoa time and then close it up for the rest of the day.
It also makes such a cute setup with all the little details and fun Christmas accents. I’m looking forward to keeping this up all season long. It really brings in some Christmas cheer to some otherwise plain bookshelves.
FTC: Not Sponsored. All opinions are always 100% honest and my own. Some links may be affiliate links. If you click a link and buy something, I receive a small commission for the sale. It doesn’t cost you anything extra and you are free to use the link or not as you choose. If you do use my links, I appreciate your support.













How about some Target Dollar Spot crafts and Dollar Tree coastal transformations. We’ll be putting together tiered tray miniatures to decorate our little coastal vignette.