No Cricut? No Problem! | SPRING Sign Ideas
Don’t own a Cricut? No problem! Today I’m sharing how to incorporate typography into 3 Spring sign ideas, even if you don’t have a paper cutting machine. These are some super cute craft ideas for Spring and they’re made with Dollar Tree finds, so they’re budget friendly too!
I made a video tutorial for all of these crafts right here, in case you want to watch rather than read. But I do have some FREE printables for these projects, so keep scrolling to download those!
// Dollar Tree Cutting Board DIY
For this first Spring sign, we’ll be using this satin grey spray paint on a Dollar Tree cutting board.
Now, I don’t have a Cricut paper cutting machine. They are so popular right now, but I haven’t wanted to spend the money, so I have found different ways to work typography into my crafts.
I designed this little sign and trimmed the sign out so it would fit on the center of the cutting board. You can download it below.
I’ve been loving the Dollar Tree mop heads as trim for some of my projects. I pulled out a few pieces and then hot glued these to add some decoration but they also doubled as a way to hide the edge of the paper.
I wrapped the rope around the edge and to the back, so the rope wouldn’t have a harsh stop on the edge of the cutting board.
I got this greenery on Amazon, but you can find very similar greenery at Dollar Tree. I used some Dollar Tree floral wire to wrap a few pieces together.
I’m usually really decisive, like about everything, but for whatever reason this bow had me stumped. I could not decide if I wanted a little satin bow or a bow that matched the white rope or some kind of flower.
Let me know in the comments below which of these you like the best. I ended up going with a trio of rose buds and think it looks pretty nice, but I’m curious what your favorite is.


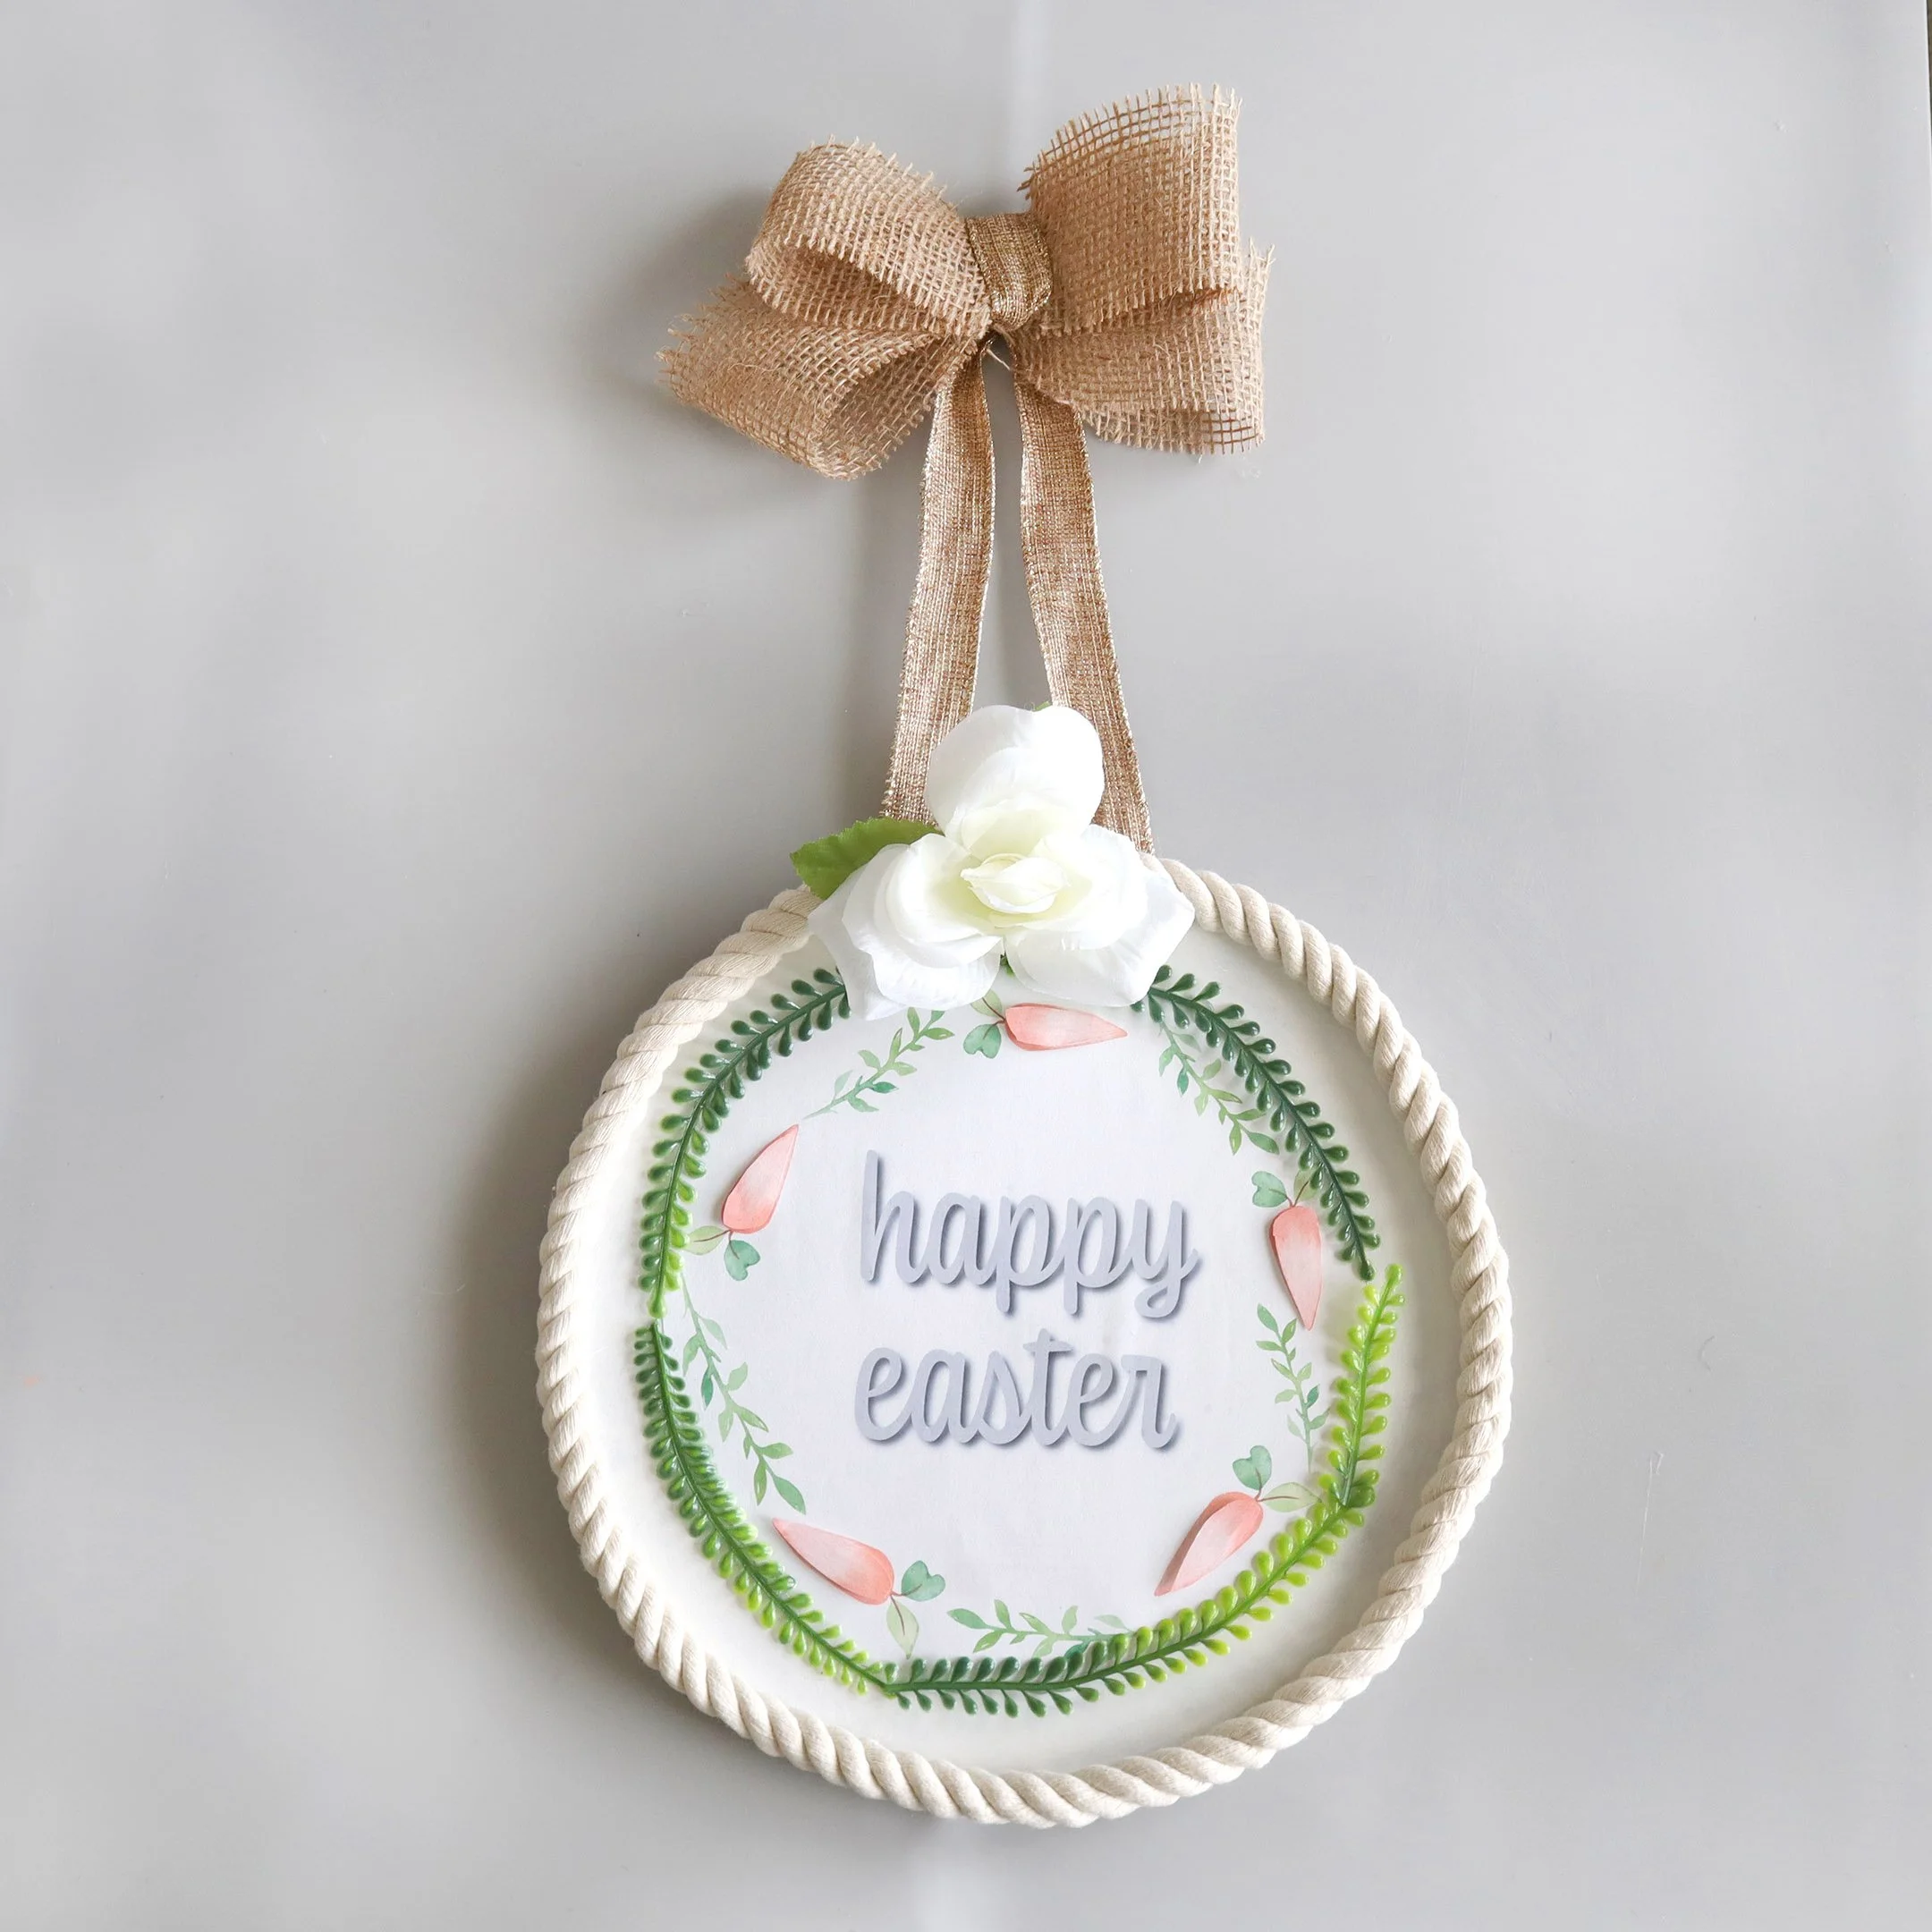
And here is the final look! I’m so happy with how this one came out.
Here are the items I picked up for this project. I’m not including things like paint or paintbrushes or glue, because if you are a crafter you probably already have those things in your craft stash.
// Dollar Tree Silver Tray DIY
I found this pretty silver tray at Dollar Tree in the party section. I was so impressed with the quality I came home and showed it off to my husband. I was like, “Look! It’s metal! A nice metal tray for only $1!” Slightly embarrassed at how excited I was, but as nice as this tray already is, we’re going to give it a fresh look with some Dollar Tree contact paper and a coat of matte spray paint.
I didn’t worry about getting the center perfectly painted because I knew I’d be covering that up with some contact paper.
I love how contact paper has the lines on the back – it makes it so much easier to measure and cut.
I used my nails to mark where the edge was and then trimmed up the contact paper.
I rounded the edges at the end. I wasn’t sure how well the contact paper would stick to this surface and was ready to use some Super 77, if needed. But it ended up being really sticky. But I was still able to peel up a few areas where I needed to fix an air bubble or two.
I added some greenery and a large flower in the center.
Then I pulled out my drawer of letter stickers. Letter stickers like these are another great way to add some words to your signs, if you don’t have a Cricut paper cutter. I would love a Cricut some day but haven’t wanted to spend the money on one. Some day I’ll get one and come at you with a bunch of Cricut tutorials. But for now, I am sharing some alternatives.
I decided to go with the silver letter stickers to write out the word “Spring”.
Here’s the final look!
This one was so cheap to make and looks so elegant and cheerful!
// Dollar Tree Pie Pan Sign
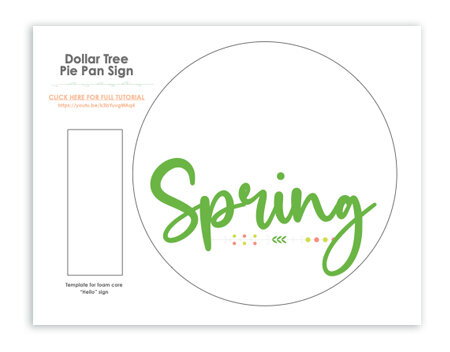
For the next sign we are using a Dollar Tree pan. I measured the base of the pan because I am going to make a sign that we’ll be glueing down in the middle. This pan will need a round 7¼” diameter sign.
I had already painted this white, but there were a couple little smudges on there. I’m not going to worry about those though, because we’ll be doing something around the border to hide the edges and make it not look so pan-like.
I did do a little sanding along the edges just to give it a tiny bit of texture. I usually go really light on the distressing.
Here’s the sign I made and a free printable in case you want to make this yourself! The download also includes the printable from the first craft above.
I want to create a little sign above the word “Spring”, so I measured how big that would be and then printed out the rectangle at the correct size.
I placed that template over some Dollar Tree foam core and trimmed it out.
When you’re trimming foam core, make sure to put the blade a little further out before you start slicing. It kind of gives you a running start and prevents the corners from getting bent.
Another tip is to make sure you have a fresh blade, this is especially important when you are working with foam core and will prevent those ragged edges.
Next, I stuck some contact paper onto the piece of foam core. I wrapped it around the edges like a little present, so it would look finished on all sides.
Then I added some of those silver letter stickers.
Next, I cut out the printable I made. If you’re going for a smooth cut around something, like this big circle, you will want to take as long of cuts as possible. I try to keep my scissors in the same position and take long smooth cuts. This will help the circle not look jagged.
I took the round printable and the small foam sign to the garage and used my Super 77 to stick them down.
I used some of that mop head to finish off the edges of the pan. And then added a few florals.
Here is the final look!
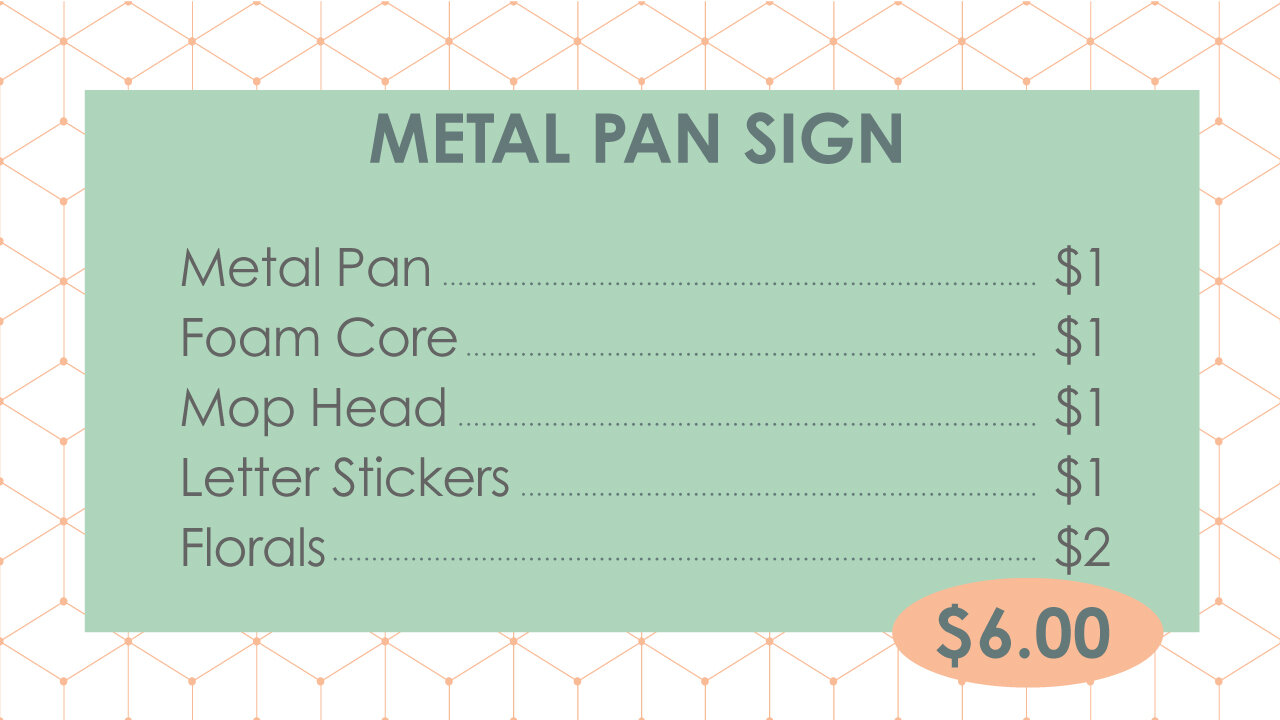
And here were the prices for this Spring sign made out of a Dollar Tree pan.
I hope you were inspired to make one or more of these Spring signs. If you enjoyed these DIYs, please consider subscribing to my mailing list, so you’ll know when I have posted new creative inspiration.
subscribe here
FTC: Not Sponsored. All opinions are always 100% honest and my own. Some links may be affiliate links. If you click a link and buy something, I receive a small commission for the sale. It doesn’t cost you anything extra and you are free to use the link or not as you choose. If you do use my links, I appreciate your support.








How about some Target Dollar Spot crafts and Dollar Tree coastal transformations. We’ll be putting together tiered tray miniatures to decorate our little coastal vignette.