80s Back to School Crafts | More Dollar Tree DIYs!
Who remembers the 80s? I remember going back to school and getting to pick out all those school supplies with the bright colors and fun, geometric patterns.
Today we’re going to step back in time and do some 80s revival Dollar Tree crafts that will cheer up your home office or homeschool set up.
You know I can’t get enough of the Dollar Tree DIYs and if you’re here, you are probably as obsessed with Dollar Tree as I am!
I did a video below, and make sure to subscribe to my YouTube channel, if you like home DIYs!
SUBSCRIBE TO MY CHANNEL HERE
**There are also some goodies in this post. I have a printable for the sign and some desktop and phone wallpapers as a FREE DOWNLOAD! Yes, I love you that much! Scroll down to find the download form.
// Desktop Organizer
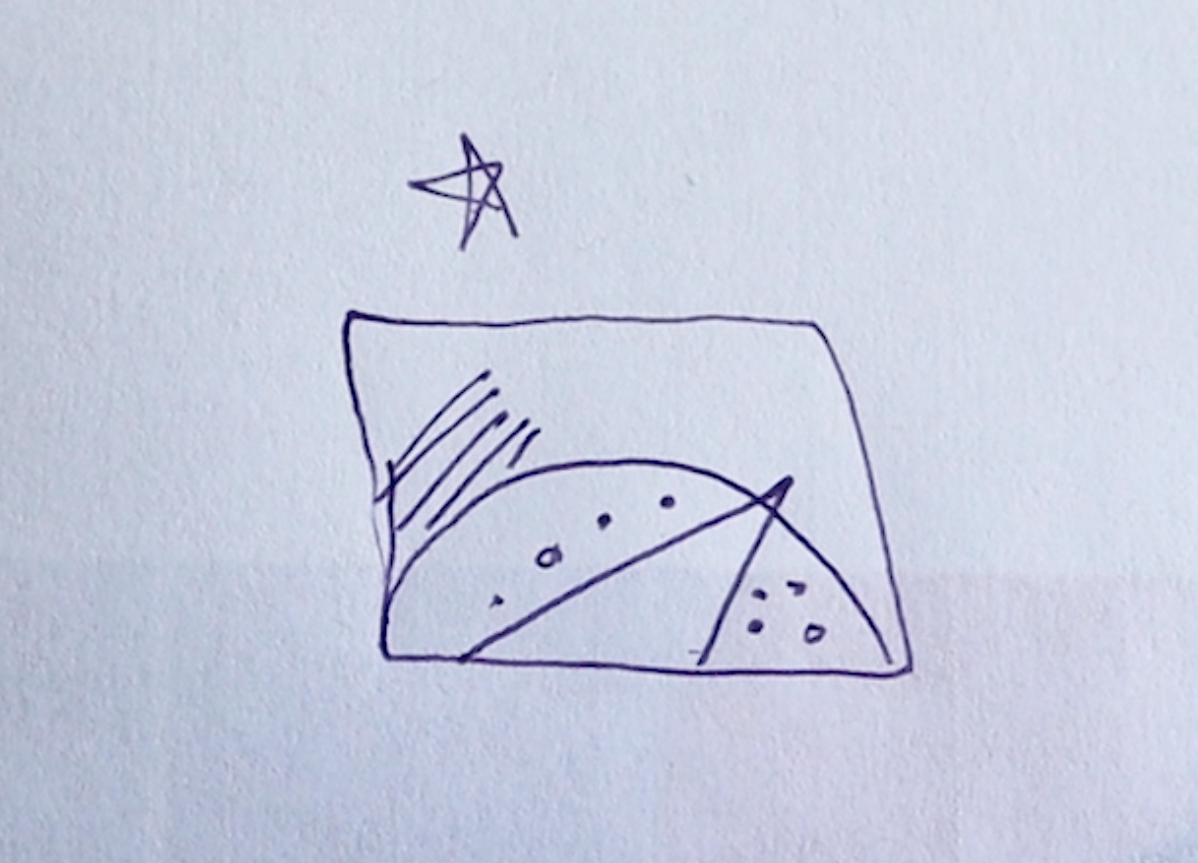
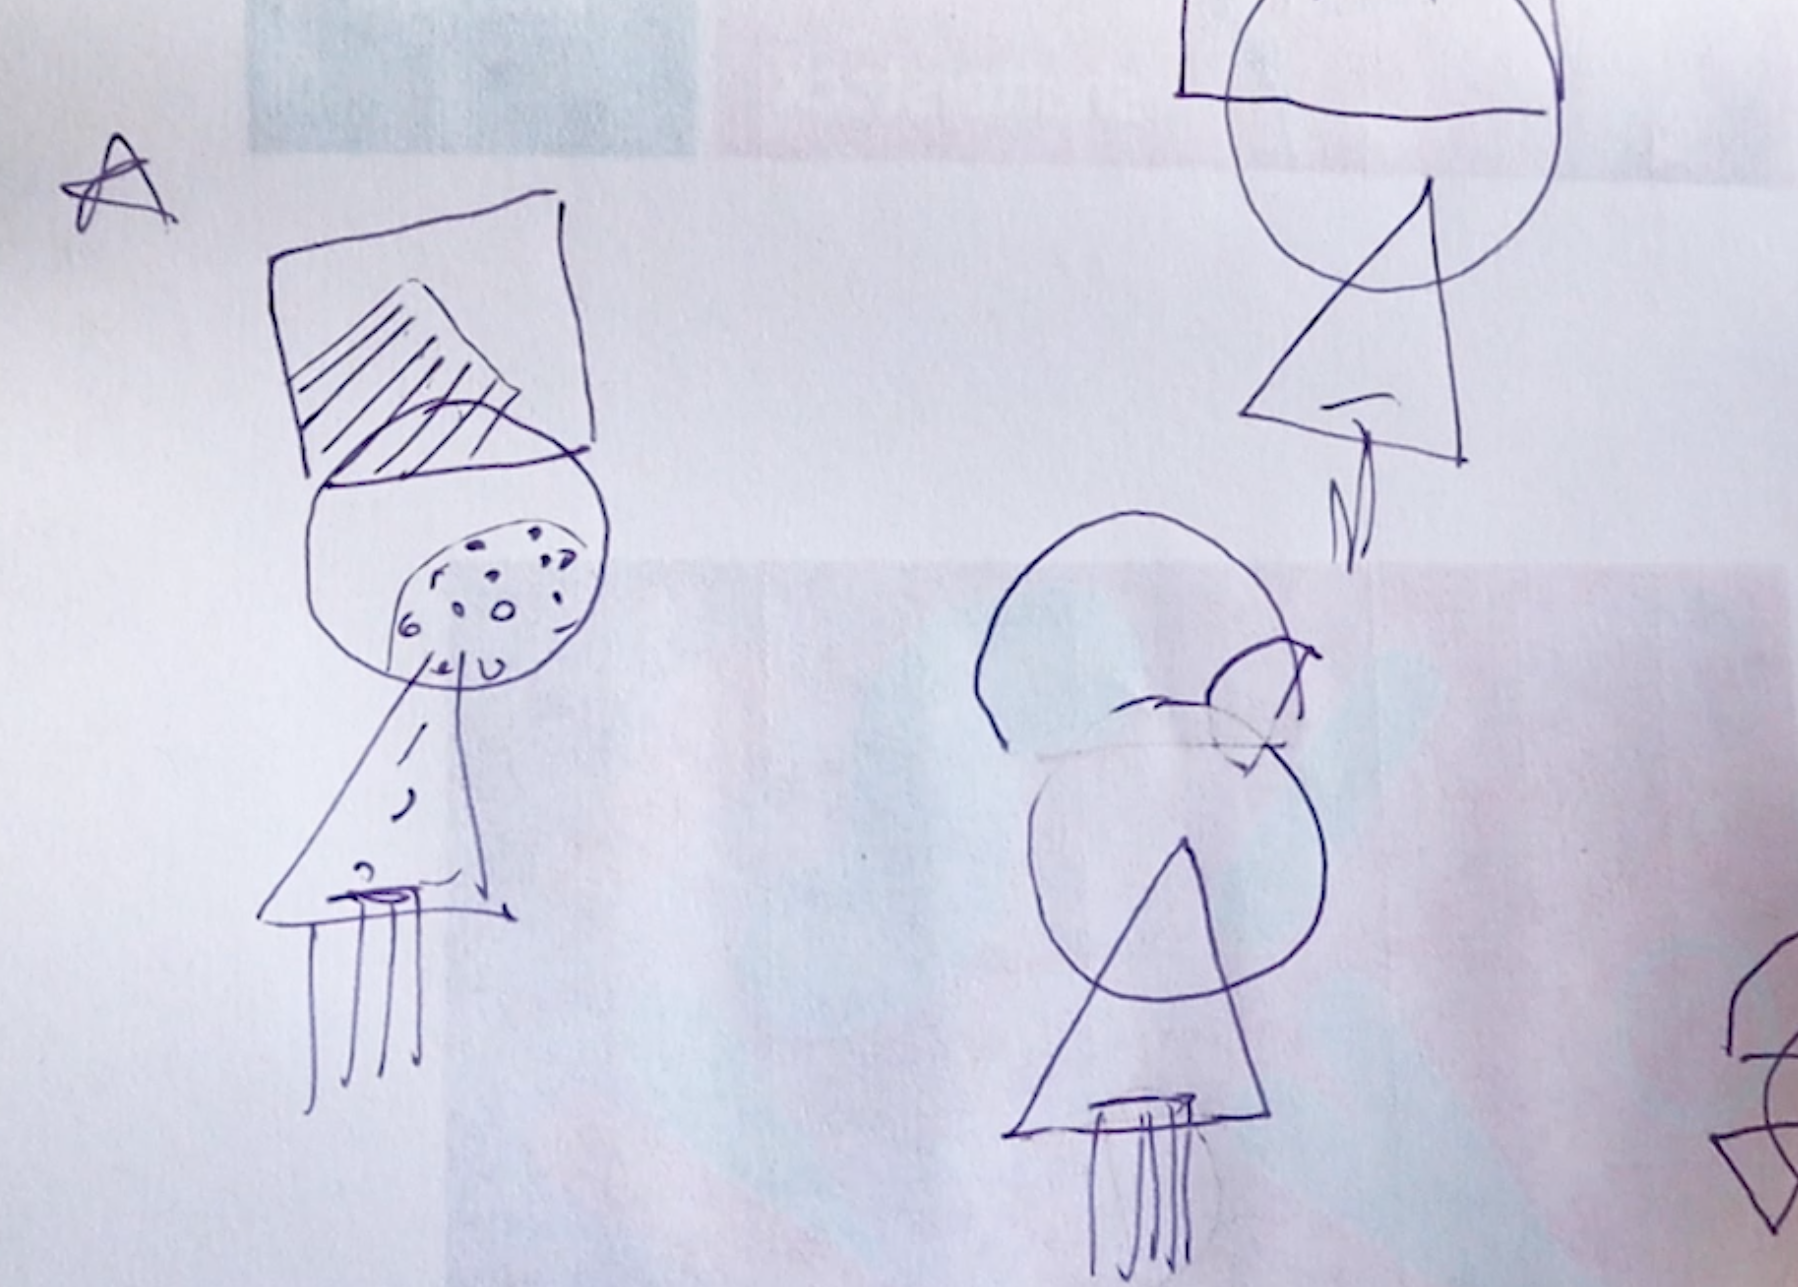
I did some sketches for how I wanted this desktop organizer to come together. It’s always nice to have a plan on paper before getting started on a project. They don’t have to be detailed, just something quick.
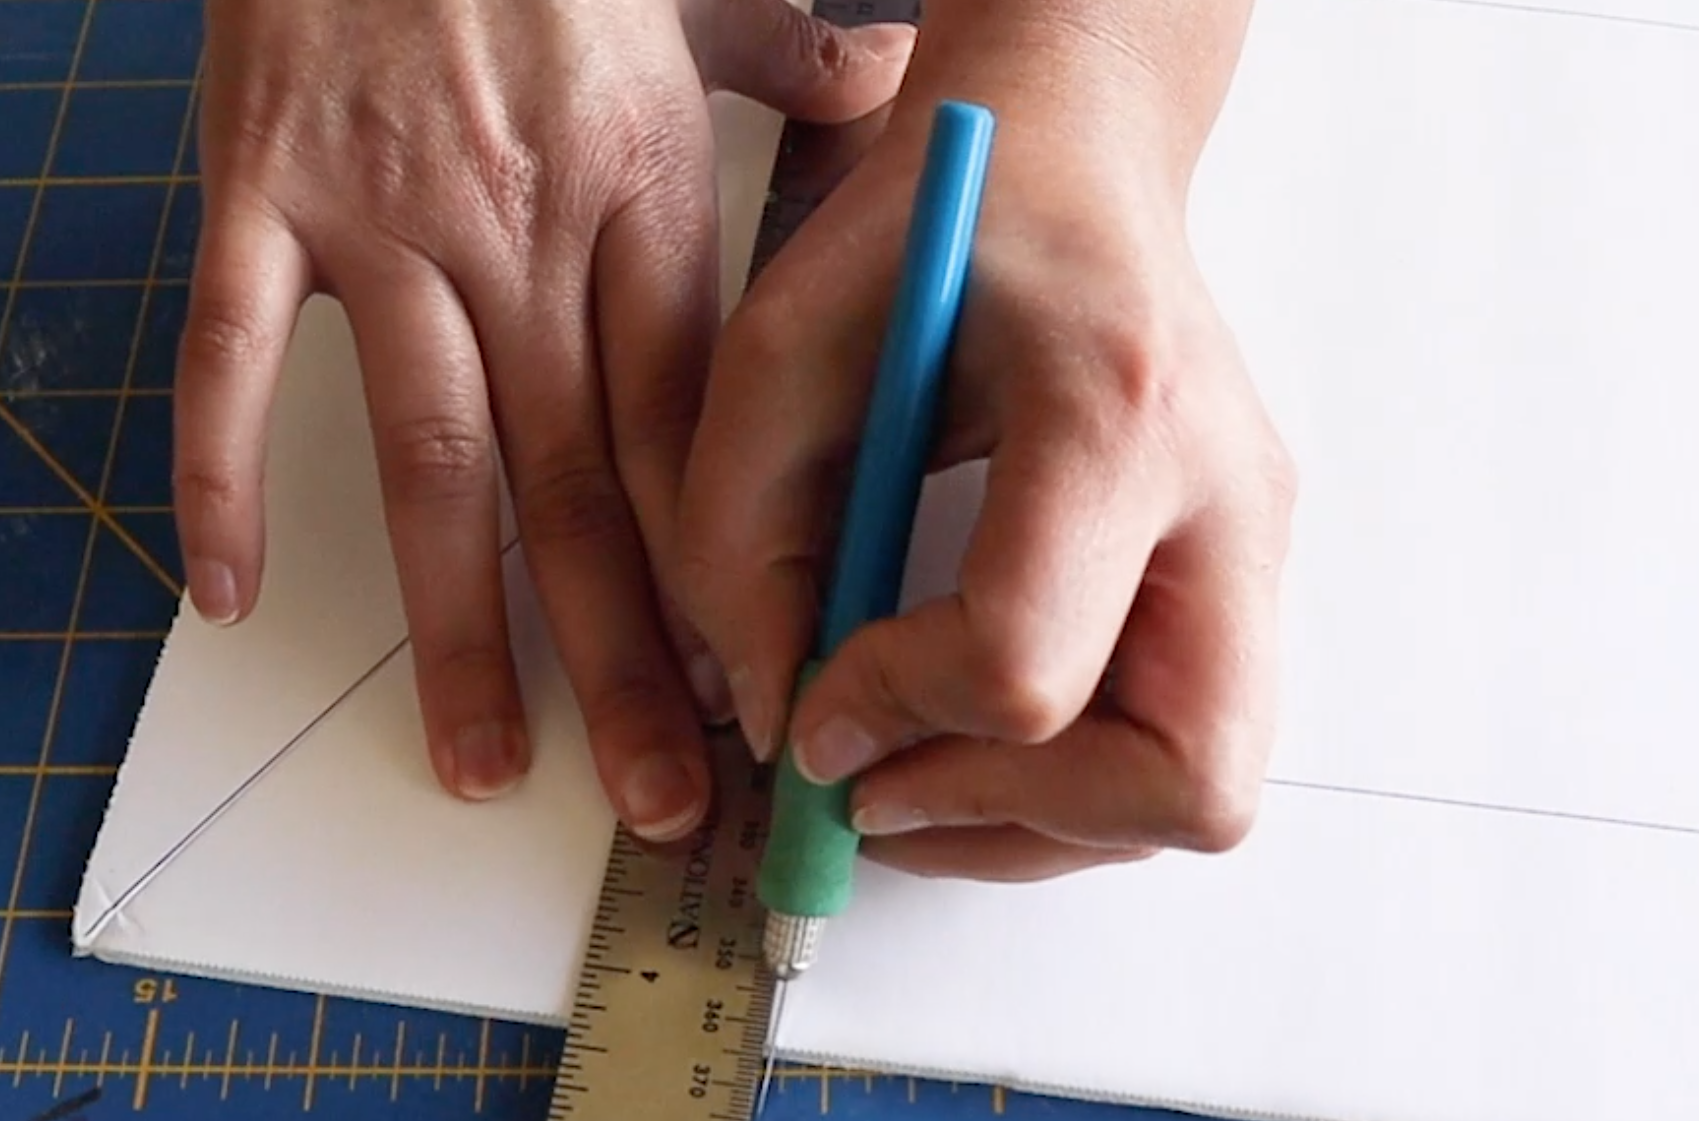
The 80s were all about those abstract shapes and bright punchy colors. I love playing with foam core and seeing what I can come up with. I plan on putting paperwork in here, so foam core should be sturdy enough for that task. I started by cutting out the shapes.
I used this color palette from Shutterstock as inspiration, and you’ll notice I stick to this color scheme for all 4 projects. I did this so that everything on my desk (and wall) has a consistent look.
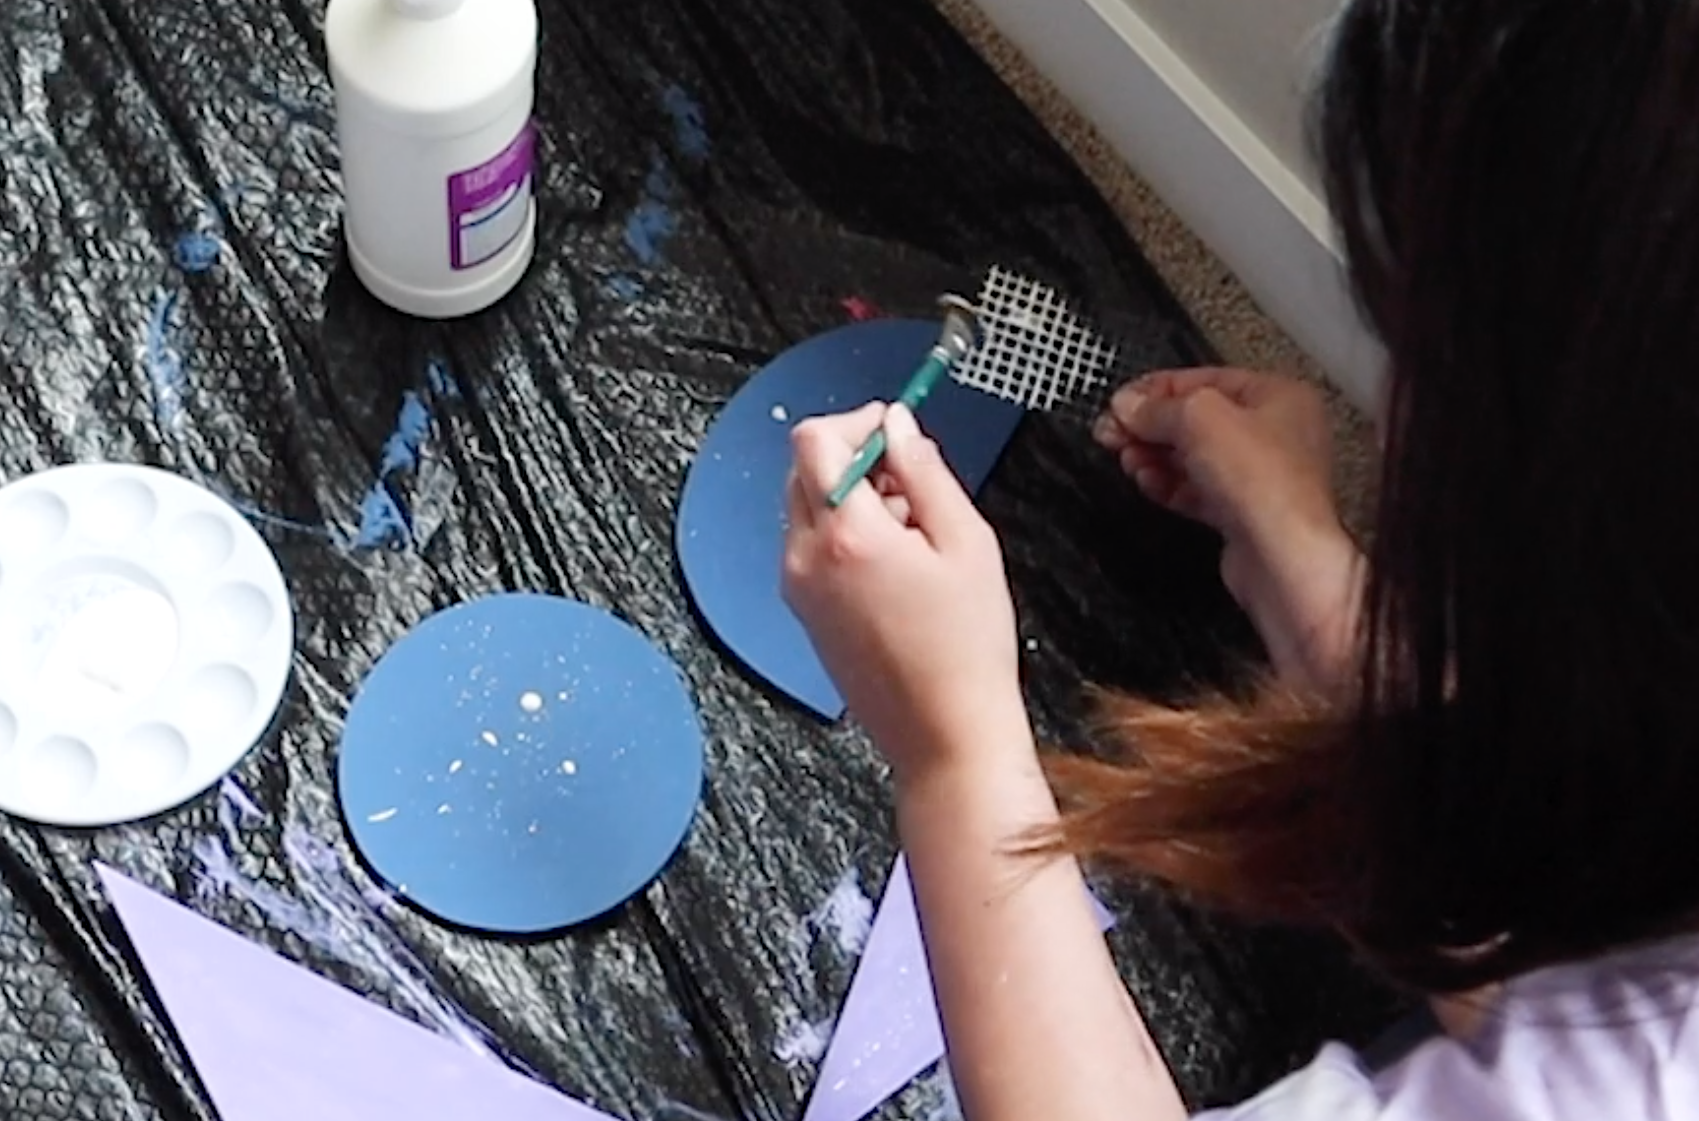
I like to use a garbage bag to prevent paint from getting everywhere. It’s just a little easier to put together than laying out newspaper. You’ll definitely want a lot of coverage for this splatter paint we’ll be doing!
You can try a few techniques to get the splatter paint look. You could put the paint onto your paintbrush and “fling it” (technical term). Or try tapping a fully loaded paintbrush to get the splatters on the surface. Or you can use a metal wire like I’m using and swipe your paint filled brush across it. Each technique will create slightly different results, so go with whichever you like best or a combination of all of them!
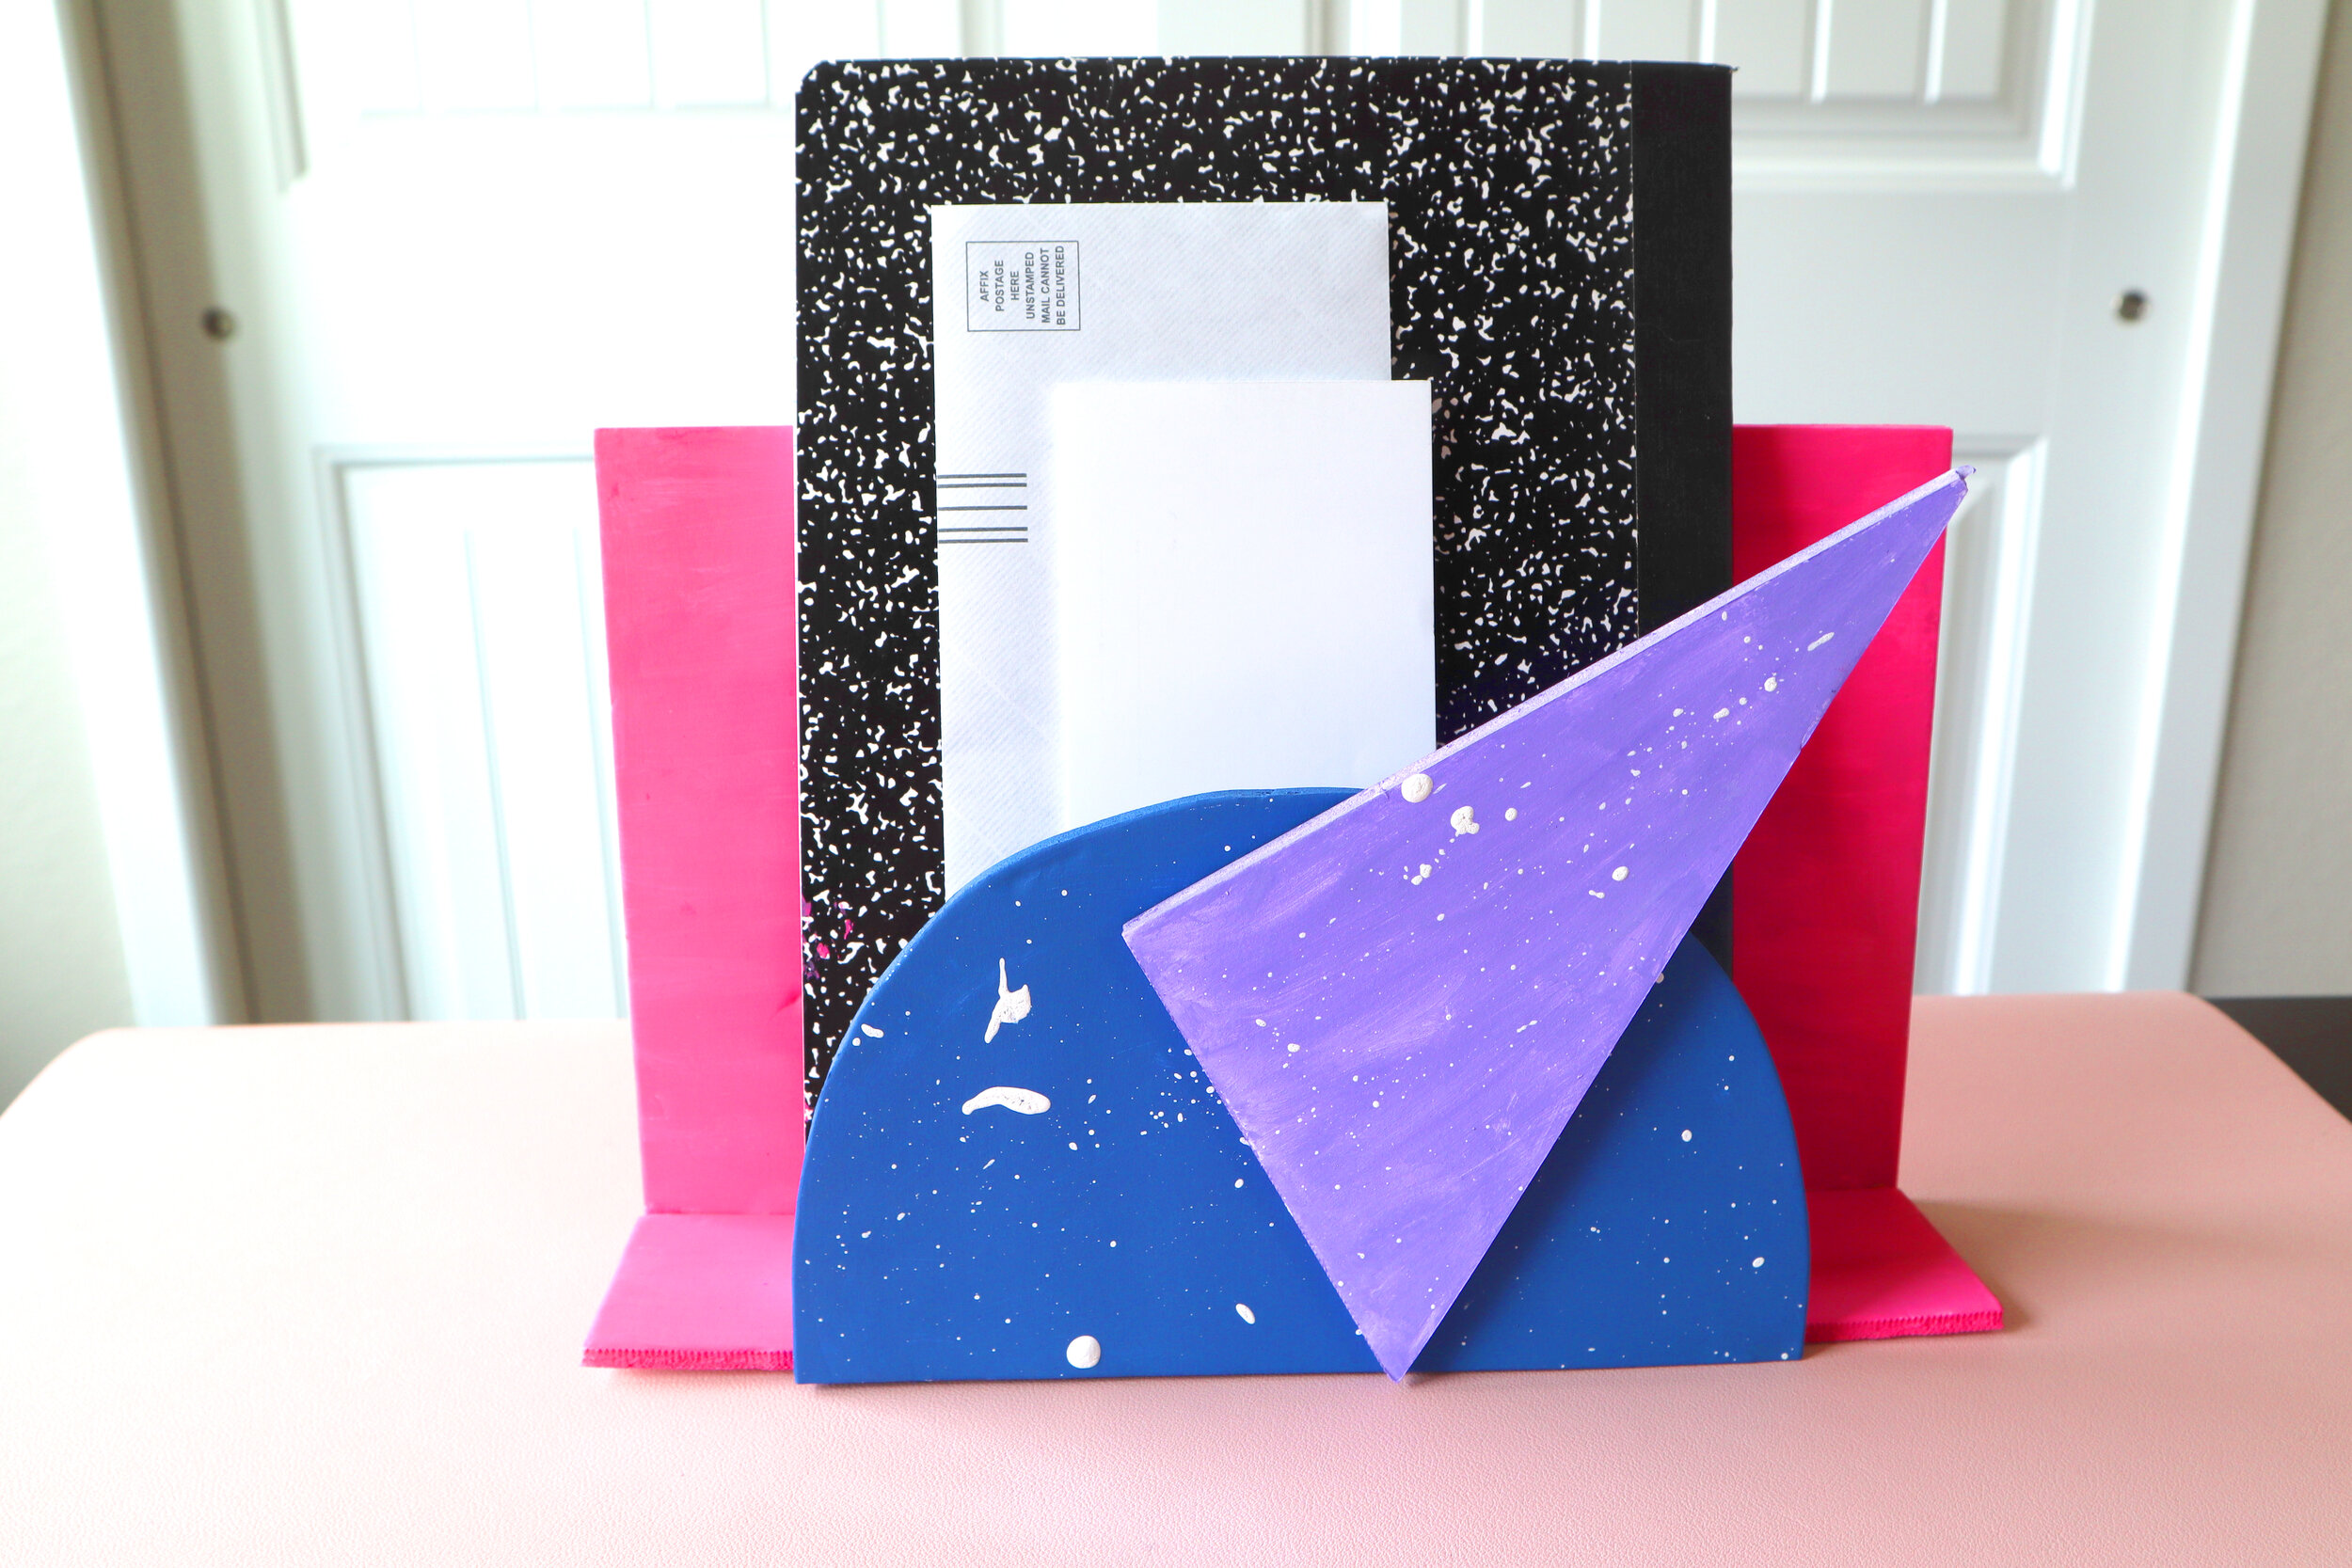
A little hot glue to put everything together and we have our final desktop organizer.
Now, don’t go having a cow over how totally awesome this is (sorry, couldn’t help myself with the 80s lingo)!
// Wall Hanging
I’ve been wanting to do a wall hanging with yarn for awhile and what better time to put one together than for 80s themed decor, when macrame was all the rage.
I did a sketch for this one to figure out which layout I liked best for the shapes. Then I cut out the shapes from a piece of foam core I got at Dollar Tree.
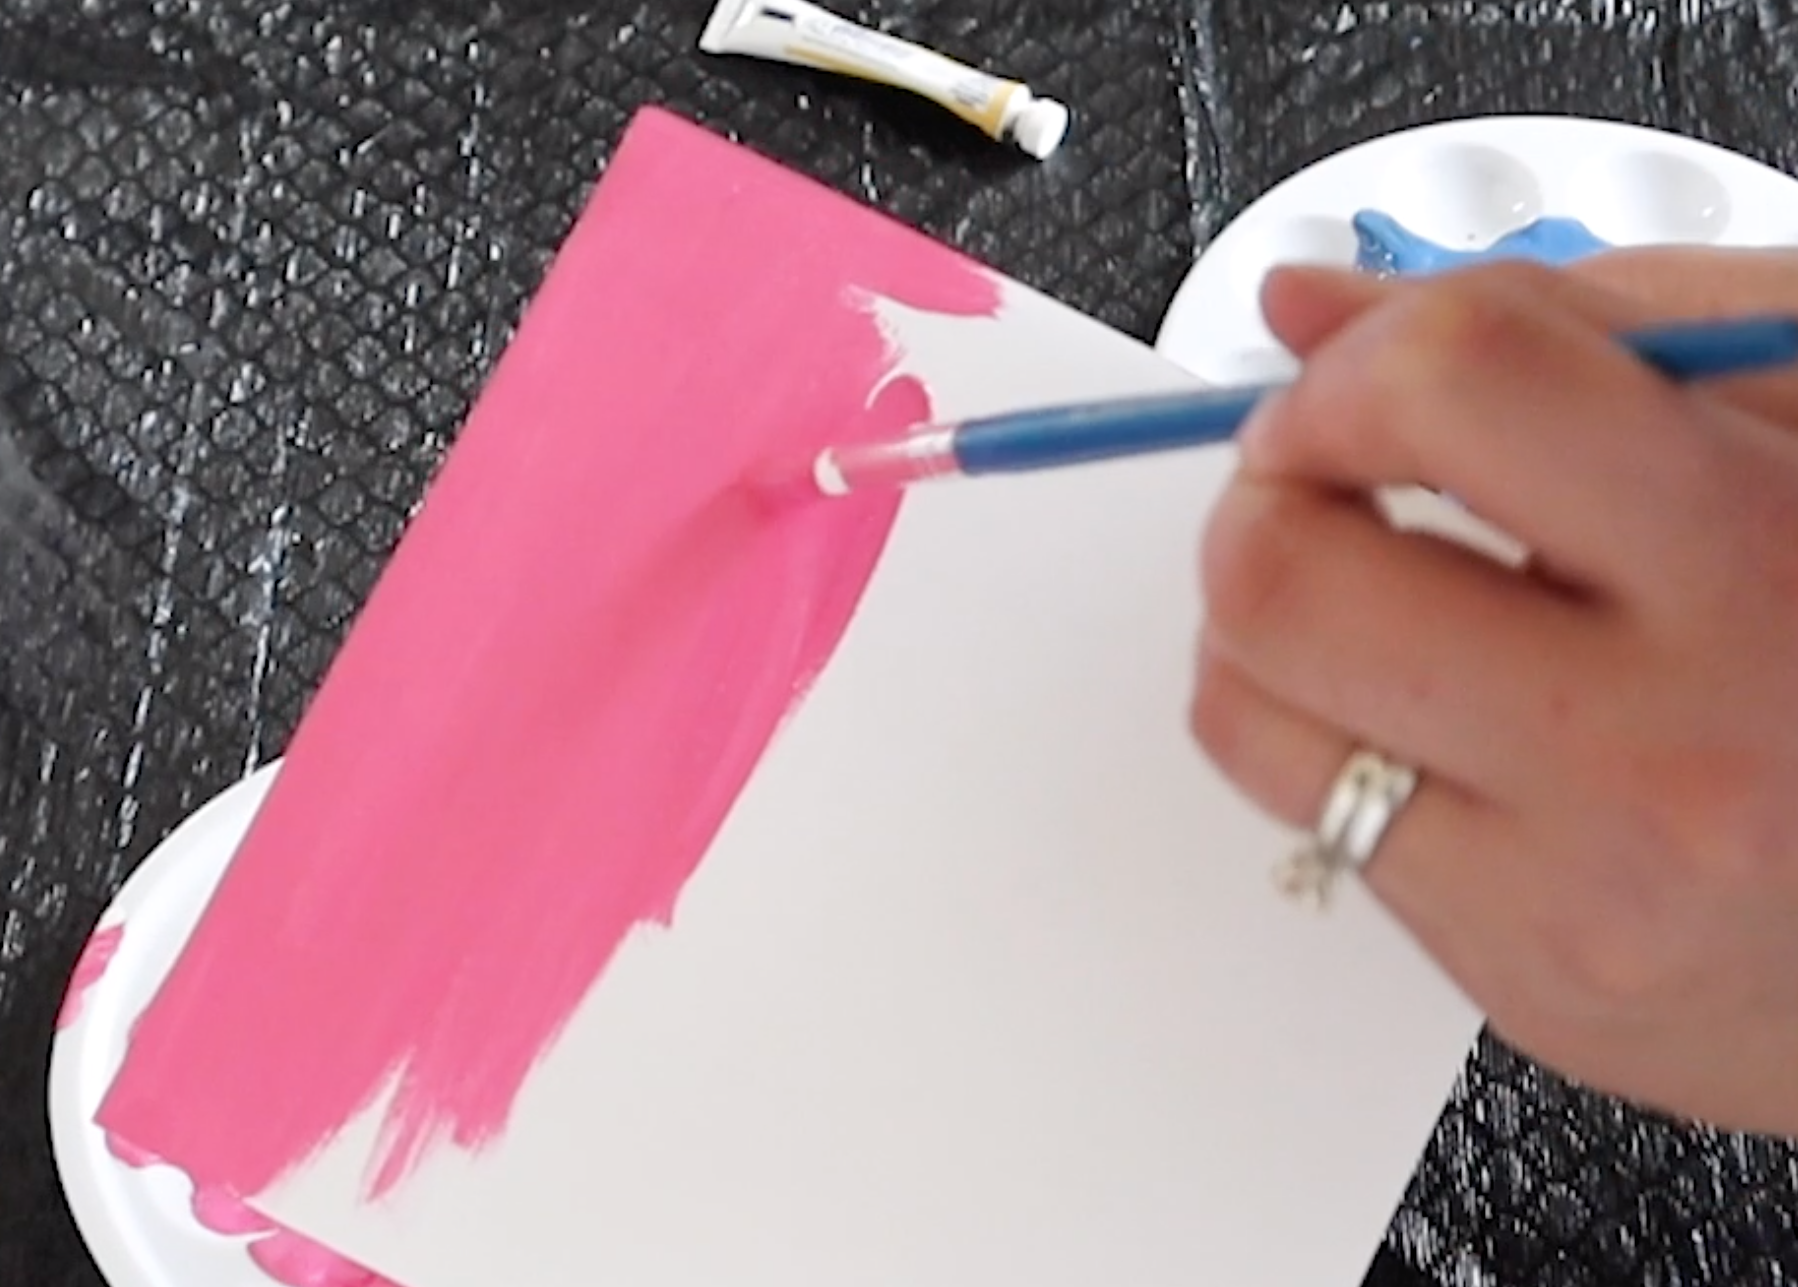
I painted these and then put a heavy book on top to flatten out the foam core, which sometimes will bow if you paint it.
While the painted pieces dried, I looped some white Dollar Tree yarn back and forth, until I got the thickness I wanted.
Then I pulled this through the bottom where I had cut a slit.
Once I had everything positioned, I laid down a line of hot glue to secure the yarn on the back.
Then I trimmed the yarn into a cascading shape at the bottom. I also made sure any leftover loops were cut.
Remember Lisa Frank designs in the 80s? They were so colorful and I also loved my Rainbow Brite lunch box and Care Bear accessories.
Leave me a comment below, letting me know what your favorite back to school 1980s item was!
Now, this wall hanging came out like totally tubular, don’t ya think?
// Girl Boss Sign
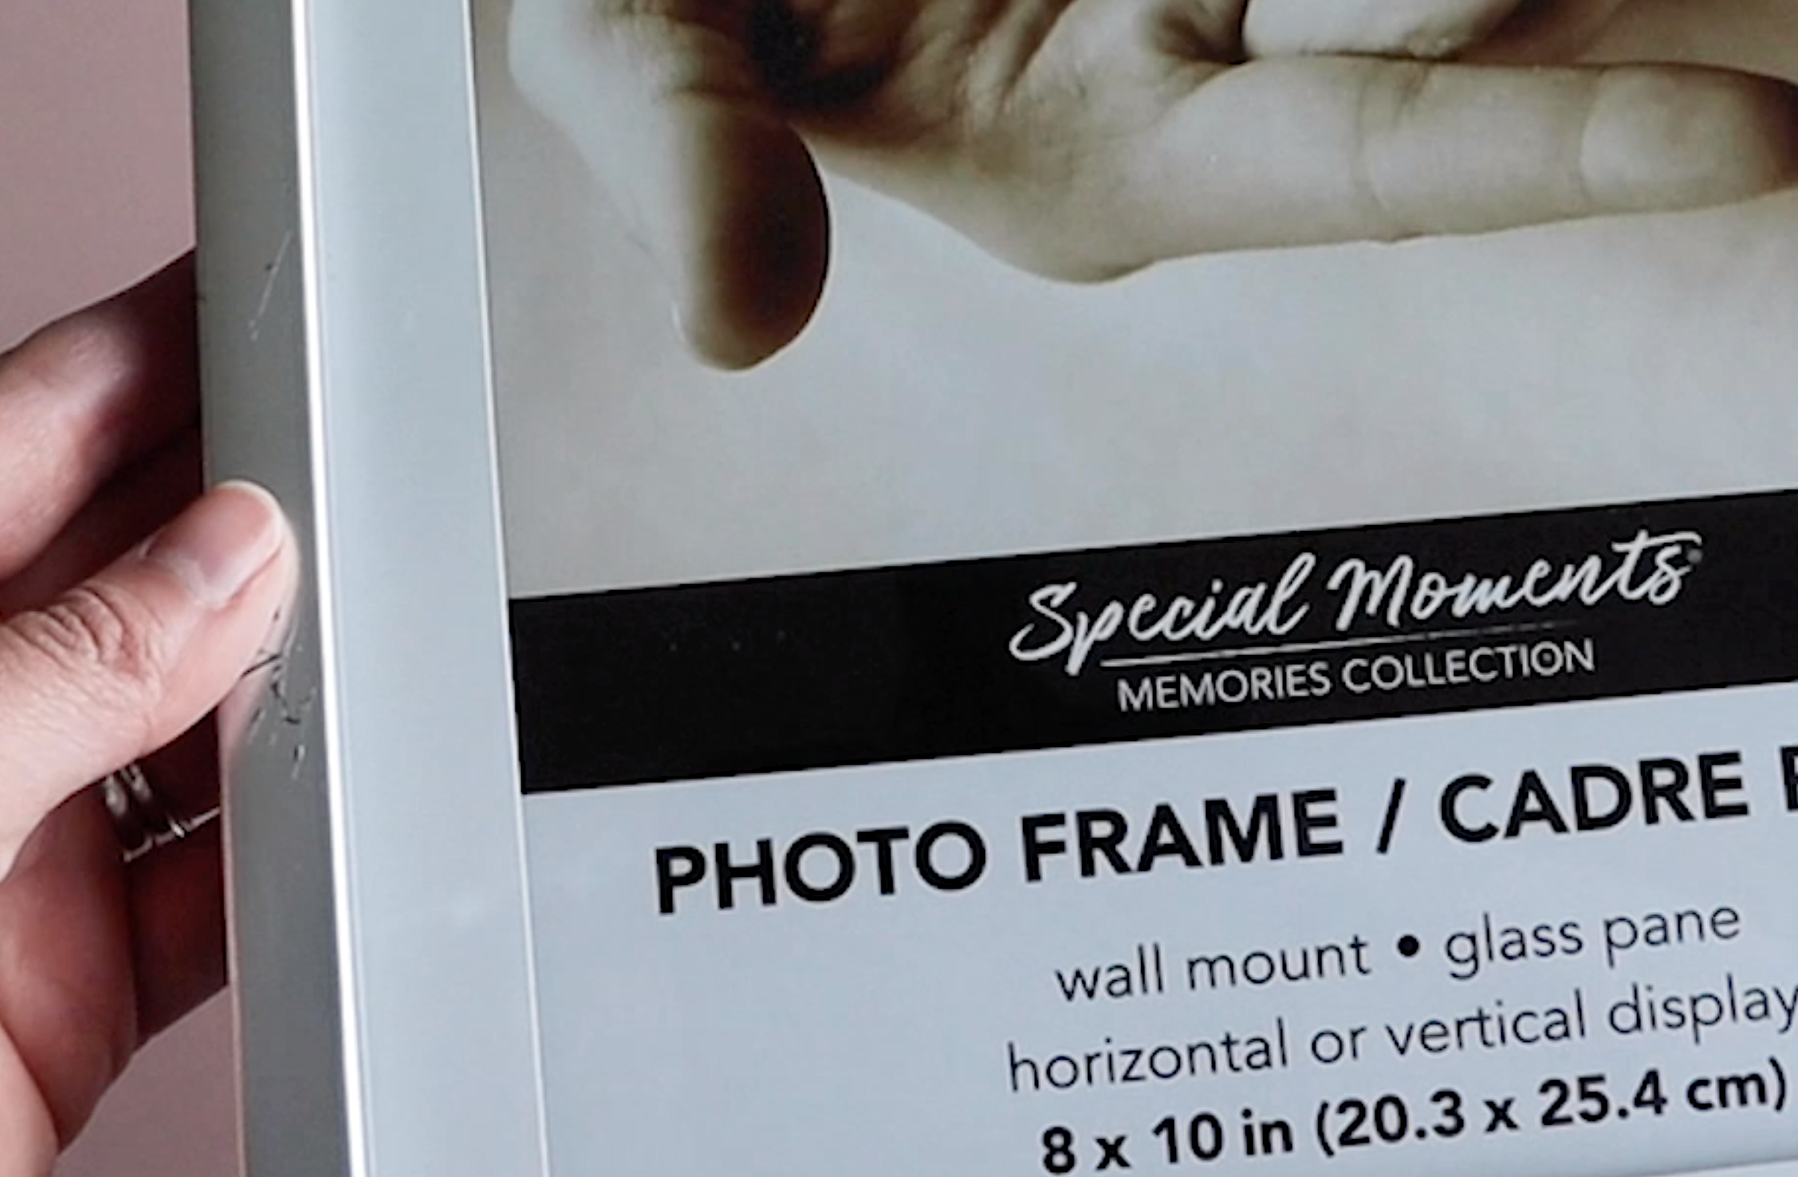
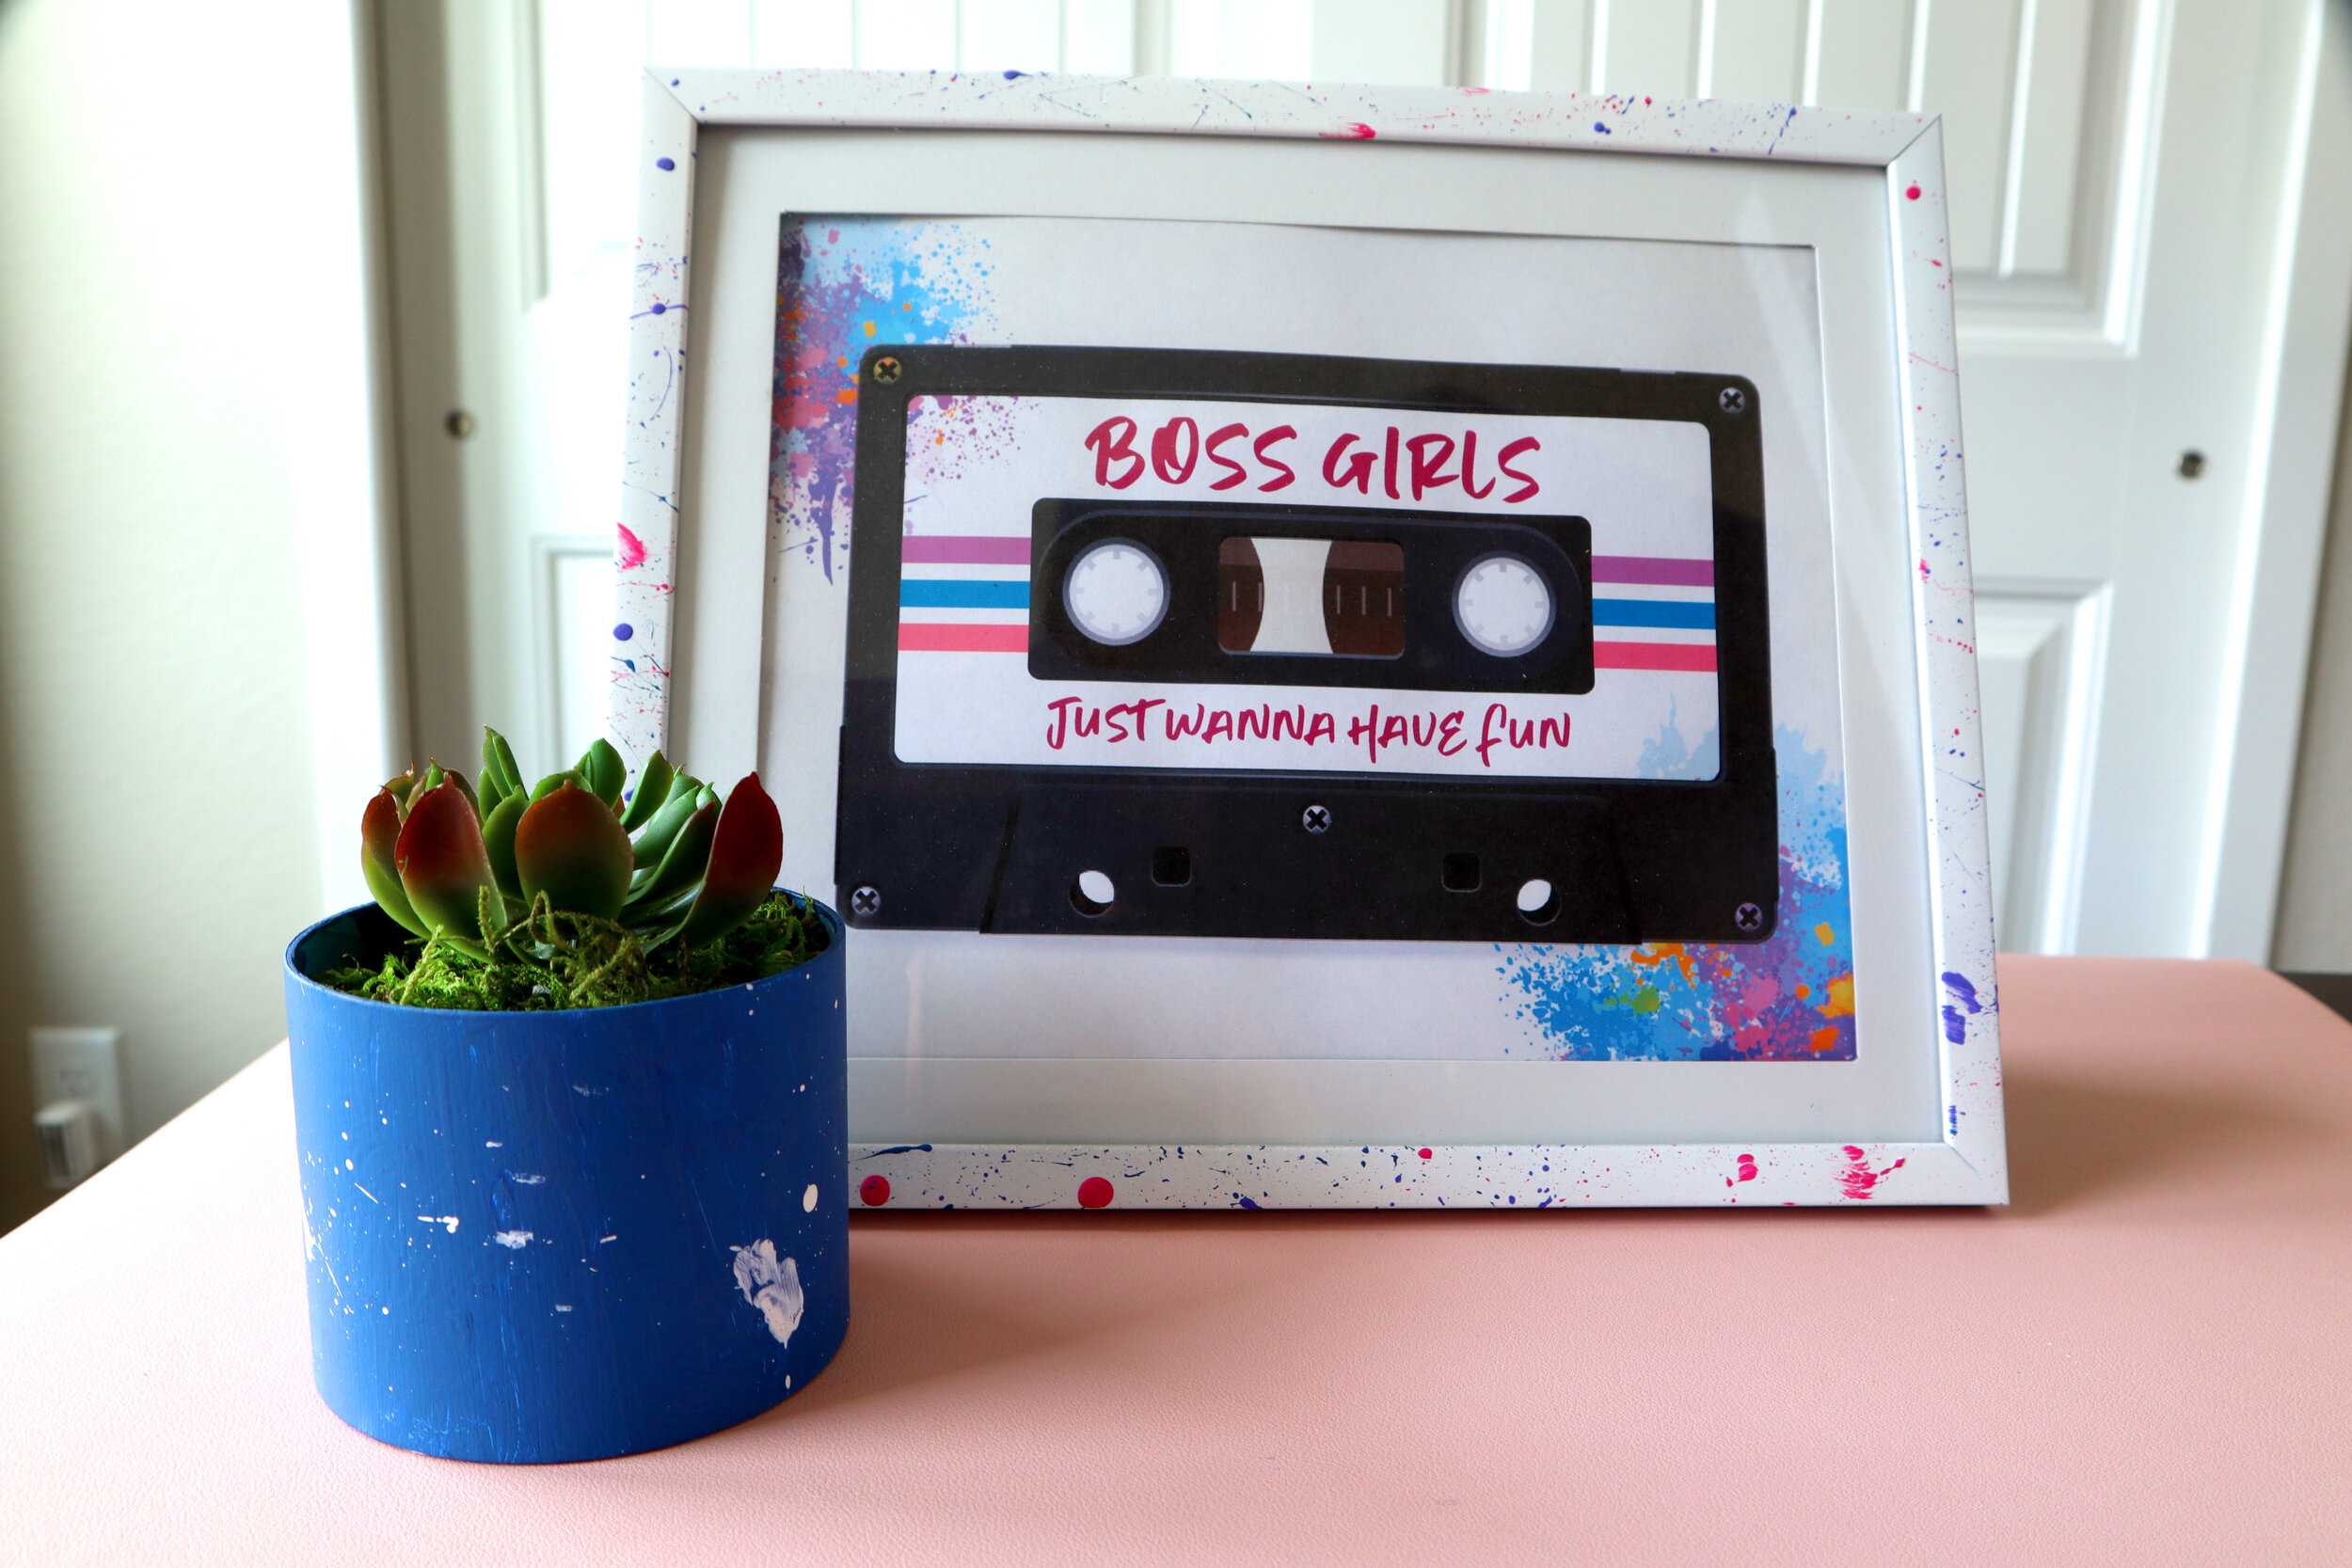
I found this frame at Dollar Tree and it actually has a nice little mat, and is even glass! But the frame had a knick on it, so we’re going to paint it white to cover that up.
I started by disassembling the frame and then used some white spray paint.
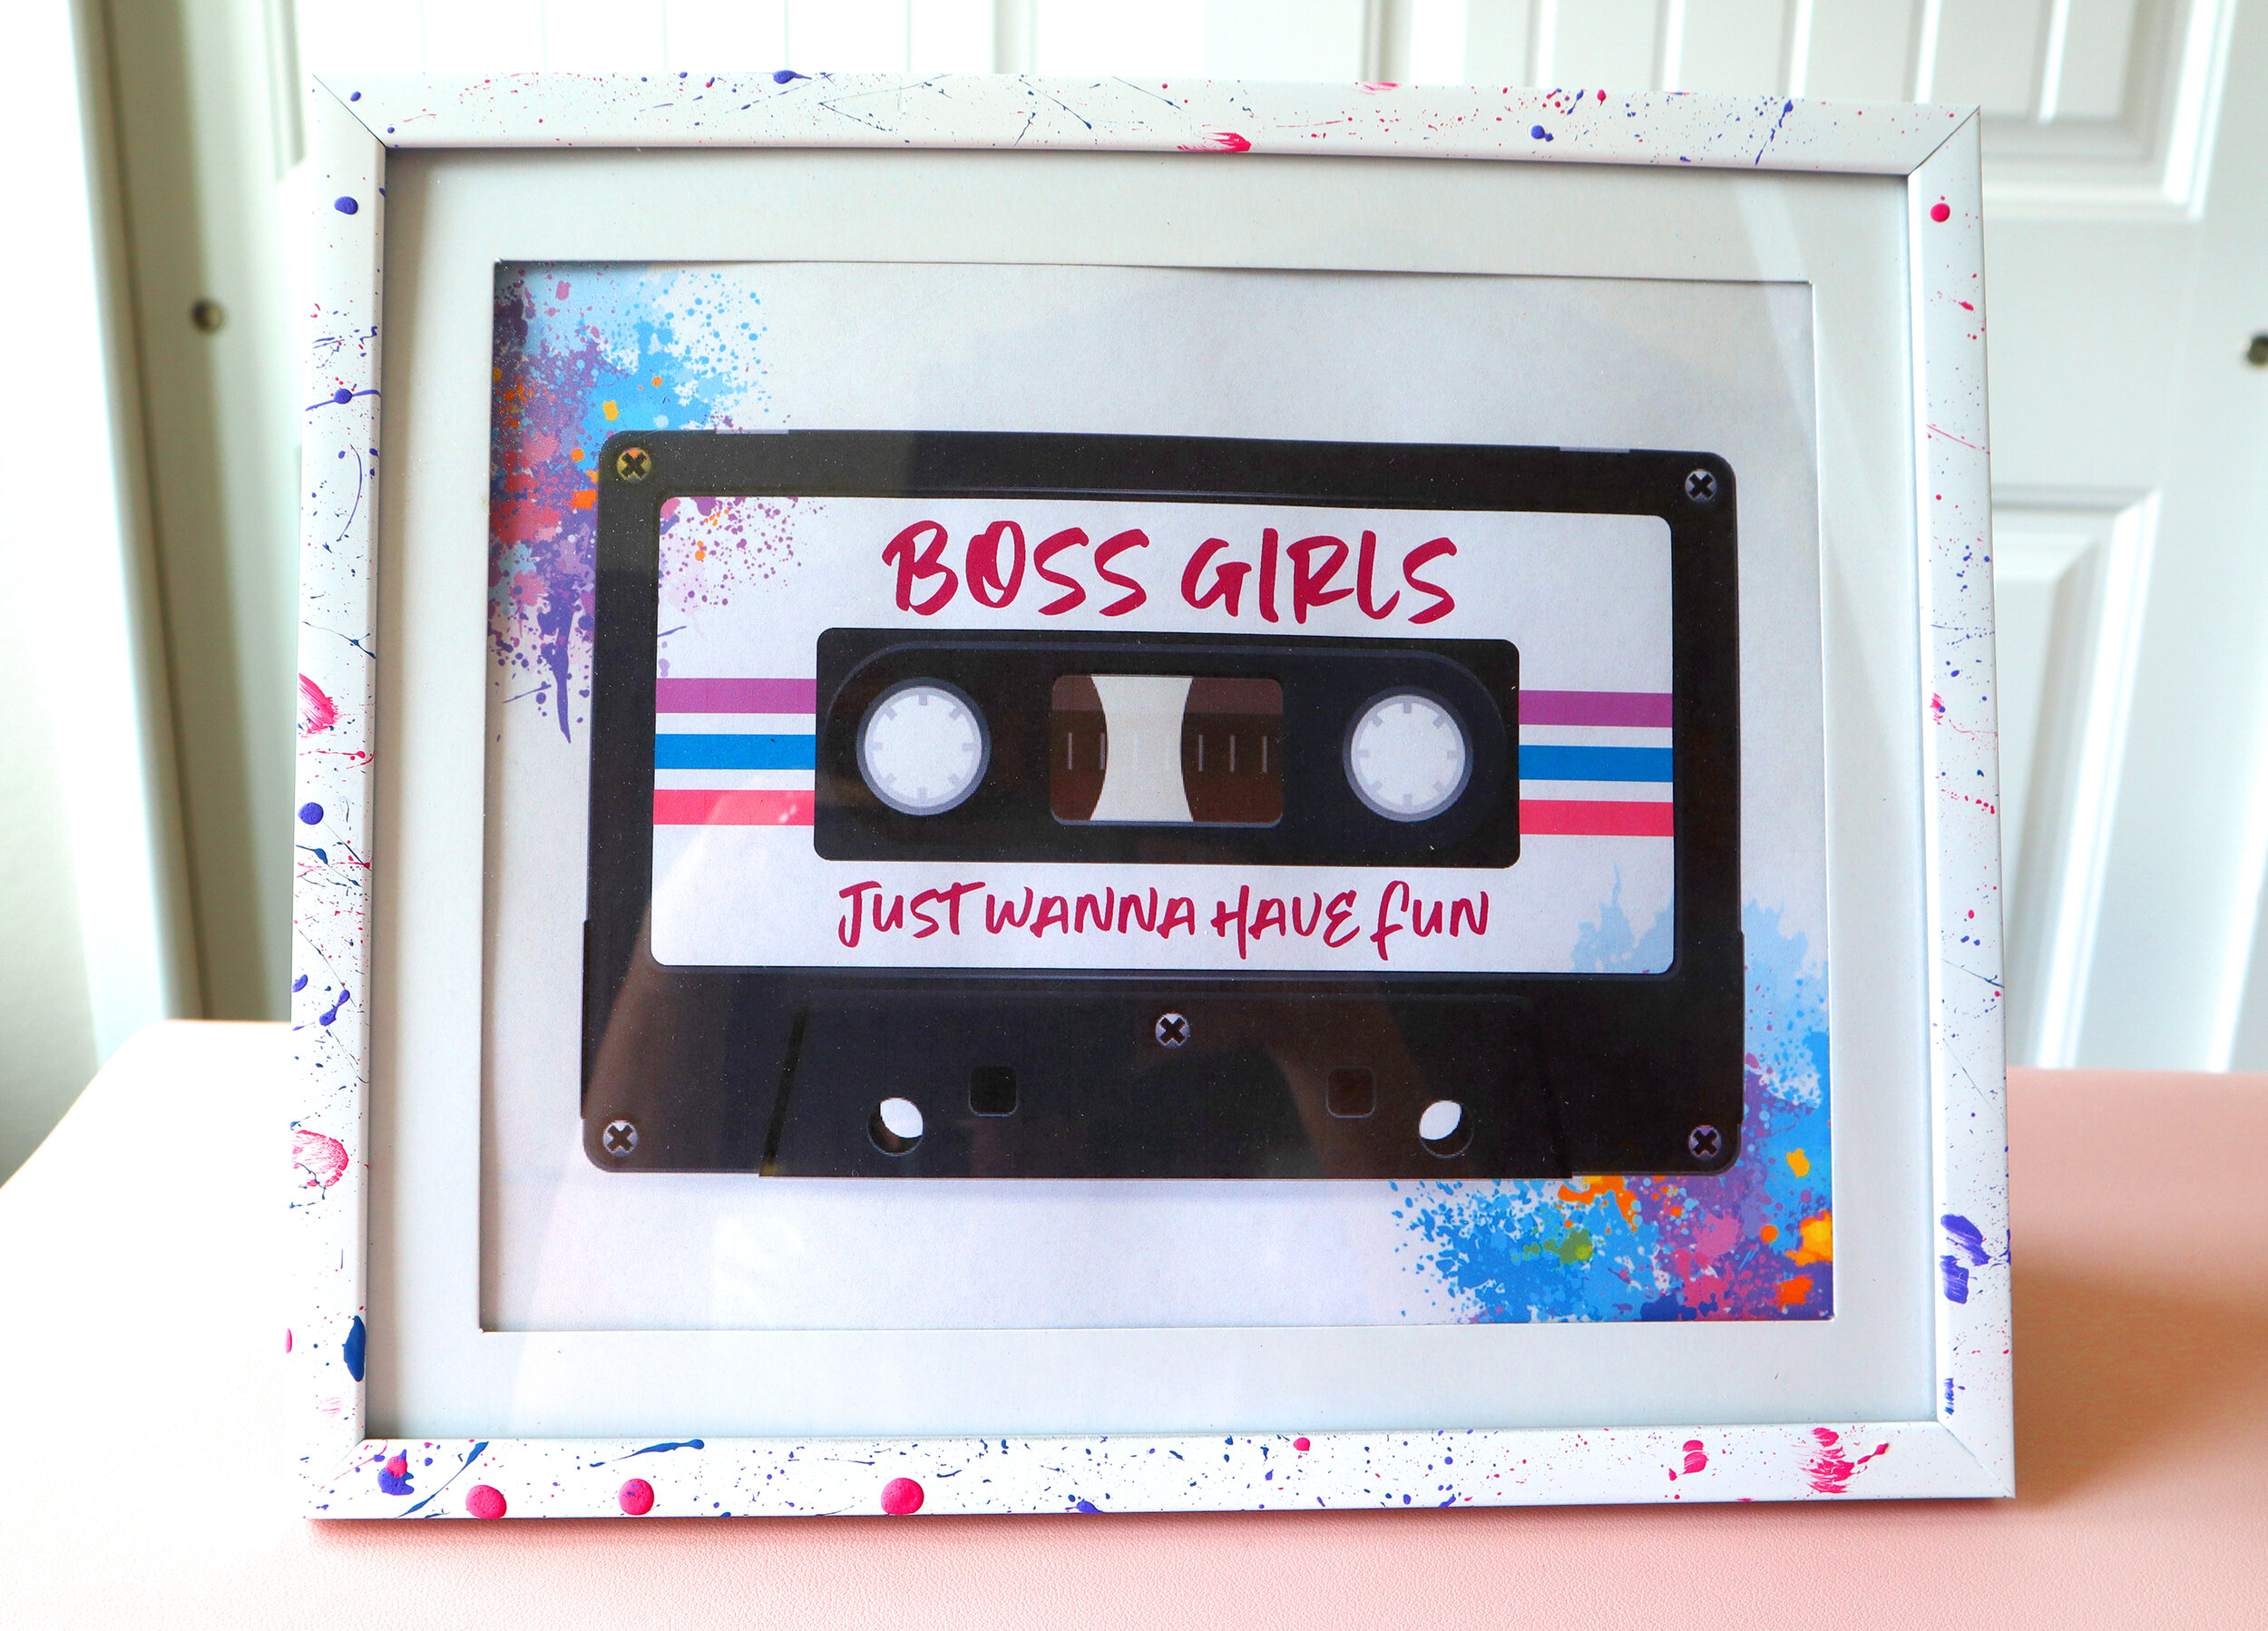
I used that splatter technique for the frame, and did it with the blue, pink and purple paint, so it would tie in with the other pieces.
I printed out this sign I made and put it into the frame.
If you want to print out this 8x10 sign, here is the free download.
I also created some desktop/phone wallpapers for you to match the 80s theme.
I’m loving this sign - it’s like totally gnarly, right?!
// Succulent Pot
This next one is SO easy, but so cute! I had made this cute set of blue and white canisters, which were actually a dupe of a set from Kirkland’s.
Click here to see that post.
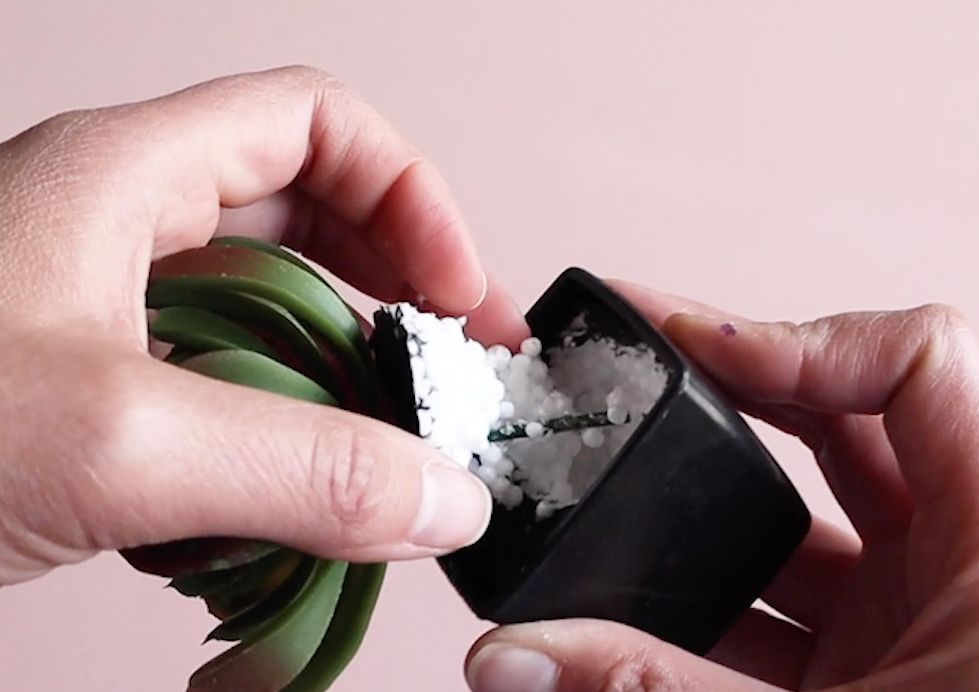
But I want to repurpose the small one to create a little 80s themed pot for this succulent I found at Dollar Tree. Yes, I tore that cute succulent right out of that cheap plastic pot!
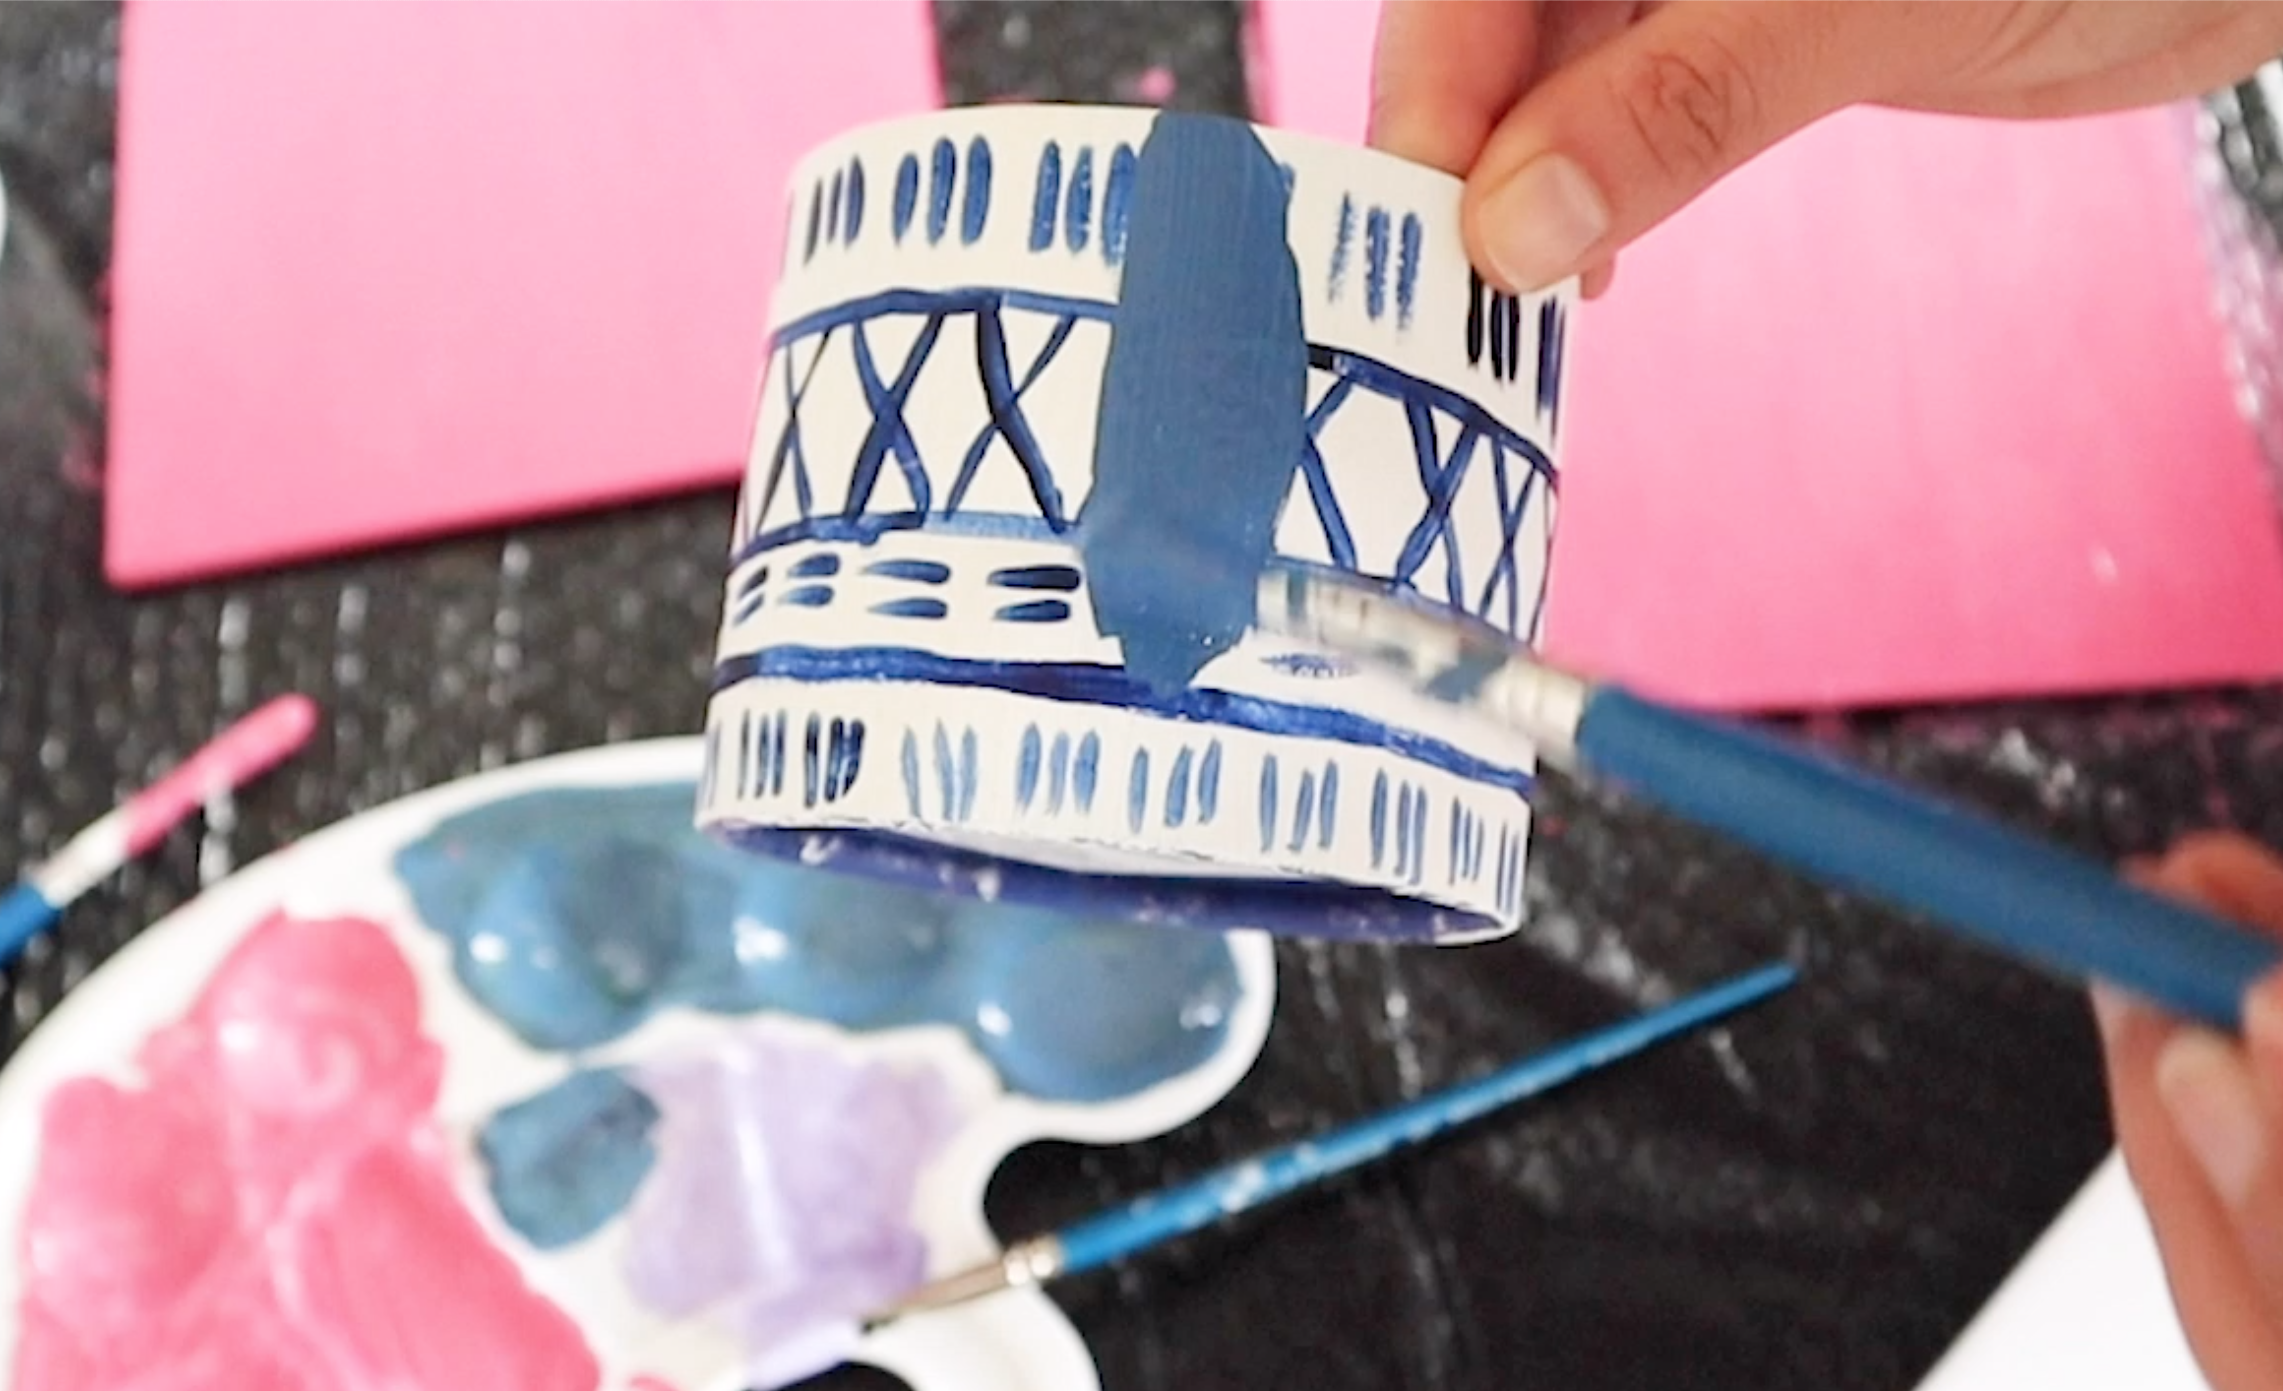
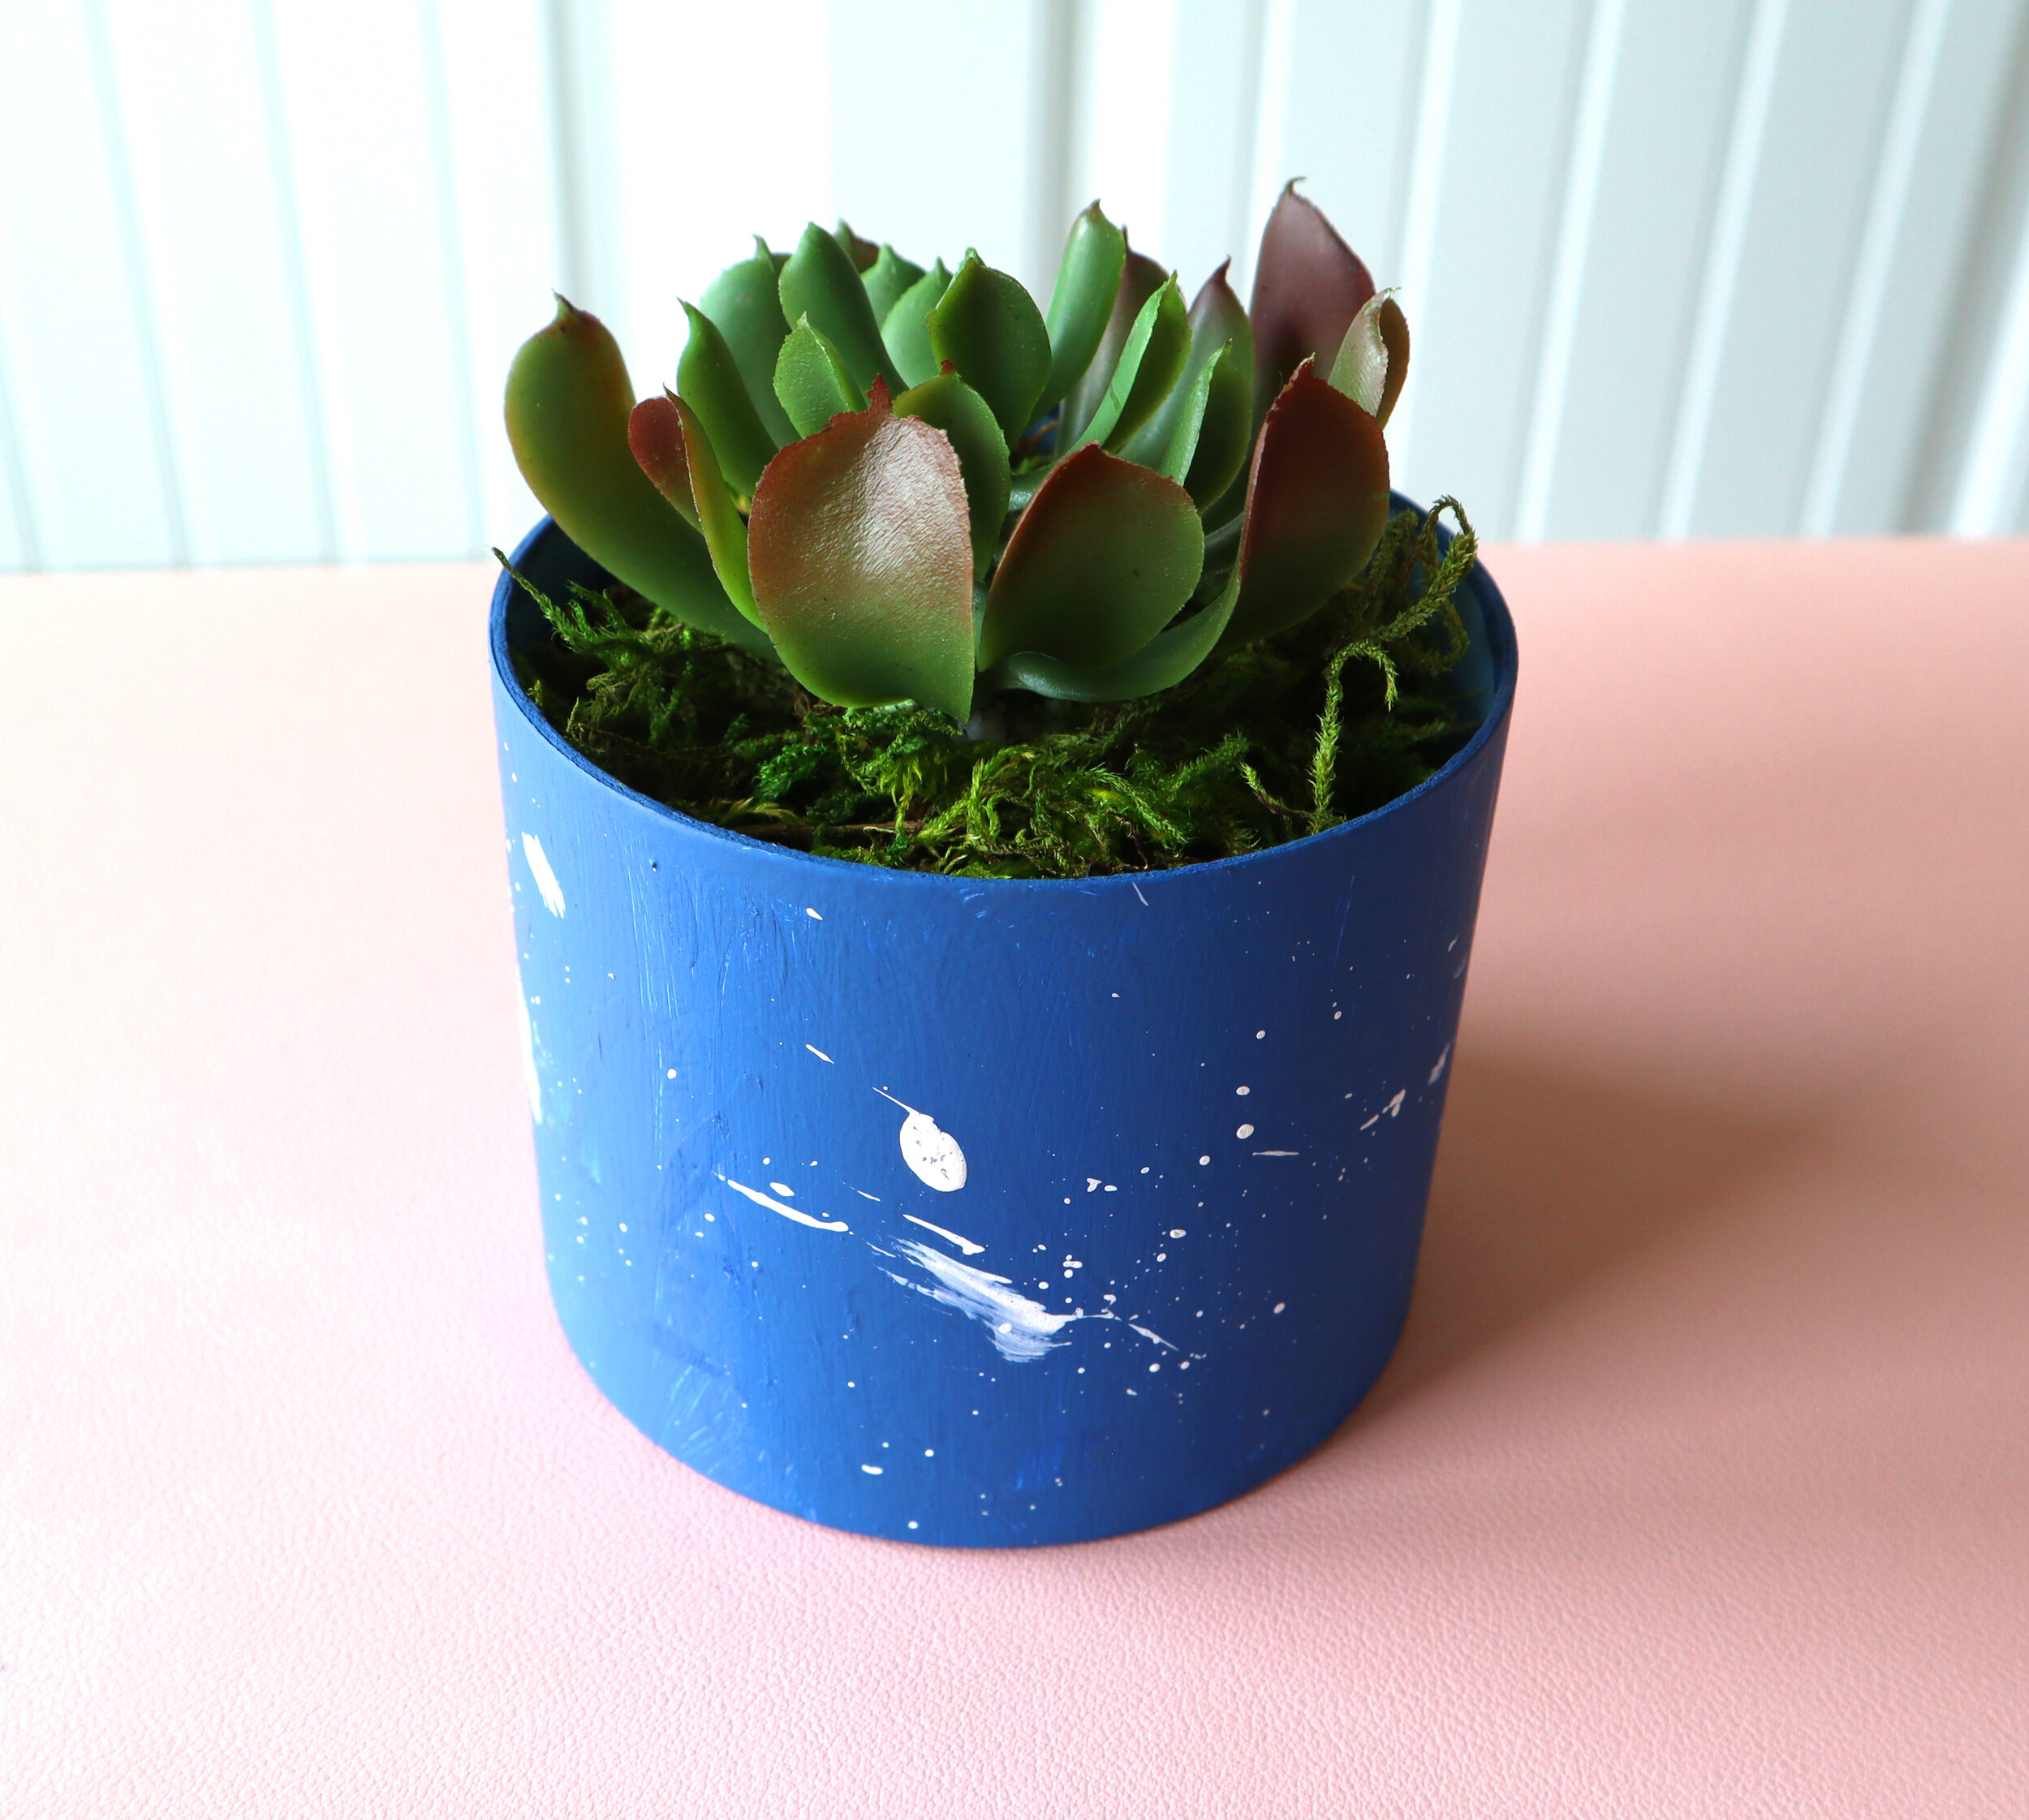
The little cylinder was originally a gift box that I found at Dollar Tree and painted that blue and white. Well, we are going to paint it again and this time in a nice shade of blue. I finished with a little white splatter paint on top.
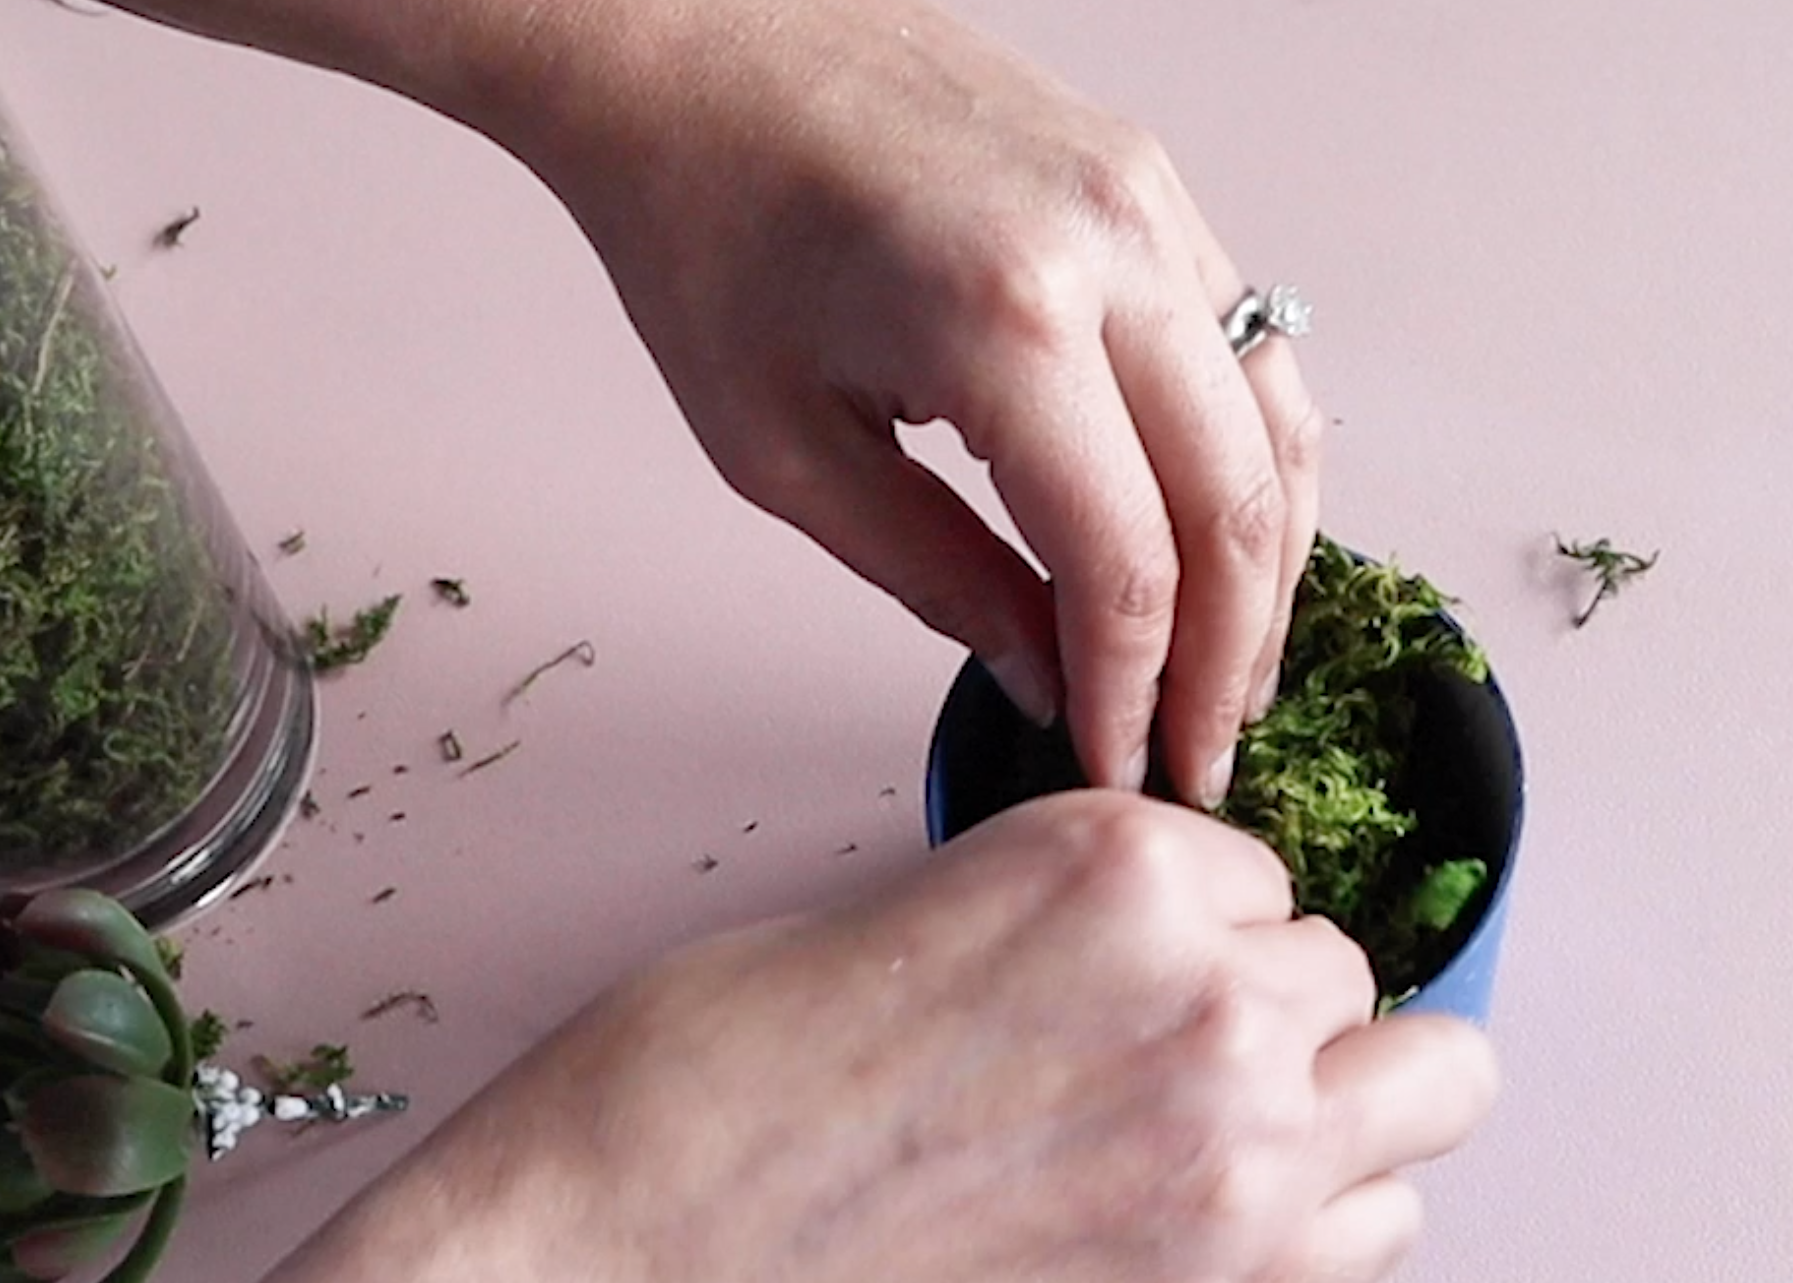
Now, just add some moss filler and your succulent to finish off the look. I found that moss at Dollar Tree, of course!
This succulent pot is desktop coolness to the max!
Well, I’m gonna bounce outta here, but if you want to see more home decor inspiration, then check out the posts below.
FTC: Not Sponsored. All opinions are always 100% honest and my own. Some links may be affiliate links. If you click a link and buy something, I receive a small commission for the sale. It doesn’t cost you anything extra and you are free to use the link or not as you choose. If you do use my links, I appreciate your support.















How about some Target Dollar Spot crafts and Dollar Tree coastal transformations. We’ll be putting together tiered tray miniatures to decorate our little coastal vignette.