Kirkland’s Inspired DIYs with a Modern Farmhouse Look
I have some modern farmhouse Kirkland’s dupes for you today. One is using a thrifted item, one is upcycling an old project and one uses a brand new item I found in the Target dollar spot.
As always, I created a video with the tutorials for all these projects. While you are on YouTube, make sure to hit the “Subscribe” button so you always know when new inspiration gets posted.
// key holder
I really needed a key holder in our coat closet. This “keys please” sign was originally $17, but it happened to be on sale the day I took this screenshot.
I went to a local thrift shop awhile back and came across this piece for only $1.65. Random price, right? Even the woman at check out was like, “That’s a weird price we chose!”
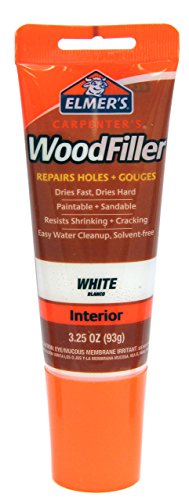
We will start by removing the hardware and filling in those holes so we have room at the top for our sign.
A little wood filler and sanding and then I will paint that hardware black and the wooden sign white. Black and white always makes for a nice, clean, farmhouse look.
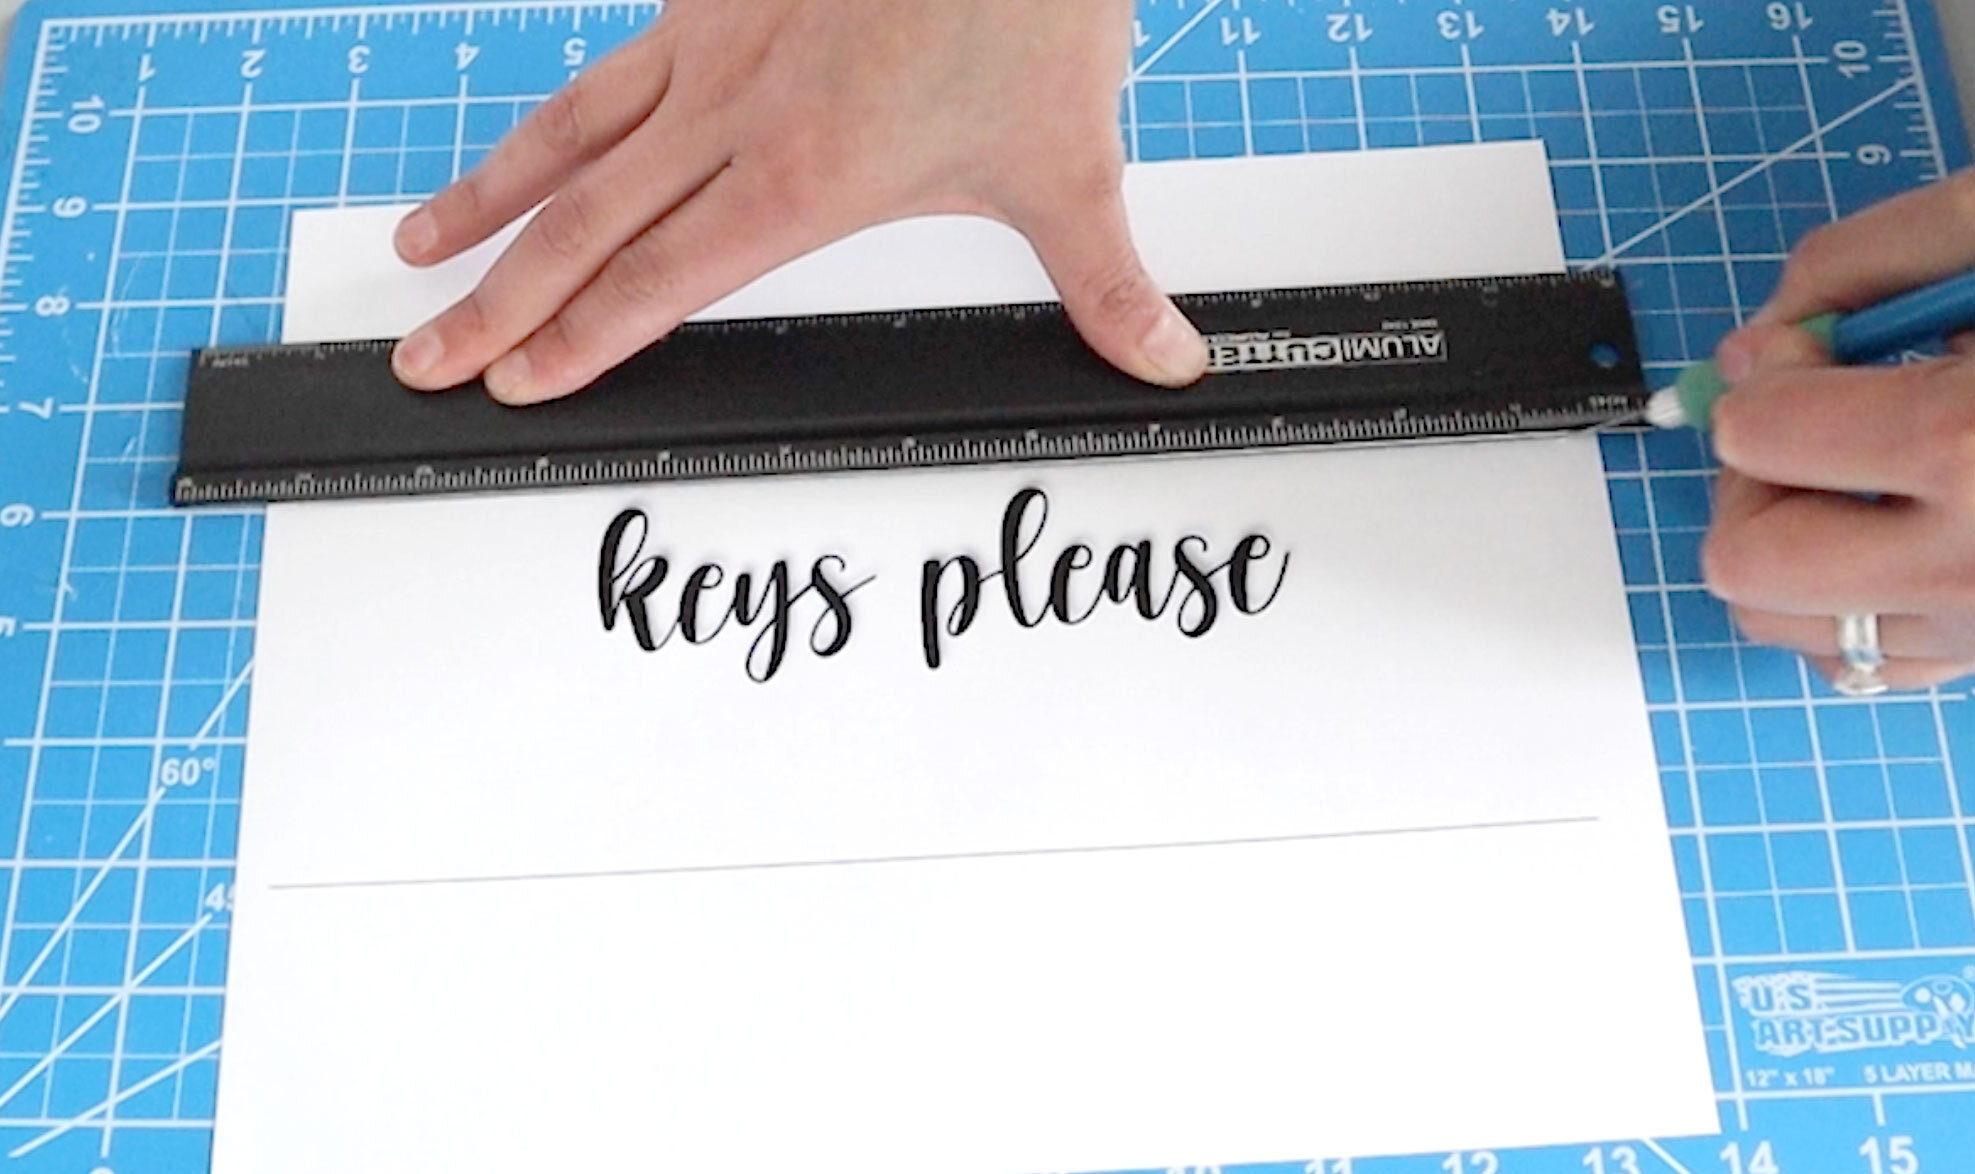
I measured to see how big the sign needed to be. If you don’t have a Cricut or other cutting machine, you can always use an ink jet printer for this type of project. I try to make the sign fit the entire space, so the edge of the paper blends in closely with the edge of the item we’re glueing it on to.
I found a close match to the font the Kirkland’s version used and even added a shadow effect in Adobe Illustrator, and then trimmed this out.
A quick coat of Super 77, and this paper is really stuck to the wood…for good.
I marked where I wanted to re-drill the holes and then added that hardware back on. This was so easy and now this key holder has a new farmhouse life!
Here were the supplies we had to pick up.
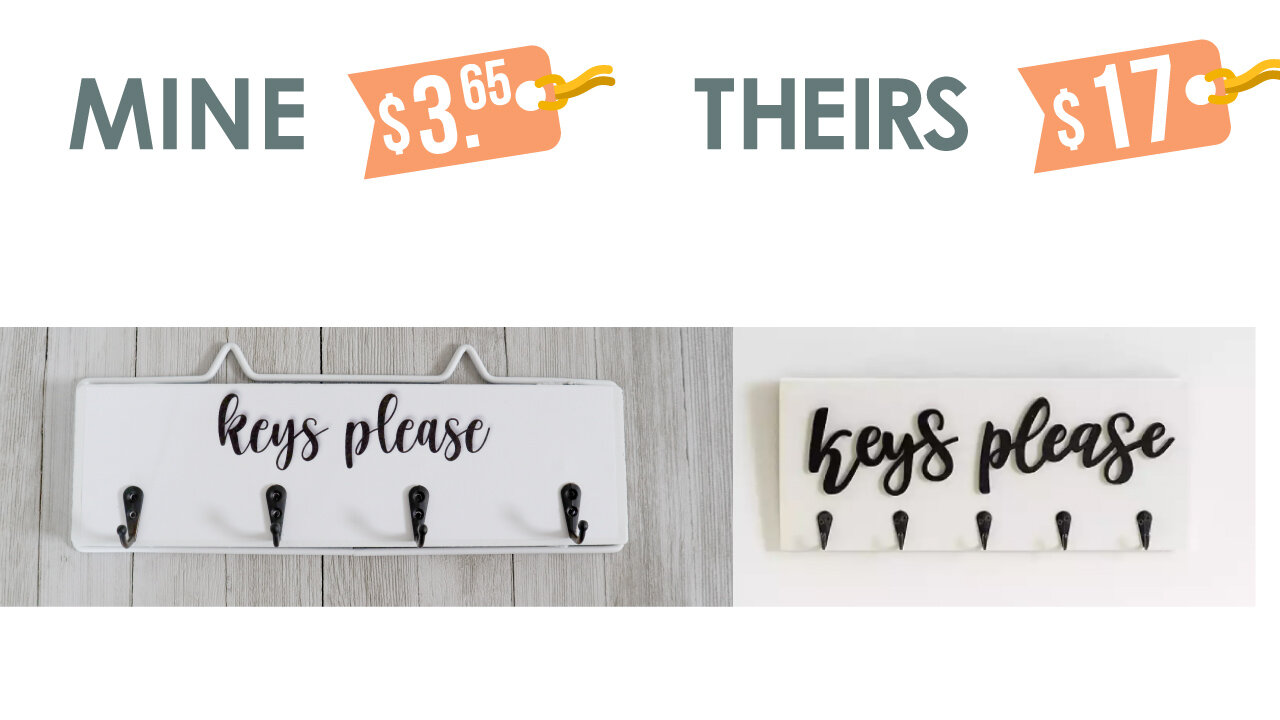
Here is mine compared to the Kirkland’s version. I actually like mine better!
// wooden initial crate
You can’t go wrong with a monogram piece of home decor. My name is Maria, so I’m going to dupe this wooden crate with the “M” initial.
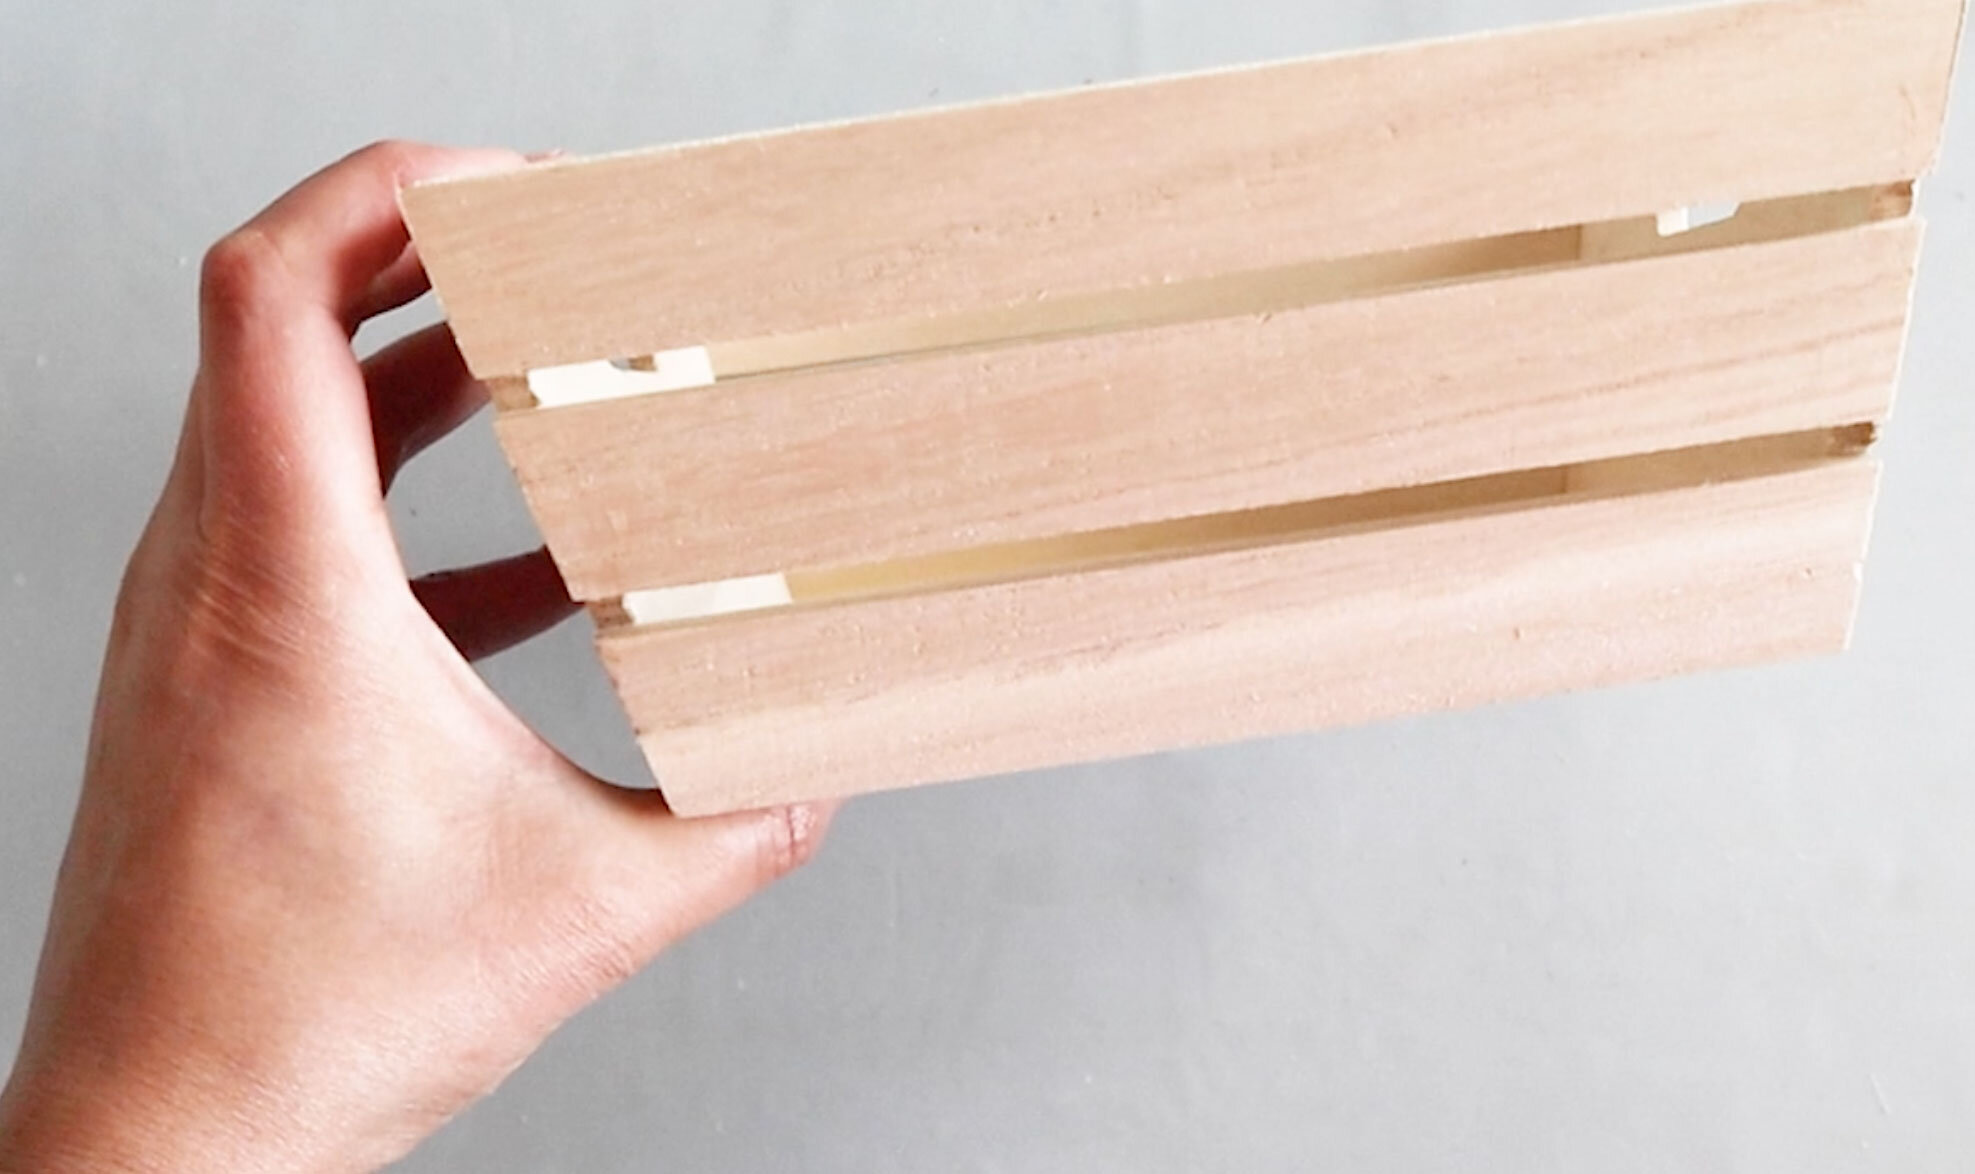
We’ll be using the new item I found in the Target dollar spot. This wooden crate was a good size and really sturdy for only $3.
I measured the crate and printed out a letter “M” at the right size. Using an X-acto knife, I cut the large straight edges and then went in and freehanded the smaller areas. See, who needs a Cricut when you have an X-acto knife, right?!
I used the Super 77 to glue this to the crate. Then I took a flat edged paintbrush and dry brushed some black streaks along the crate to give it that modern farmhouse look that the Kirkland’s version had.
Here are the items we had to pick up for this project…well, it was just 1 item since I already had the paint and paper. This was SO cheap!!
And here is mine next to the Kirkland’s one.
// “notes” sign
I thought this was such a cute idea for a memo board. This comes in a set of 2, but we will be making only the “notes” version today. So, we’ll say one is $27.50, if we cut that price in half.
I am going to upcycle a hoop, which I had used for another craft. You could use an embroidery hoop or even a small hula hoop from Dollar Tree.
I sanded off any glue and then measured out some thick twine.
We’ll attach this twine with hot glue to the back. I put a dot of hot glue down and then held one side of the twine on it and then finished off with another dot of glue on top to seal that twine in place. After one side dried, I could pull the twine taut and do the other side. I repeated this for each piece of twine.
If you have a staple gun, I think that would work well on a wooden hoop.
I gave the whole thing a coat of flat black spray paint. Then I trimmed off the scraggly edges of twine with some scissors.
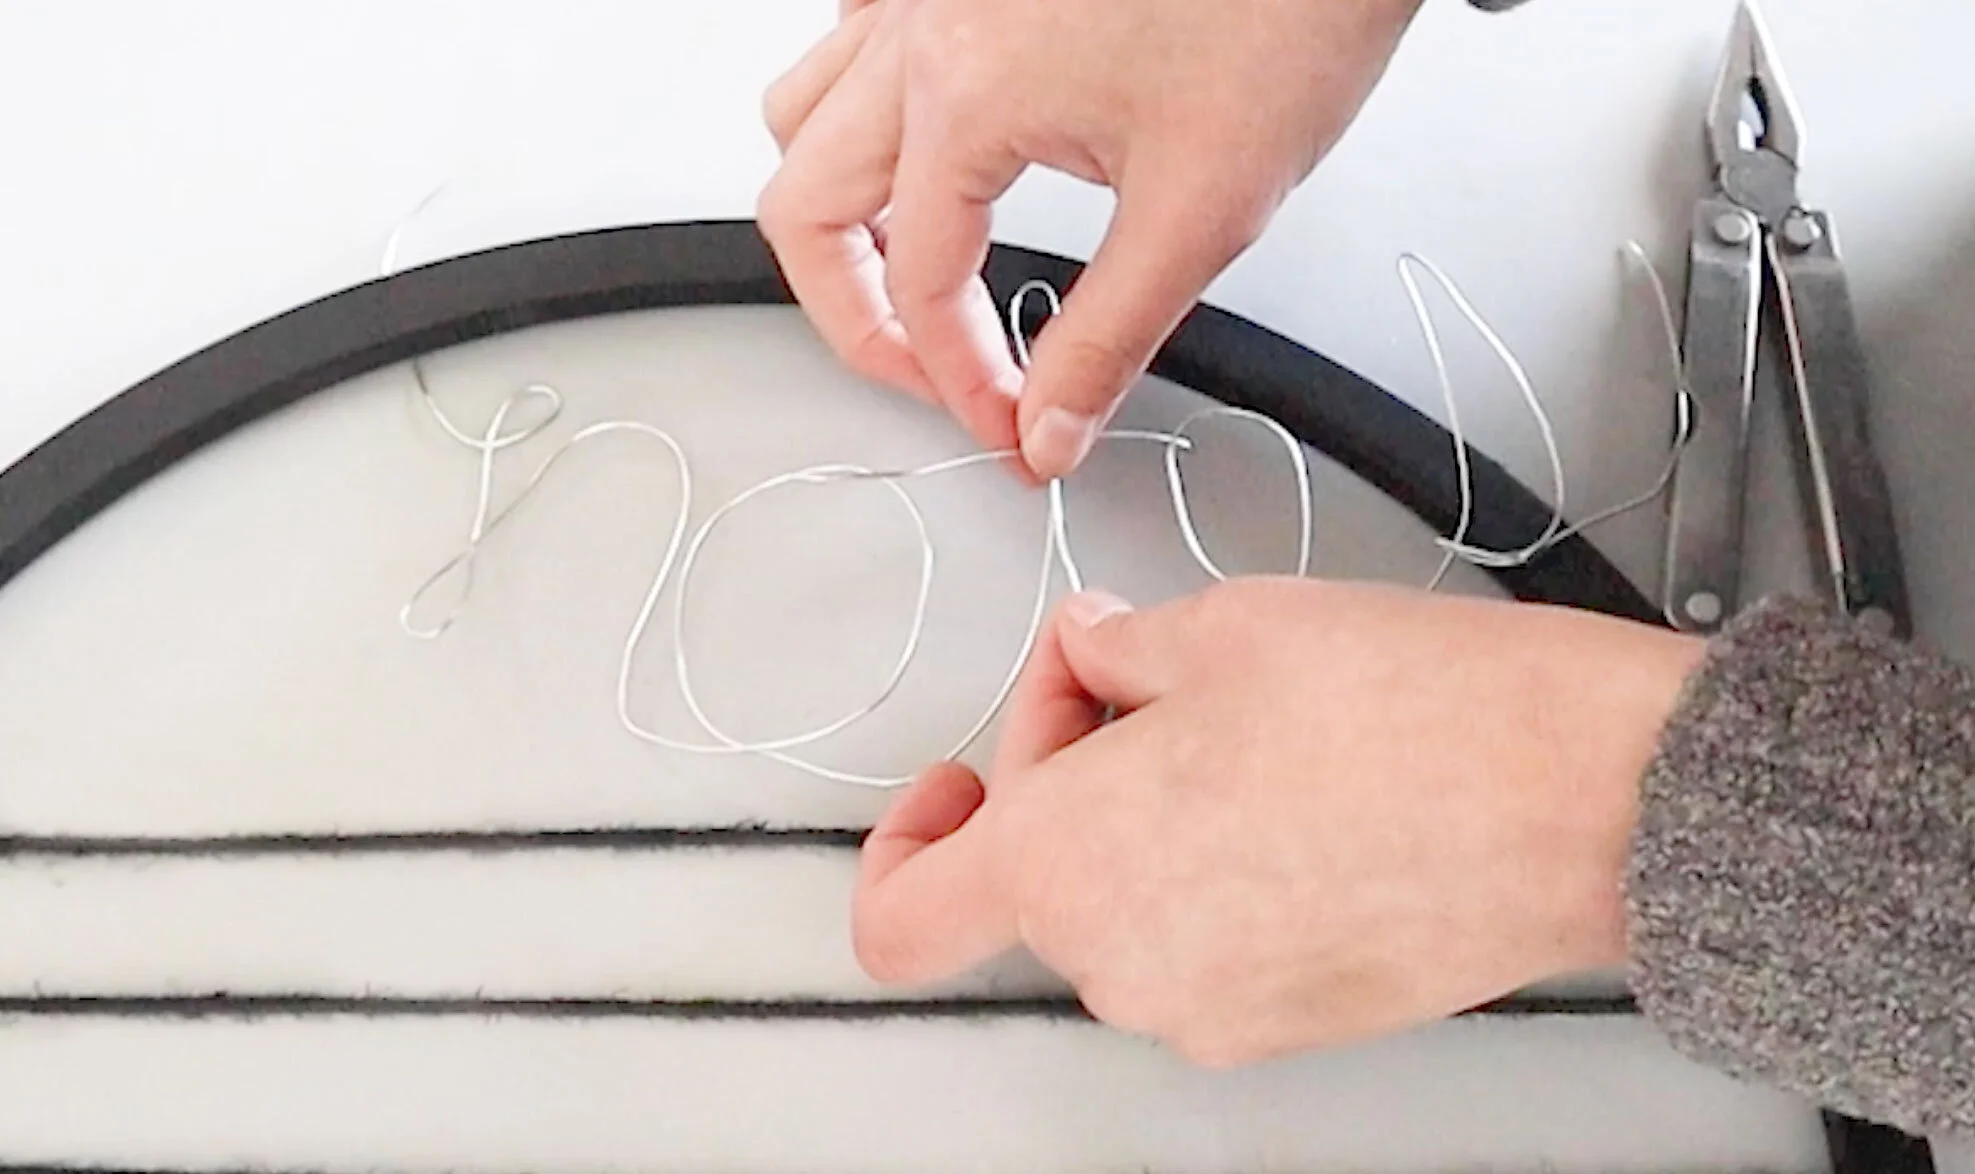
Now for the fun part, sculpting the word “notes” from some wire. I’m not sure what happened, but I went to 2 Dollar Trees, specifically looking for their floral wire and they were both out. So, that floral wire is in high demand right now for some reason.
I ended up getting this slightly thinner wire at Target and it worked fine, but I think the Dollar Tree wire would have worked much better.
I manipulated the wire until I got the letters just right and made sure to leave a little at the beginning and end, so I could attach this wire to the back of the frame. I did give the wire a coat of flat black spray paint before attaching it to the back.
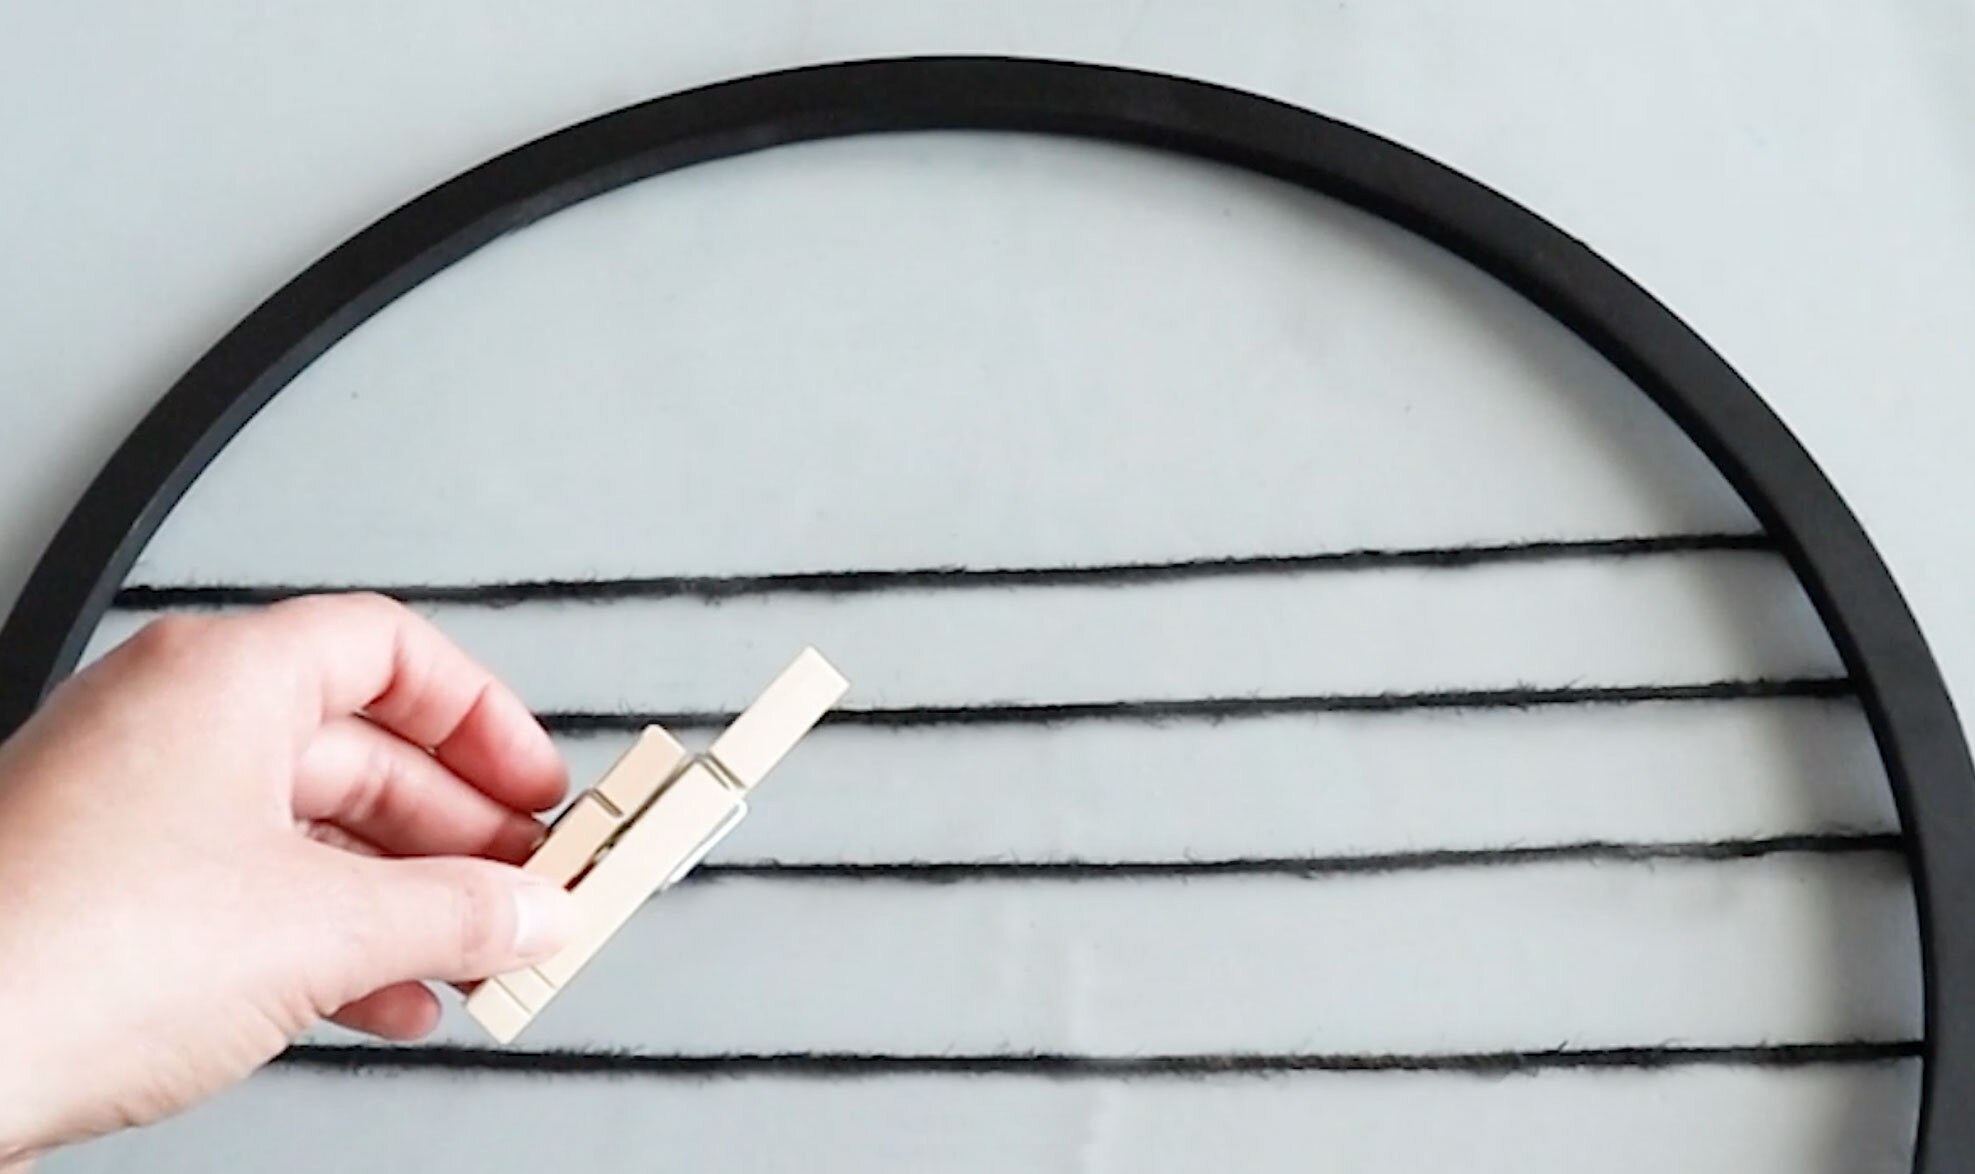
I had these mini clothespins from Dollar Tree. They are about half the size of a regular clothespin.
You can attach a chain if you want to copy the exact look of the Kirkland’s version or hang it on the wall without the chain and just add a picture hook to the back.
Here were the items we used.
And here is mine compared to the Kirkland’s one.
If you have a favorite home decor store and want to see me make copies of their items, leave me a comment below. I really love hearing from my readers, so I would love to make more dupes of store you want to see!
Here are some more posts with creative inspiration.
FTC: Not Sponsored. All opinions are always 100% honest and my own. Some links may be affiliate links. If you click a link and buy something, I receive a small commission for the sale. It doesn’t cost you anything extra and you are free to use the link or not as you choose. If you do use my links, I appreciate your support.











How about some Target Dollar Spot crafts and Dollar Tree coastal transformations. We’ll be putting together tiered tray miniatures to decorate our little coastal vignette.