Get the Anthropologie Look for Less Money | Dollar Tree DIYs
Have you seen the home decor at Anthropologie? They have some great items, but it’s a little expensive, so we’re going to dupe some of their Summer items for way cheaper.
I also created the video below, in case you want to watch the tutorials for all these dupes.
// diy mother of pearl tray
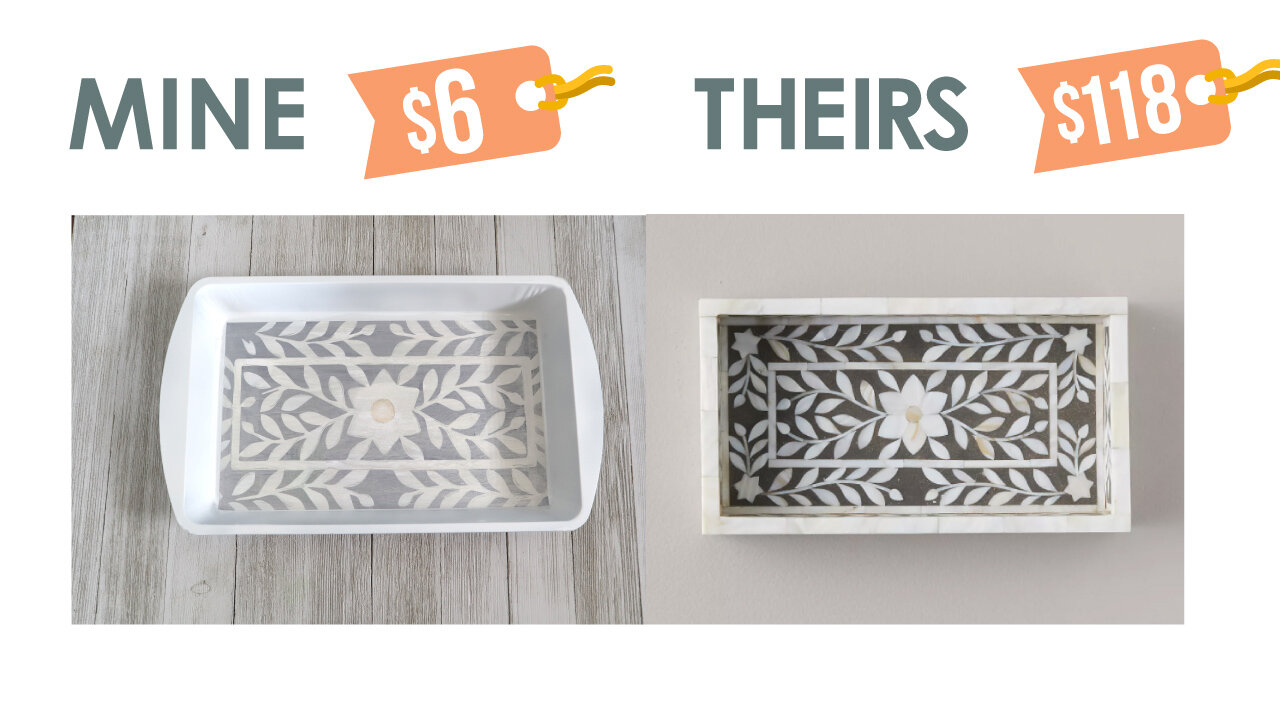
This mother of pearl inlay tray is beautiful. I love the pattern and it’s really elegant. I know we can make something similar for so much cheaper.
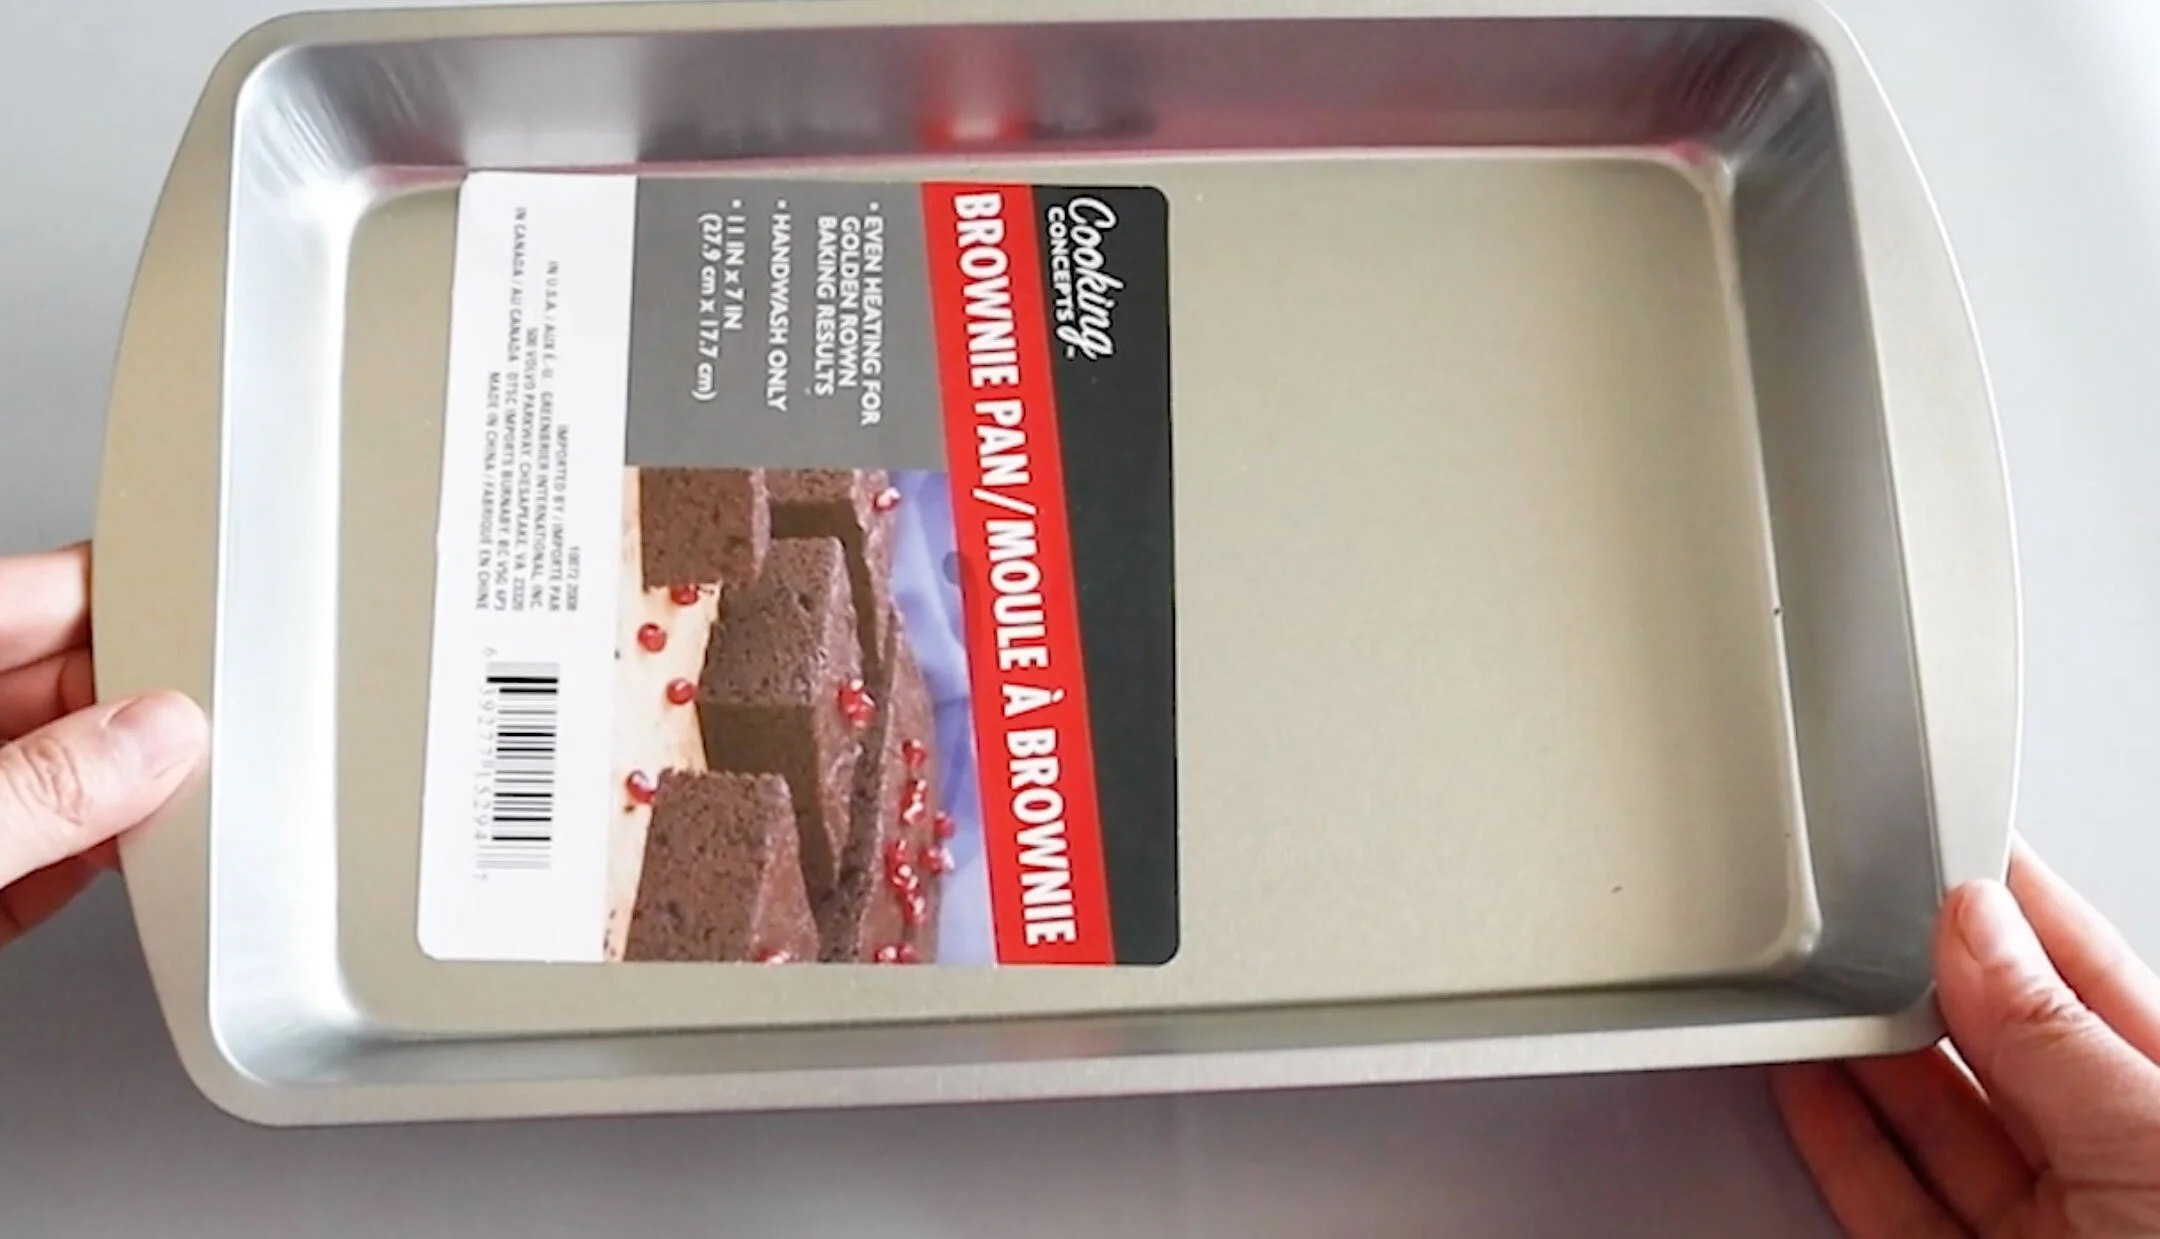
This brownie pan is from Dollar Tree and is a nice size for our decorative tray.
I gave it a coat of flat white spray paint and then measured the bottom of the pan, so I would know what size to make the printable for the inlay.
I started by making a similar design in Adobe Illustrator. Since we are not using actual mother of pearl, just recreating the look, we’ll be doing a few things to give it that shimmery look. The first way to do that is by giving the design a yellow gradient in the background. I felt that stark white on the light areas would look too flat.
After trimming this out and using some Super 77 spray mount to secure it to the inside of the pan, I am going to use this light grey pen to add just a little dimension around the edges of the white design. This doesn’t have to be perfect, I’m just adding a few lines here and there.
I found this pearlescent paint and was hoping it would be somewhat transparent…and yay, it was! I just used a brush to cover the entire design on the inside of the pan. This paint gives just the perfect amount of sheen to our tray to get that mother of pearl look.
Here were the supplies we had to pick up.
And here is mine compared to the Anthropologie version. What an amazing savings!
// diy jewelry dish
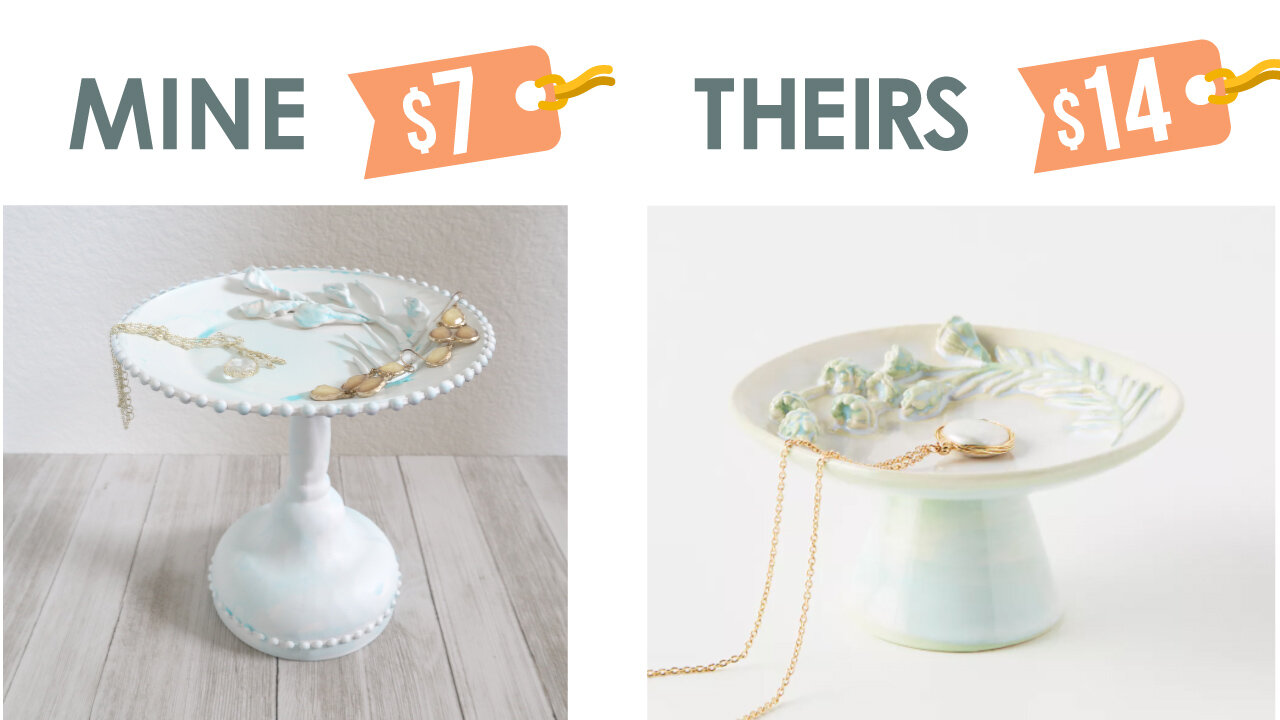
This trinket dish is so cute for holding jewelry. This was originally $14, but the version we are making will be much larger!
I’m going to upcycle this cupcake dish I had made from a Dollar Tree plate and Dollar Tree margarita glass. I glued everything together with E6000 and adorned it with some beads on the edge. Even though the inspiration one doesn’t have that beaded edge detail, I like the look, so I’m going to leave those beads right on there.
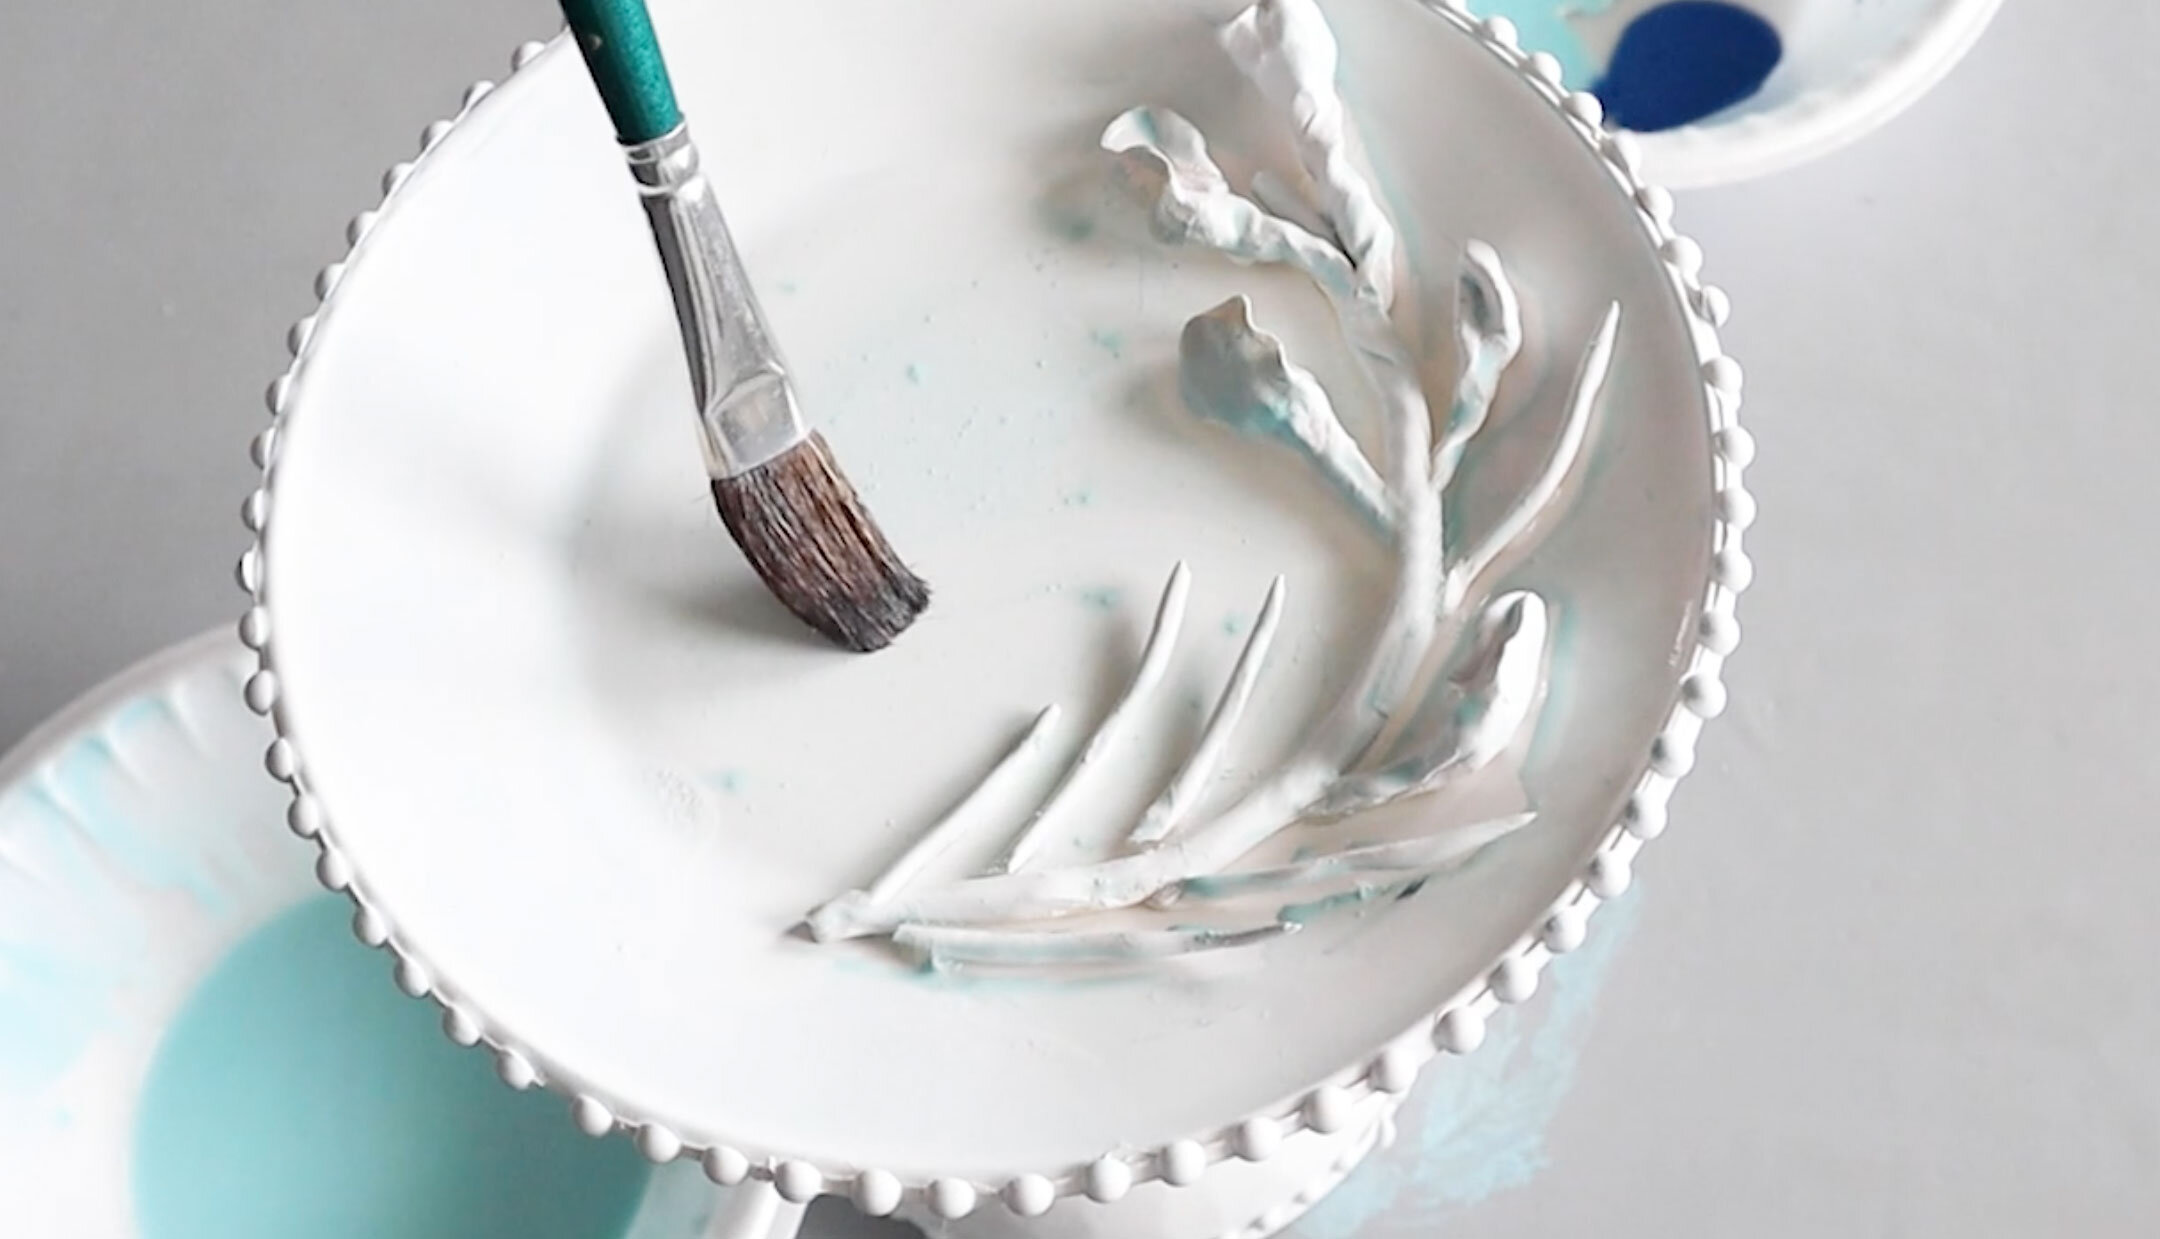
I rolled some air clay into long strips of various widths. I placed them on the top of the tray, so I knew I was getting them in the right position and size. The inspiration has a very abstract looking flower. We aren’t going for a photographic image with all the details. So, have fun with this part and sculpt away with whatever shapes your hands make. I love working with clay, it’s really soothing and makes you feel like a kid getting your hands all dirty.
After the clay dried for a day, I used E6000 to attach the pieces to the top of the tray.
After the glue dried, I gave everything a coat of flat white spray paint.
Then I watered down some light blue paint and used this paint wash all over our jewelry tray, letting the paint build up in some areas because the one from Anthropologie is very organic, not only in the way the sculpture is done, but also in the way the paint was applied.
So here were the supplies we needed for this pretty jewelry tray dupe.
We made ours for half the cost of the Anthropologie version and it is twice the size! I think this will look so pretty on a vanity counter.
// pot with flowers
These pots are so pretty. I love the simple color schemes.
I had a reader make a request to see how I would re-create the flowers on Anthropologie home decor items. I think my technique is similar to what you’ve been doing, Carla – thanks for the idea!
I didn’t have any pots on hand that were the same size as the Anthropologie versions, so I’m just going to use this little planter I recently found at Dollar Tree.
I don’t want the twine on there, so removed it fairly easily. This twine is much thicker than the twine they normally sell at Dollar Tree so I’ll be saving it, because I think it will come in handy for a future project.
I sanded off the glue at the top where the twine was.
Then I pushed some air clay into this silicone rose mold. Once it starts to hold its shape, but isn’t 100% dry yet, you will want to take these out and form them to the curve of the pot you are using. Then let them finish drying with that curve in them.
Once the flowers are dry, you can break off any rough edges and even sand the edges a bit to get them nice and smooth looking.
I gave mine a coat of paint and then used E6000 to secure them to the pot.
After the glue fully dries, finish up the design by hand painting some leaves in any empty spots. You could do a lacquer coat over this if you want to really secure everything in place.
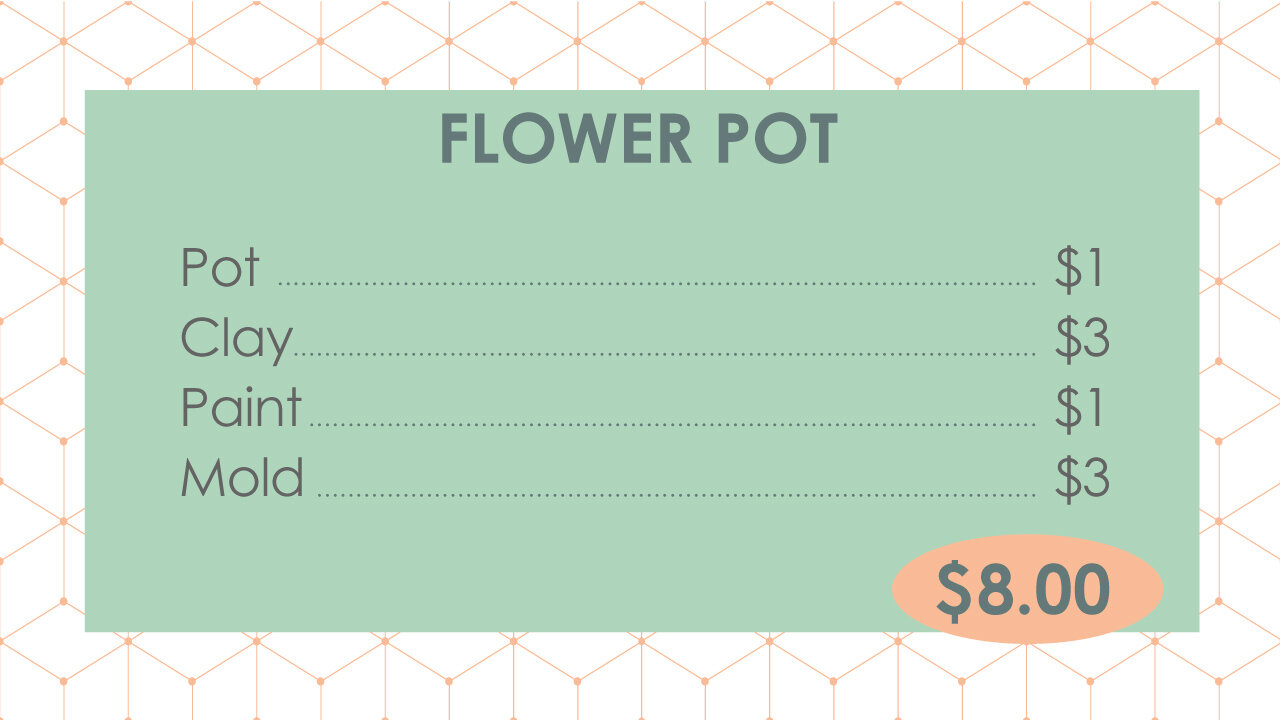
Here are the items we had to pick up for this project.
We saved $50 by making this ourselves and I actually like mine better than the inspiration photo! Plus, it was fun working with that air clay. :-)
I hope you enjoyed these dupes. If you have a favorite home decor store that you would like to see “dupes” from, leave me a comment below.
FTC: Not Sponsored. All opinions are always 100% honest and my own. Some links may be affiliate links. If you click a link and buy something, I receive a small commission for the sale. It doesn’t cost you anything extra and you are free to use the link or not as you choose. If you do use my links, I appreciate your support.











How about some Target Dollar Spot crafts and Dollar Tree coastal transformations. We’ll be putting together tiered tray miniatures to decorate our little coastal vignette.