Fall Craft with Me
August seems early for Fall items to come out, since it’s still 80 degrees in Colorado and may still be warm where you’re from. But I wanted to get a head start on my Fall decor and give you a few ideas to get you started on your Fall projects.
If you want to see the Dollar Tree haul and what I got at Dollar Tree for $67 (hint: it’s a lot), then check out the video below. I had so much fun on my last trip to Dollar Tree because they had lots of cute Fall items there and I couldn’t resist picking up…basically all of them.
If you’re here for the free printables for these projects, fill out the form below to get your download.
// soft pumpkin wreath
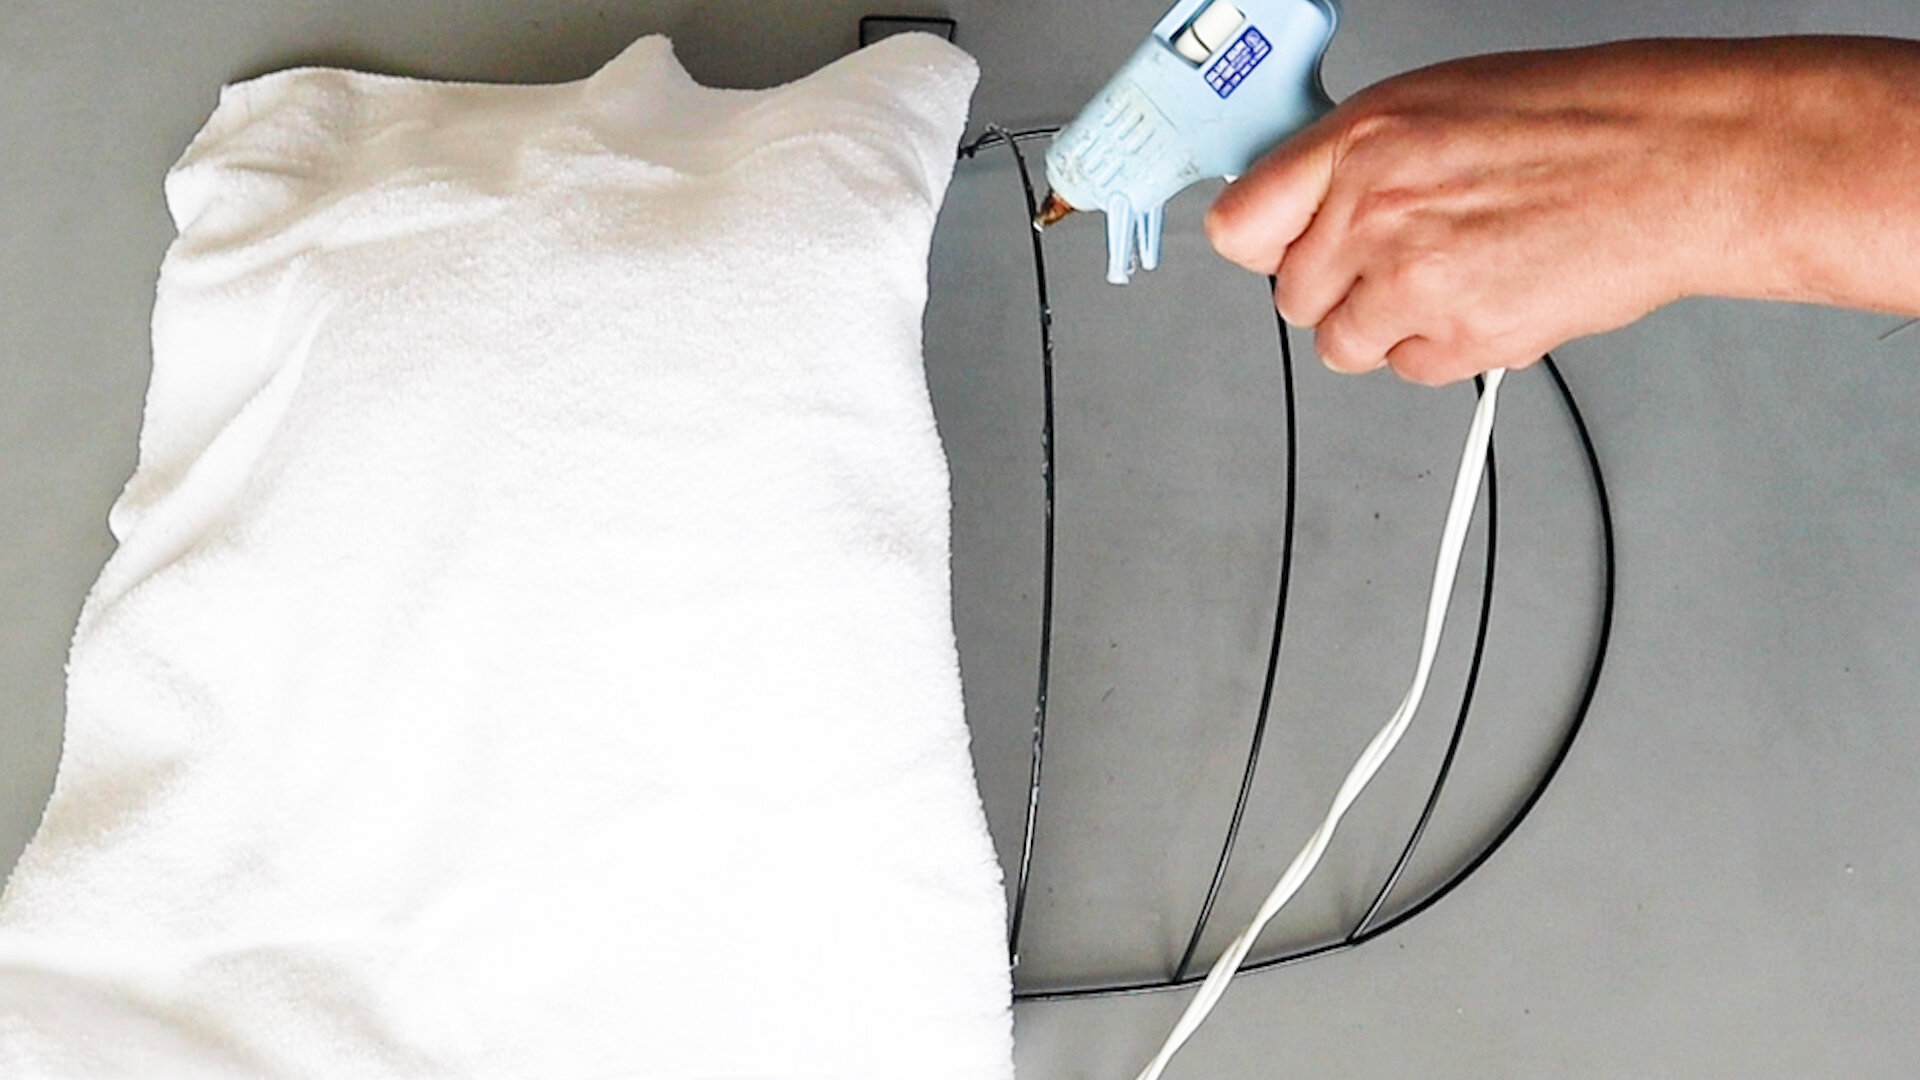
We’ll start with this large pumpkin wreath form and a white microfiber cloth, which you can find in the automotive section. It was just the right size to fit over the pumpkin wreath form. I went section by section just getting the cloth glued into place on the wreath form.
This is such a nice soft cloth, but you could use any type of fabric for this part. Felt or any thin fabric would work nicely on here. If it has a little stretch to it, even better, because you can maneuver and tug the fabric a bit easier, if you need to.
Next, I trimmed the excess fabric off and folded the edges over the back and glued in place.
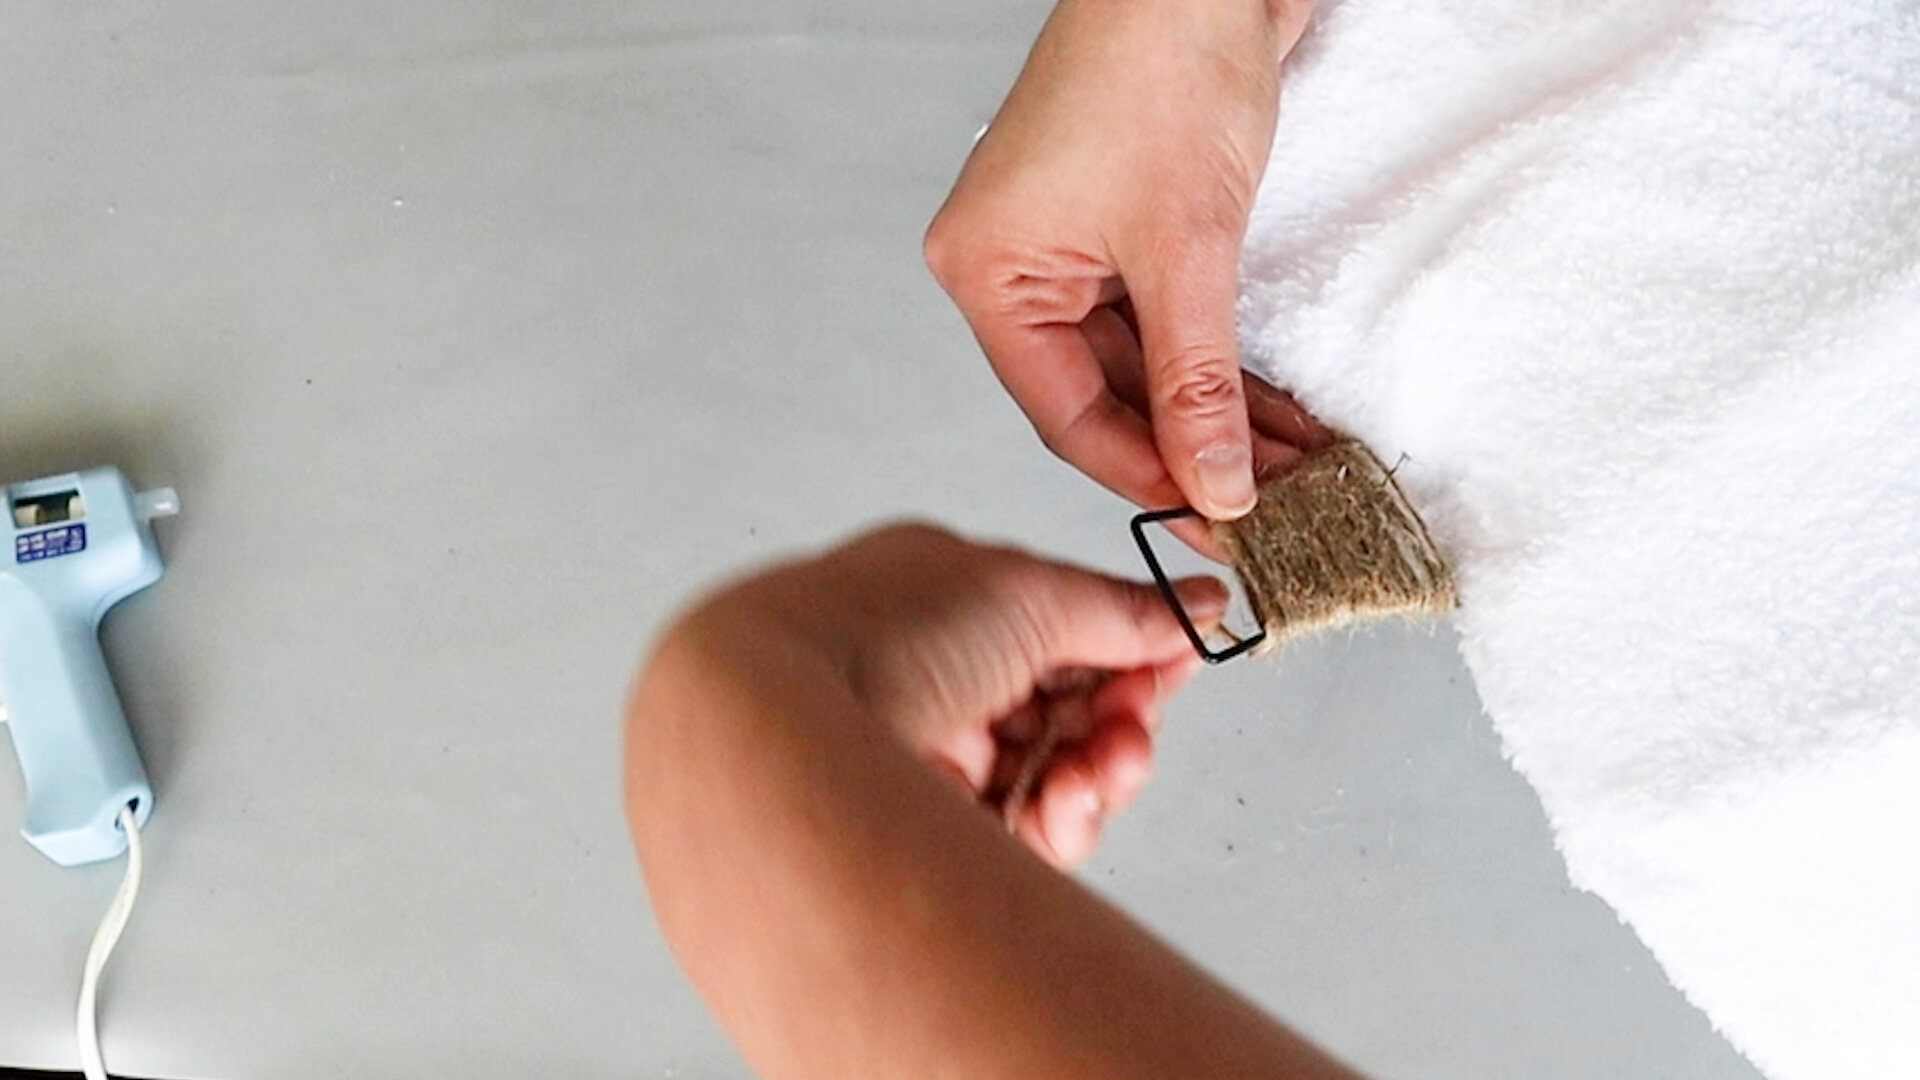
For the pumpkin stem, I grabbed a roll of Dollar Tree twine and wrapped it around the top, securing with hot glue as I went along.
I loved this checkered ribbon for my Fall crafts today and it was the only one I saw at Dollar Tree, so I snatched it right up. I’m making a bow for right under the stem.
First loop some ribbon in a figure 8. Secure the middle with some floral wire.
Then take another piece of ribbon and fold under the 2 sides to make it the right width for the center.
Secure this center piece with hot glue on the back.
Then use a dot of hot glue to attach the bow to your craft.
There are so many pretty Fall florals at Dollar Tree, but I’m going to use these dahlias I found in the latest Fall section at Dollar Tree.
They have clips on the back, so you could clip them right to the fabric, or glue them in place. I ended up adding a few more florals in addition to the dahlias to finish up the look.
// easel stand fall sign
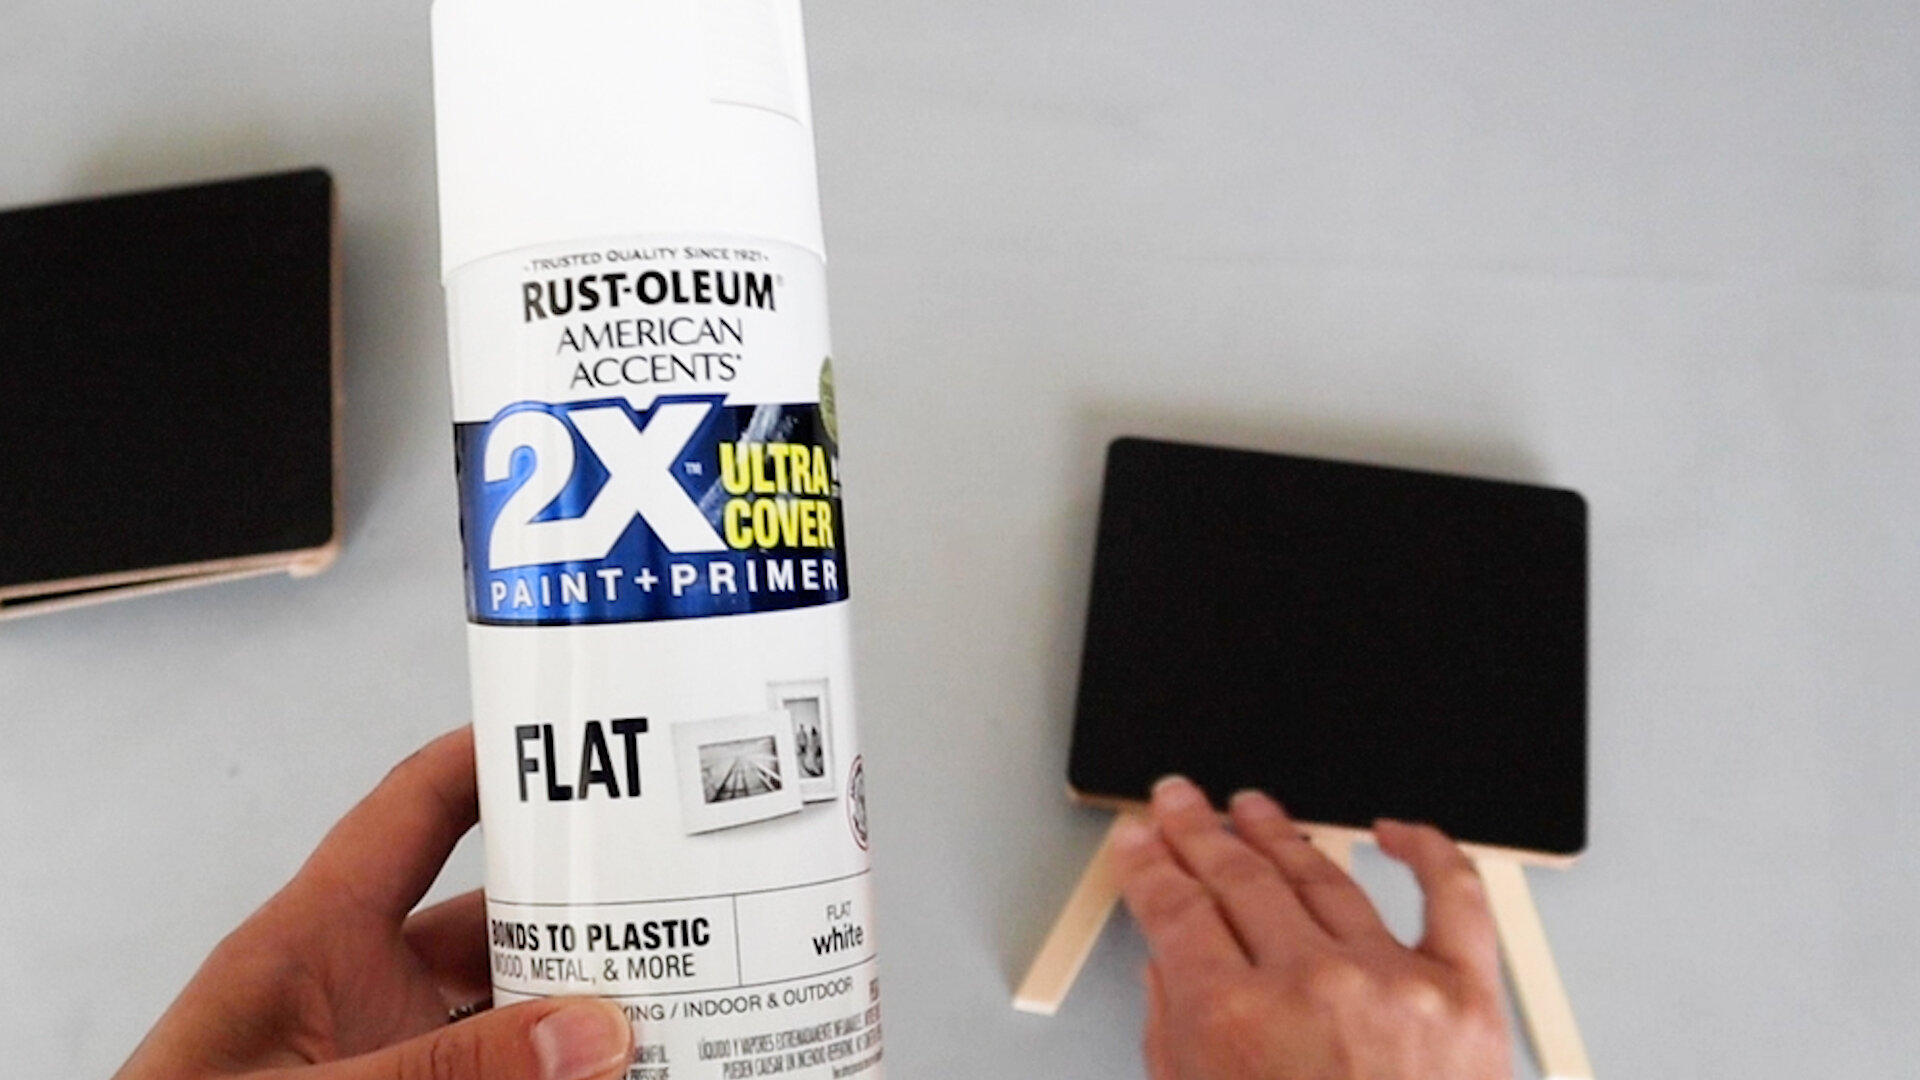
I grabbed a few of these easel back signs. They are little chalkboards and even come with a piece of chalk. But I will be painting these with white spray paint because I want to paste a light colored sign on them and don’t want any dark show through.
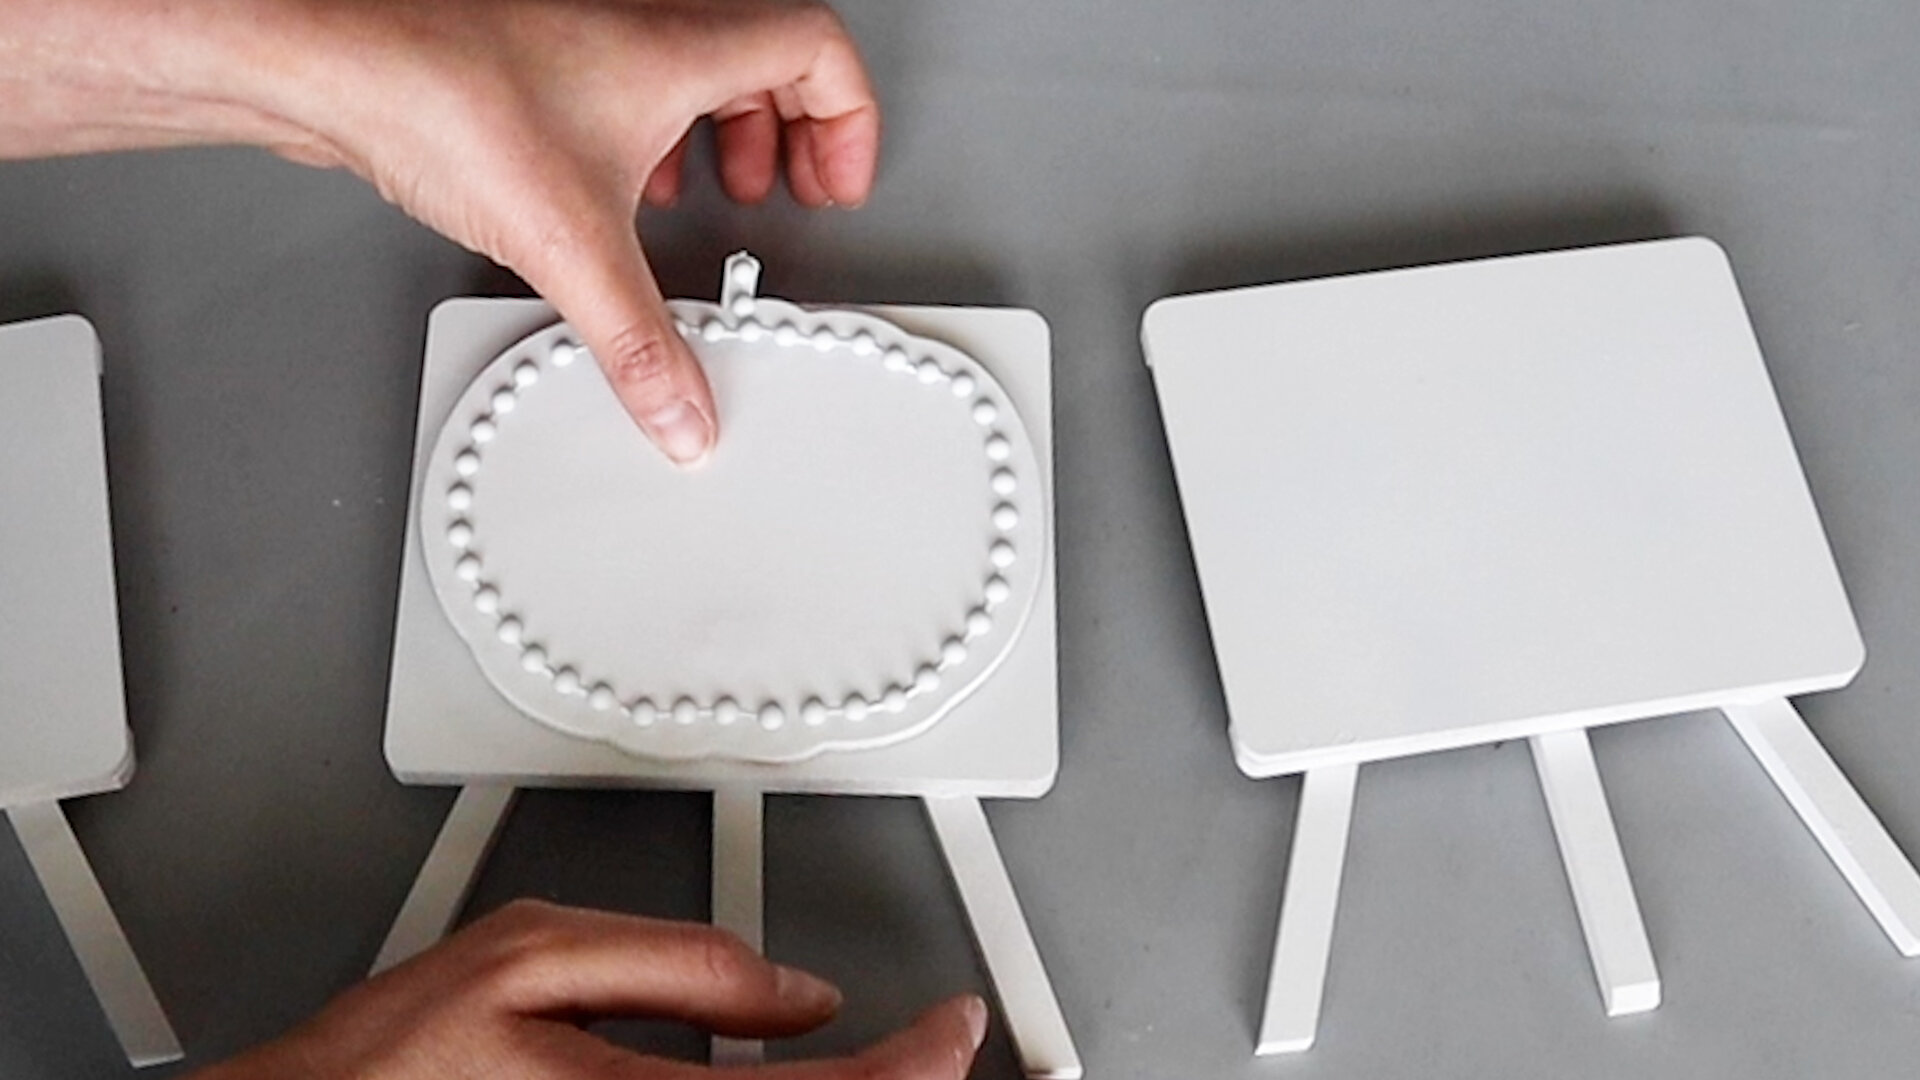
On one of the easels, I want to have a pumpkin, so I’m going to disassemble another sign I found at Dollar Tree because one of these pumpkins will fit perfectly on that easel.
I added some of these 3D stickers around the edge. I will give this a coat of white spray paint.
Since the middle sign will have the pumpkin, I’ll dress up the other 2 easels with some bows.
I traced the signs and then trimmed them out with an X-acto knife and then rounded the edges with some scissors. Use a little Super 77 to stick those signs down.
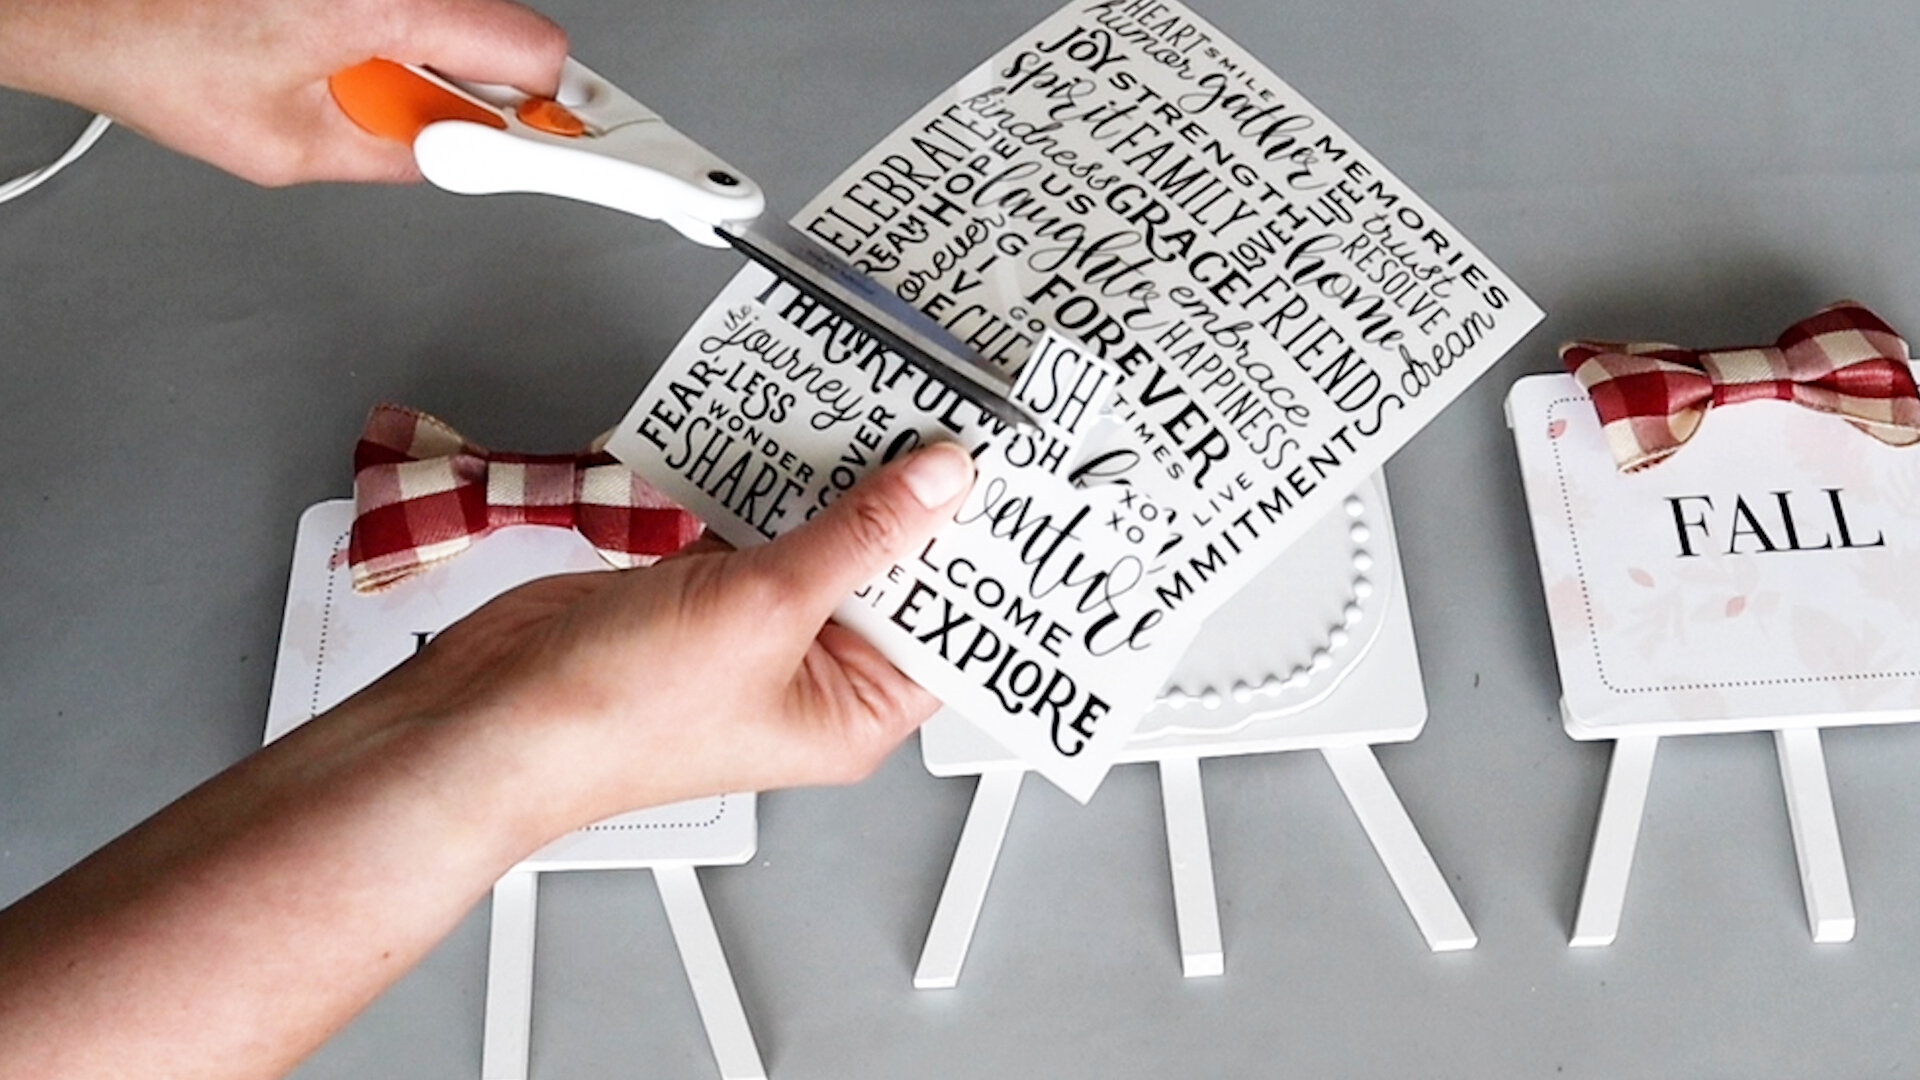
These rub on transfers are great if you don’t have a Cricut or other cutting machine. They come in so many different fonts and words and themes and colors.
I just want the word “is” for our middle sign, so I’m going to carefully cut that out.
All you have to do is press and then peel off the plastic and you can’t even see the edges.
// “hello fall” sign
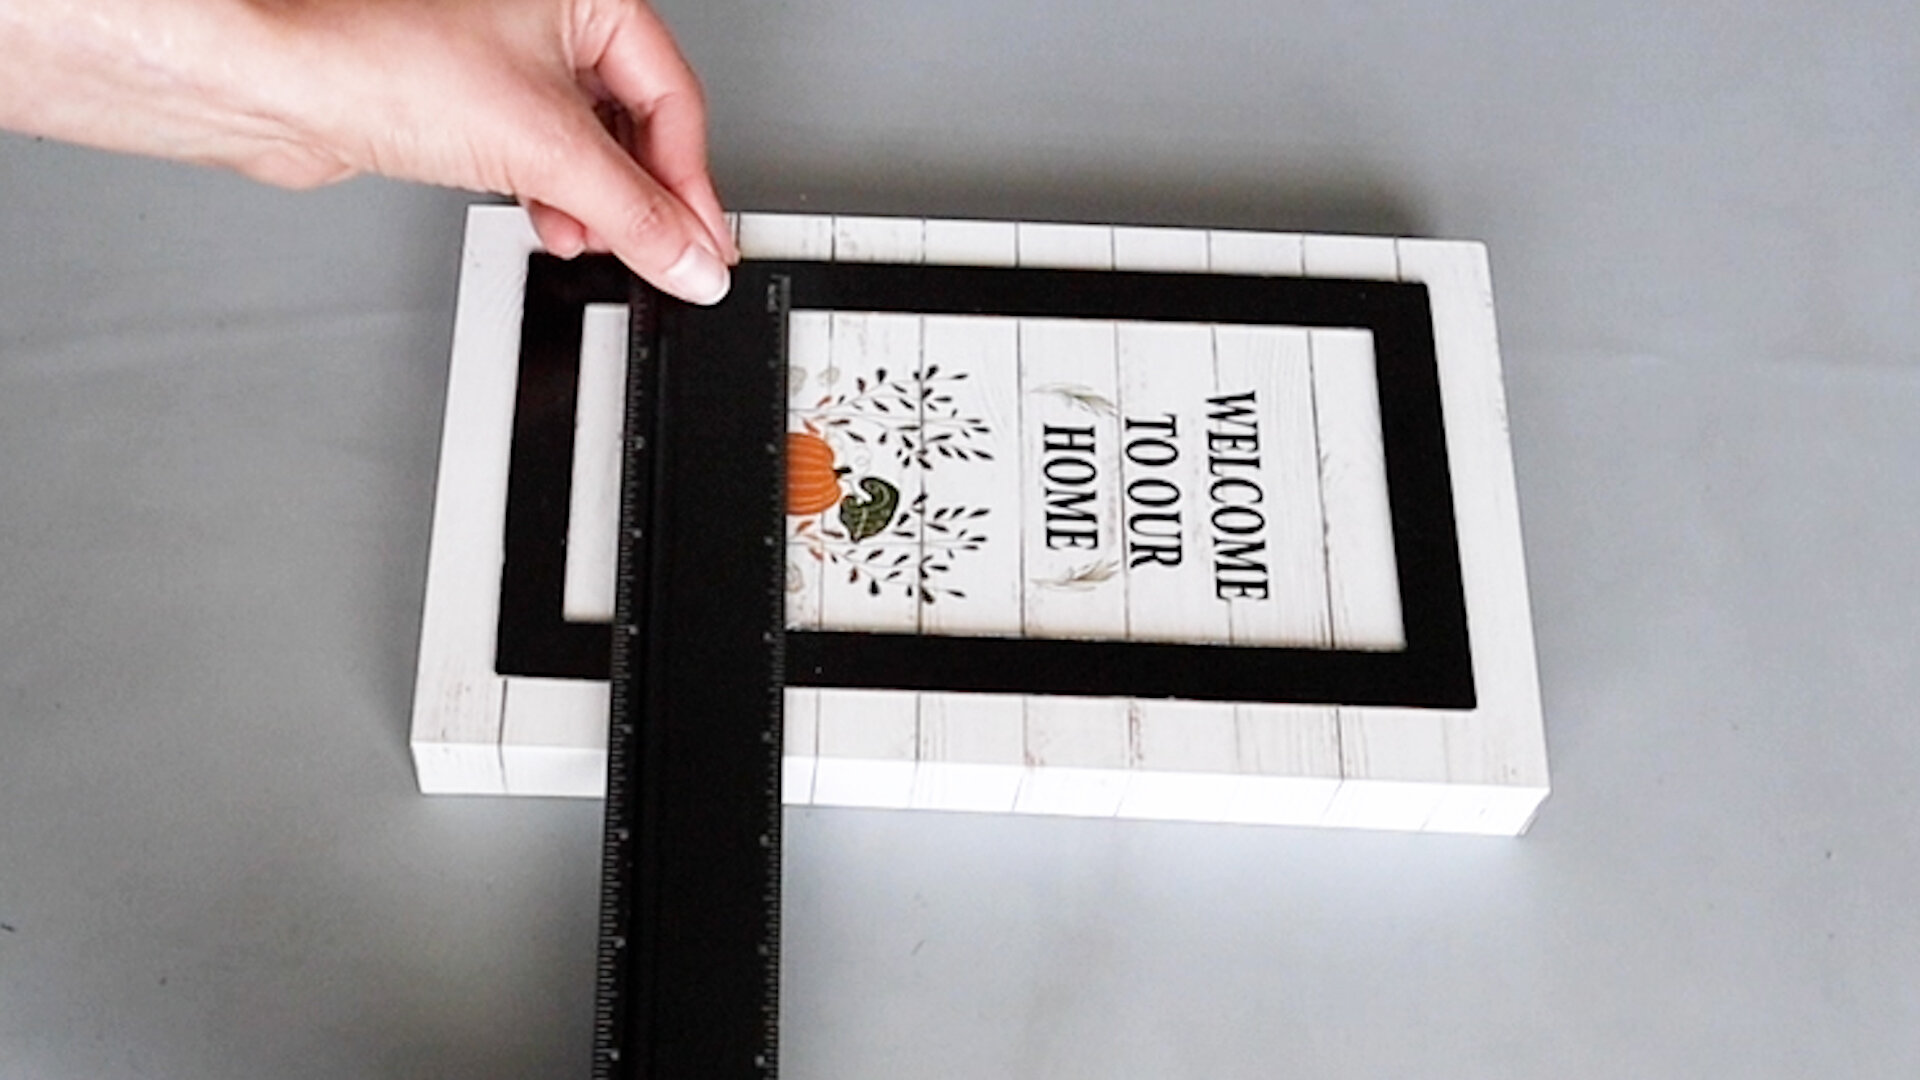
I really like the faux wood design this sign has on the edges. So, I won’t give this a base coat, like I do on most of my other project. But I do want a more elegant look to this piece, so I’m measuring the inside of that black frame, so I can create a sign for the middle part.
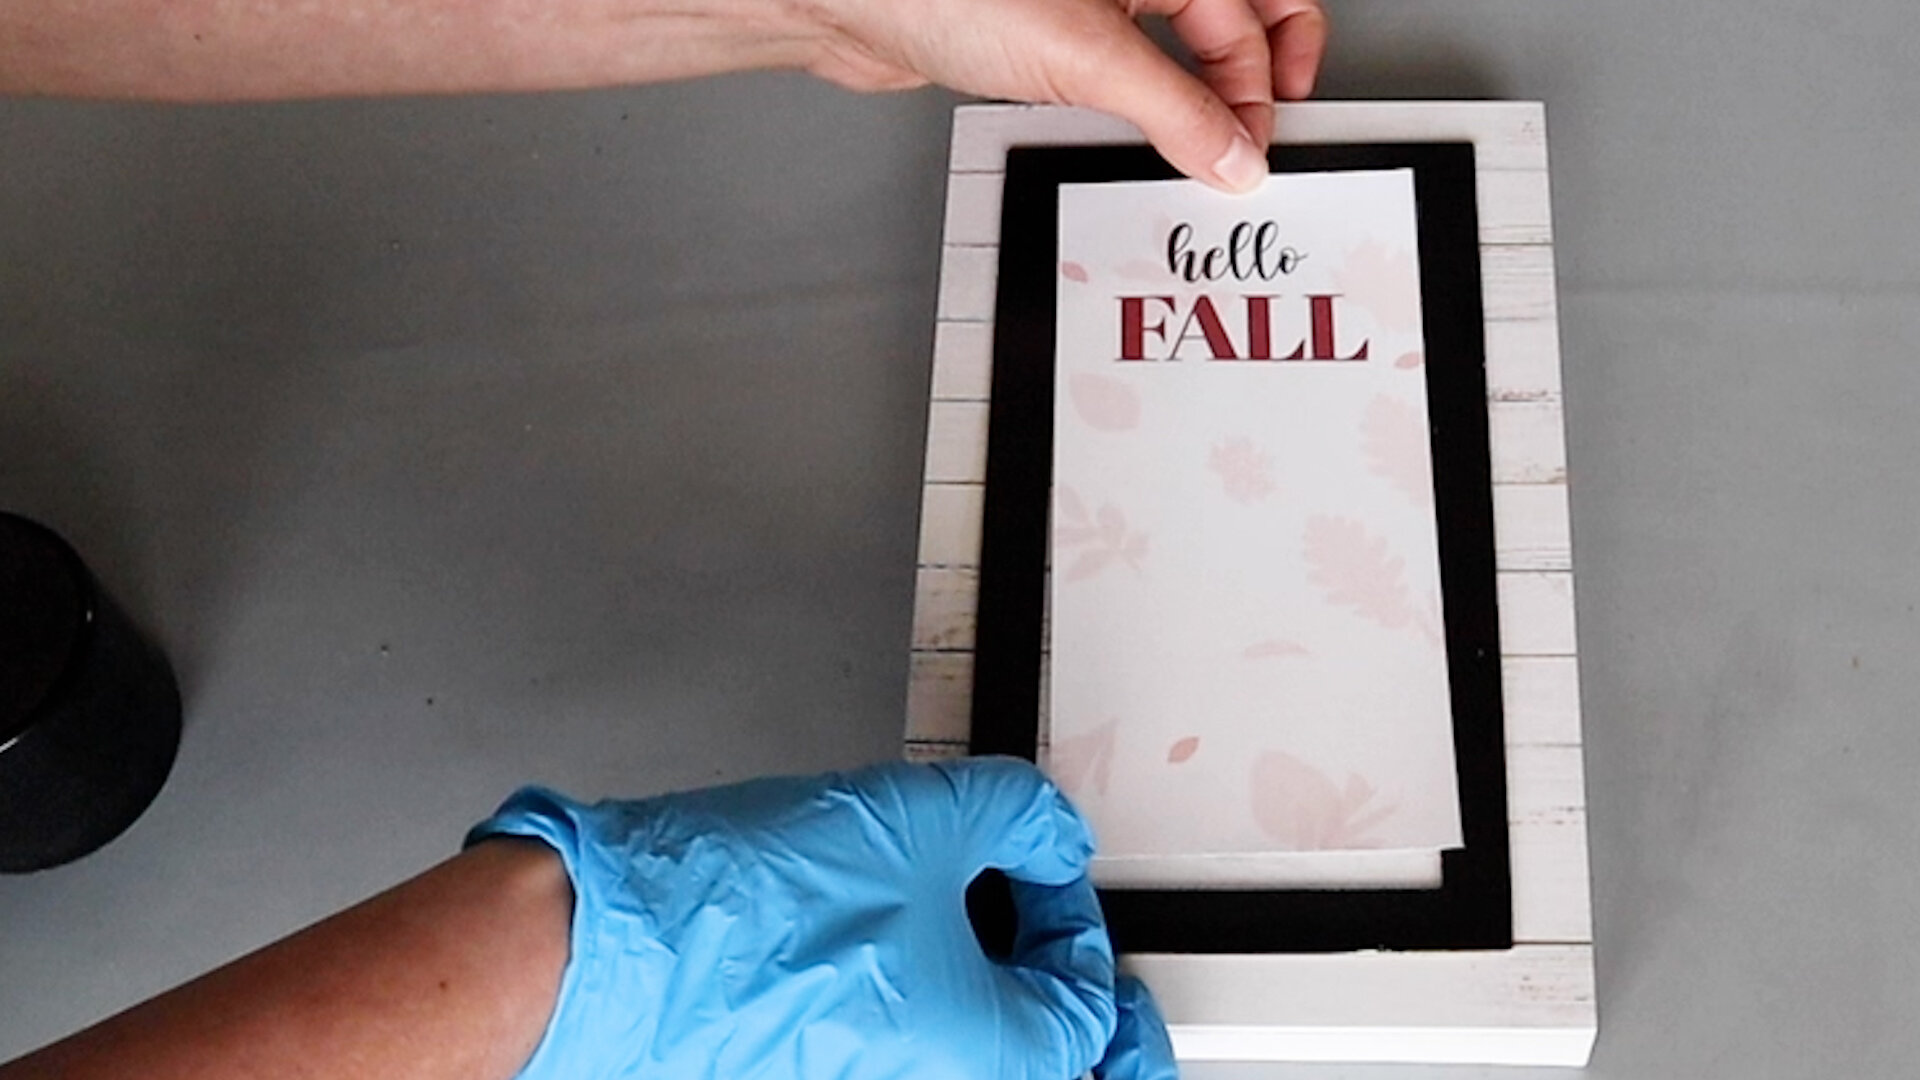
Here’s what I came up with and I did a white and orange version, which you can download below.
After trimming out the sign, it’s time to bust out the Super 77. I always use gloves when working with Super 77, because that stuff is potent! It gets the job done, but will also be on your hands for the rest of the day, if you don’t use a glove.
I loved these little wheat branches I found at Dollar Tree and had never seen them there before. I decided these would look nice as part of our sign to give it a bit of dimension.
I added a bow and a pumpkin, so it would match the other decor we created and that bow was also a good way to cover the bottom of those wheat stems.
If you enjoyed this post, you may like these too!
FTC: Not Sponsored. All opinions are always 100% honest and my own. Some links may be affiliate links. If you click a link and buy something, I receive a small commission for the sale. It doesn’t cost you anything extra and you are free to use the link or not as you choose. If you do use my links, I appreciate your support.













How about some Target Dollar Spot crafts and Dollar Tree coastal transformations. We’ll be putting together tiered tray miniatures to decorate our little coastal vignette.