Spring and Easter Decorating Ideas
If you’re looking for some craft ideas for the Spring season, I’ve got 3 cute Dollar Tree Easter DIYs that are so fun and easy to put together and will make your home look beautiful.
I did free printables for all these crafts, which you can download right here. I’ll also put this download at the bottom of the post, so you can take your time reading and then download when you’ve gotten down to the bottom.
// dollar tree cutting board
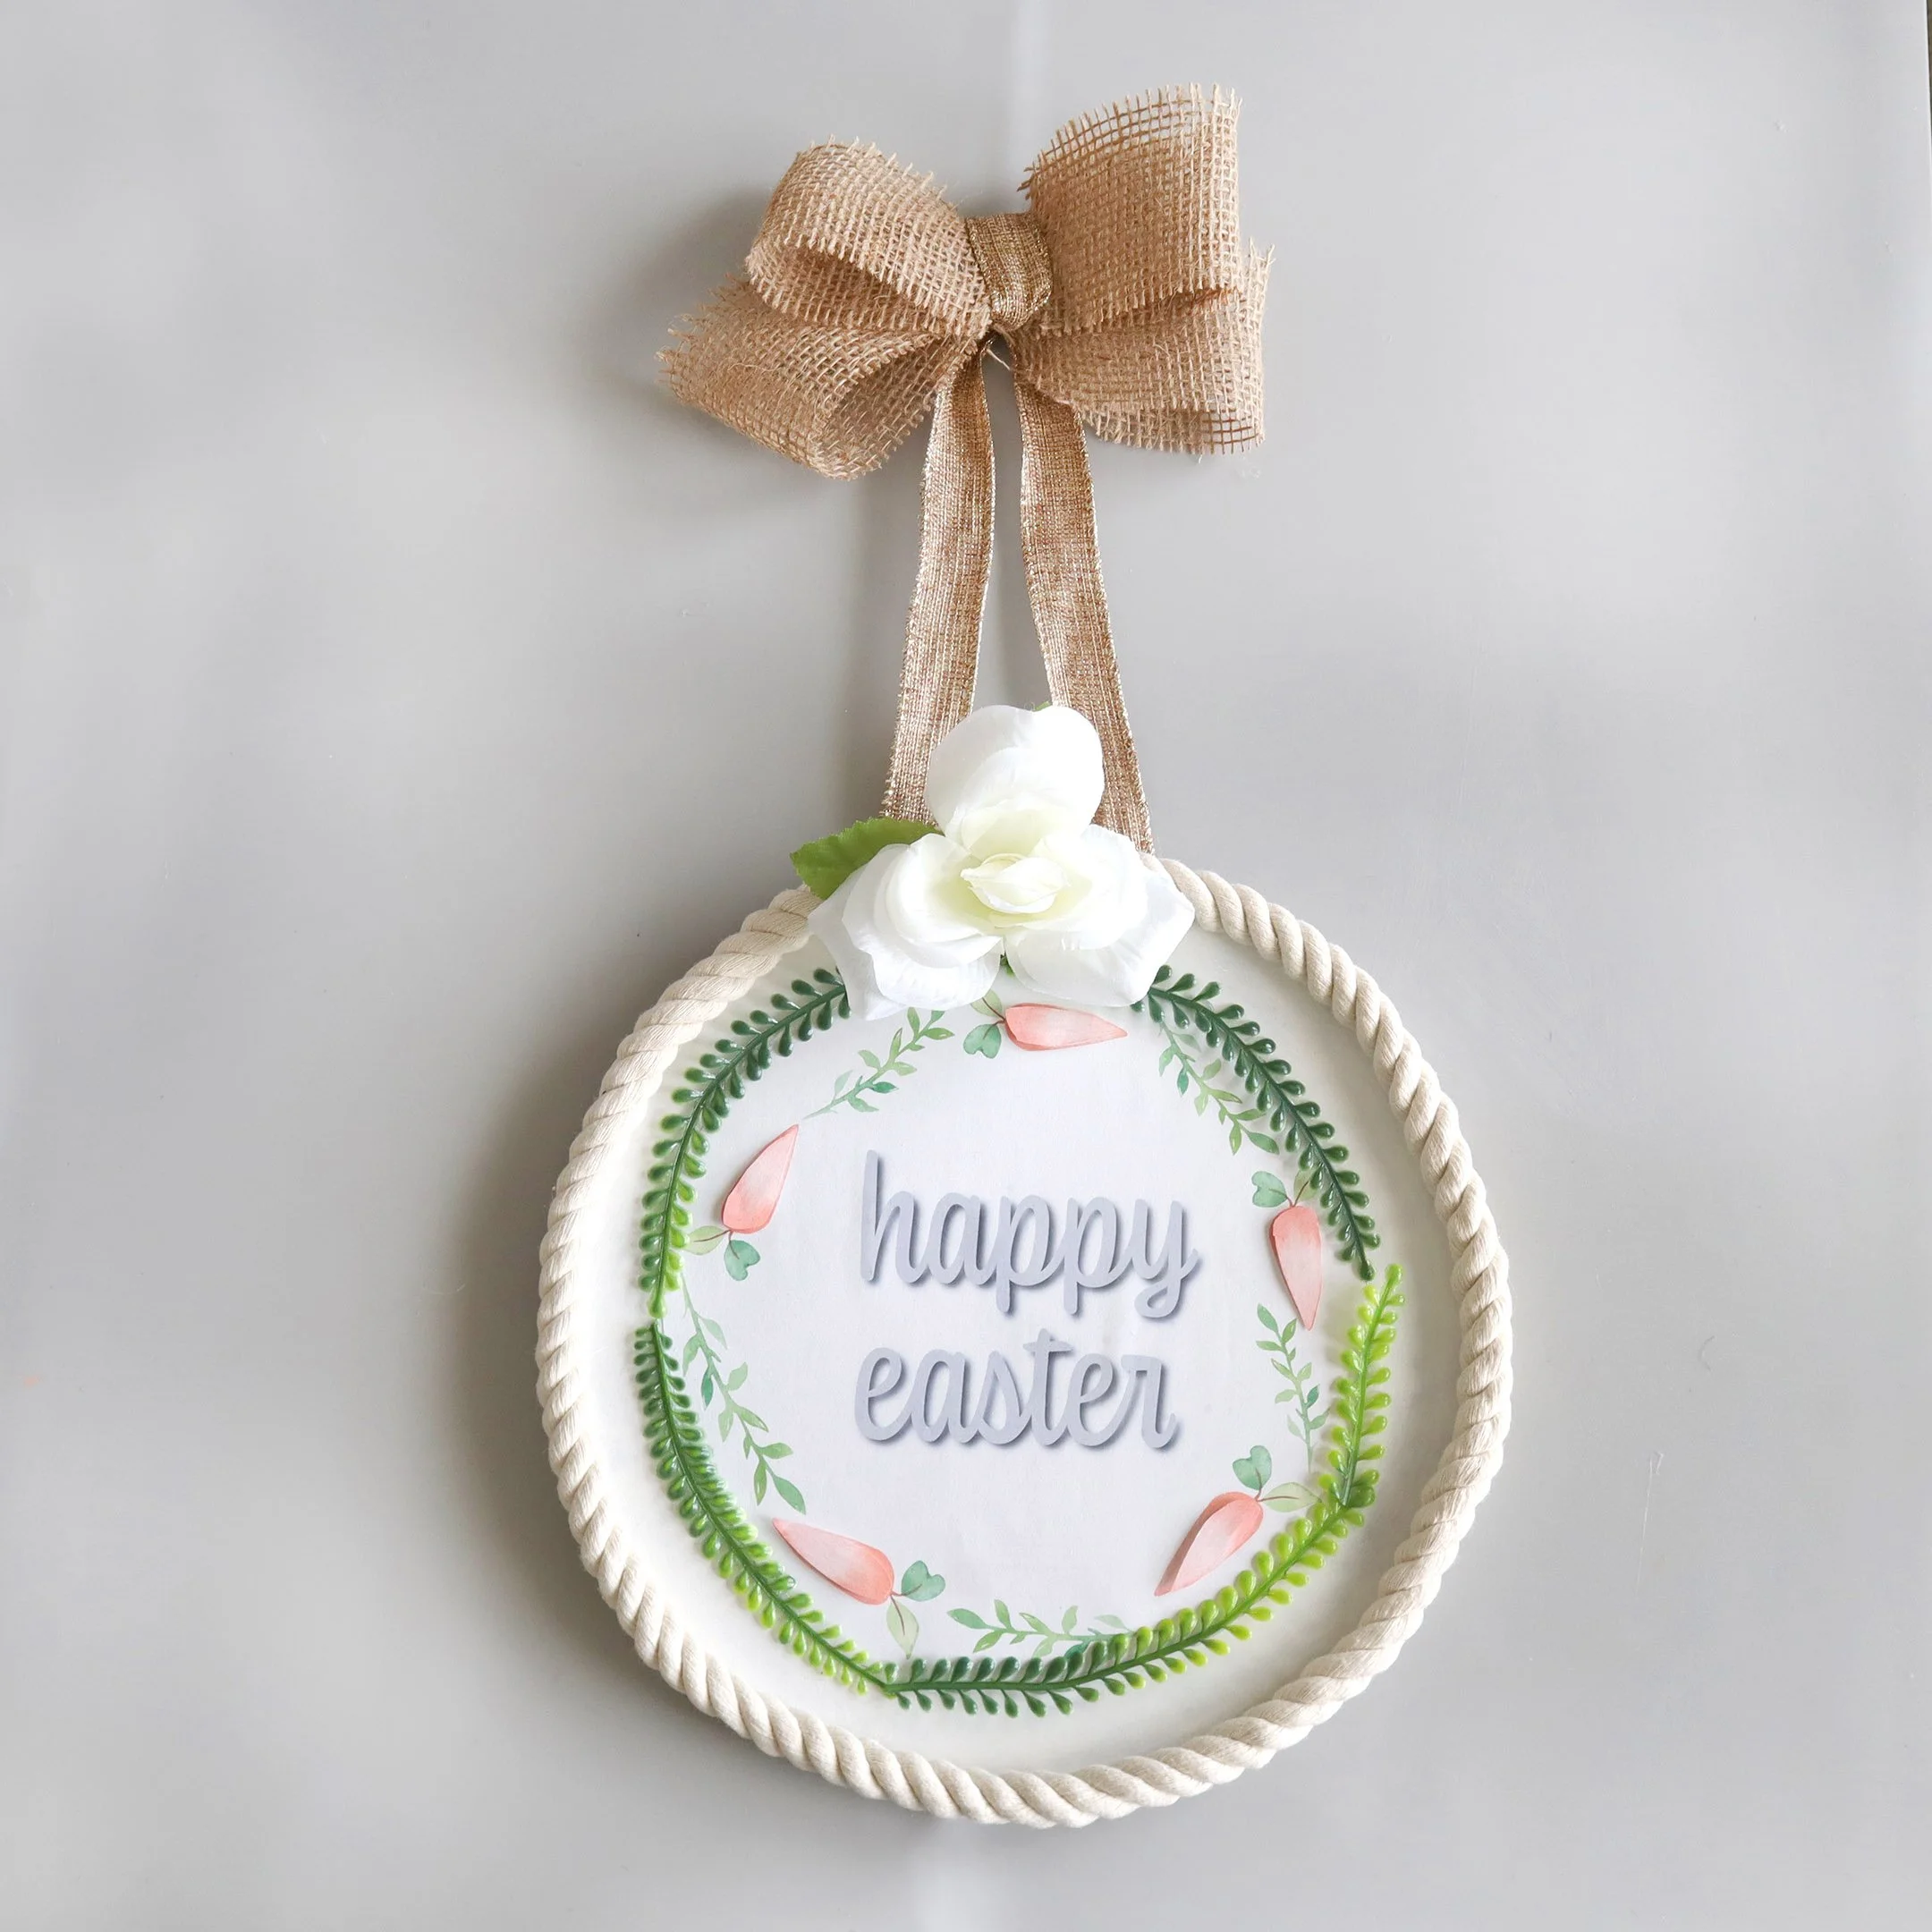
I found this plastic cutting board at Dollar Tree and thought it would be a nice backing for a sign.
I’ve been a graphic designer for my entire career and I’ve used a lot of spray mount in my days. And let me tell you, Super 77 is the best stuff out there. Super 77 will really stick down anything super well. I’m going to take the printable I made outside and spray it lightly with the Super 77 and then bring it back in and smooth it onto the cutting board.
I love this bright white rope off of a Dollar Tree mop had for trimming up my DIYs.
I’m just using some hot glue to attach it to the edge of the paper. Where the ends connect, I put a little dot of glue on the edge and fuse them together.
I trimmed off the corners of the paper and also any spots where the mop head rope got roughed up. That mop head is great, but it does shed a little if you work with it too much. No problem though, because you can just trim off any rough edges.
I thought a few sprigs of greenery and white flowers at the top of this would really dress it up.
Now we ned a way to display this bunny decor. I saw these artwork stands at Dollar Tree. they had a few different colors, but I got the gold one and then decided to give it a bit of white paint.
I had done a tutorial awhile back on painting this Dollar Tree charger and I’m going to use this as a layer behind the sign we just made. Let’s see how it looks.
Here is the total cost for the items we had to pick up at Dollar Tree.
// Easter wheel barrow
I picked up this small wooden crate at Dollar Tree and was trying to figure out what to do with it. I just created a cute sign for the kitchen with the other one I bought, but I think we’re going to turn this one into a little Easter wheelbarrow.
I started by glueing 4 wooden blocks together. You can find those in the toy section at Dollar Tree – they look like a mini Jenga tower. Dollar Tree recently started selling these in double the size that they used to, so I was happy about that!
Next, I attached a ping pong ball, which will be the very fat tire in the front. And then I glued the two wooden block pieces to the bottom, on either side of the ping pong ball.
I added two more blocks to the bottom to act as the stand to hold the wheel barrow up.
I took this outside and gave it a coat of flat white spray paint. I decided I wanted to add a little design to the side so I measured it and then hopped on my computer and made the printables, which you can download at the top and bottom of this post.
I’m going to trim each of these sections out. When you’re using an Xacto knife, make sure to start the blade out a little further than the edge of where you want to start cutting. When I got to the last slice on the section, I used my finger from my right hand to hold the paper in place, so it wouldn’t shift.
I put a light coat of Mod Podge on to glue these down. Then after that dried, you can add another light coat on top, if you like.
I had these speckled eggs a couple years ago. I did see some similar in the Target dollar spot this year.
Or you could get the plastic ones at Dollar Tree and paint them in pastel colors and then add your own speckling with some splatter paint.
The finished Easter wheel barrow! Isn’t it cute?
Here are the prices for the items we bought for this cute Easter wheel barrow.
// easter wreath
For our next project, I wanted to make a bunny themed wreath. I’m using this foam ring, which as you can see, has already been used for lots of other projects.
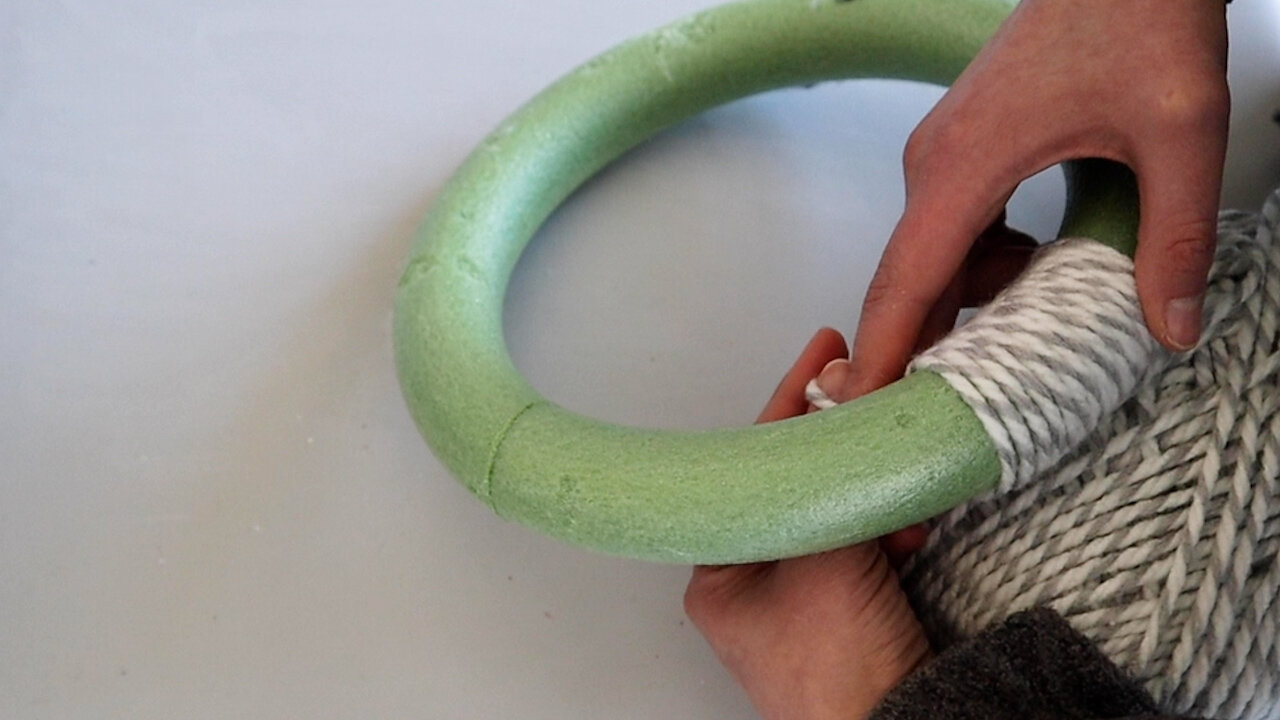
I was debating on whether to use solid yarn or this white and grey yarn and hadn’t used the striped one for anything yet, so I went with the striped. Dollar Tree does sell yarn in lots of colors, so you could go with one of their solids. I think that would look good too.
You do not have to pull the yarn tight, you just loosely wrap the yarn around the ring.
Let’s add a bunny! I’ve been obsessed with my new pom-pom makers. I have a pile I made just for fun and am going to pull these two from there for the head and body of the bunny. Now we just need some ears.
I formed this Dollar Tree floral wire into ear shapes. Then I glued them to this microfiber cloth I found in the automotive section at Dollar Tree and trimmed about a quarter of an inch away from the wire. I added a dot of glue to any spots where you could see the wire.
Then I glued them to the center of the pom pom.
I felt the bunny needed a little pink bow, so I added that on there too.
I had a bow for the top and used a small piece of that mop head rope, so it would have a loop at the top for hanging.
Now for the finishing touch. I measured how wide across this was. And I got on my computer again and made another printable for some bunting that says “Easter”. I trimmed those flags out and attached to a piece of ribbon that goes across the back of the wreath.
I hope you were inspired to make one or more of these Dollar Tree Easter DIYs.
Don’t forget to download the free printables below. Happy crafting!
FTC: Not Sponsored. All opinions are always 100% honest and my own. Some links may be affiliate links. If you click a link and buy something, I receive a small commission for the sale. It doesn’t cost you anything extra and you are free to use the link or not as you choose. If you do use my links, I appreciate your support.








How about some Target Dollar Spot crafts and Dollar Tree coastal transformations. We’ll be putting together tiered tray miniatures to decorate our little coastal vignette.