High End DIY Dollar Store Christmas Decor Ideas
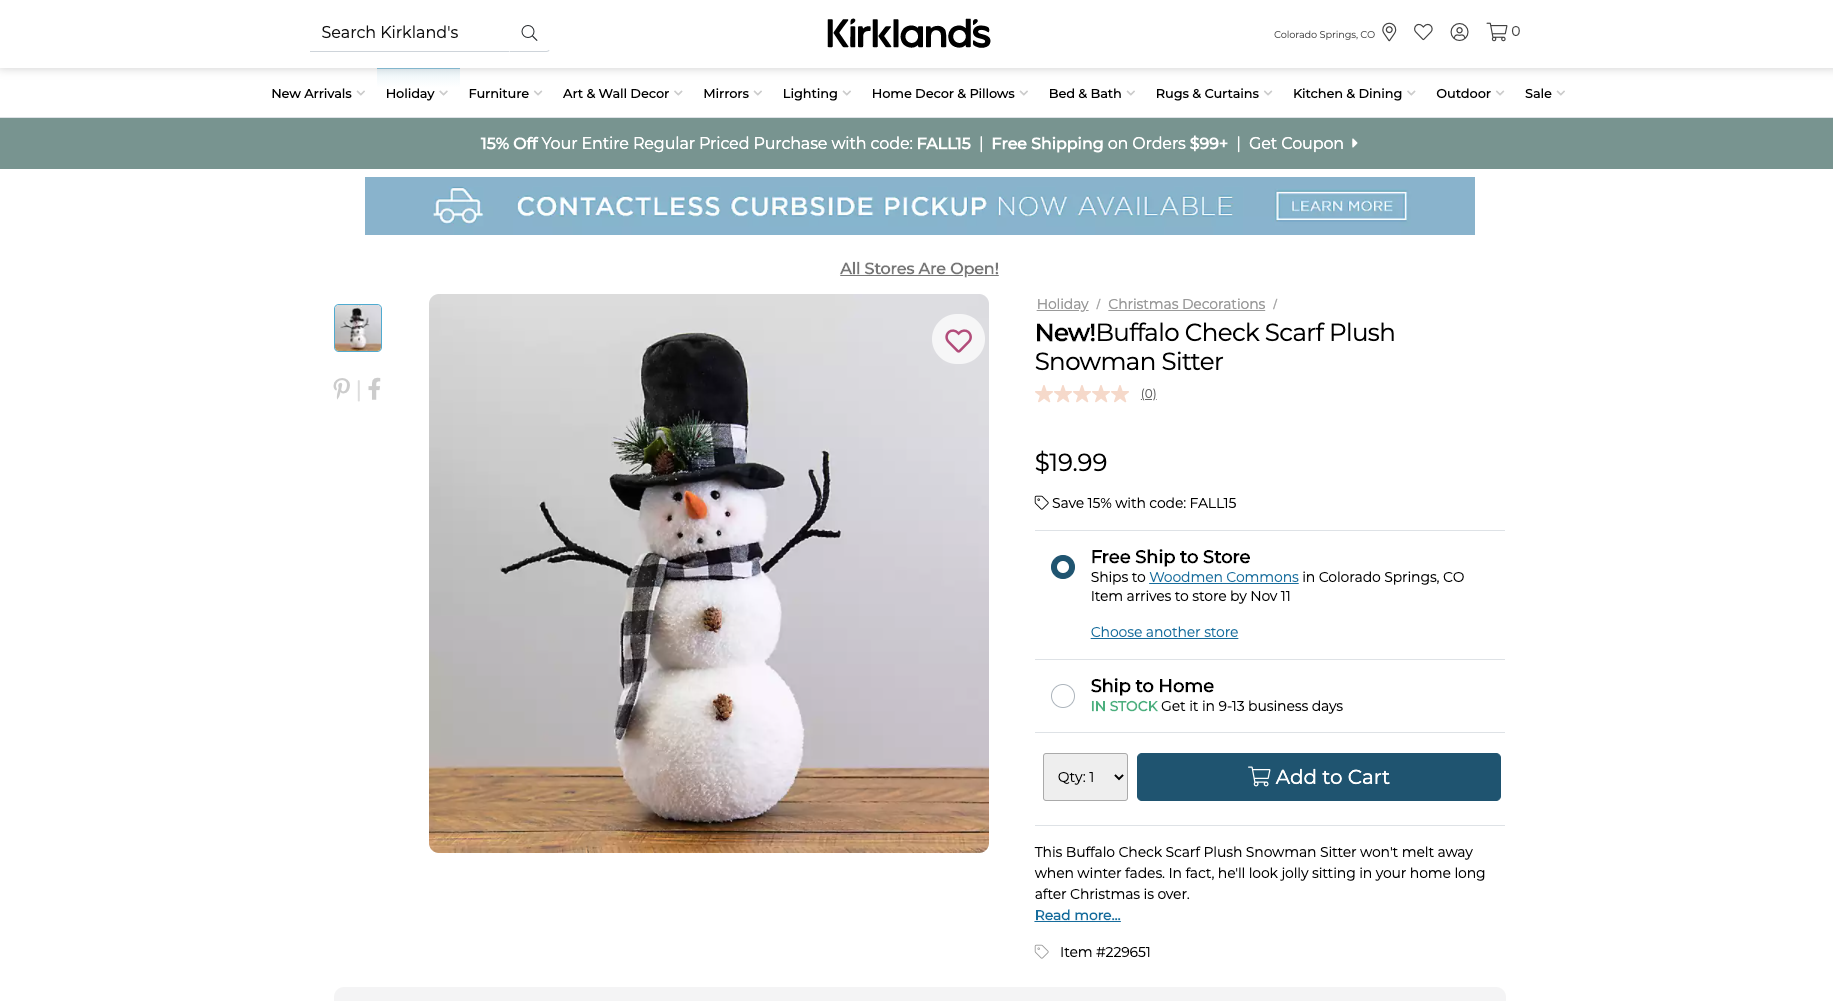
You know I love a good dupe and now that we are getting into the holidays, I’m sharing 3 buffalo check Kirklands inspired dupes that have the same look for less money. I think these Dollar Tree DIYs came out looking so much like the originals, but I’ll let you be the final judge on that.
As always, I did a video tutorial for all of these crafts, so make sure to check out the video below and hit that “Subscribe” button while you are visiting my YouTube channel.
Kirklands Dupe #1 // snowman
Let’s get started on the first Kirklands Dollar Tree DIY! I love traditional Christmas decor and what’s more traditional than a cute little snowman? This little guy was $20 at Kirklands, but we will be making him for under $5.
First, we’re going to put together the snowman’s top hat. I used some styrofoam and roughly cut out a couple circles and glued them together.
Next, I took the lid of a mason jar and wrapped it with the black felt that I found at Dollar Tree.
I wrapped the top of the hat and added the top part with some hot glue. I snipped any rough edges and then put then attached the two pieces together.
I found this “Joy” ornament at Dollar Tree and thought the small piece of garland would be a good size to finish off the snowman’s hat.
I added some ribbon and then attached the garland.
I want this snowman to stand on his own, so I had to flatten the bottom of the styrofoam with an X-acto knife.
Now, the snowman looked good as he was but I thought a little extra sparkly snow wouldn’t hurt him, so I used some iridescent snow I found at Dollar Tree, which is so pretty. It gets everywhere so make sure to put it into some sort of controlled area like I’ve done here.
I just used some Elmer’s glue on him and then rolled him around in the snow. If you’ve ever dredged chicken for chicken parmesan, this is very similar!
While that dried, I grabbed my Sharpie paint pen in black to color these button type stickers. These will be his buttons and eyes.
Now for the finishing touches. I got those sticks off a tree in my front yard. His nose is just a stick that I broke at an angle and used a little orange paint on.
Let’s take a look at the comparison and how much we saved. what do you guys think? I love when I can make something that is much cheaper than the original.
So, let’s do another one!
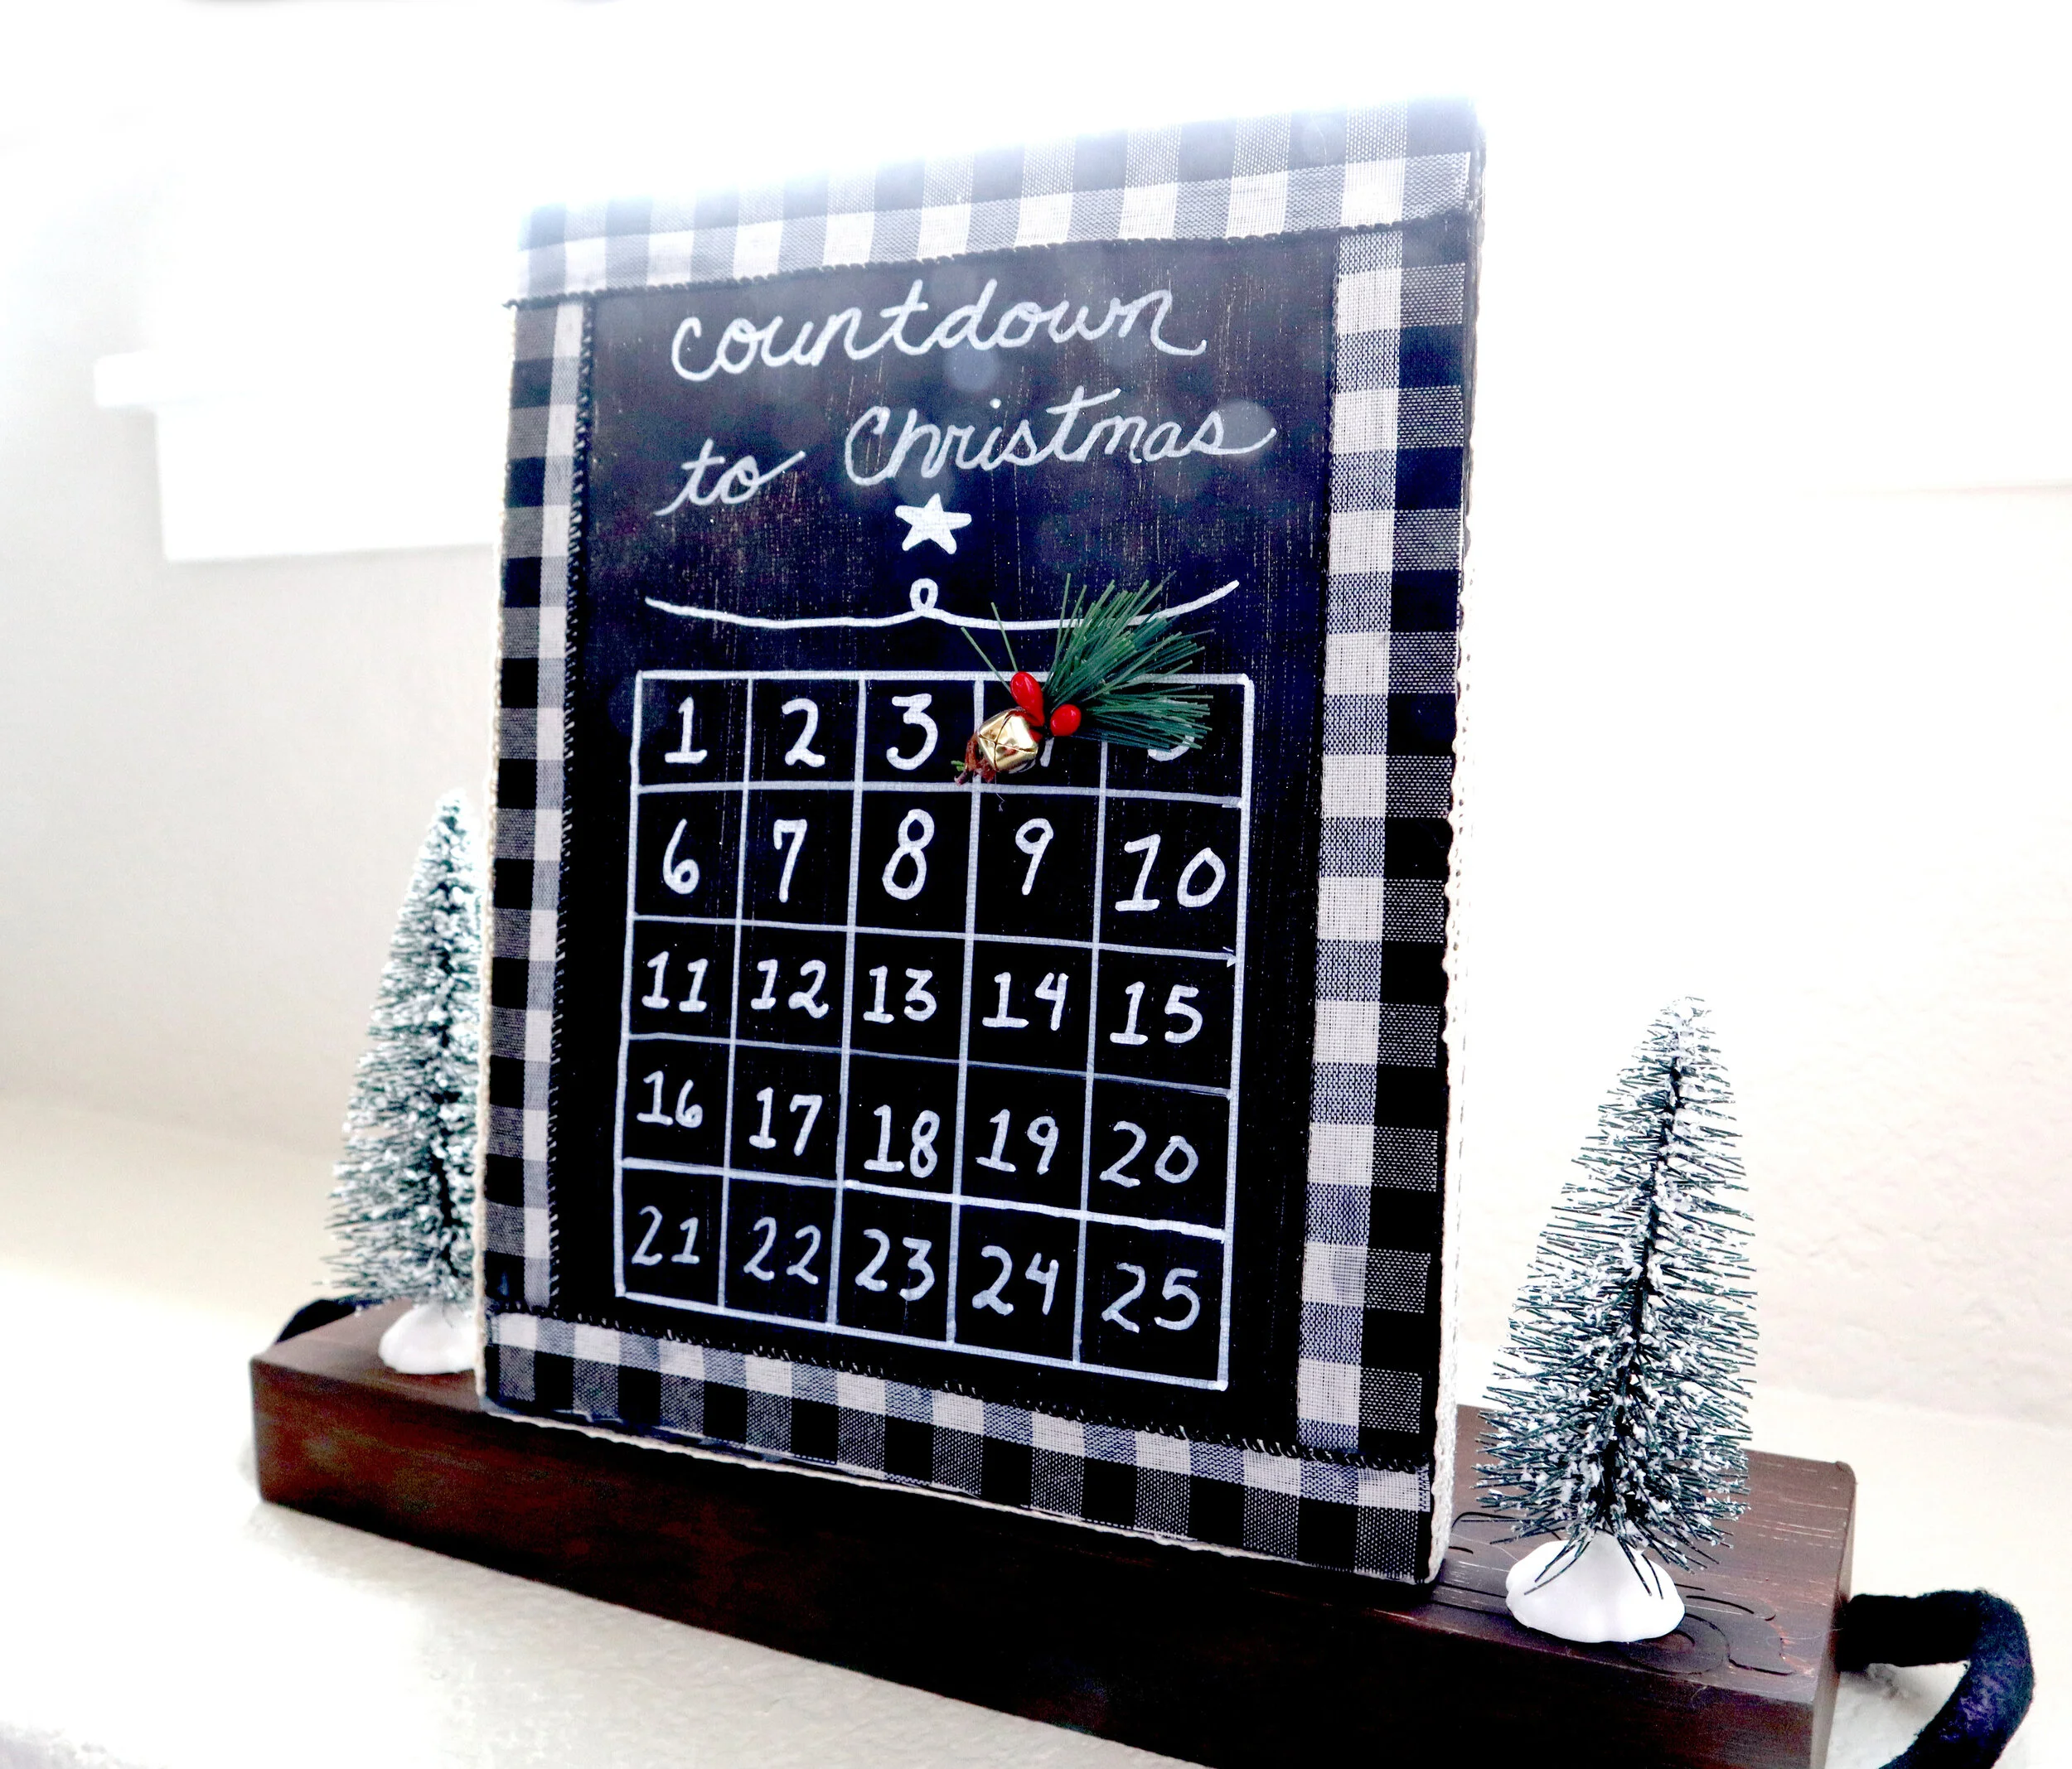
Kirklands Dupe #2 // magnetic advent calendar
I’ve been wanting to make an advent calendar for awhile now. I remember the ones my Mom would get my every year as a child, you know, the ones with the chocolate behind each door? Well, this one is much healthier and it has a magnet you move from one day to the next. It is $15, but we are making ours for $3.
I had this Dollar Tree canvas from a previous project and painted it black. A couple coats and it was a nice and solid black.
I attached some buffalo check ribbon I had to the edges to create a kind of frame.
Then I felt the sides looked bare, so I added some pretty edging.
Next, I wrote the numbers and wording at the top with a white paint pen.
I used the other half of that garland from the “Joy” ornament and added a small bell. I had two tiny magnets and was planning on adding one to the back of the garland piece, and one behind the canvas. But the garland must have had some metal inside somewhere because it stuck to the magnet behind the canvas all on its own.
I want this to stand on its own, so I added some craft sticks to the back to act as a stand.
Let’s check out the comparison! Pretty close, right?
Kirklands Dupe #3 // present ornaments
$16 for this set of 2 present ornaments seemed like a little too much. I loved the look with the buffalo check and thought they would go well with the other decor I made, but I know we can do way better than $16.
I had made these little blocks for a Thanksgiving project I had done. We are going to upcycle them for these ornaments.
I started by trimming this buffalo check ribbon I had to size and glueing it in place.
I like to use the wooden skewers from Dollar Tree to help me get the hot glue in place. It helps me from burning my fingers!
Next, I trimmed off any little strings and then added a burlap ribbon.
I had never seen these garland ties before, so I had to pick them up. I plan on using these to make custom sized garland for my upcoming Christmas projects. They were easy to trim to size and I just glued some berries on top for the finishing touch.
I also added a string, so that when I get my tree up I will be able to hang them.
Let’s take a look at the original compared to mine. Another awesome savings!
This is just the start of my Christmas DIYs, so make sure to subscribe to my YouTube channel right here if you want to know when more go up.
FTC: Not Sponsored. All opinions are always 100% honest and my own. Some links may be affiliate links. If you click a link and buy something, I receive a small commission for the sale. It doesn’t cost you anything extra and you are free to use the link or not as you choose. If you do use my links, I appreciate your support.







How about some Target Dollar Spot crafts and Dollar Tree coastal transformations. We’ll be putting together tiered tray miniatures to decorate our little coastal vignette.