3 Crate & Barrel Same Look For Less Money
I hope you’re all doing well and healthy! Today I’m sharing 3 Crate and Barrel dupes that have the same look for less money. The one at the end didn’t come out as I intended, but hey, I’m not perfect and I’ll let you know what I would have done differently to make it come out just right.
I did a video if you prefer to watch these dupes come together!
Crate and Barrel copycat #1
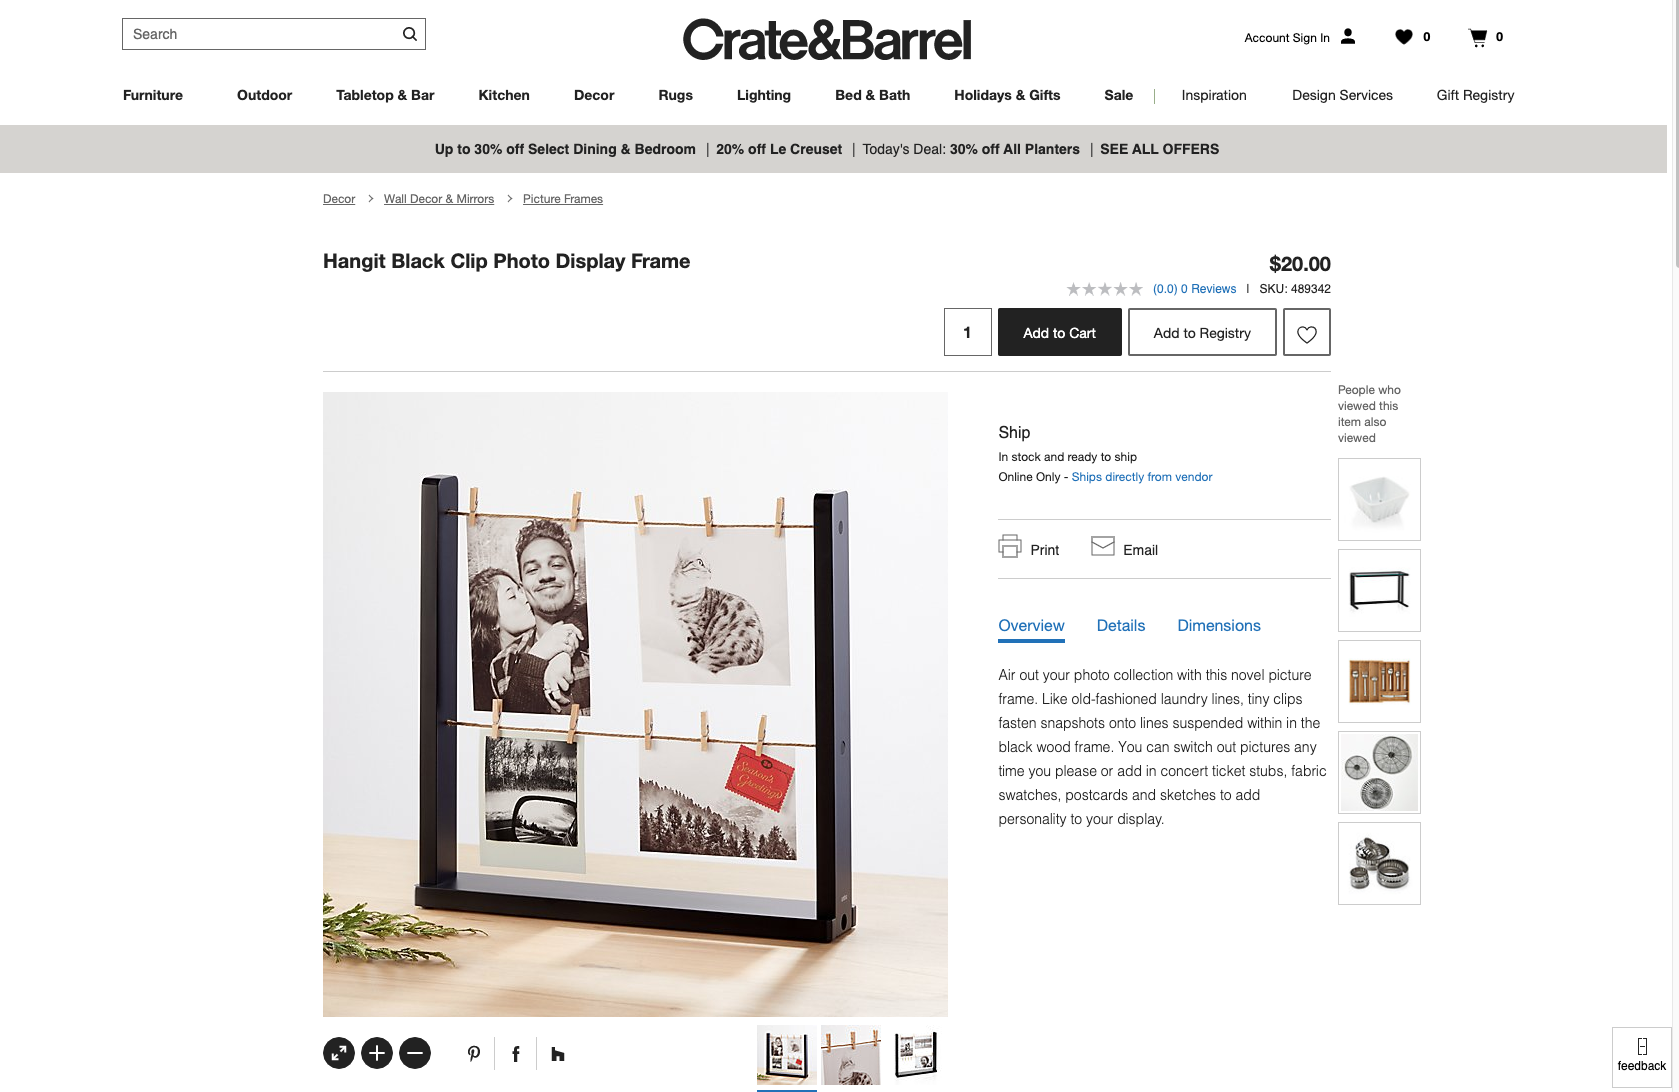
Here is the piece from Crate and Barrel that we will be recreating. It is $20, but we are going to make it for free, because you just need a few things you may already have sitting around your house.
Have you ever broken the glass on one of your picture frames? That’s what happened here and getting a custom sized piece of glass is probably just as expensive as buying a new frame. So, we’re to give this frame a new life.
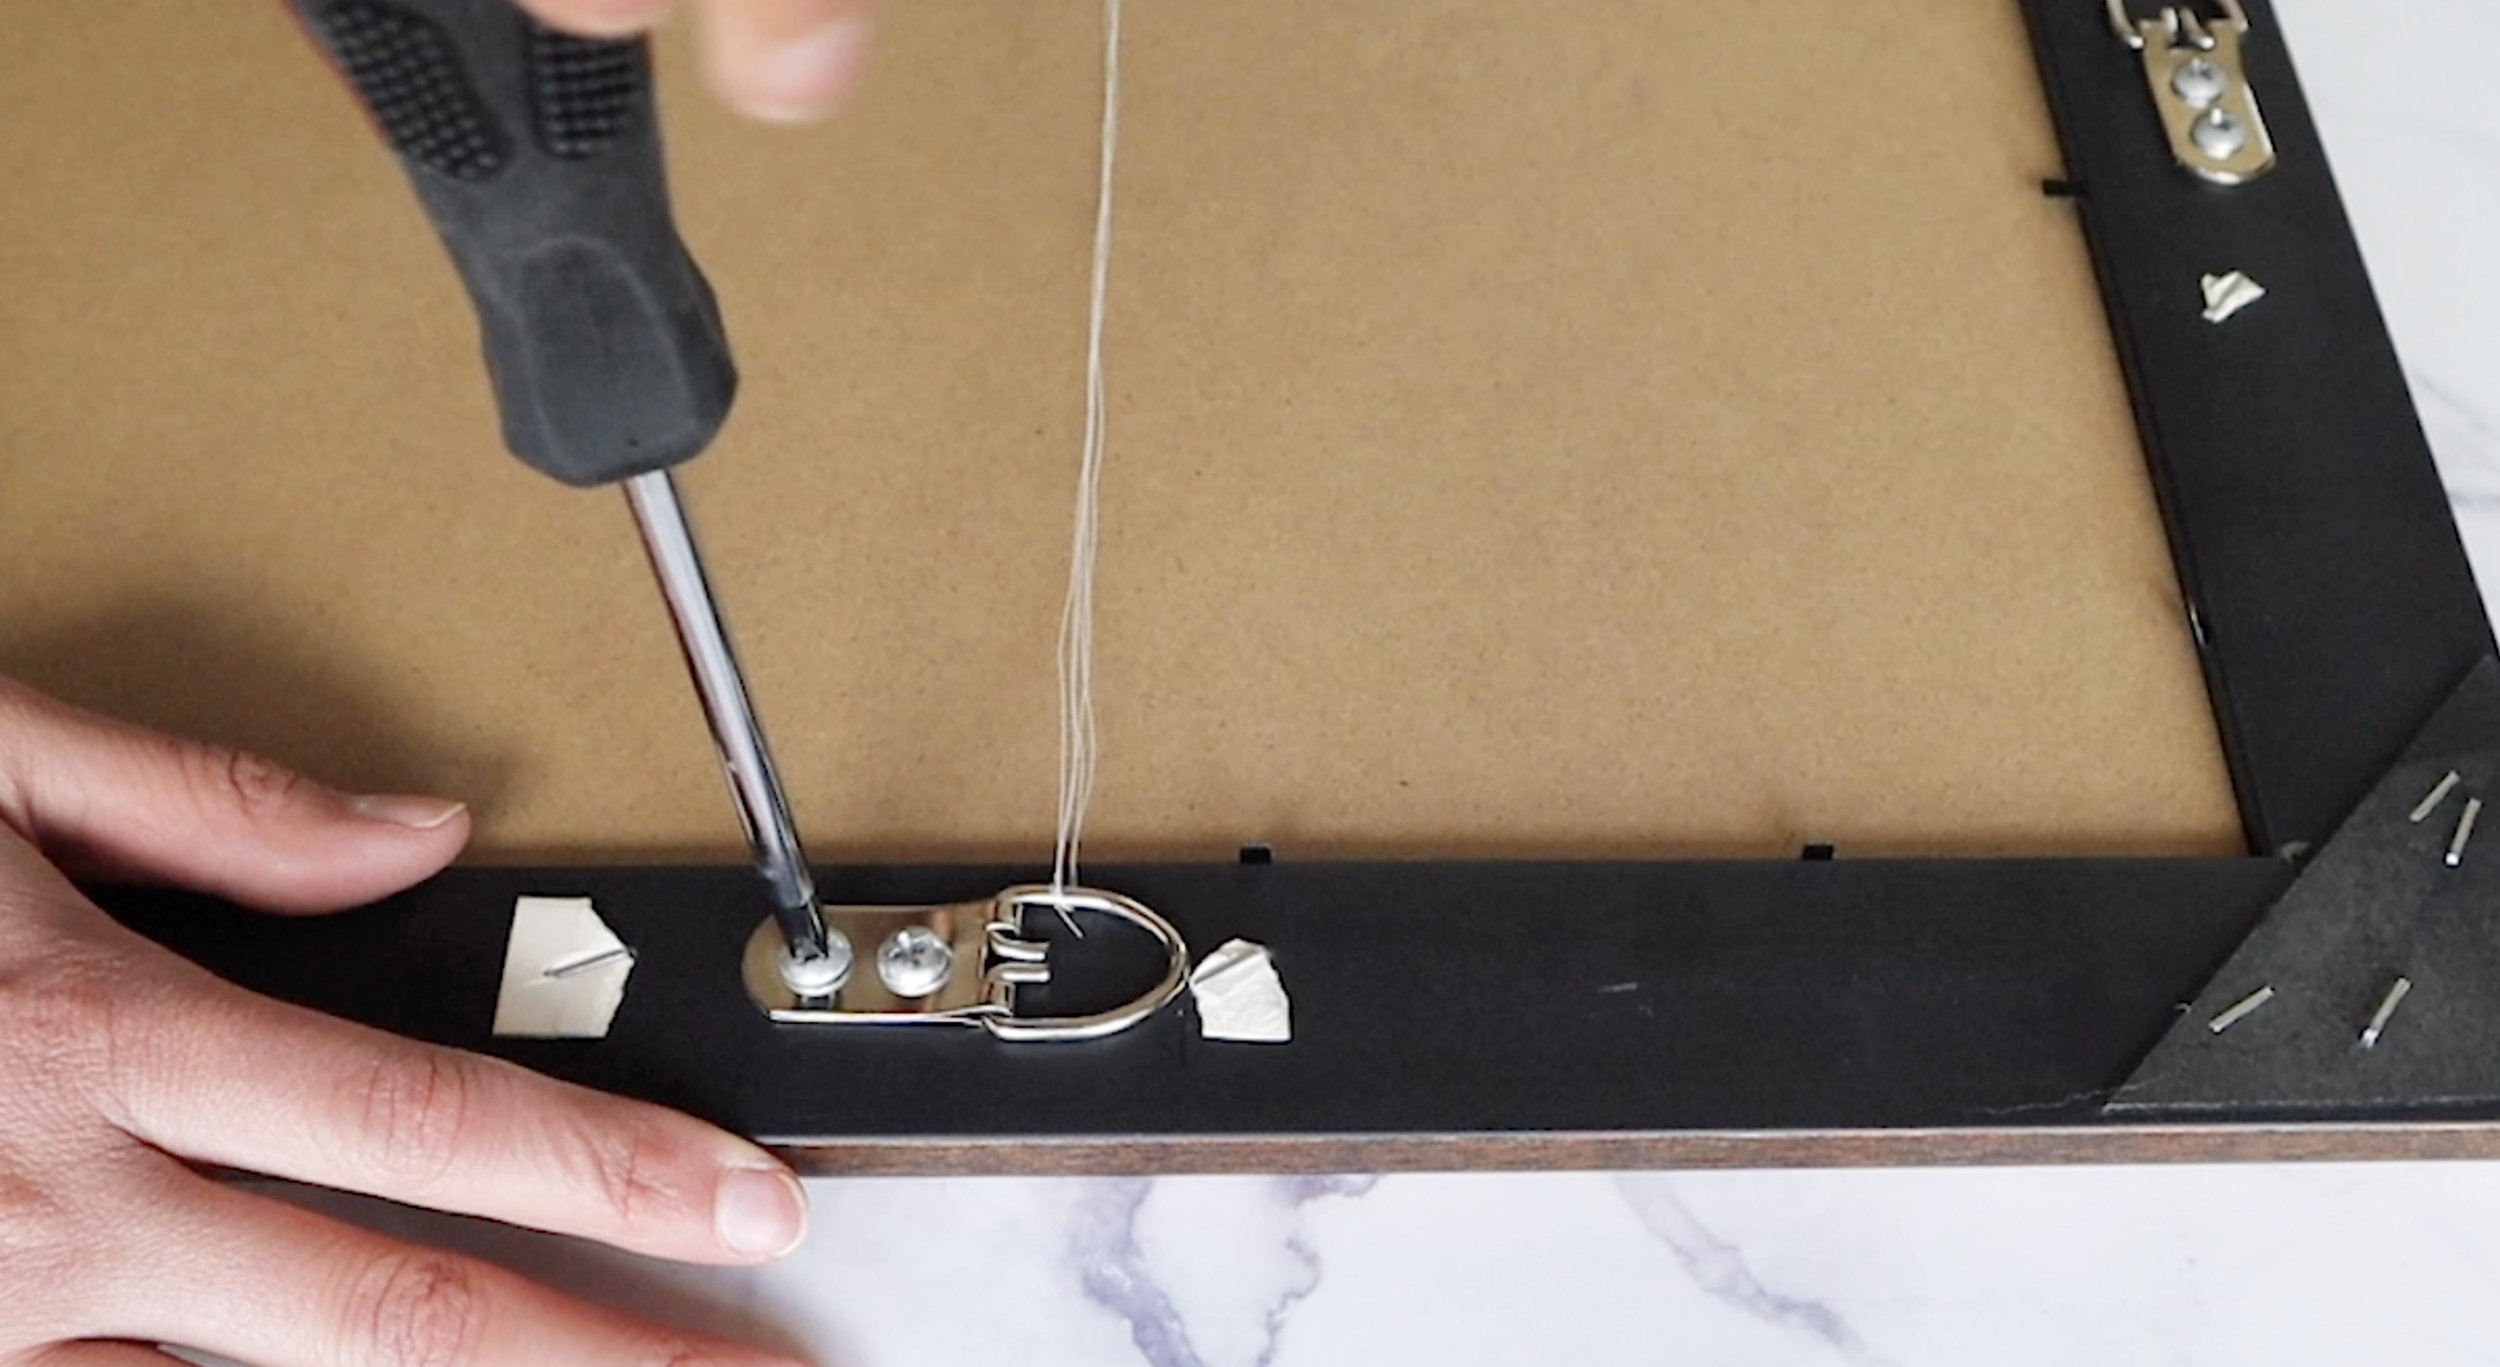
We’ll start by removing the hardware from the back of the frame.
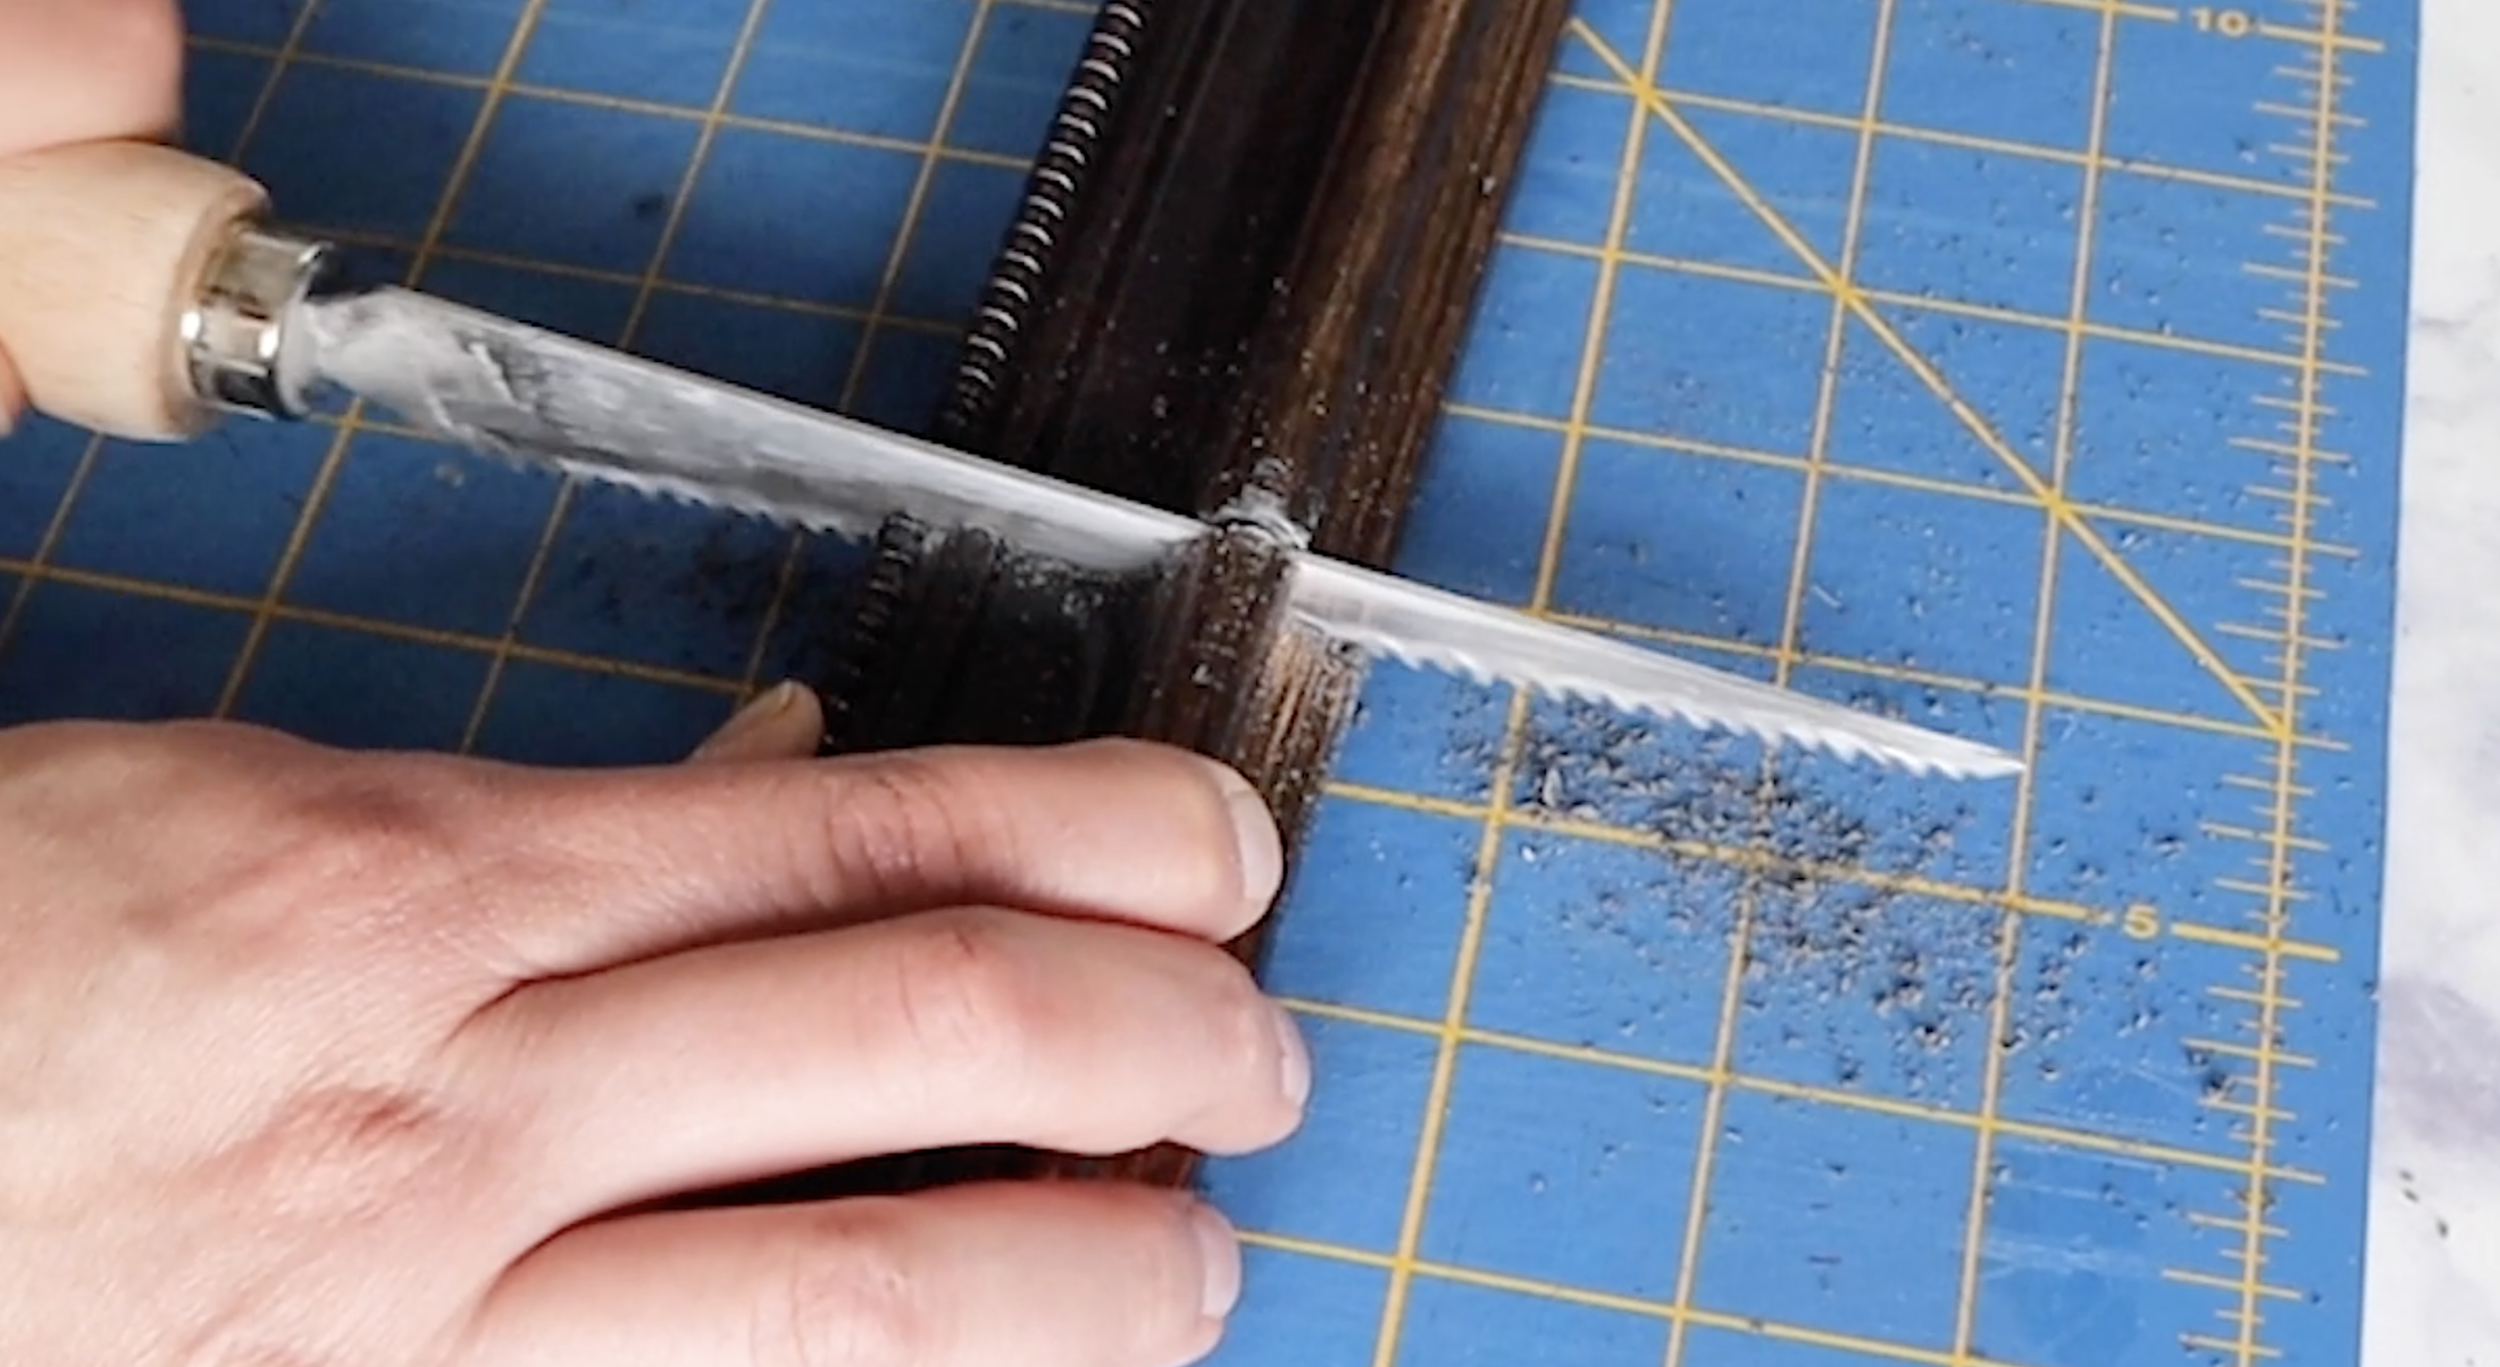
Next, we will measure the height and mark where we need to saw the edges. I don’t have a strong saw, so this took some elbow grease! But it came out good and I just needed to do a little sanding on the rough edges.
Now, the one from Crate and Barrel is black, but I wanted to create mine in white, so I put a couple coats of paint on this and it looked pretty good.
I also flipped mine upside down, so those rough edges wouldn’t show.
I added some little corners from a Moo.com box on the back to hold it upright. Moo.com has these little business cards that are just the cutest and the box they came in was the perfect size for making this frame stand up!
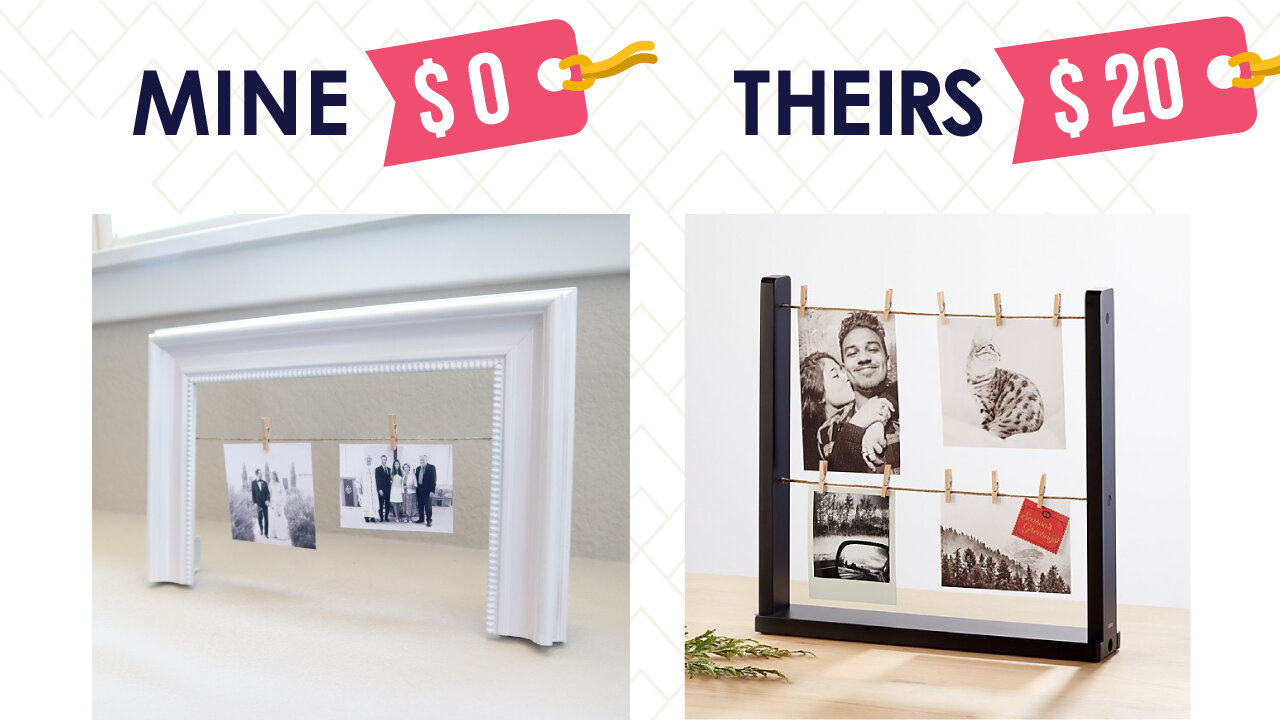
The hooks on the back worked perfectly for adding the twine I got from Dollar Tree. A few tiny clothes clips and a couple photos and our first look a like is done for $0!
Crate and Barrel copycat #2
If you thought that first copycat was easy, wait until you see this one!
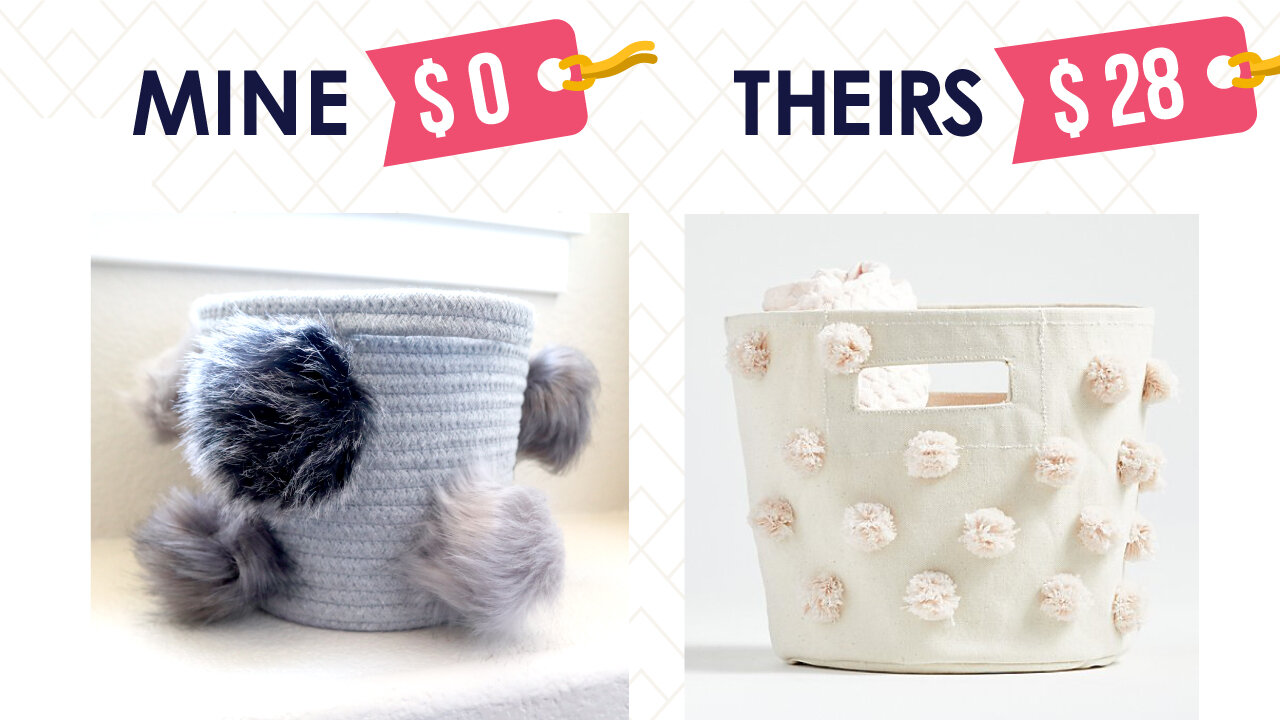
Isn’t this pom pom bin the cutest? But it is $28.
I had this grey fabric bin, I think I got it on sale at CVS. I have seen similar ones at Target.
You may recognize these pom poms from a few of the DIYs I have done lately. They came from Amazon.com for about $12 and I have definitely gotten my $12 worth with the amount of crafts I have done with these.
To really match the Crate and Barrel version, I would have used all the light grey ones for that light tone on tone look. But since I didn’t have enough, I just used all the ones that are grey-ish and attached with hot glue.
So, here is mine versus the original. I think this is so much cuter with the pom poms. I had everything already so didn’t spend a penny!
crate and barrel copycat #3
Ok, here’s the one I wasn’t 100% happy with, but I’ll share what I would do next time to make it better.
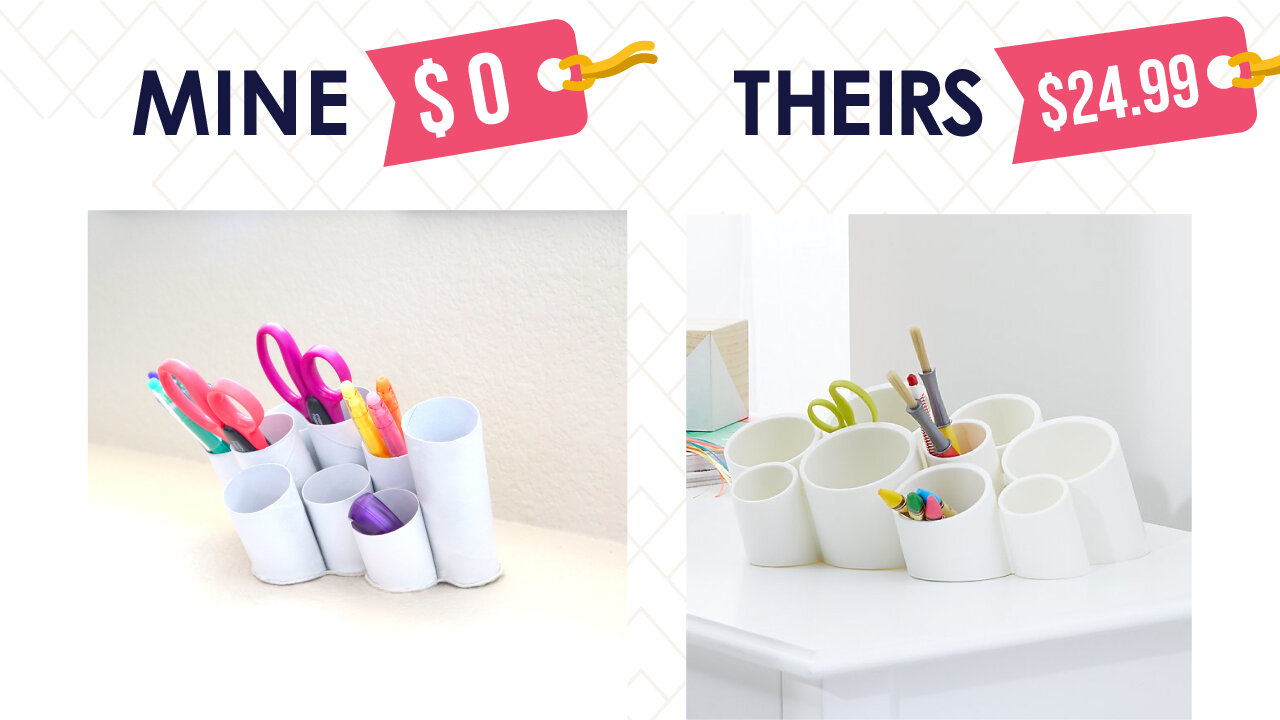
I loved the look of this little desk organizer and thought using paper towel tubes would be perfect to get this same look without spending any money. This is $24.99, but we made it for free with some paper towel tubes, a glue gun and paint.
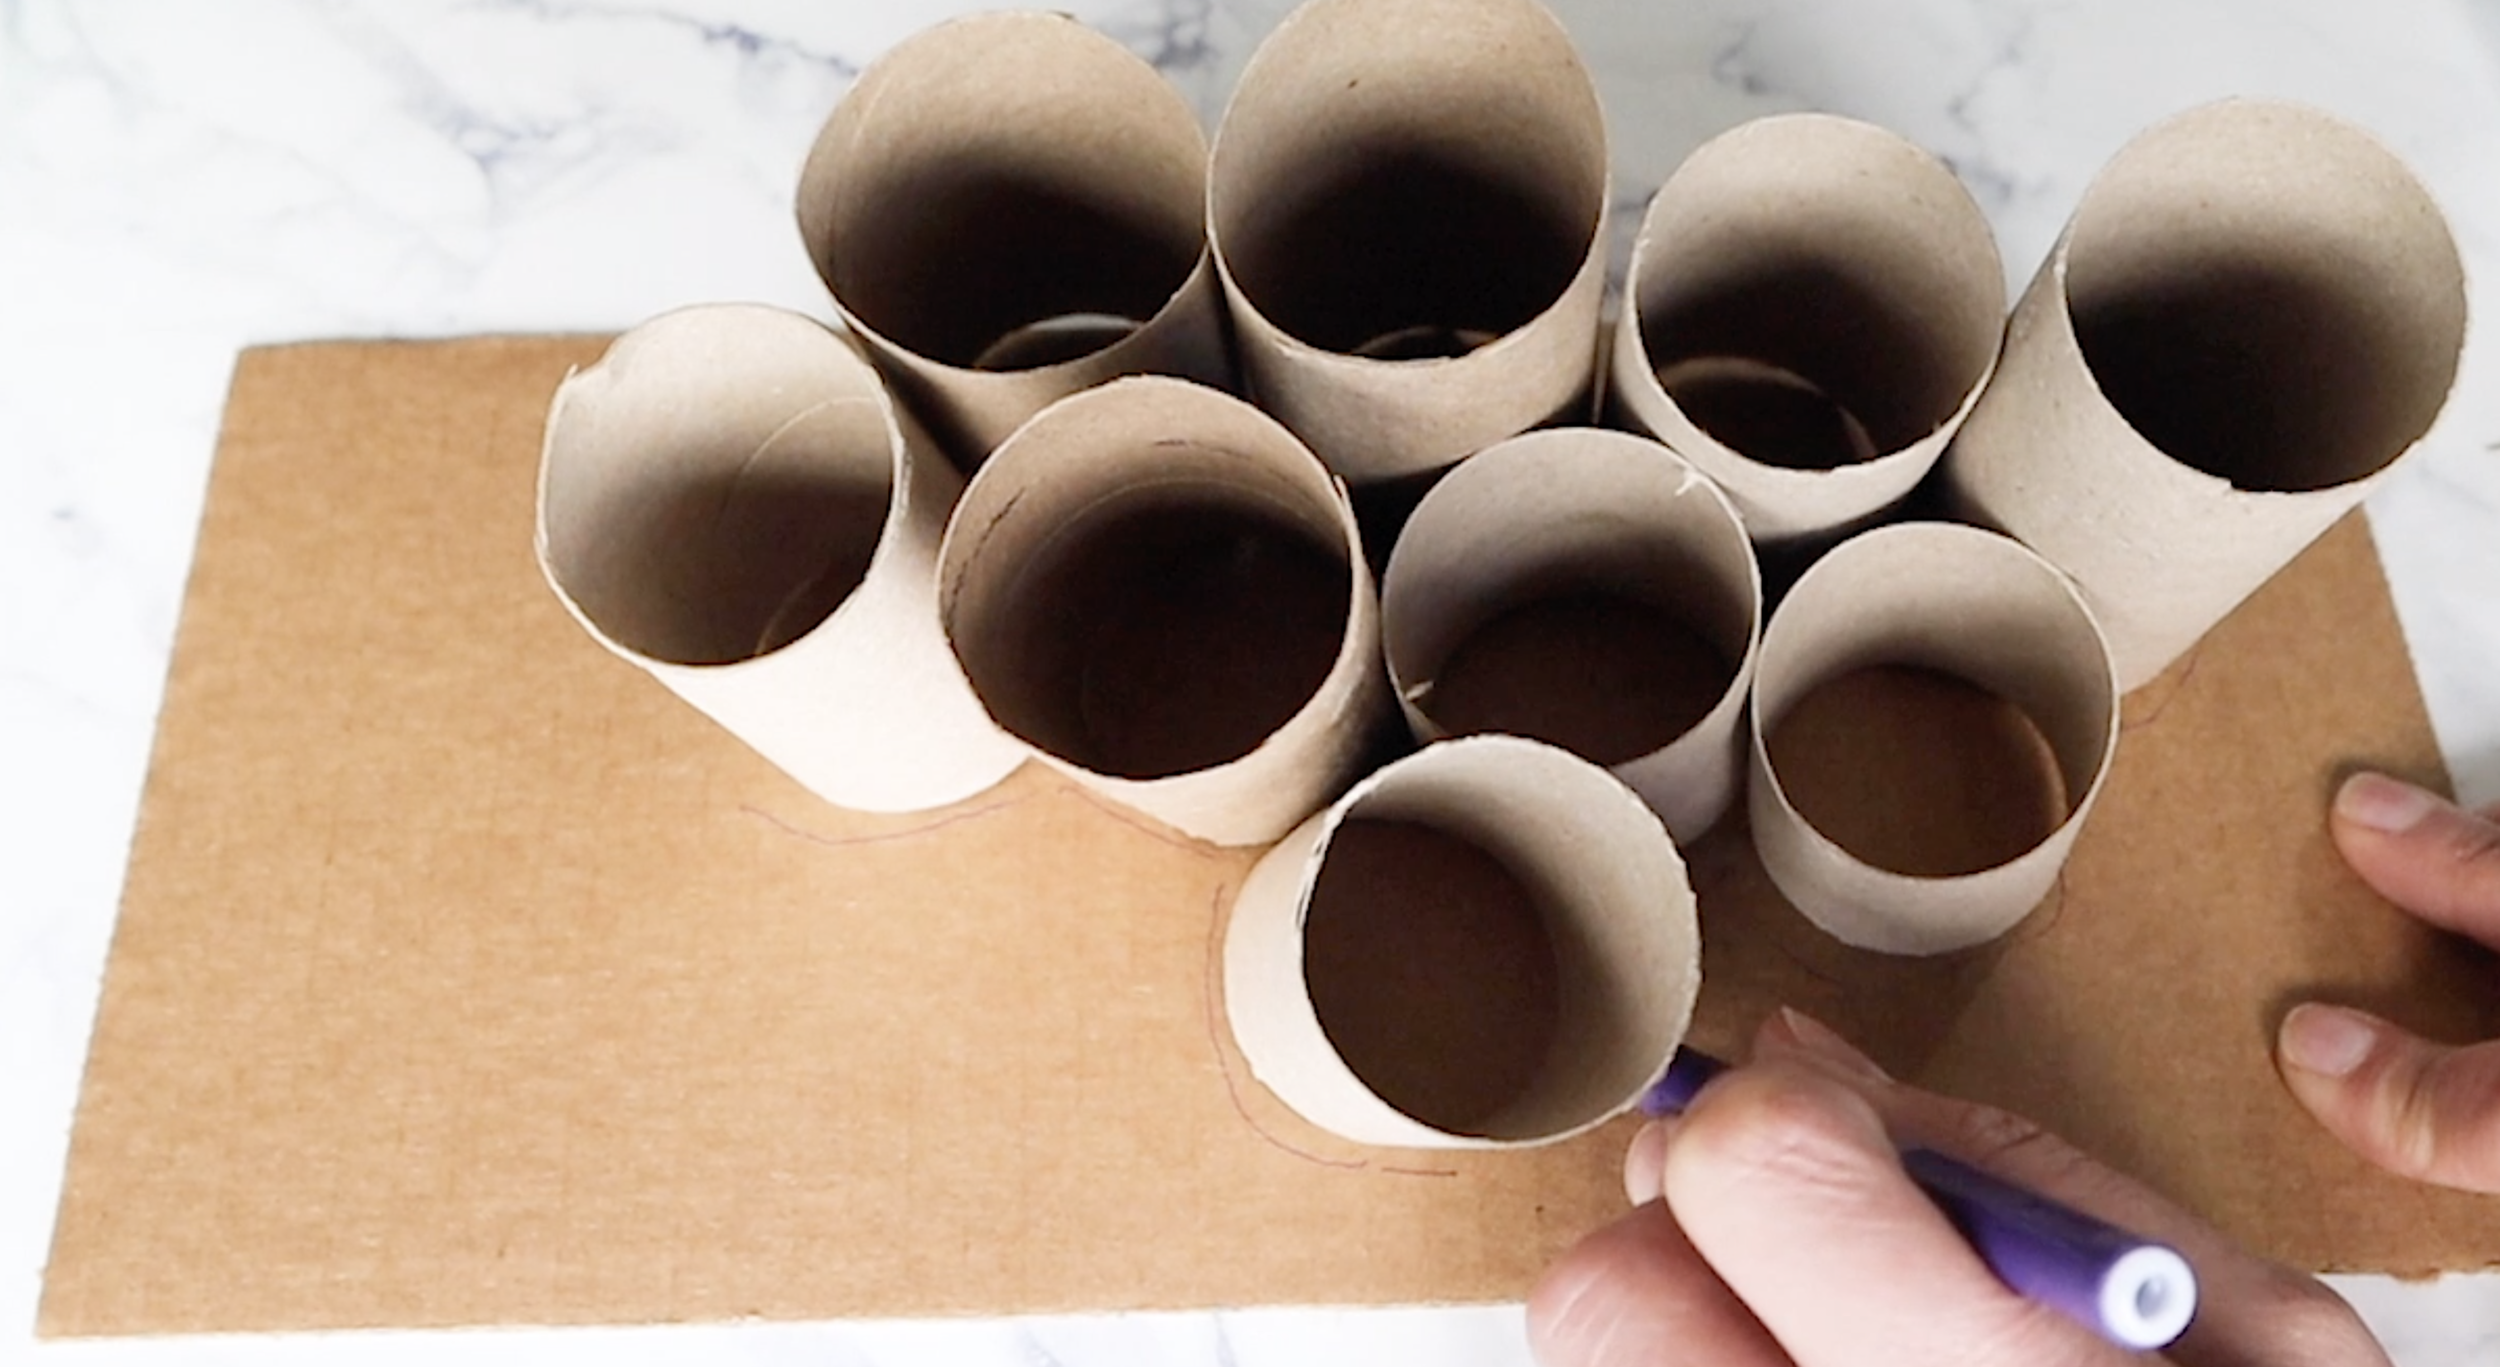
Since I’m trying to get this as close as possible to the original, I’m going to make 9 tubes like the original. I tested the height and then use some masking tape to measure out the angle. Once I had cut one of the tubes, I used the scraps to make sure all the angles matched.
When you are cutting into the middle of a tube with a knife, be careful not to be too rough because you could bend it. I gently used a knife, but then cleaned up the edges with a sharp pair of scissors.
I figured out the best layout with the varying heights, looking at the Crate and Barrel version as inspiration. Then I traced this layout onto a piece of an amazon shipping box, to make sure I didn’t lose the layout if this toppled over (it did).
I added some spray paint and here is where I wasn’t happy. I think you can still kind of see that these are paper towel tubes, so I would have added a little filler, let it dry and then sanded it down, so that the tubes appeared smoother. Another option would be to wrap with some contact paper before painting. Or you could even use some plastic piping. But, you would need a good saw if you did it that way.
This was surprisingly sturdy though, I think adding that piece of cardboard at the bottom really helped. But, see how you can see the corrugation of the box along the edges?
I used some twine to hide that a bit and give it a nicer edge. But if you make this, maybe use a piece of foam core or thick posterboard as the base, so you don’t have to finish it off like I did.
So, here is the desk organizer next to the original. Not bad for $0, but I think with those tweaks it could have been even better.
If you want to see more DIY’s, then check out the inspiration below!
FTC: Not Sponsored. All opinions are always 100% honest and my own. Some links may be affiliate links. If you click a link and buy something, I receive a small commission for the sale. It doesn’t cost you anything extra and you are free to use the link or not as you choose. If you do use my links, I appreciate your support.












How about some Target Dollar Spot crafts and Dollar Tree coastal transformations. We’ll be putting together tiered tray miniatures to decorate our little coastal vignette.