CHIC Valentine's Day | 3 High-End Dollar Tree DIYs Never Seen Before
Looking for high-end looking Dollar Tree Valentine’s Day decorations? Sounds like an oxymoron, doesn’t it? Well, I do have some chic Valentine’s Day crafts for you today and they are made on a budget. These are perfect if you’re looking for neutral Valentine’s Day decor because of the black and white Valentine’s Day color scheme.
// SUBSCRIBE TO MY YOUTUBE CHANNEL HERE and click on the notification bell. That way you’ll know right when my new crafts go up. Sometimes, it takes me a couple days to get my newest DIYs up on my blog.
// Valentine’s Day Door Sign
I found most of my supplies at Dollar Tree, so these DIYs are all super low cost, but have that high end look to them. These heart signs are a really nice size and feel really solid so I popped off those labels on the front. We will be using the backs as the fronts, so no worries about those rough spots.
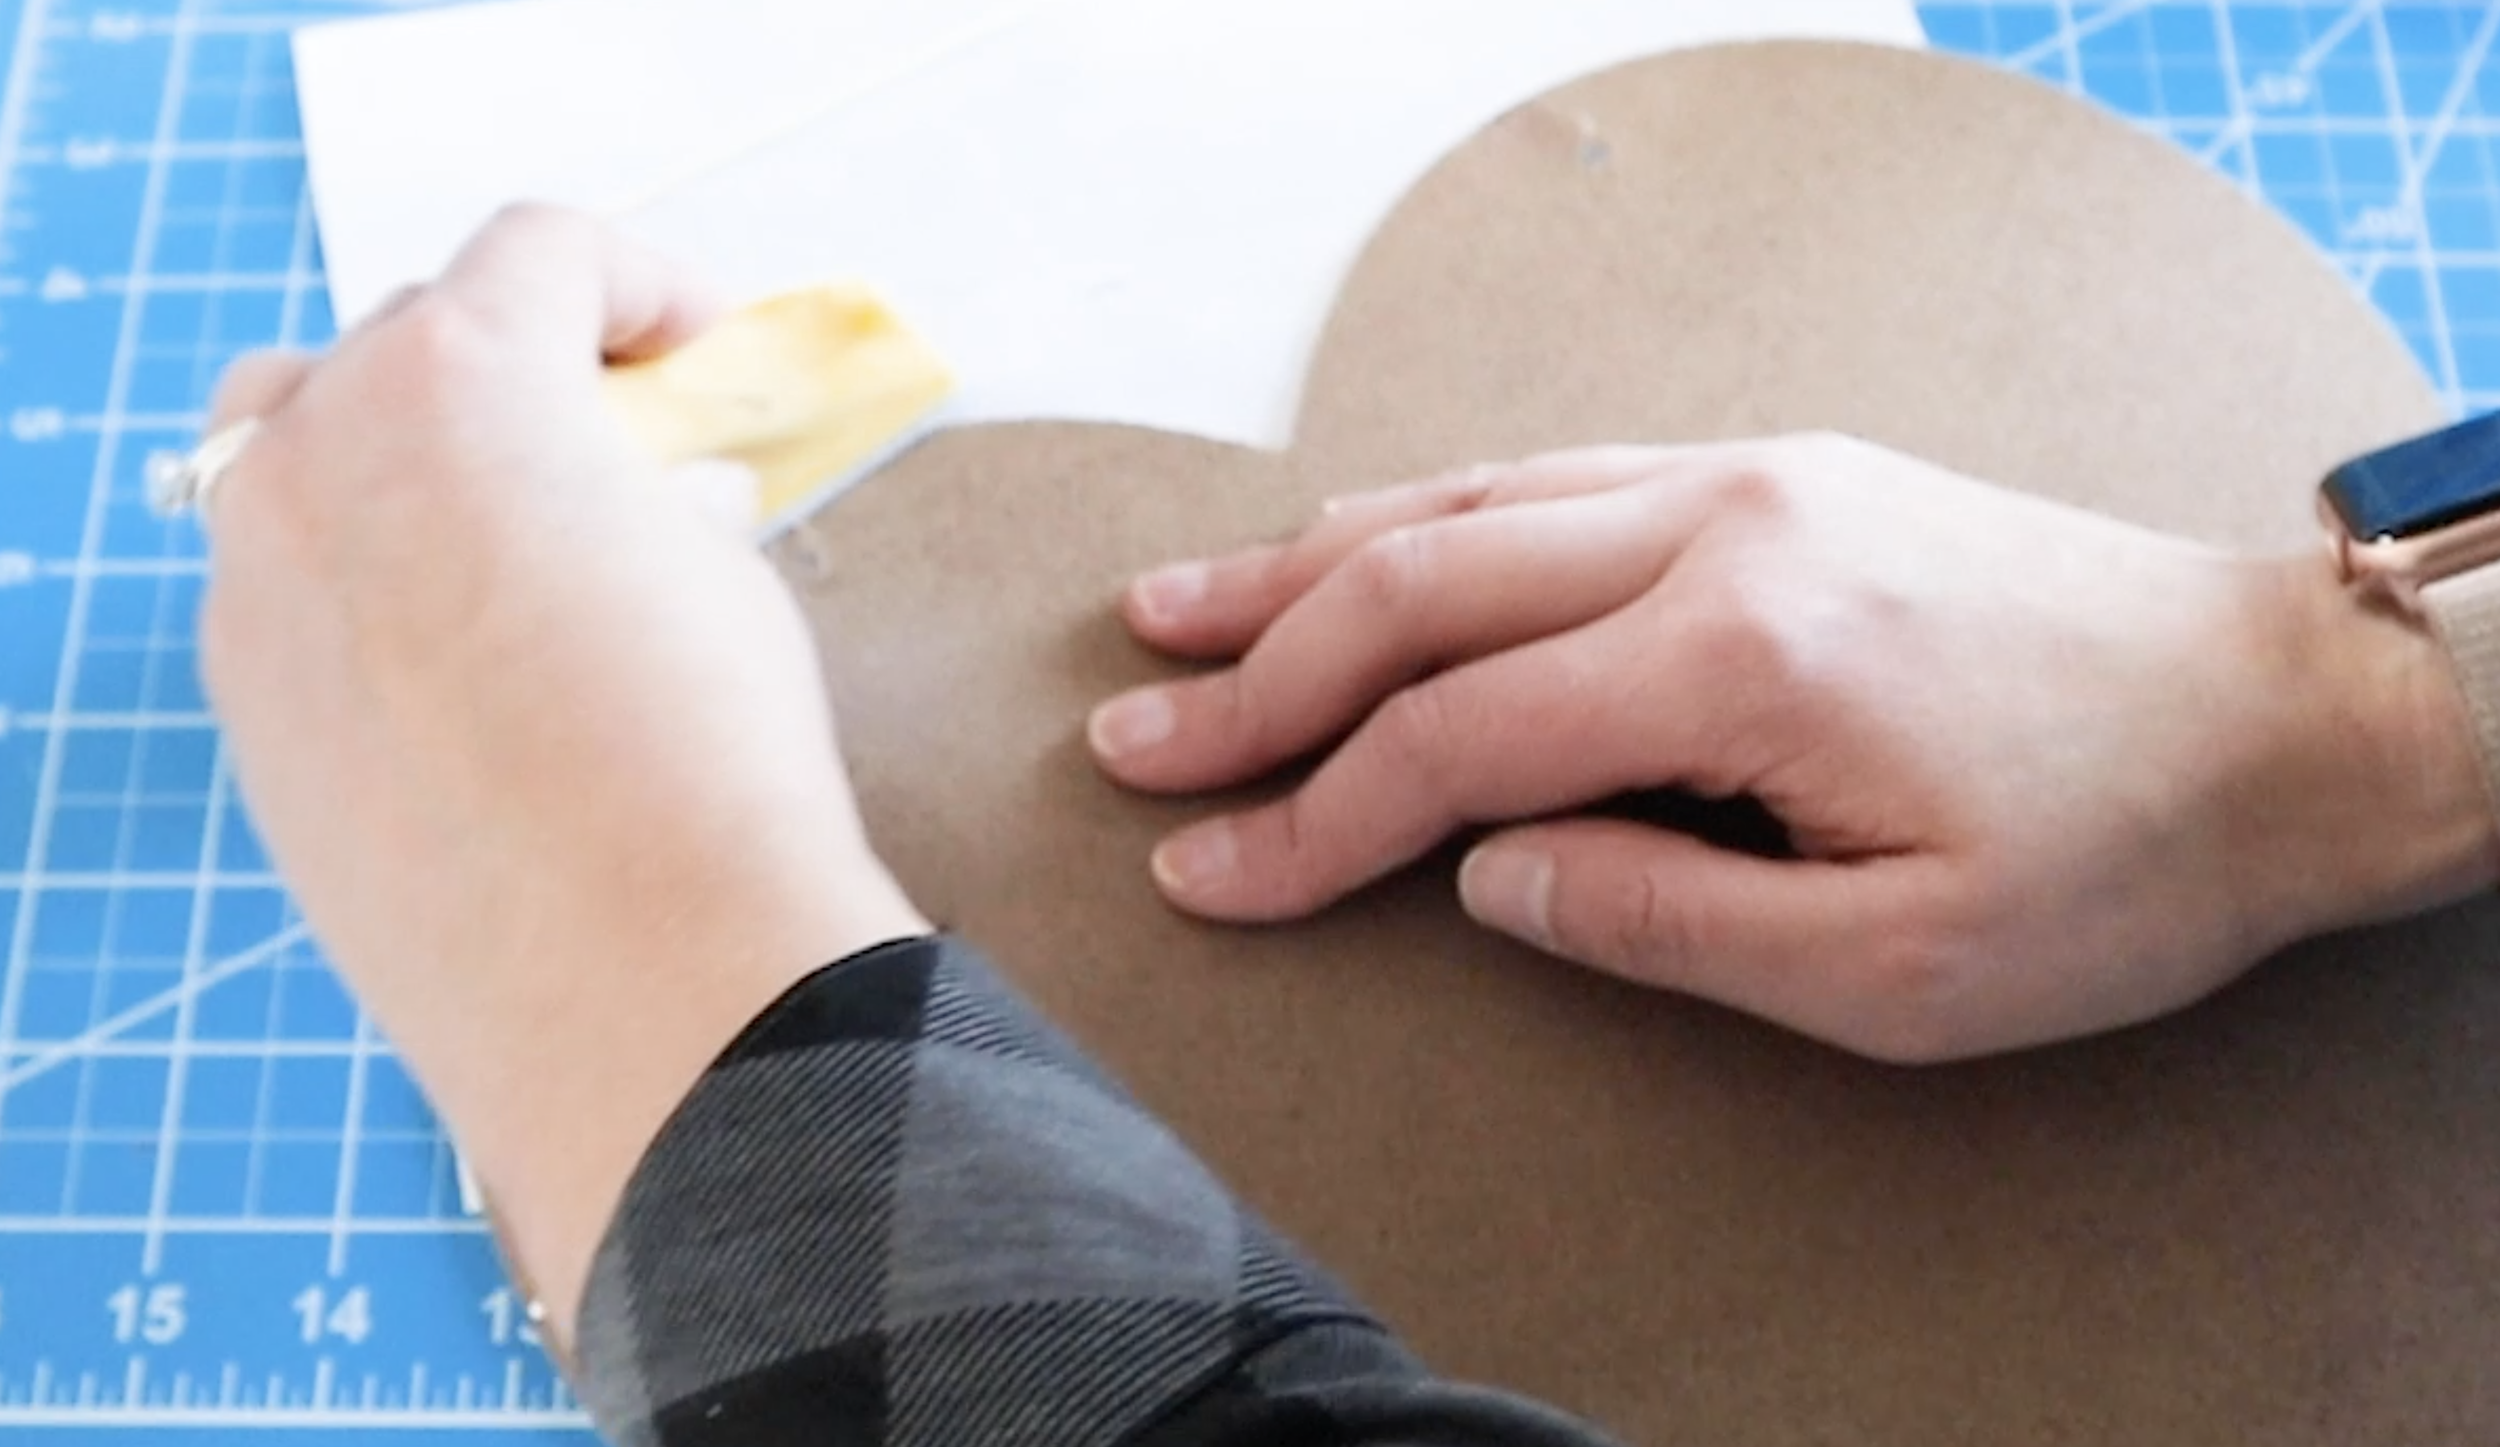
I traced 2 of the hearts onto this contact paper from Dollar Tree and cut out the shapes. I added a little glue to the heart signs for some extra hold and then added the contact paper and smoothed it out. I added a touch of white paint to the edges for a finished look.
I’ve had this mop head from Dollar Tree for awhile and was hoping to come up with something to use it on. I like how bright of a white it is, so I thought it would look good with our black and white theme.
I cut off the pieces and glued them together to create some nice edging for this sign. For the edges that touched, I cut those pieces as straight as possible and then added a little hot glue to connect them together.
I want the center heart painted white. First, I added a little hot glue and then smoothed it out to fill in those holes. I would normally use wood filler here and then sand it, but mine was all dried out so I put wood filler on my shopping list!
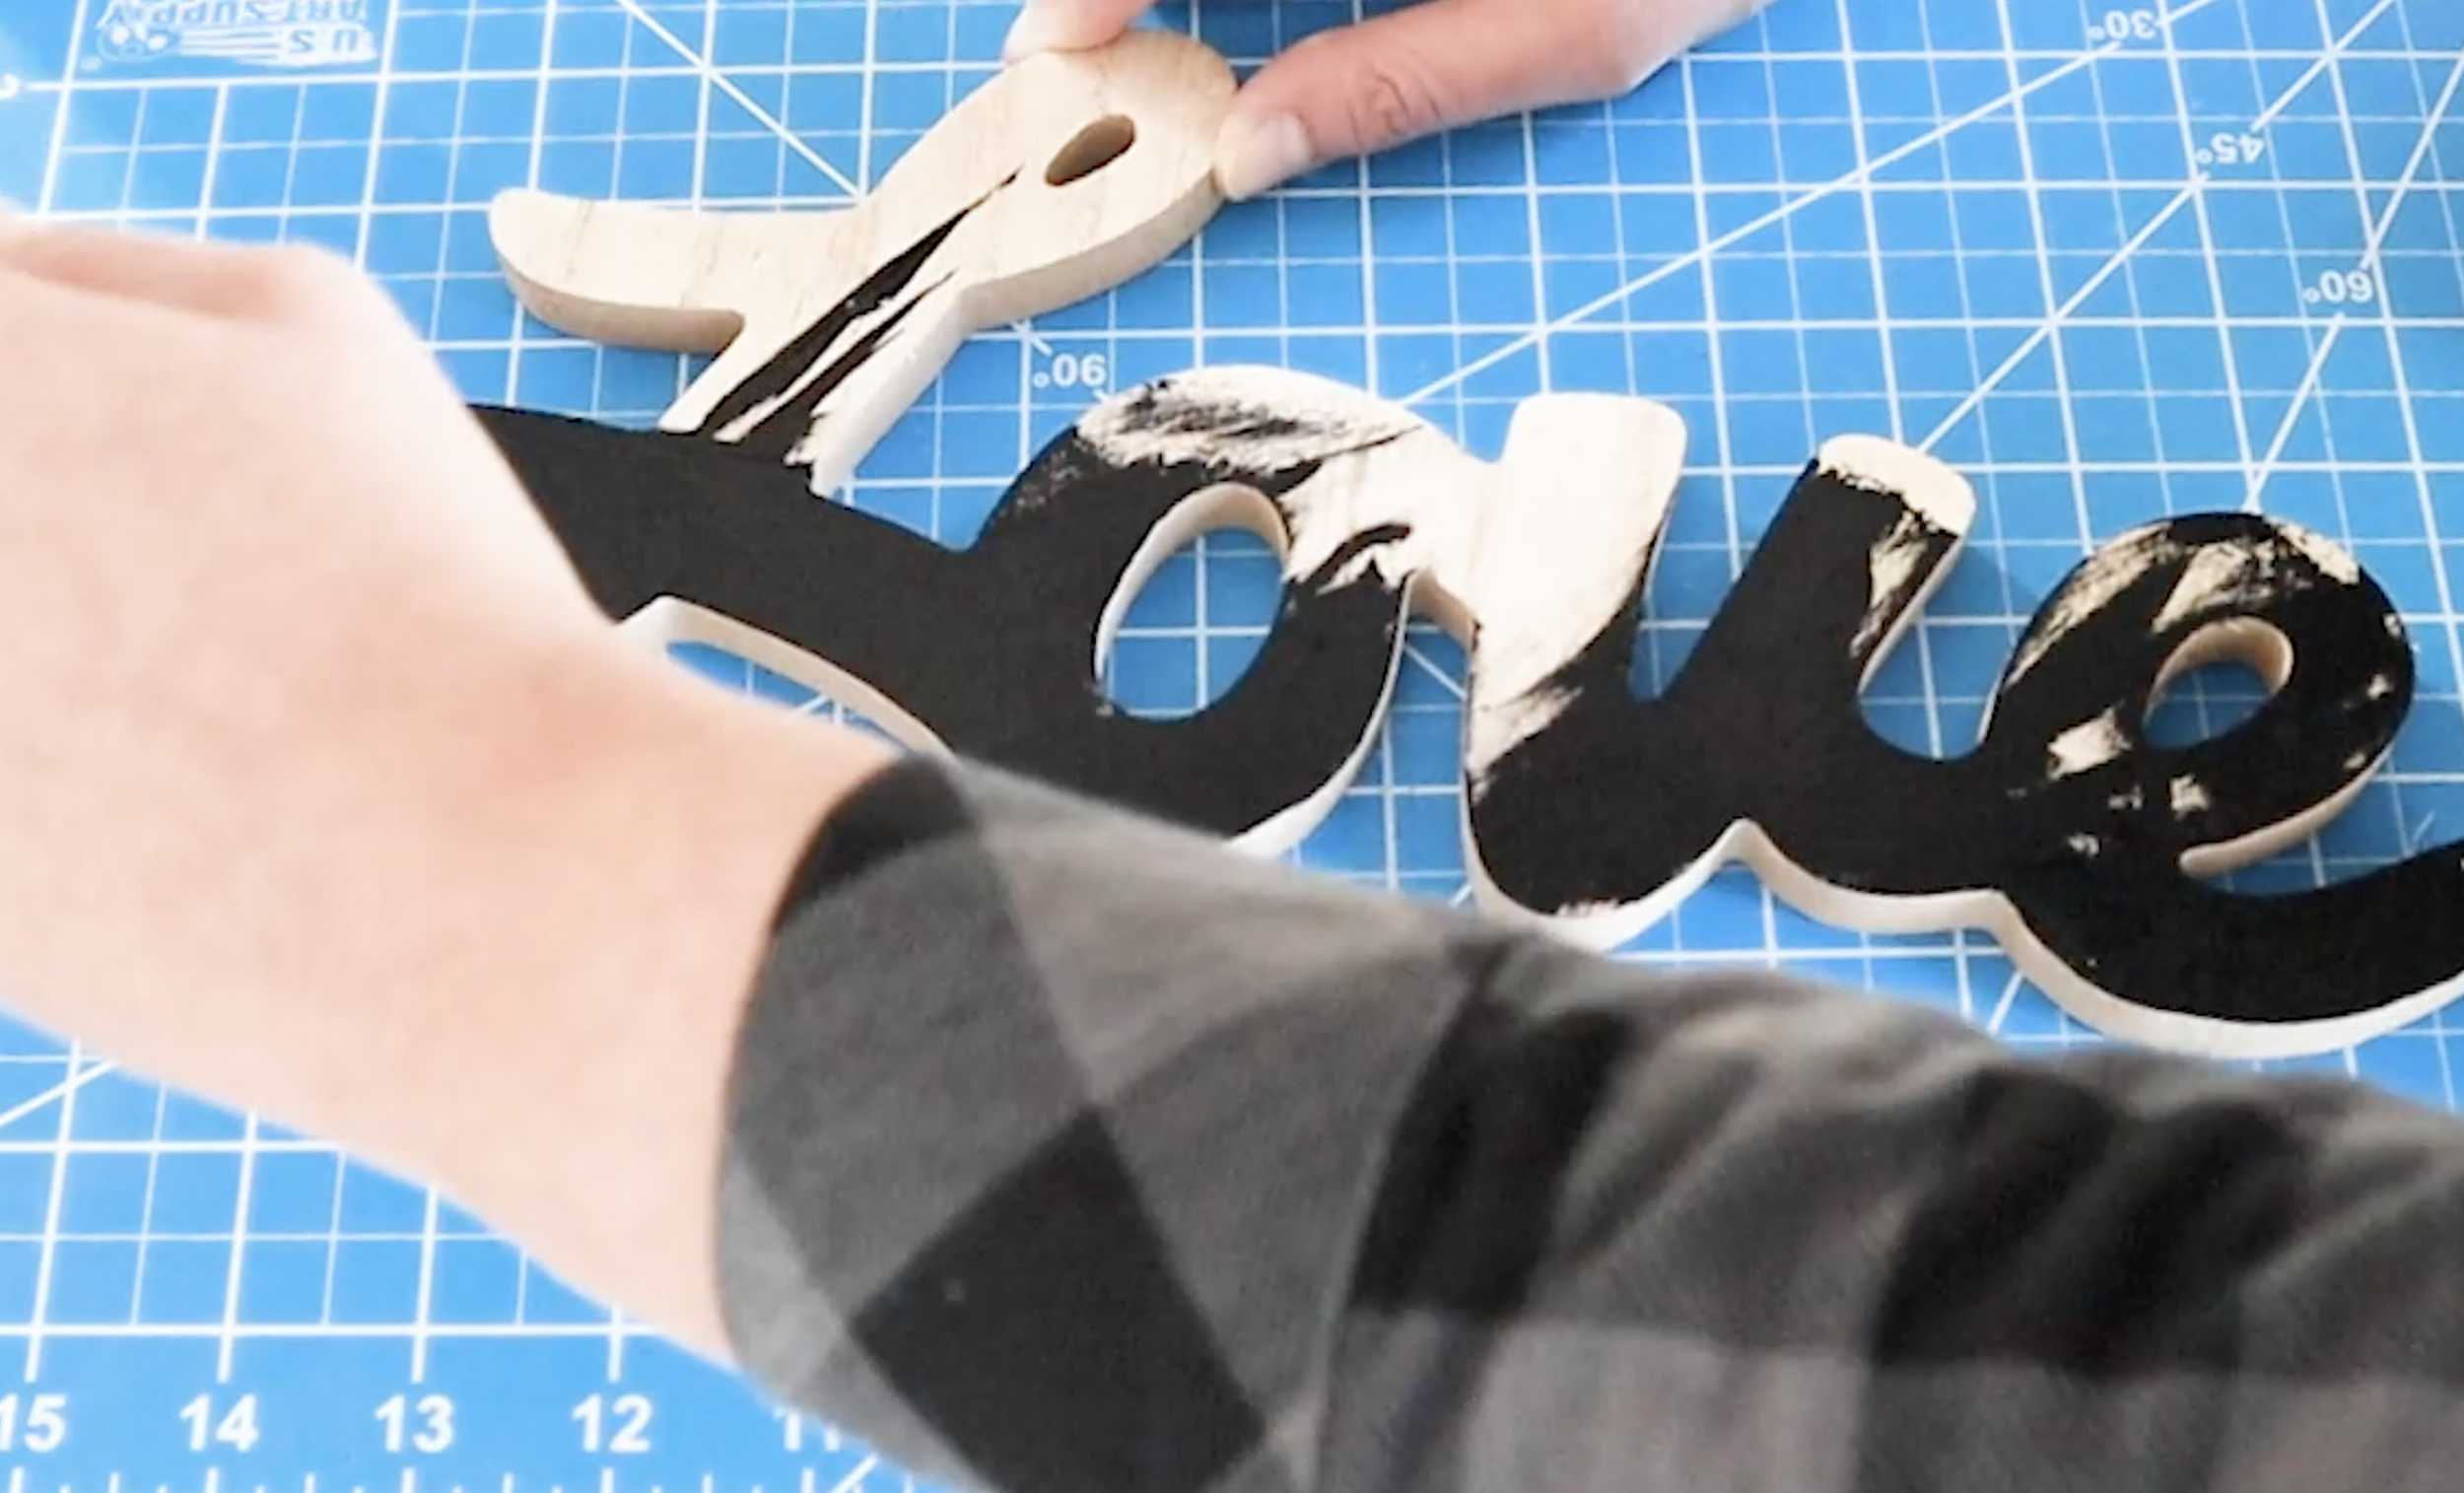
This is a nice solid sign I found at Dollar Tree. I hand painted it black. Make sure to get in all those little curves in between the letters. I used a couple different types of brushes so I didn’t miss any spots.
I attached this to the white heart with a combo of hot glue and E6000.
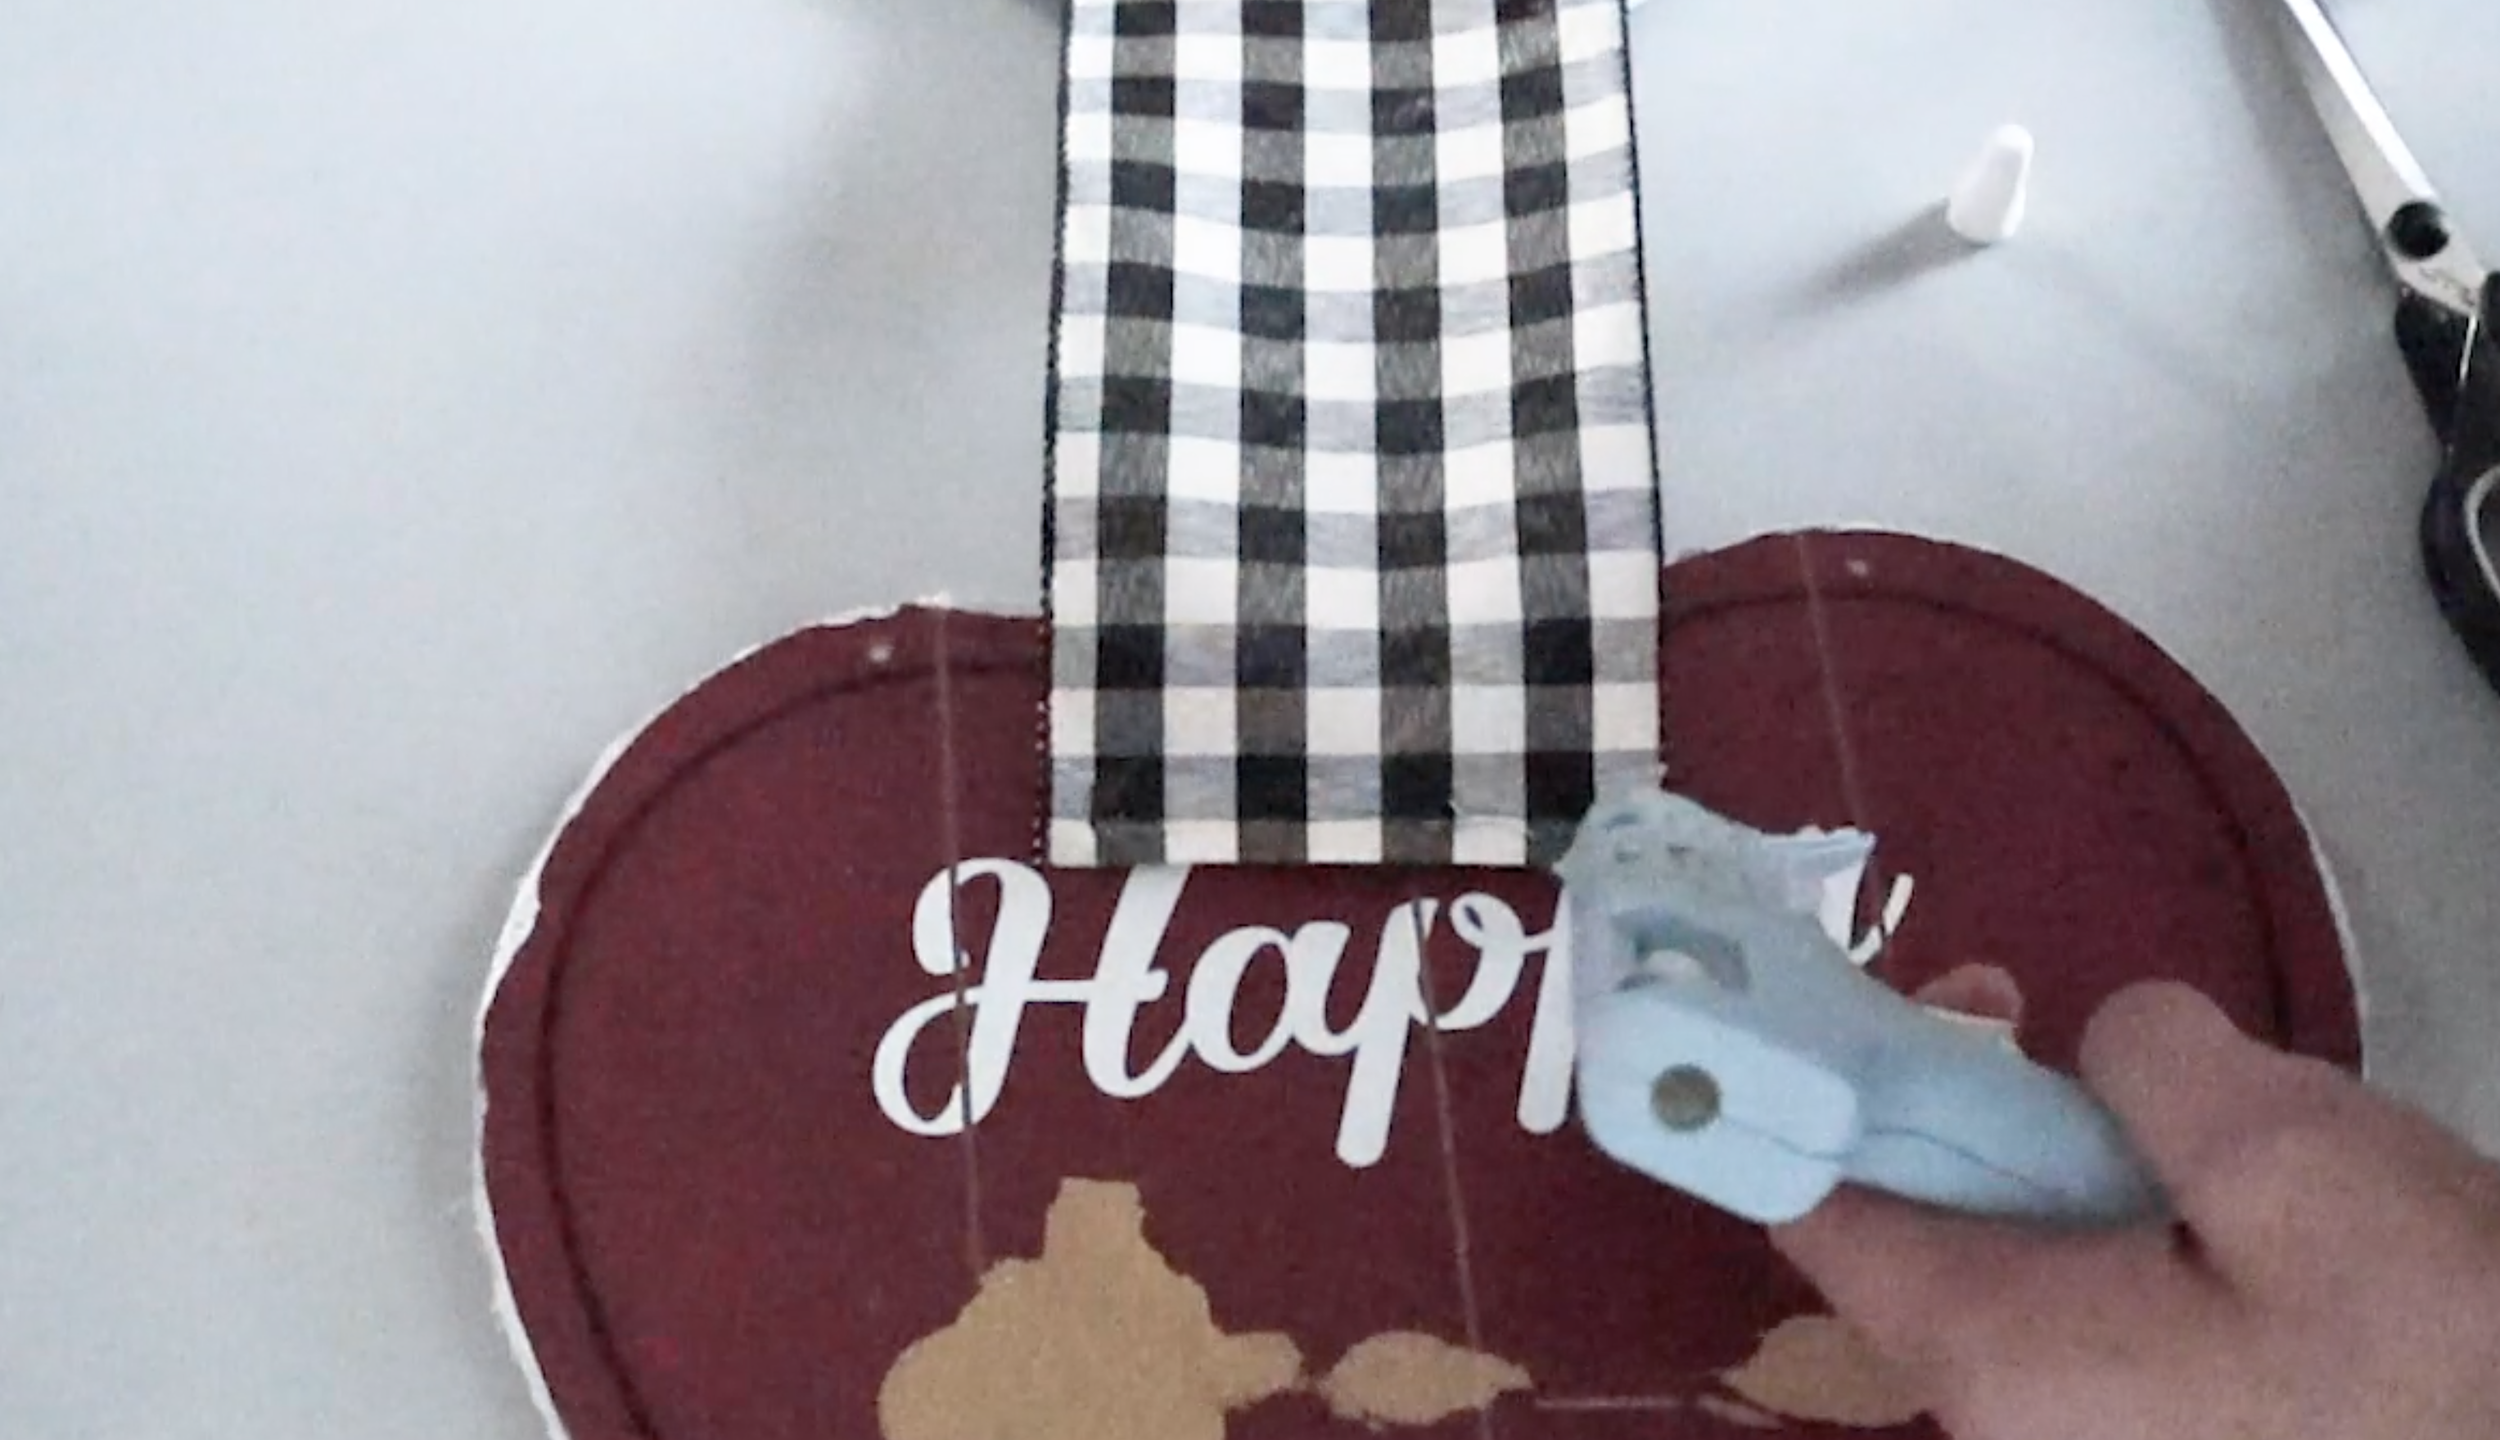
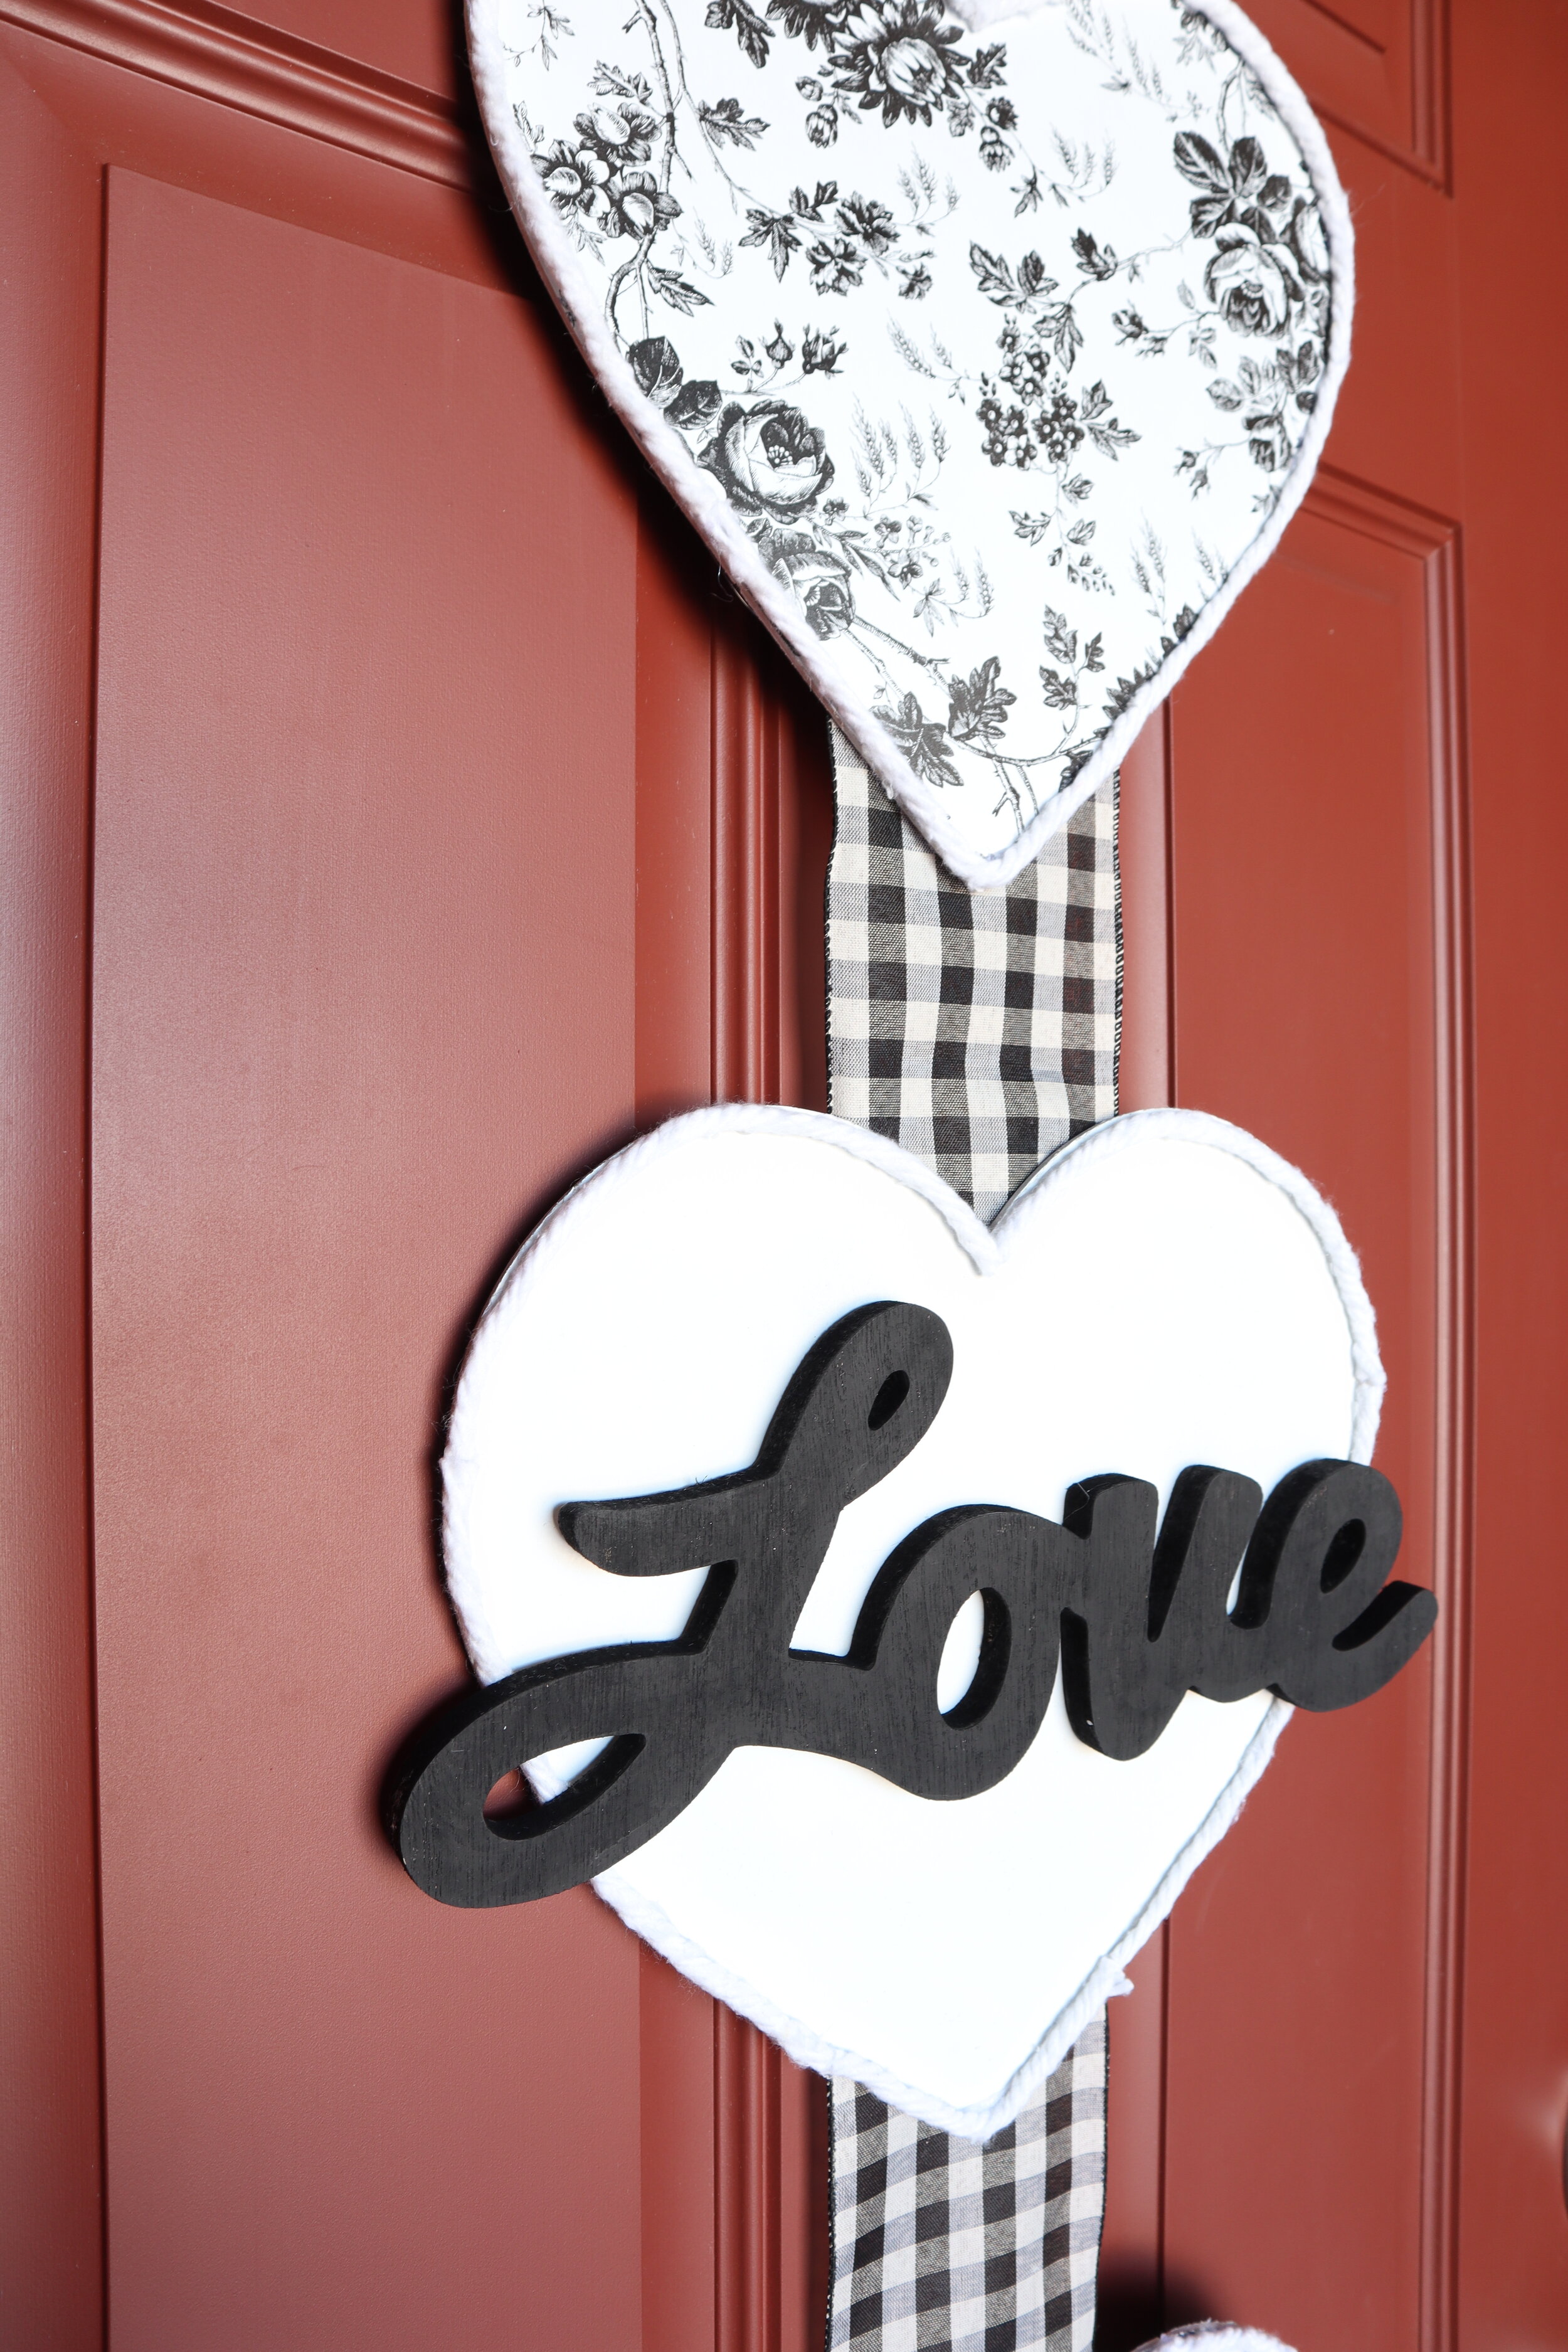
The last step is to put all 3 of these signs together. If you wanted to do 3 separate signs and display them together, I think that would look cute too. I used some thick ribbon folded up at the edges for extra hold. This is attached with some hot glue and E6000 and I let it dry overnight before trying to hang it. I got this ribbon at Michael’s, but Dollar Tree has lots of wide ribbon options as well. I also added a loop of that rope from the mop head at the top to hang it on my front door.
And here is the final look! I must say my red front door helps make this look even more festive!
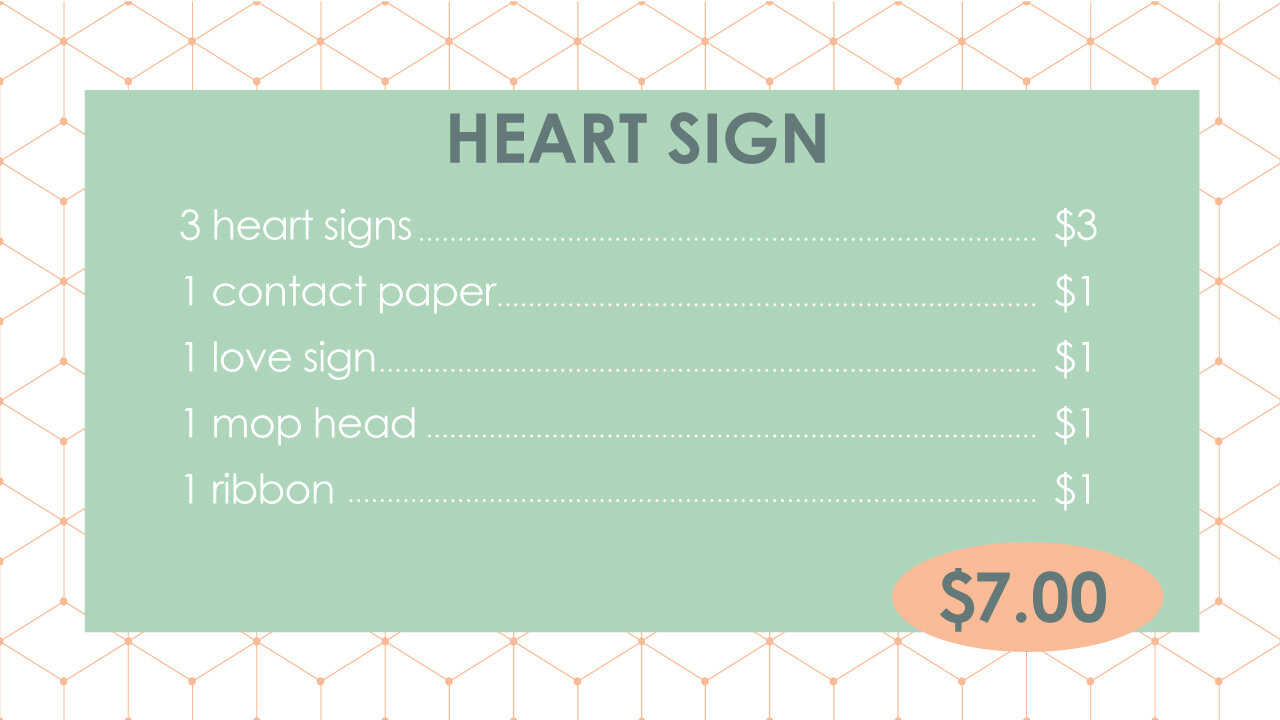
Here was the final cost for this cute Valentine’s Day sign. It is such a large solid sign, I think it looks like it cost much more than it did.
// valentine’s day “love” sign
For our next project, I’m going to start with this 80s themed sign and wrap it with that same contact paper we used on the heart sign.
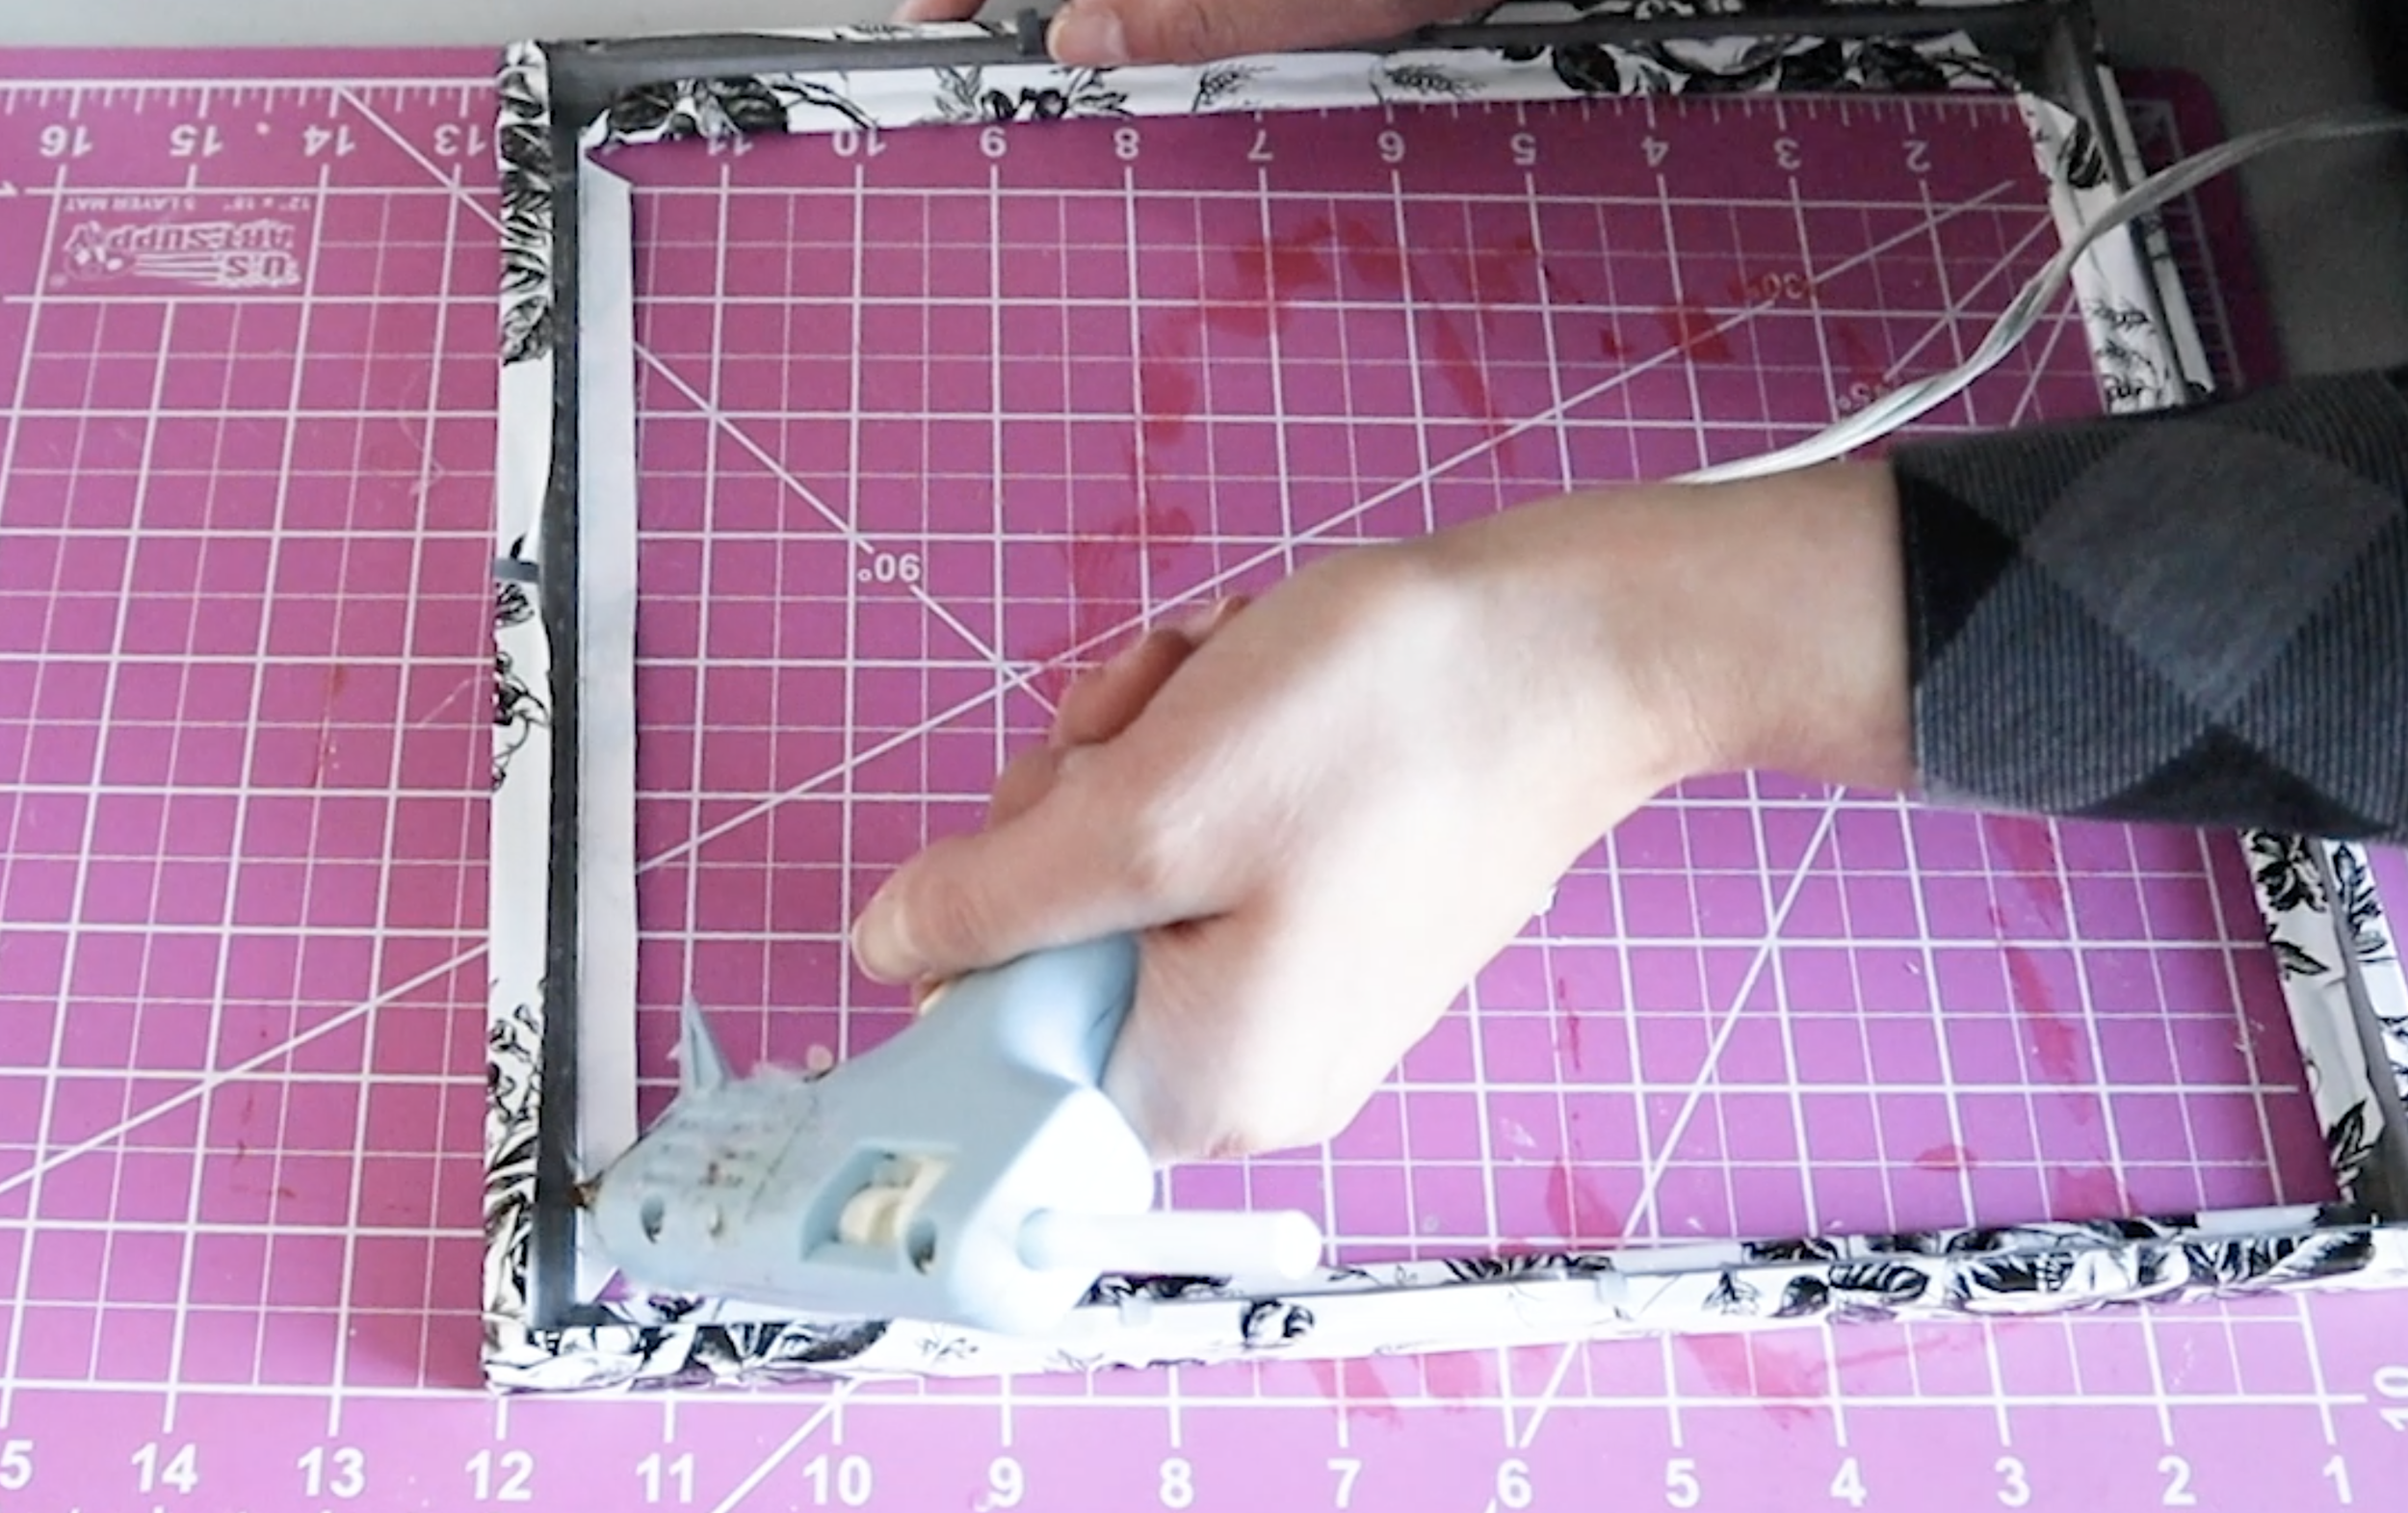
I cut angles in the corners for folding. Contact paper is sticky, but not sticky enough to stick well to every surface, so I did secure it with a line of hot glue after I checked that it was trimmed correctly and ready to stick down. I repeated this on all 4 sides.
Next, I glued 4 pieces of ribbon to the back of the frame. I made sure these were pulled tightly, so they would look nice and taught from the front.
I printed out some letters as a template. I pushed down with a pencil to trace the shapes onto a piece of white poster board and then I cut them out.
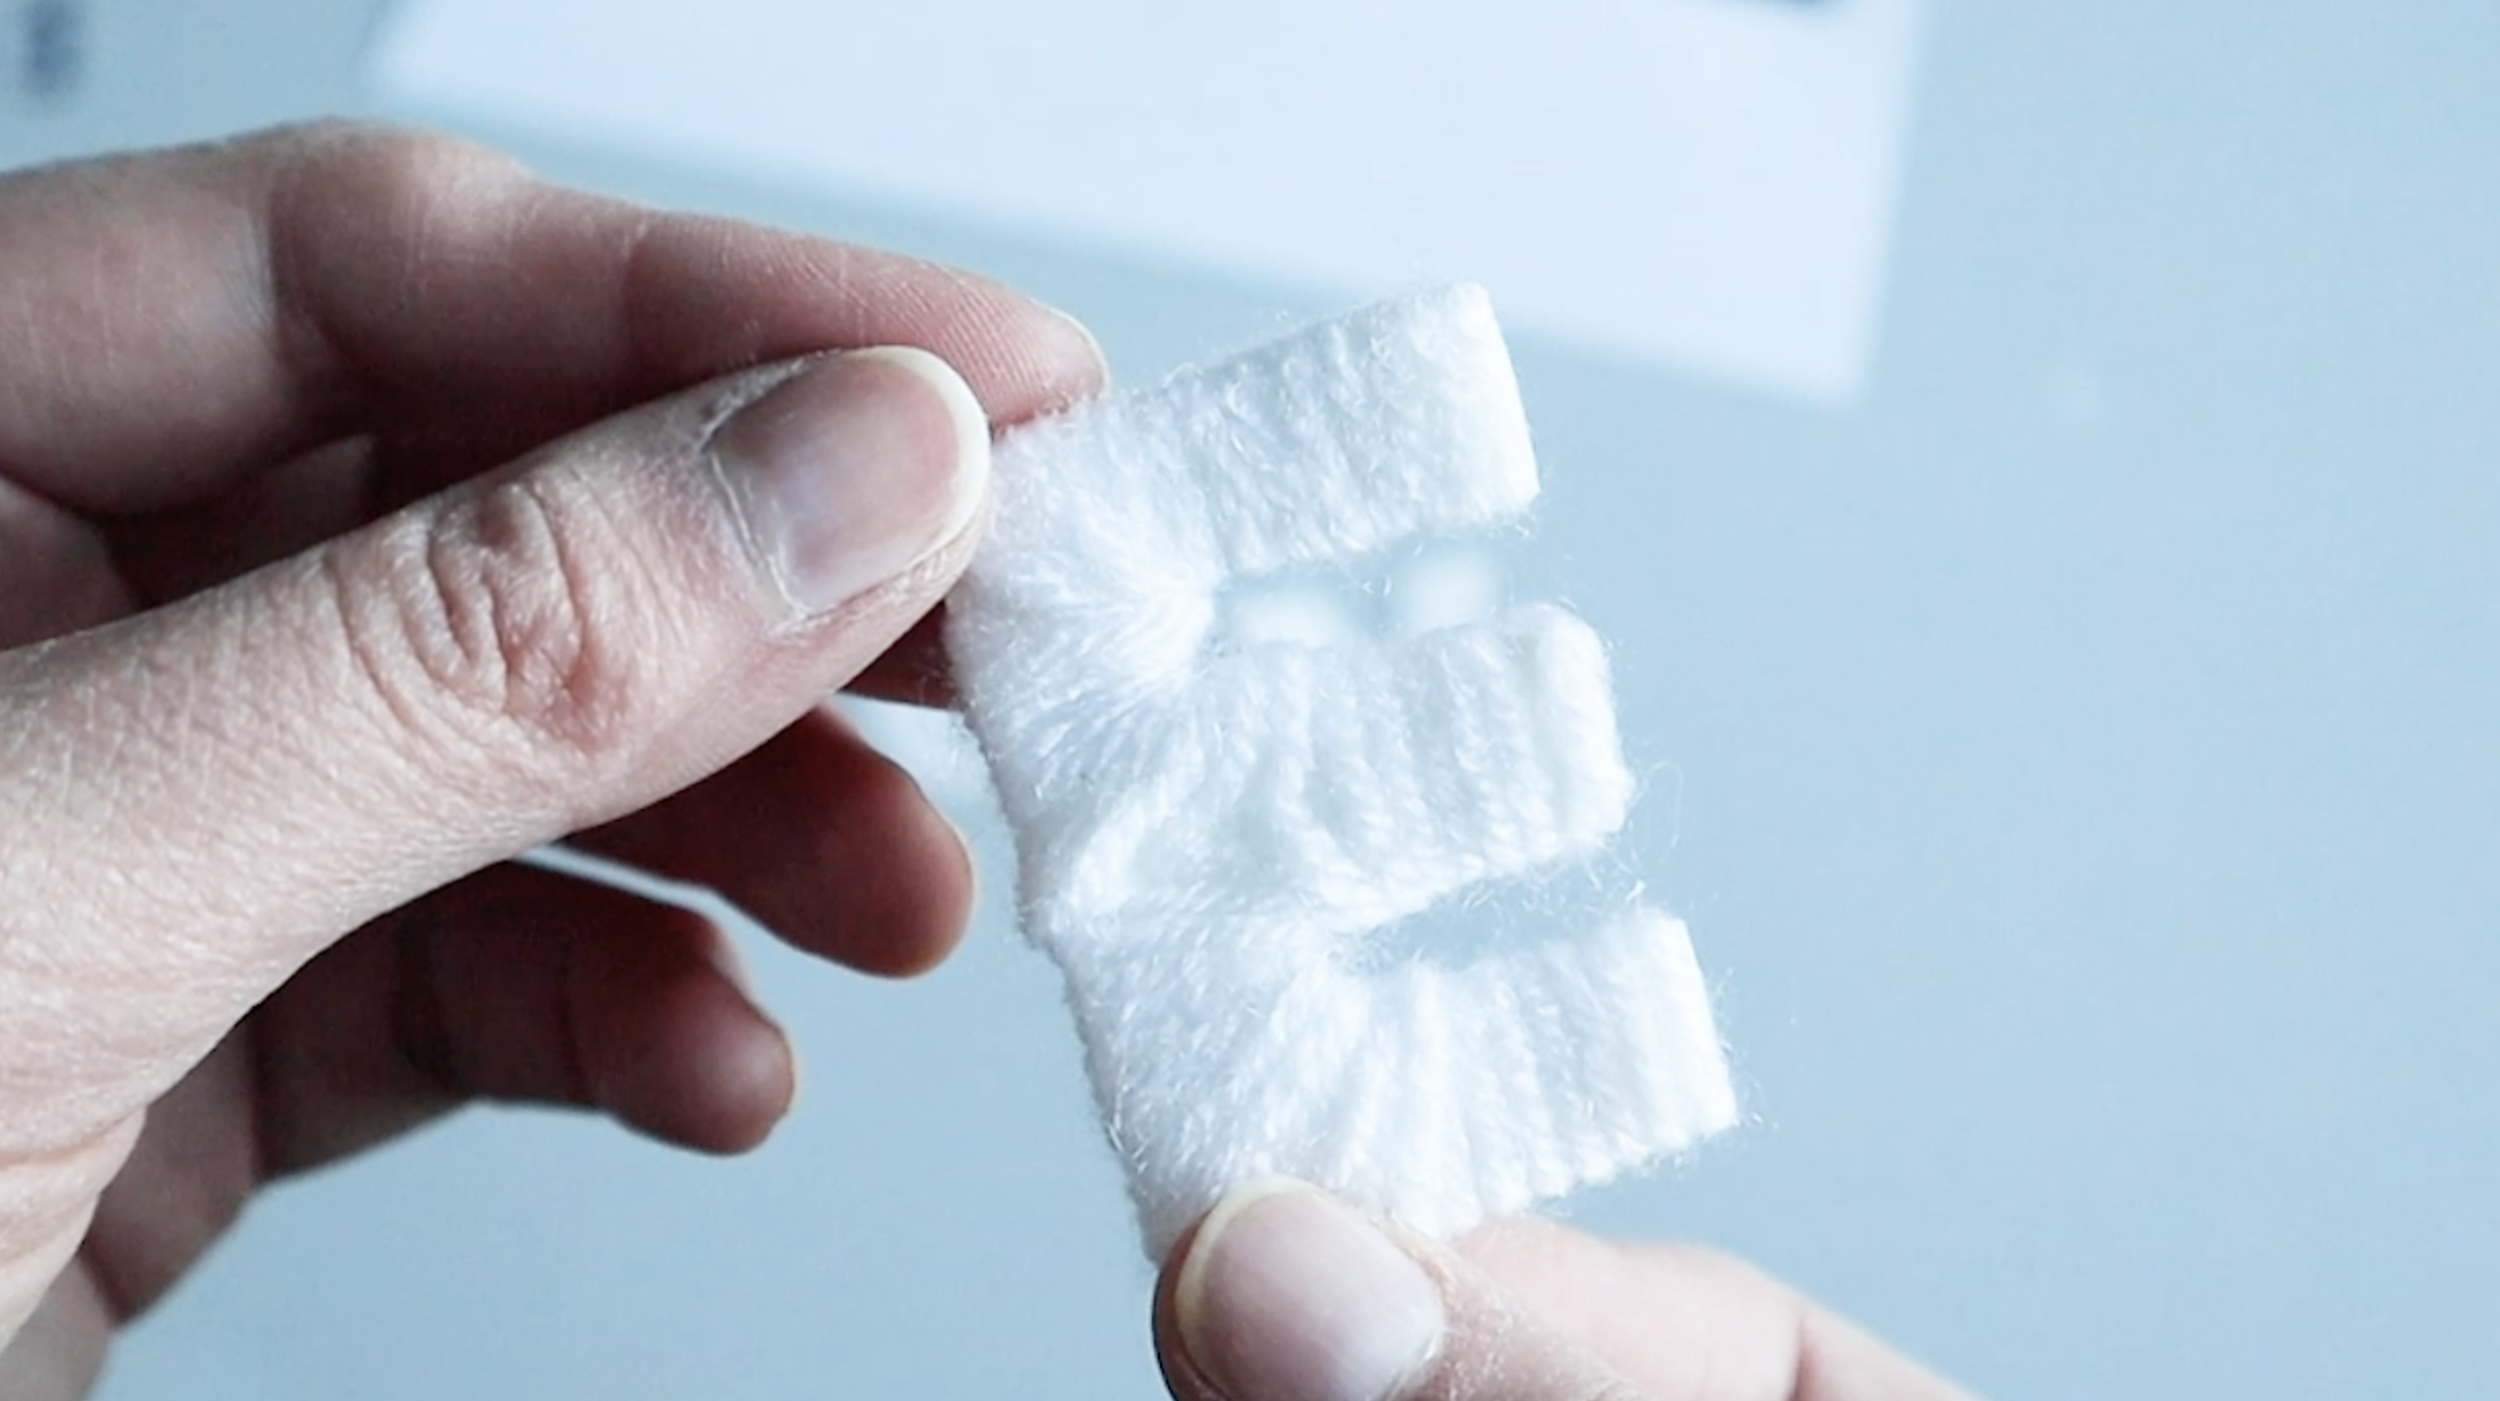
I used a little piece of tape to start one of the ends and then I wrapped some yarn around each of the letters. I used a dollop of hot glue at the end to secure everything in place.
And then I attached these letters to the ribbons with some hot glue.
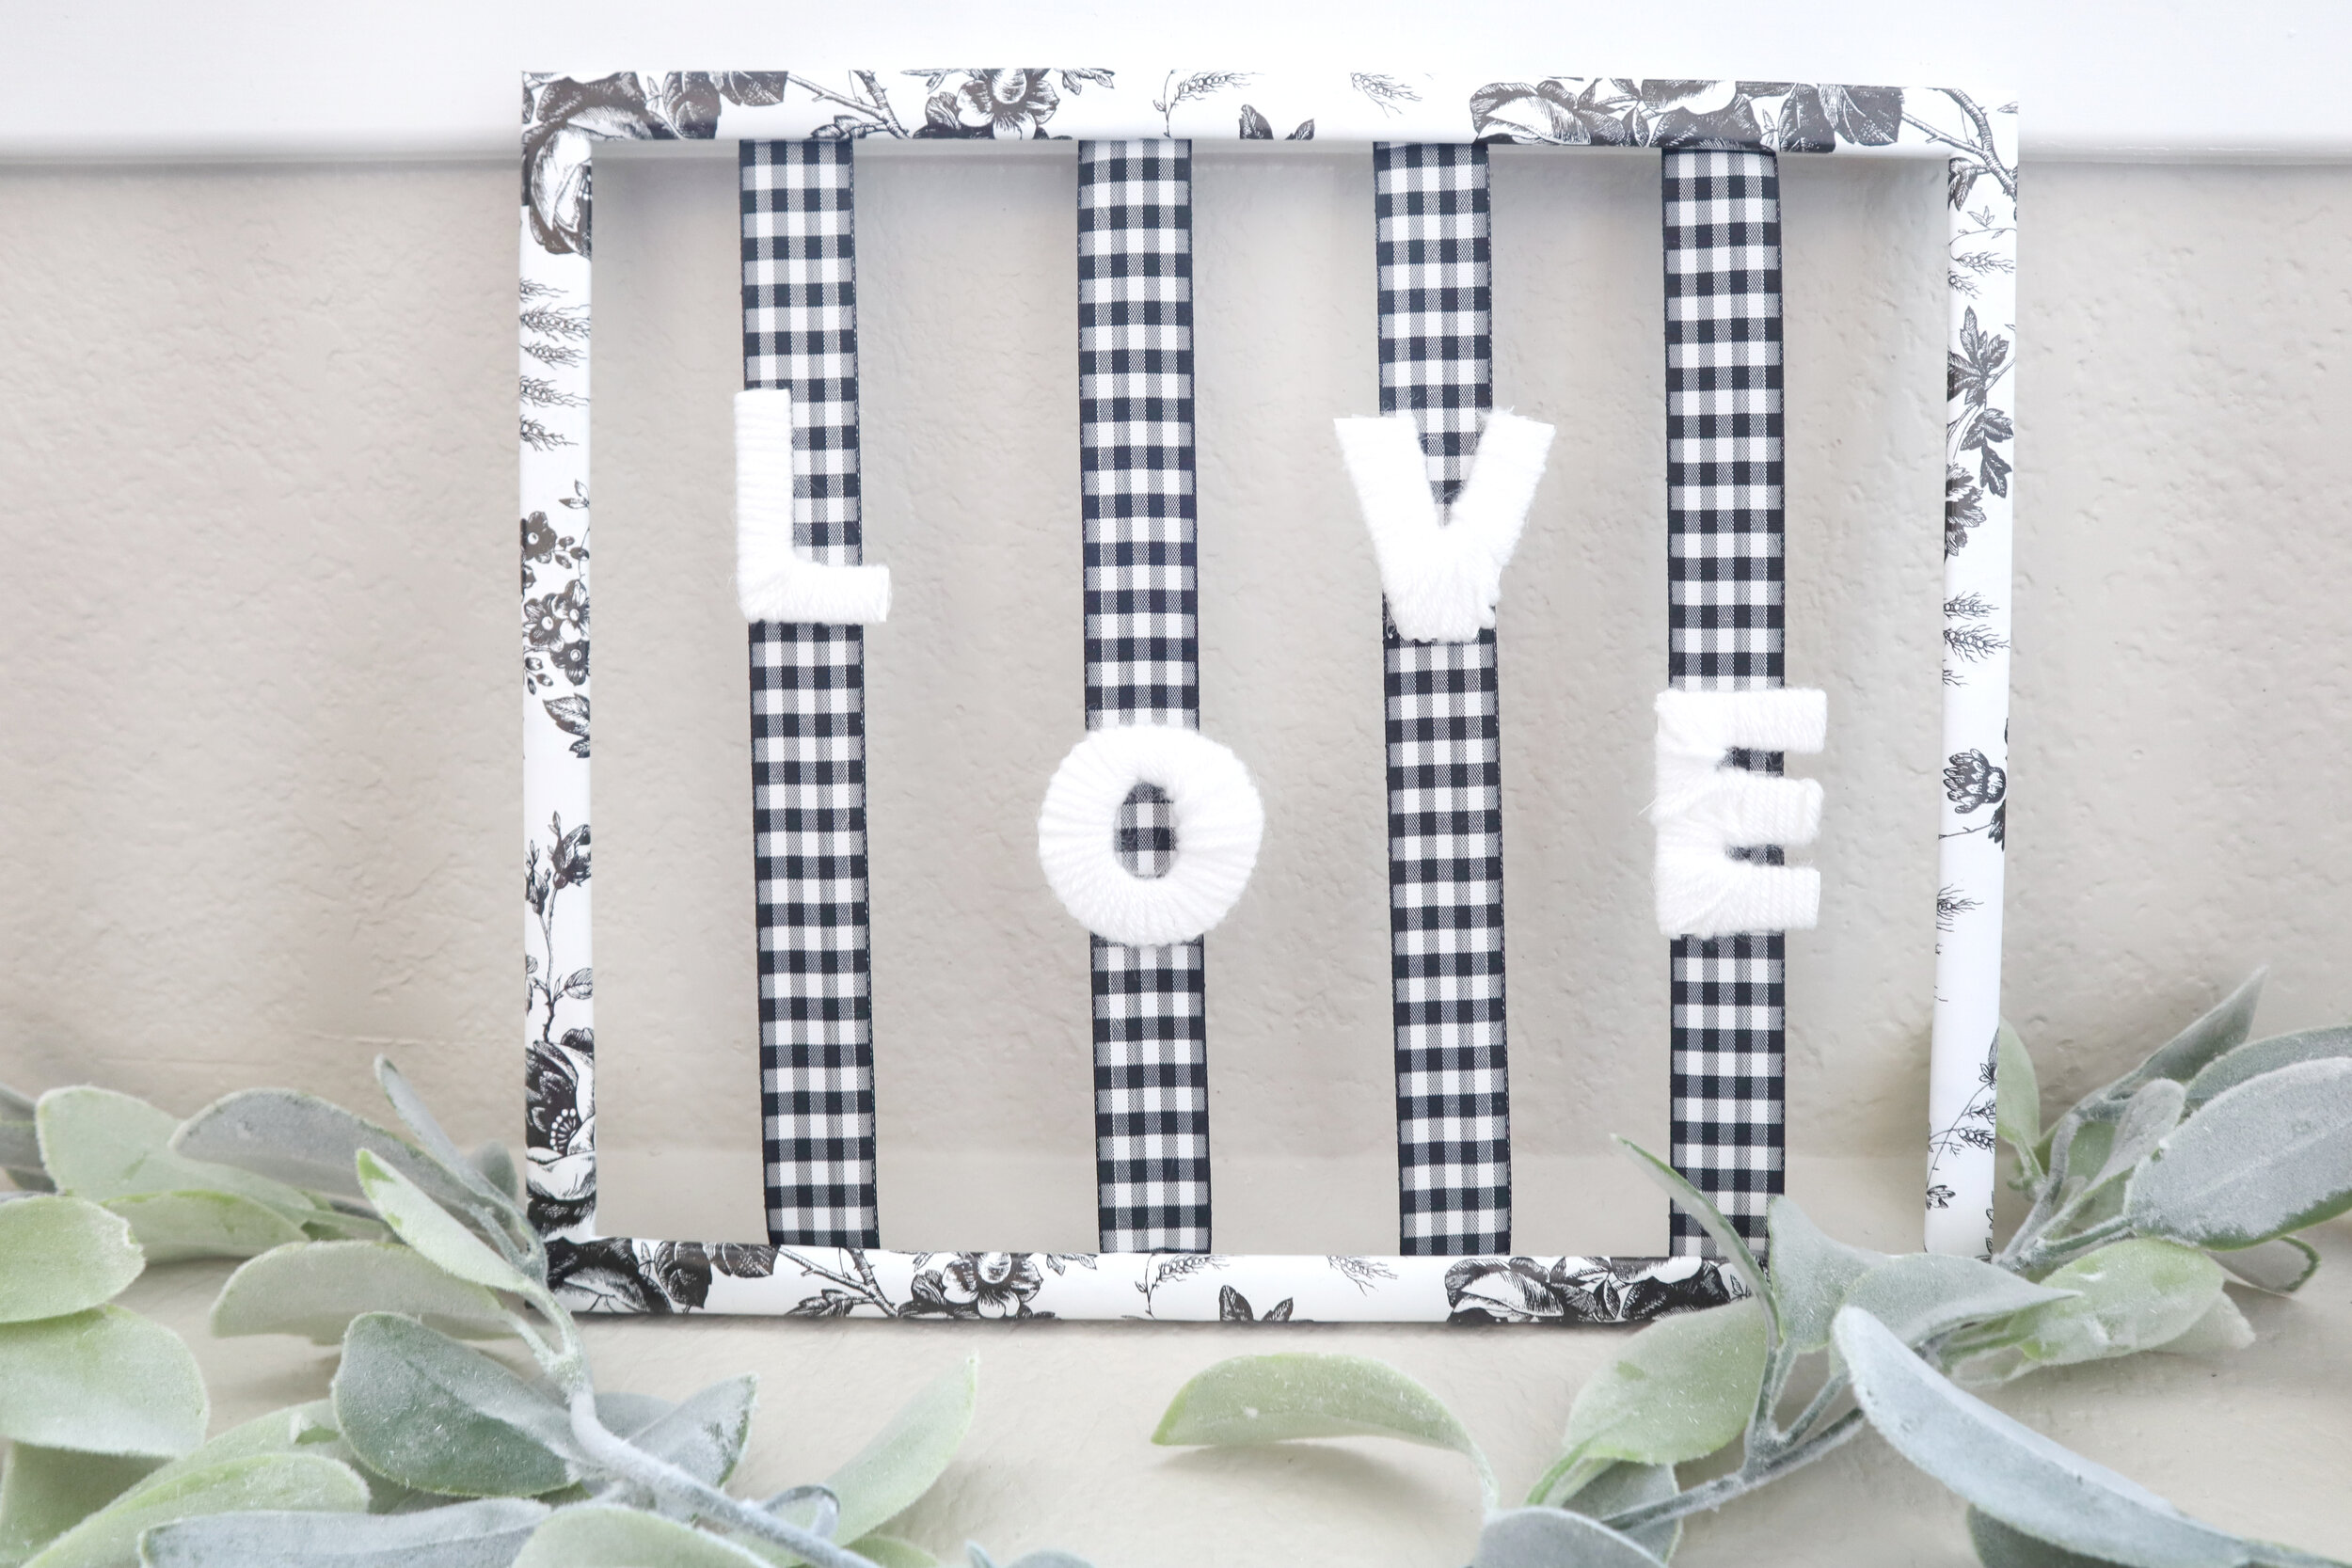
I think this sign came out so cute and I have mine leaning against a wall, but it could be hung on a wall too.
Let’s see how much this one cost to put together…very budget friendly!
// dollar tree floral diy
I have some Dollar Tree florals and a styrofoam ball, so we are going to put together a little topiary and leave just the bottom part free of the florals.
I found these glass vases at Dollar Tree and wait until you see what a coat of flat white spray paint does to these!
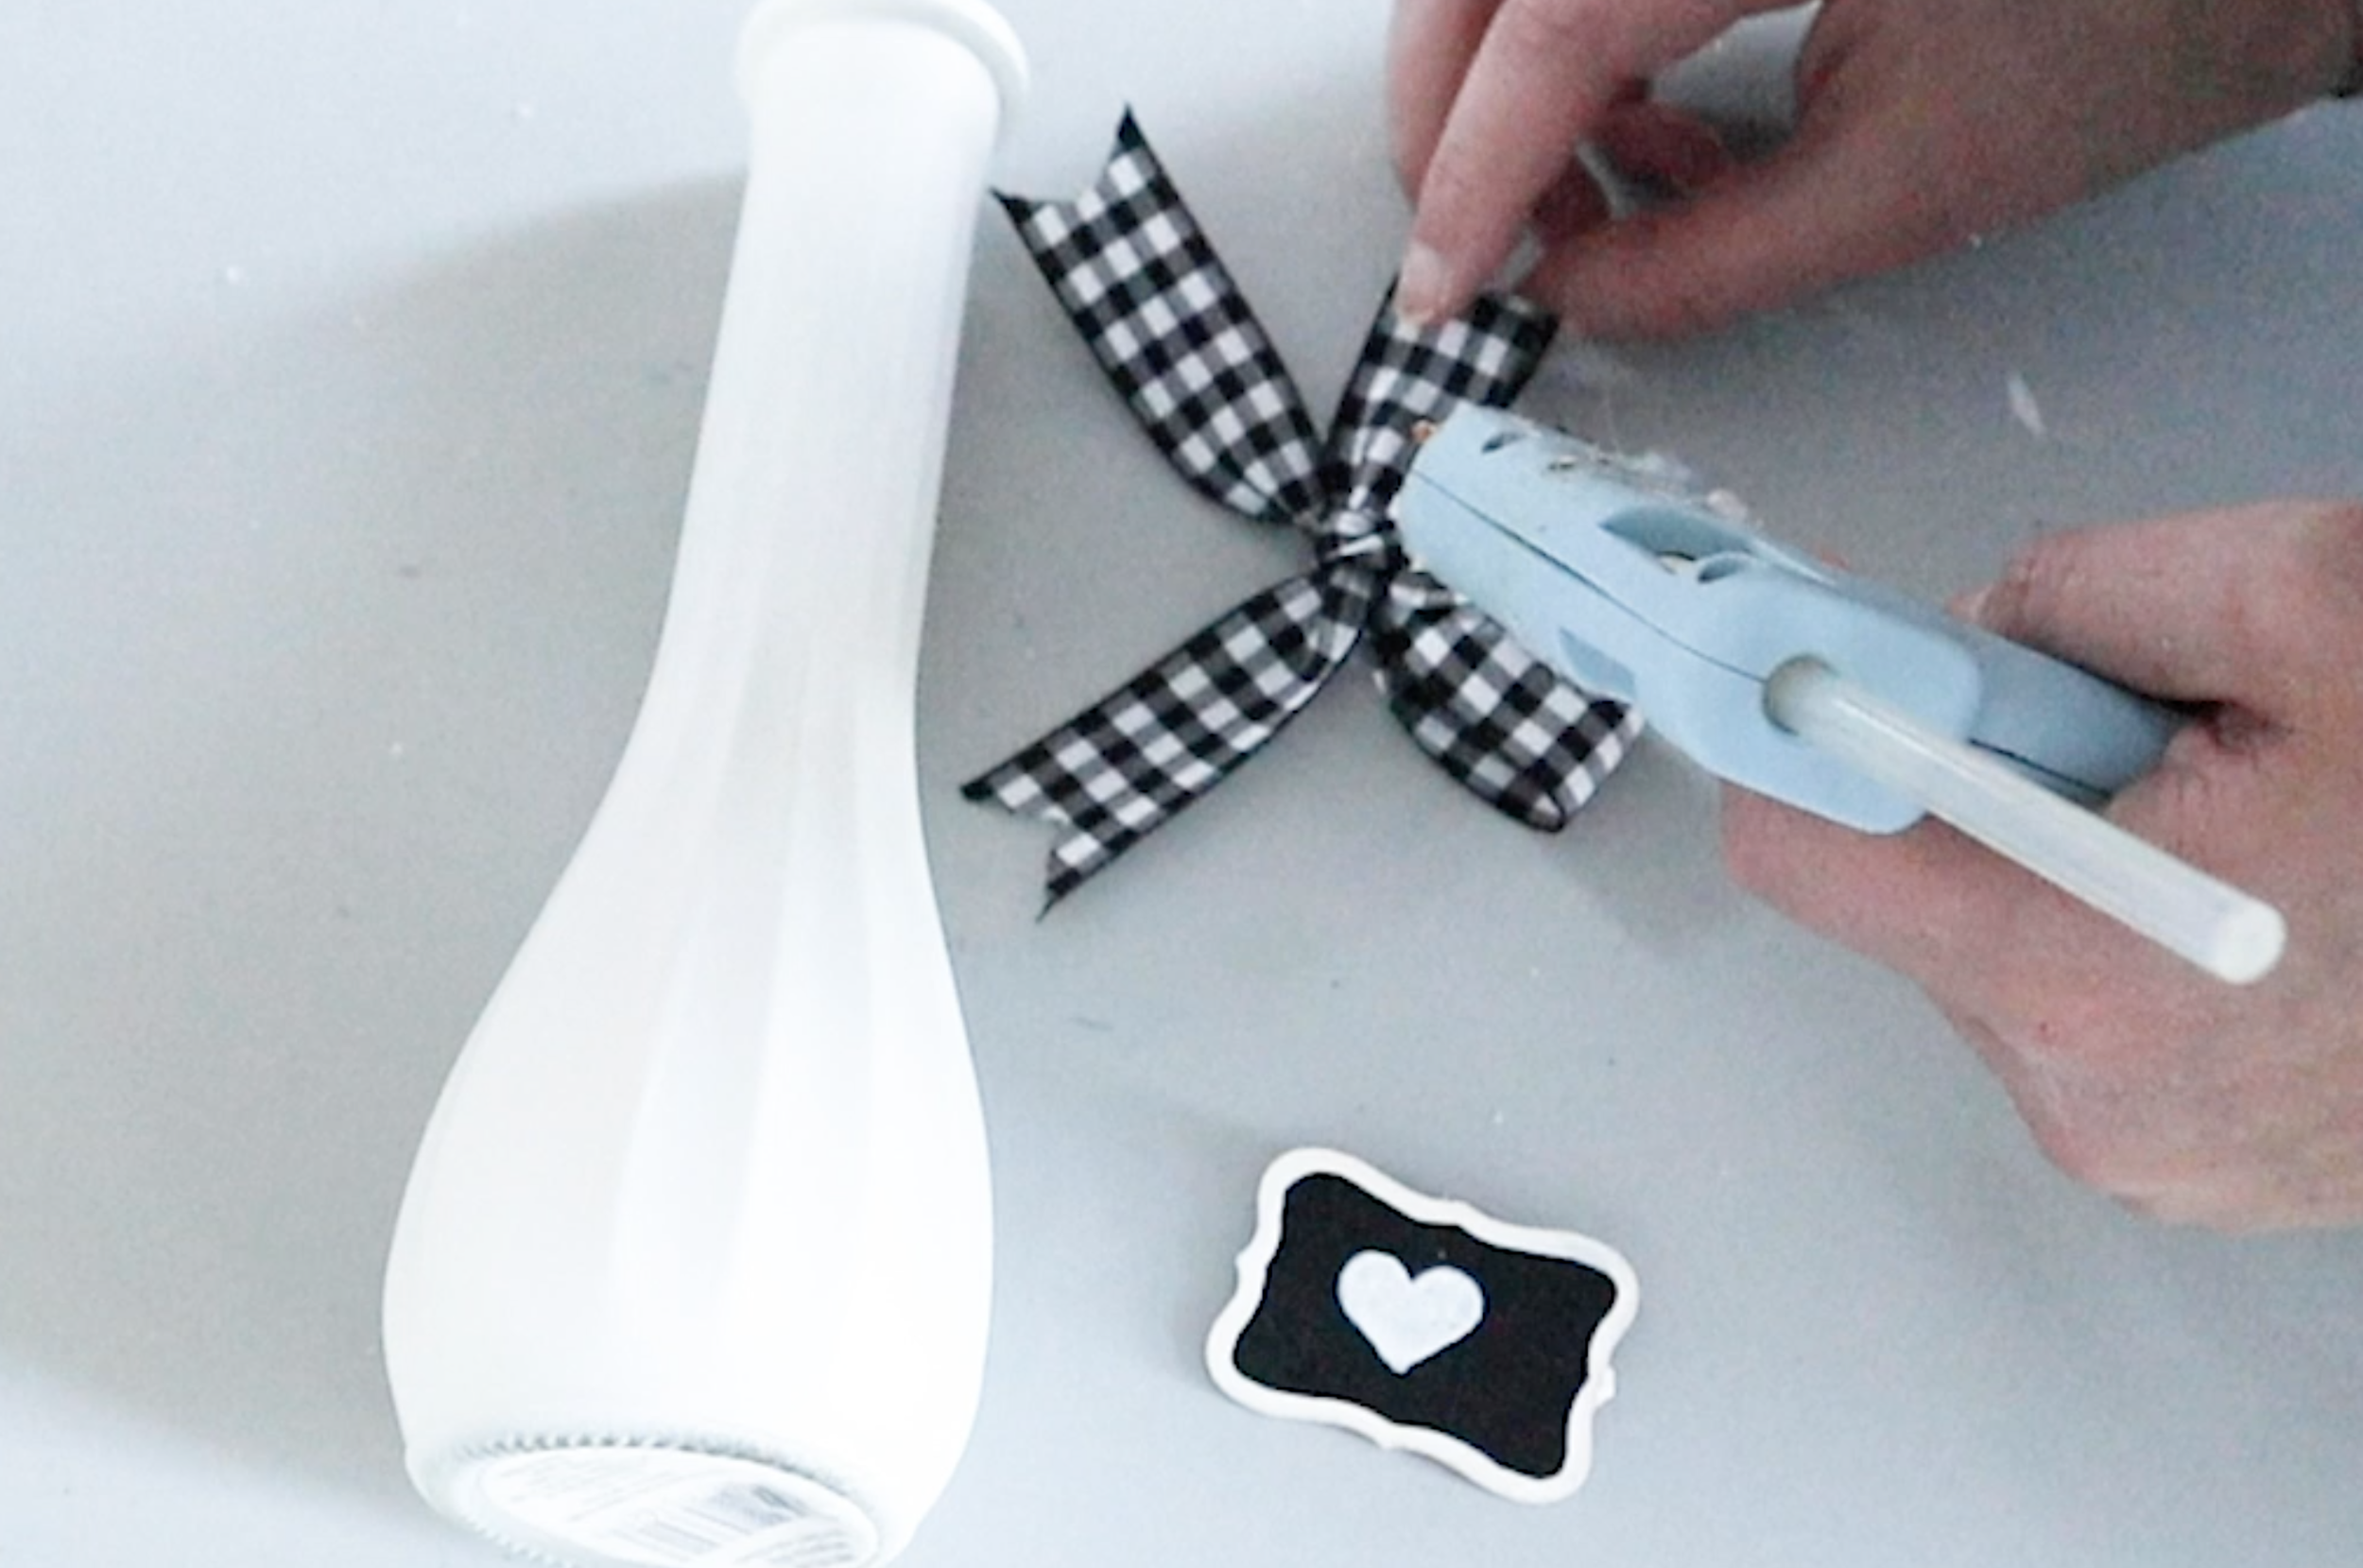
I found these little signs at Dollar Tree and popped the clothespin off.
I didn’t like the yellowy looking wood edge, so I painted it white to match the vase. I also added a little heart but you could write “I love you” or you could even make a set of these and put a different word on each one and display them next to each other. There are so many ways to customize this to your own style.
I glued everything in place and now we have an elegant looking floral piece for Valentine’s Day for just a few dollars.
Here is the final price tag for this beautiful floral arrangement.
I hope you have a creative day and thank you so much for reading!
// SUBSCRIBE TO MY YOUTUBE CHANNEL HERE and click on the notification bell. That way you’ll know right when my new crafts go up. Sometimes, it takes me a couple days to get my newest DIYs up on my blog.
FTC: Not Sponsored. All opinions are always 100% honest and my own. Some links may be affiliate links. If you click a link and buy something, I receive a small commission for the sale. It doesn’t cost you anything extra and you are free to use the link or not as you choose. If you do use my links, I appreciate your support.
















How about some Target Dollar Spot crafts and Dollar Tree coastal transformations. We’ll be putting together tiered tray miniatures to decorate our little coastal vignette.