How to Make a Floral Wreath Step by Step
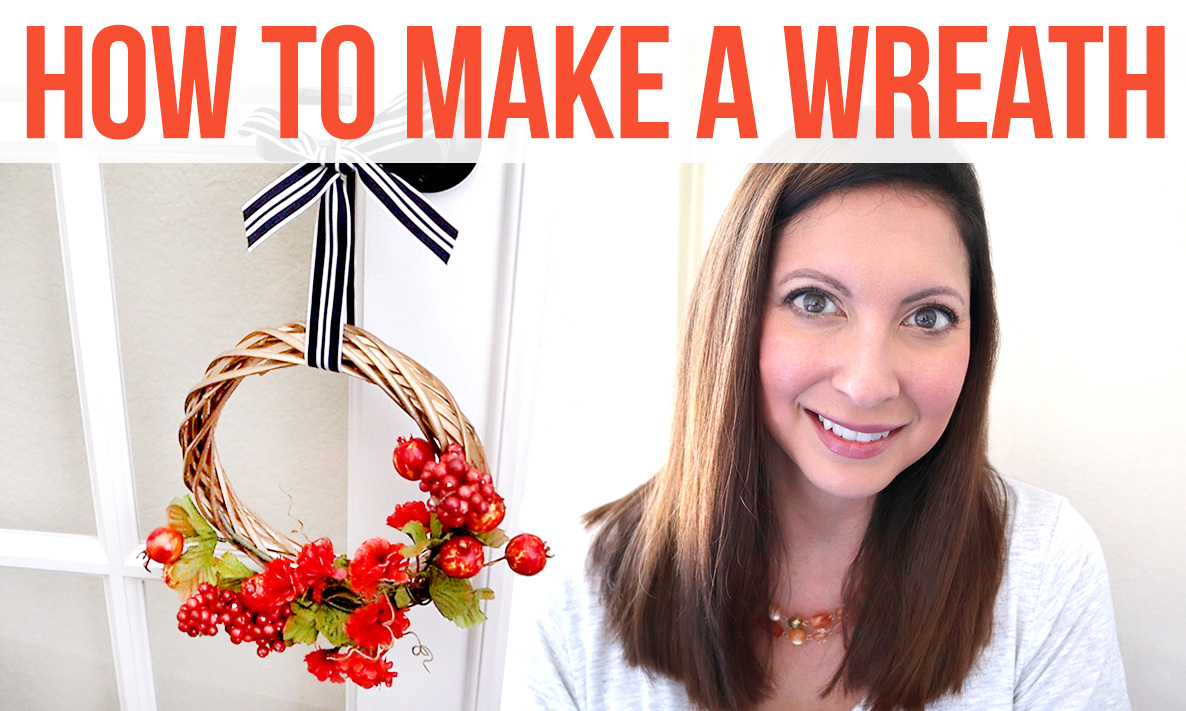
I have another quick tutorial for you today and this one is on how to make a floral wreath step by step. I love Fall decor on the front door and by the mantle, but I am using this wreath on the doors to my office. This cute little wreath would also look great on the porch, at an entryway, in the kitchen or as dining room Fall décor. If you’re looking for ideas for Fall home decor for less money, then this Dollar Tree craft will be perfect for you. I did a video showing exactly how to make this wreath, so check that out below!
I had already found a cute wreath for my front door last year. I got it at Home Goods, so it was a really good deal. If you want to see my Fall decor from last year, CLICK HERE.
So, this year I wanted to make a wreath, but wanted something small and simple. I already finished decorating my fireplace for Fall, so I wanted to put a little decoration in my office, where I spend a lot of my time. I have french doors to my office and I usually leave them open so I thought a little wreath on the handles of the doors would look nice.
// SUPPLIES USED FOR THIS DIY
clickable links on each item in case you want to shop for these supplies!
// step 1
get your florals and paint the wreath base
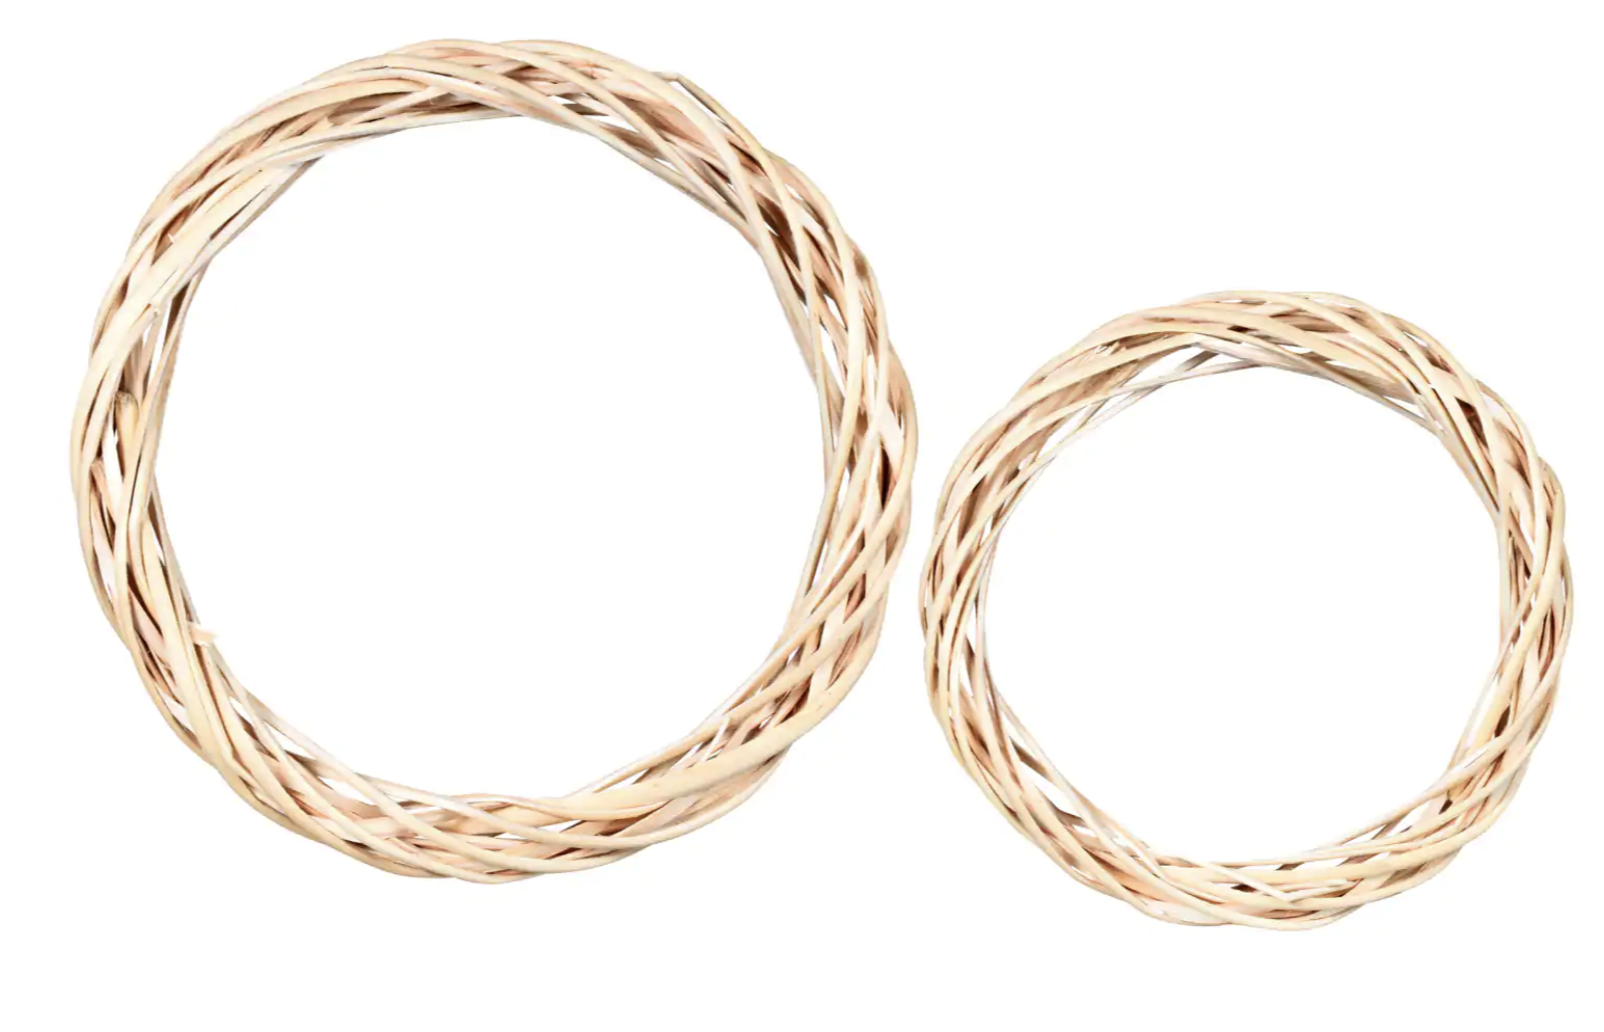
Dollar Tree had some great Fall florals, so I picked a bunch of those up. I also got a little base for the wreath at the Dollar Tree. They sell these in 9 and 12” diameters. I got the 9” one, so it would fit nicely on those french doors. These come in a pale natural wood color. I wanted to darken them up, so I used a matte gold spray paint.
Dollar tree wreath
12” and 9”
// step 2
arrange those florals
Next, I played around with the florals to make them fill the bottom of the wreath. I did try to keep things looking symmetrical, but natural, as I normally do with my floral arrangements. I didn’t need to use any glue or other way to secure the florals to the wreath. Because of how the wreath is twisted, I was able to snake the florals through the wreath and they stayed secure. This also gives some flexibility to reuse this wreath base for another season.
// step 3
hang the wreath with or without a bow
You could delicately and simply hang this over your door handle, but I chose to add a ribbon to dress it up a little. I felt this black and white ribbon really popped against the white doors and added some contrast to the wreath.
I hope you enjoyed this little wreath tutorial. What I love about this wreath is that you don’t have to use glue, so you can switch these florals up for the next holiday. Thank you so much for reading and leave me a comment below if you enjoyed this post!
FTC: Not Sponsored. All opinions are always 100% honest and my own. Some links may be affiliate links. If you click a link and buy something, I receive a small commission for the sale. It doesn’t cost you anything extra and you are free to use the link or not as you choose. If you do use my links, I appreciate your support.


How about some Target Dollar Spot crafts and Dollar Tree coastal transformations. We’ll be putting together tiered tray miniatures to decorate our little coastal vignette.