Get the Pottery Barn Look for Less Money | Dollar Tree DIYs
Pottery Barn is expensive, so I was inspired to make my own versions for way less. Check out the video below, or keep reading for the tutorials.
If you’re here for that tray template, fill out the form for the free download.
// diy dollar tree tray
The first Pottery Barn dupe is this really pretty tray. But we’ll be making a rectangular version.
I had a fun little trip to my local Dollar Tree and saw this new section with $3 and $5 items.
They had a wooden tray that I thought would work for this Pottery Barn dupe. I’m going to make mine rectangular instead of round, but it will have the same look and feel as the Pottery Barn one.
This tray is really well made and sturdy. Definitely a good deal for $5. Let’s take some black paint and we’re going to paint the sides and make sure to get all the edges really well.
It’s ok that we’re getting a little paint on the open area in the middle because we’ll be covering that up with the design. In case the paper doesn’t fit perfectly, having that little edge of paint will help finish off the edges.
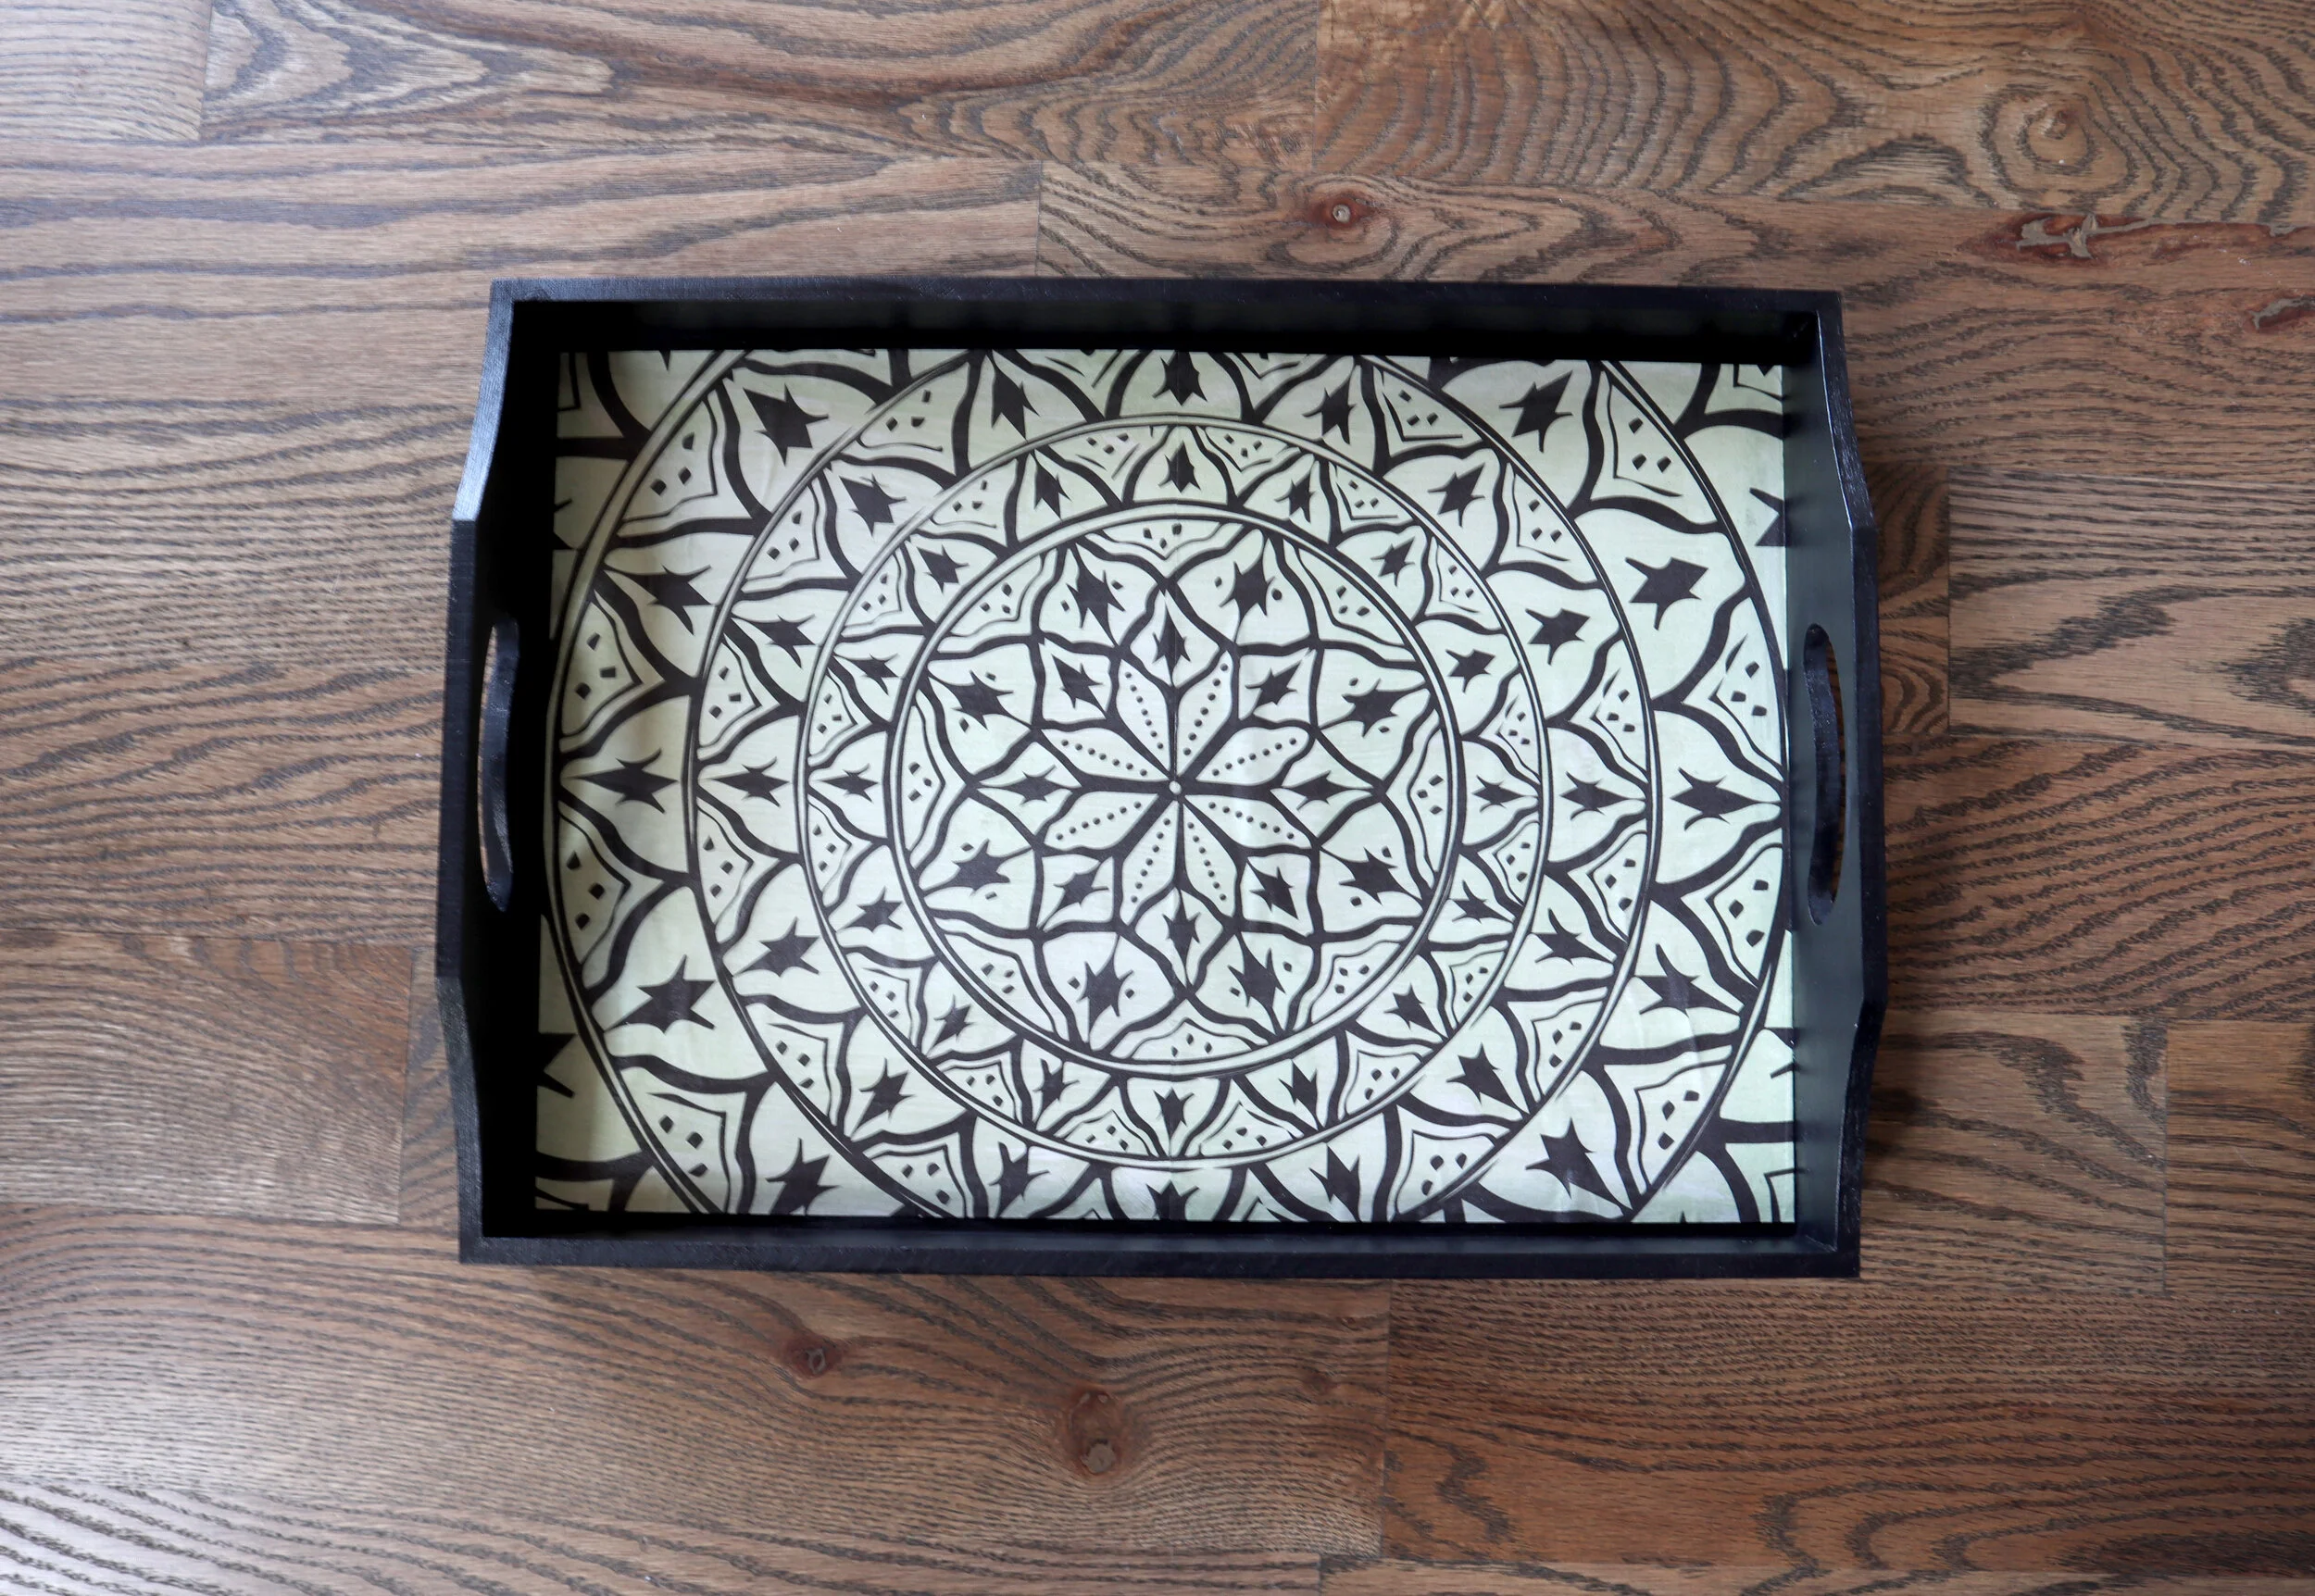
I hopped onto my computer to turn this circular pattern into a rectangular one. Then I printed this out in 2 pieces since my printer only prints up to letter size pieces of paper. You can find this template at the top of this post.
We’ll trim the paper, so the center of the design butts up next to each other seamlessly.
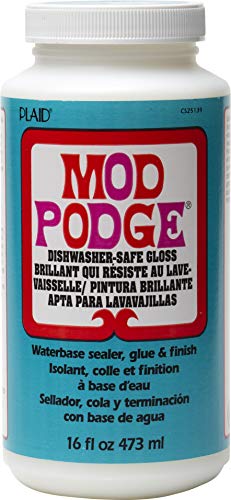
You can find Mod Podge in a smaller size at Dollar Tree, but I have this waterproof one and since I will be using this in the kitchen, I thought it would be perfect for this project in case a drink spills on the tray.
I brushed a bit of the Mod Podge on and then smoothed out the paper. Do this for both sides and then wait about 30 minutes until it is dry before painting more Mod Podge on top.
Sometimes the Mod Podge leaves a bit of a sheen and I didn’t want any spots showing, so finishing off that entire inside edge f the tray with Mod Podge ended up giving this a very nice finished look.
I’ve been on a roll with the dupes for the last couple weeks. I did Kirkland’s, Ballard’s last week and this week Pottery Barn.
I love sharing crafts and home DIYs, so you can get lots of ideas to find your inner artist. If you like home decor inspiration, definitely stay tuned, because I have some room makeovers coming up this Summer!
Here were the supplies we had to pick up at Dollar Tree.
And here is the comparison of mine to the Pottery Barn one.
// antiqued vase diy
I loved the look of these vases, so I wanted to recreate that look of just the right amount of distressing using an old vase I already had. They do sell glass vases at Dollar Tree, so you could pick one up for a dollar over there, if you don’t have one sitting around.
Start by giving the vase a flat white coat of spray paint. This will help our acrylic paint stick better to the glass.
I painted some off white paint in a circular motion around the vase to give it a streak type texture. I added a few little specks of brown and black and blended them in to give this vase an antique look.
You can find leather looking ribbon at Dollar Tree, but I haven’t had any luck finding it at mine, so I’m just going to use this leftover faux leather we used to recover our piano bench.
Add a little black paint to distress it a bit. I used a piece of a paper towel and dabbed the black paint around to make it look a little worn and not so brand new.
You can find these little rounded stickers at Dollar Tree. They were originally blue, but I spray painted them with flat white primer and now I’m just painting a few black.
I trimmed up that faux leather into strips and then glued it together. You have to work in small sections with the hot glue, because it did dry quickly on that fabric.
I used a black Sharpie to color the edges of the fabric, so it would look consistent around all sides and you wouldn’t see any rough edges of the fabric.
I used hot glue to secure the straps to the side of the vase. I thought these might come off easily and may have to use a stronger glue like E6000, but they ended up sticking to the vase pretty well.
Here were the supplies we had to pick up at Dollar Tree.
And here is the side-by-side of mine to the Pottery Barn one. This was such a low cost project for that high end look.
// textured gold candle holder
I thought this was such a pretty way to display a candle. Let’s make our own version for way less than $80.
I’m trying something new here today. We’re going to create DIY plaster of paris out of flour and water. I’ve read Elmer’s glue and water is another way to do this. But I want to get a nice thick coating and a textured look like the Pottery Barn one, so we’ll be trying out the flour and water version.
I mixed flour and warm water until I got a thick consistency.
Then just smeared this mixture onto a Dollar Tree charger plate.
I let it dry about 48 hours. It did crack a little in some areas, and felt really hard. I didn’t mind the cracking because it really gives it a natural handmade clay plate look.
You can see in this picture where some areas are darker because they haven’t dried fully yet.
I had found this porcelain dish in the Target dollar spot and spray painted this and the charger gold and then attached them with E6000 and let that glue dry overnight.
Here were the items we picked up for this quick and easy project.
And here was our awesome savings!
I hope you were inspired to make one or more of these Pottery Barn copycats. Here are some more posts you may like.
FTC: Not Sponsored. All opinions are always 100% honest and my own. Some links may be affiliate links. If you click a link and buy something, I receive a small commission for the sale. It doesn’t cost you anything extra and you are free to use the link or not as you choose. If you do use my links, I appreciate your support.


How about some Target Dollar Spot crafts and Dollar Tree coastal transformations. We’ll be putting together tiered tray miniatures to decorate our little coastal vignette.