Last Minute Easter Decorating
I know you’re probably busy with the holiday weekend. So, I wanted to hop on here in case you’re looking for some cheap, last minute Easter table decor.
If you’re here for the free download to make an origami Easter egg cup, here it is. I will also have this at the bottom of the page in case you want to read to the end before downloading.
As always, I have a video tutorial for you. If you enjoy reading, scroll down for all the tutorials in written form. I hope you enjoy these DIYs and are inspired to make them. Now, let’s get creative!
// decoupage easter plate diy
The word decoupage sounds all fancy and French, but don’t worry it’s super easy.
Last week I found these napkins at Target. But any napkins you have with an Easter-y pattern will do. You could even use tissue paper or any other really thin material.
I found this 7.5” plate at Dollar Tree and we are going to use some of this waterproof Mod Podge on it and then lay the napkin over top. I started by cleaning the back with an alcohol wipe.
It’s inevitable that there will be some wrinkles when smoothing something flat over a curved surface, but you’ll see once we turn this over, even with this bunny pattern those wrinkles are barely noticeable.
You want to let this dry completely before trimming off the edges. And make sure it is dry before putting on 1-2 more coats of Mod Podge.
But a few wrinkles are ok because that’s part of what gives decoupage that charming hand made look.
Here’s how it looks when it’s dry.
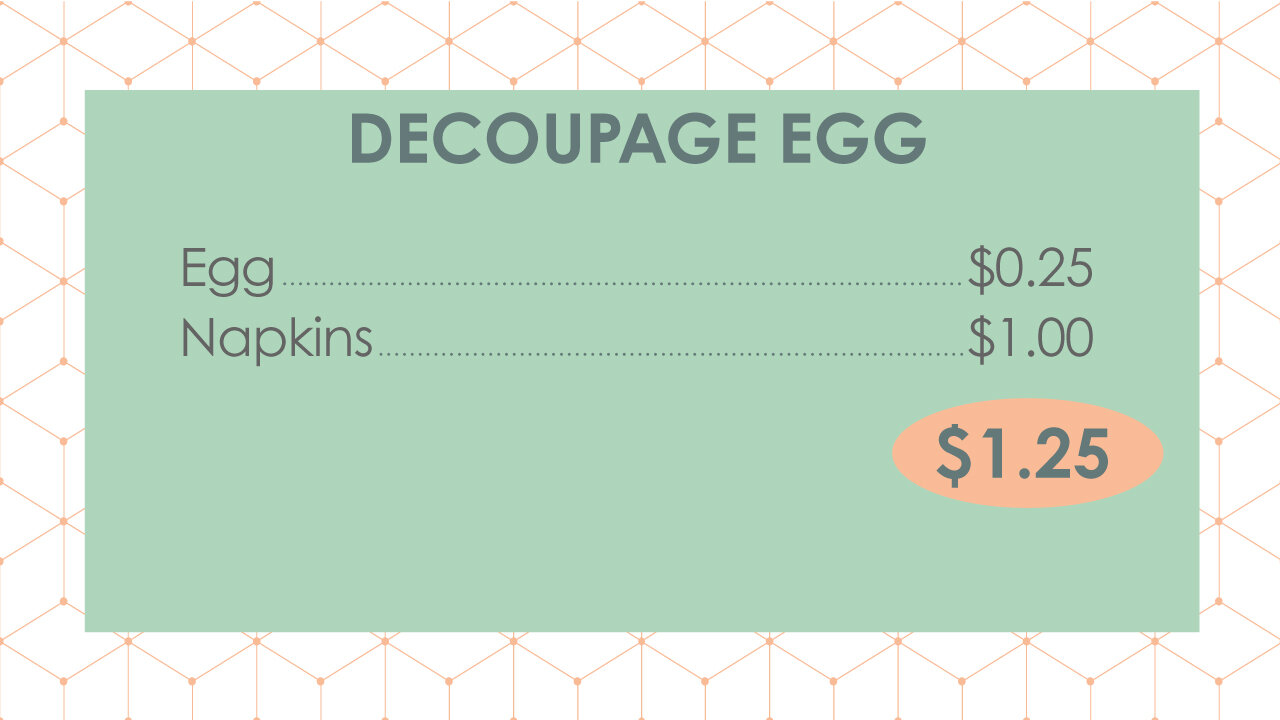
And the final cost.
// how to decoupage an easter egg
Next we will be using a similar technique on an egg.
I have this hard boiled egg maker and it came with a tool to punch a hole in the eggs.
But as you can see, the point is very similar to what you would find on a thumbtack. So if you have a thumbtack, that will work too.
I made a hole on both sides of the egg and this is just a starting point. I opened up one side at the bottom a little bit and shook the egg to get the contents out.
Then I ran water through it to make sure it was clean inside and let it dry thoroughly. Now we have just a small hole, which will be easy to cover up with our decoupage.
Let’s cut some pieces of the napkin out. If we just wrap this whole egg, there would not be many bunnies on there. Cutting it in smaller pieces will also avoid too many wrinkles.
This is a little different than the plate where we just laid down that whole napkin. Since we’re working in small sections on this egg, we will be putting Mod Podge underneath and OVER it while it is still wet. Otherwise, the corners will try to pop up since the surface is so curved.
You’ll want to let this dry on either wax paper or a non-stick surface so it doesn’t stick to whatever you lay it on to dry.
We’re not going for perfection here, remember there will be a few wrinkles. This is a fun activity to do with the family or alone, if you just want some quiet time to yourself to get creative.
Creating things to make your home beautiful is a relaxing and fun activity, which is why I share crafts and home DIYs, so you can get lots of ideas to find your inner artist.
If you want to go for the shabby chic look, you can add some lace and maybe a little pearl on top.
I’m going to keep mine plain because of the other decor I plan on using on my table. But you could really go all out decorating these decoupage eggs.
And the whole package of napkins was $1. I’m estimating the cost of the egg, it’s probably less than that. But if you have napkins or tissue paper already and some eggs in the fridge, this would be basically a few cents to make!
// origami easter egg holder
Next, we’re going to make a spot for that cute little egg to sit.
You will need some square pieces of paper because we are going to make this without glue, origami style.
I love putting together printables for you guys. I’ve been a graphic designer since I graduated college, so it’s super quick for me to throw these cute little designs together as free downloads.
I thought a pretty watercolor would go nicely with this bunny pattern or even would look nice with a plain white egg. I printed one side with one pattern then flipped the paper over and printed a different pattern on the other side because once we fold these you will be able to see both sides of the paper.
The free printable is at the bottom of the post.
Here’s how to make the origami Easter egg holder.
1. Start by folding the paper in half.
2. Then fold both sides in.
3. Take those sides and open them up flat.
4. Flip it over and fold the corners inwards.
5. Flip it over and flip those corners inwards too.
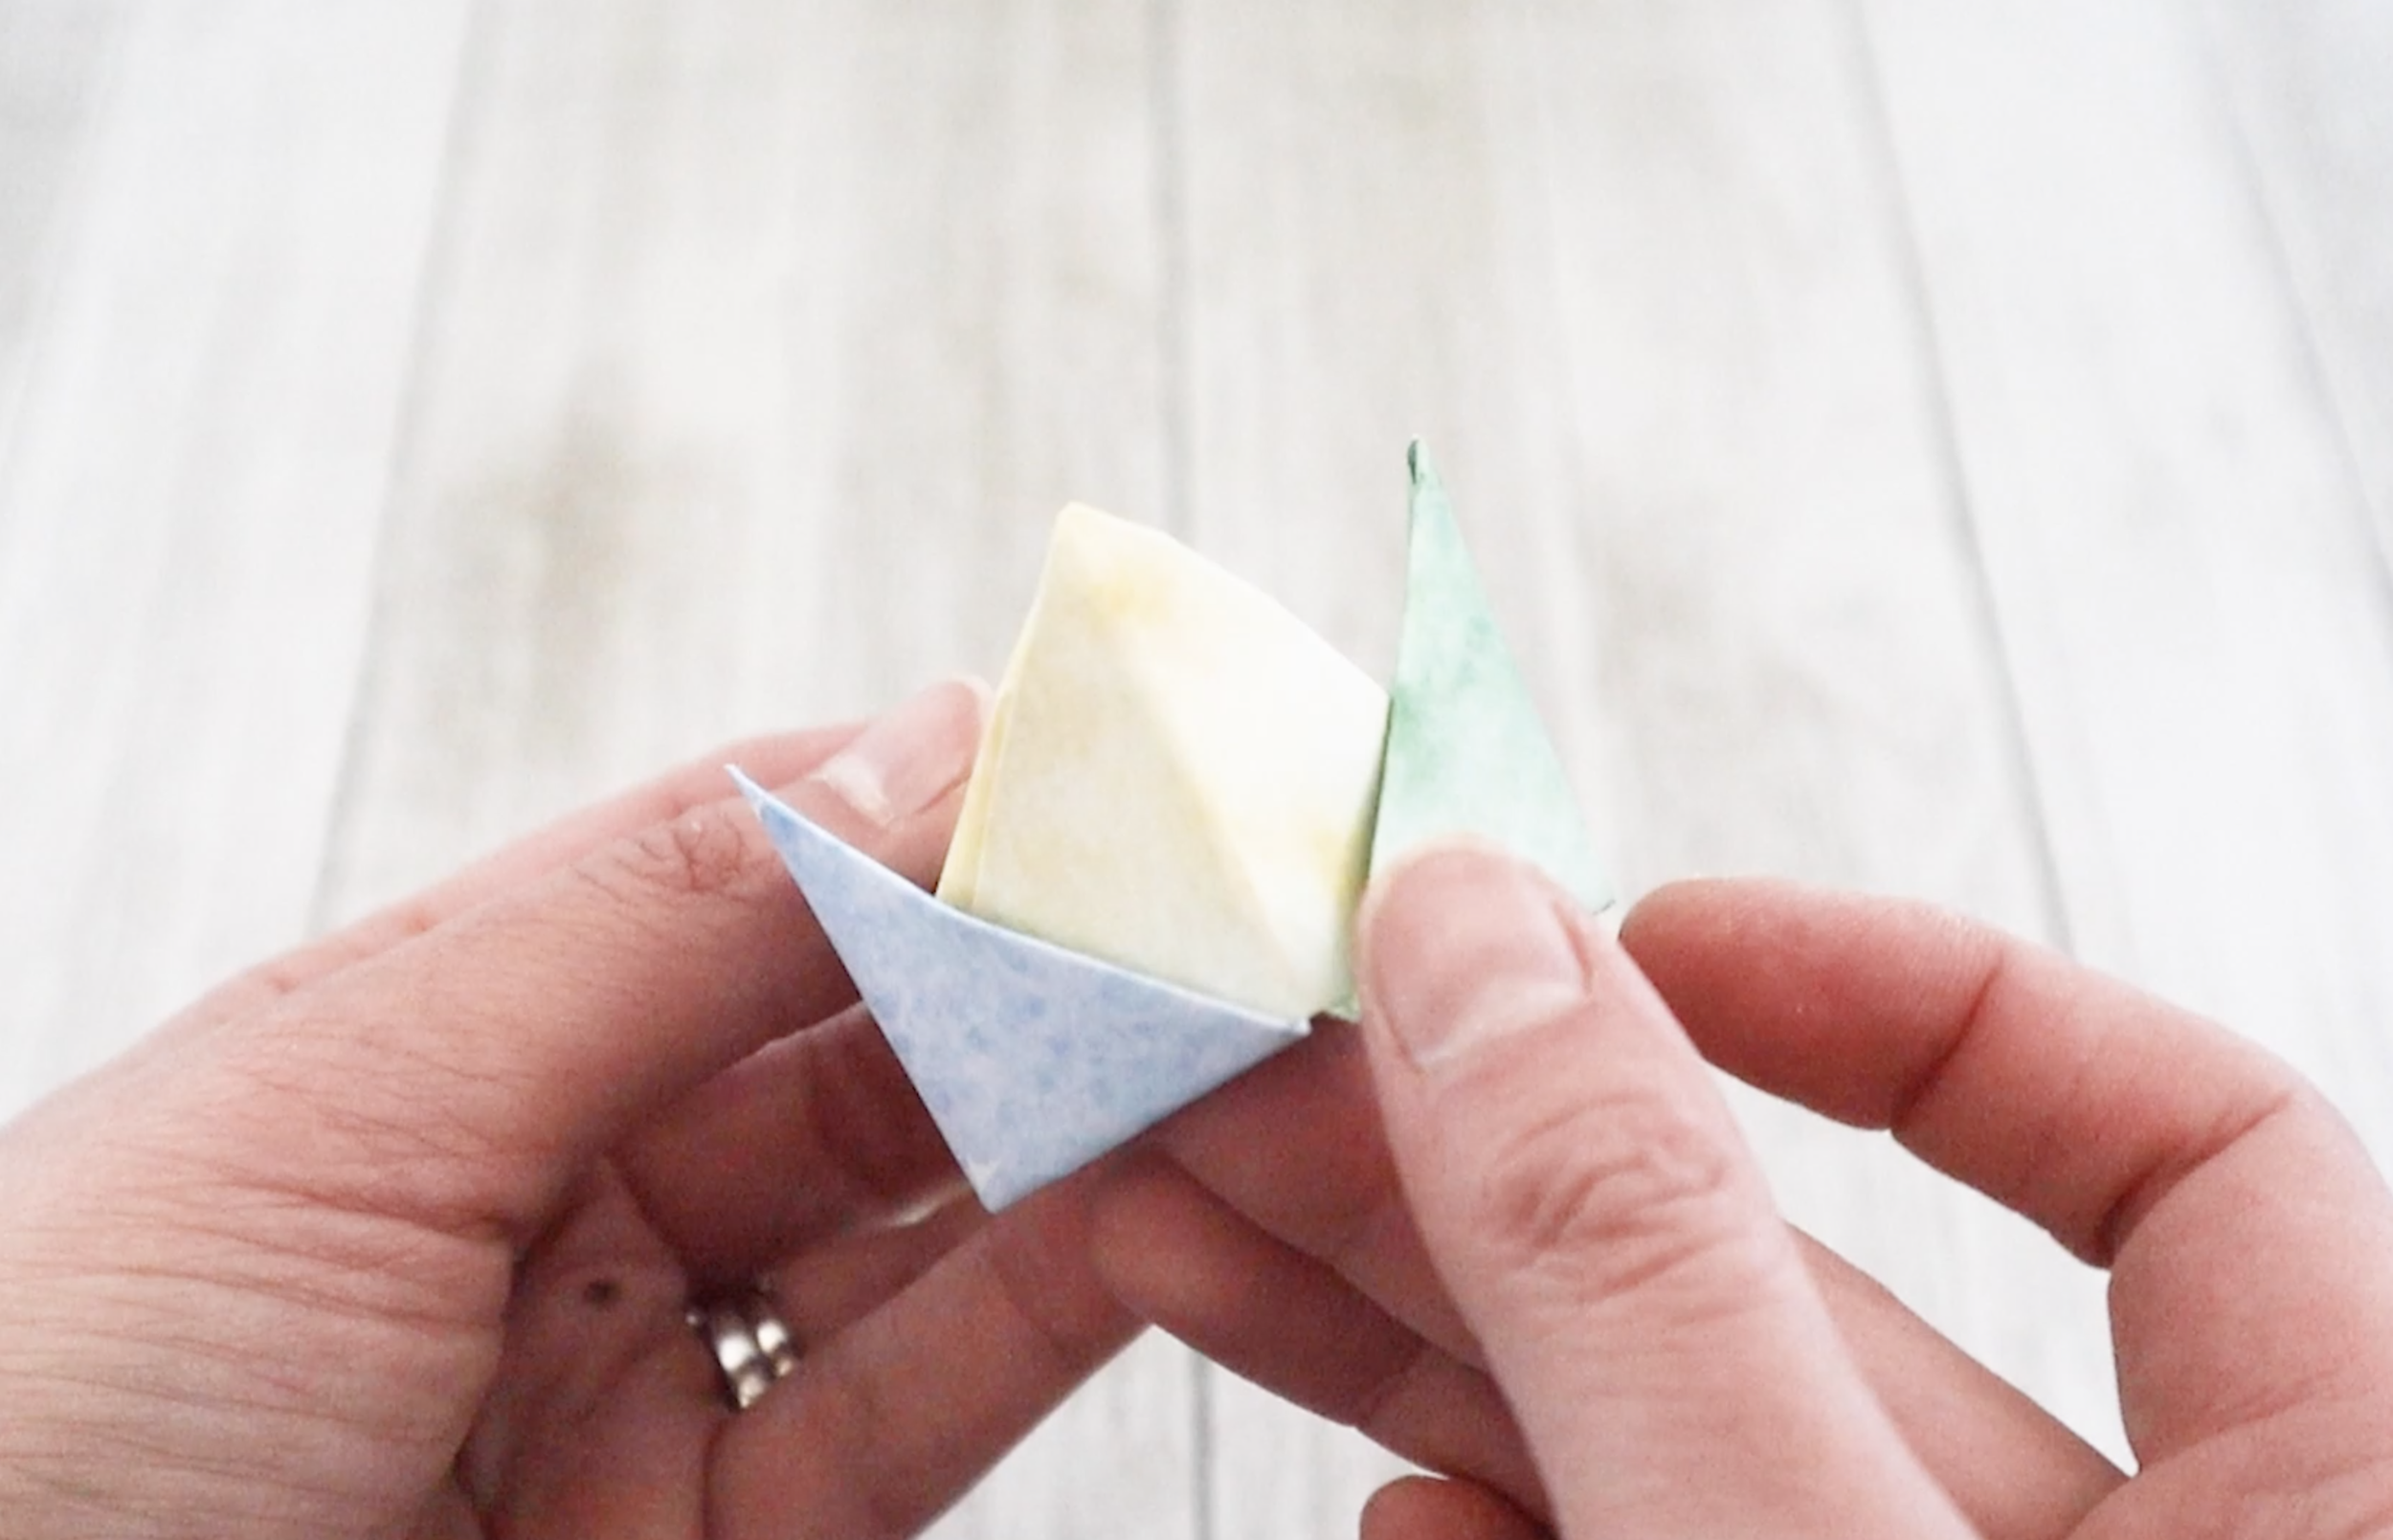
6. Fold the pointy side in on both sides, so now it looks like a little envelope.
7. Open it up and then flip it over to make the indention for the egg to go.
I am estimating the cost for a single sheet of paper, but it may be less than this!
This was so easy and came out super cute. I love all the pretty pastel colors on this egg holder. These would be great to customize place settings for the Easter dinner table.
You could also use a little raffia to make a “nest” for the decoupage egg to sit on.
I hope you were inspired to make one or more of these easter DIYs. If you want new creative inspiration every week, don’t forget to “Subscribe” to my YouTube channel for those video updates. Happy Easter!
FTC: Not Sponsored. All opinions are always 100% honest and my own. Some links may be affiliate links. If you click a link and buy something, I receive a small commission for the sale. It doesn’t cost you anything extra and you are free to use the link or not as you choose. If you do use my links, I appreciate your support.


How about some Target Dollar Spot crafts and Dollar Tree coastal transformations. We’ll be putting together tiered tray miniatures to decorate our little coastal vignette.