How to create an easy holiday centerpiece | Low cost Christmas decor
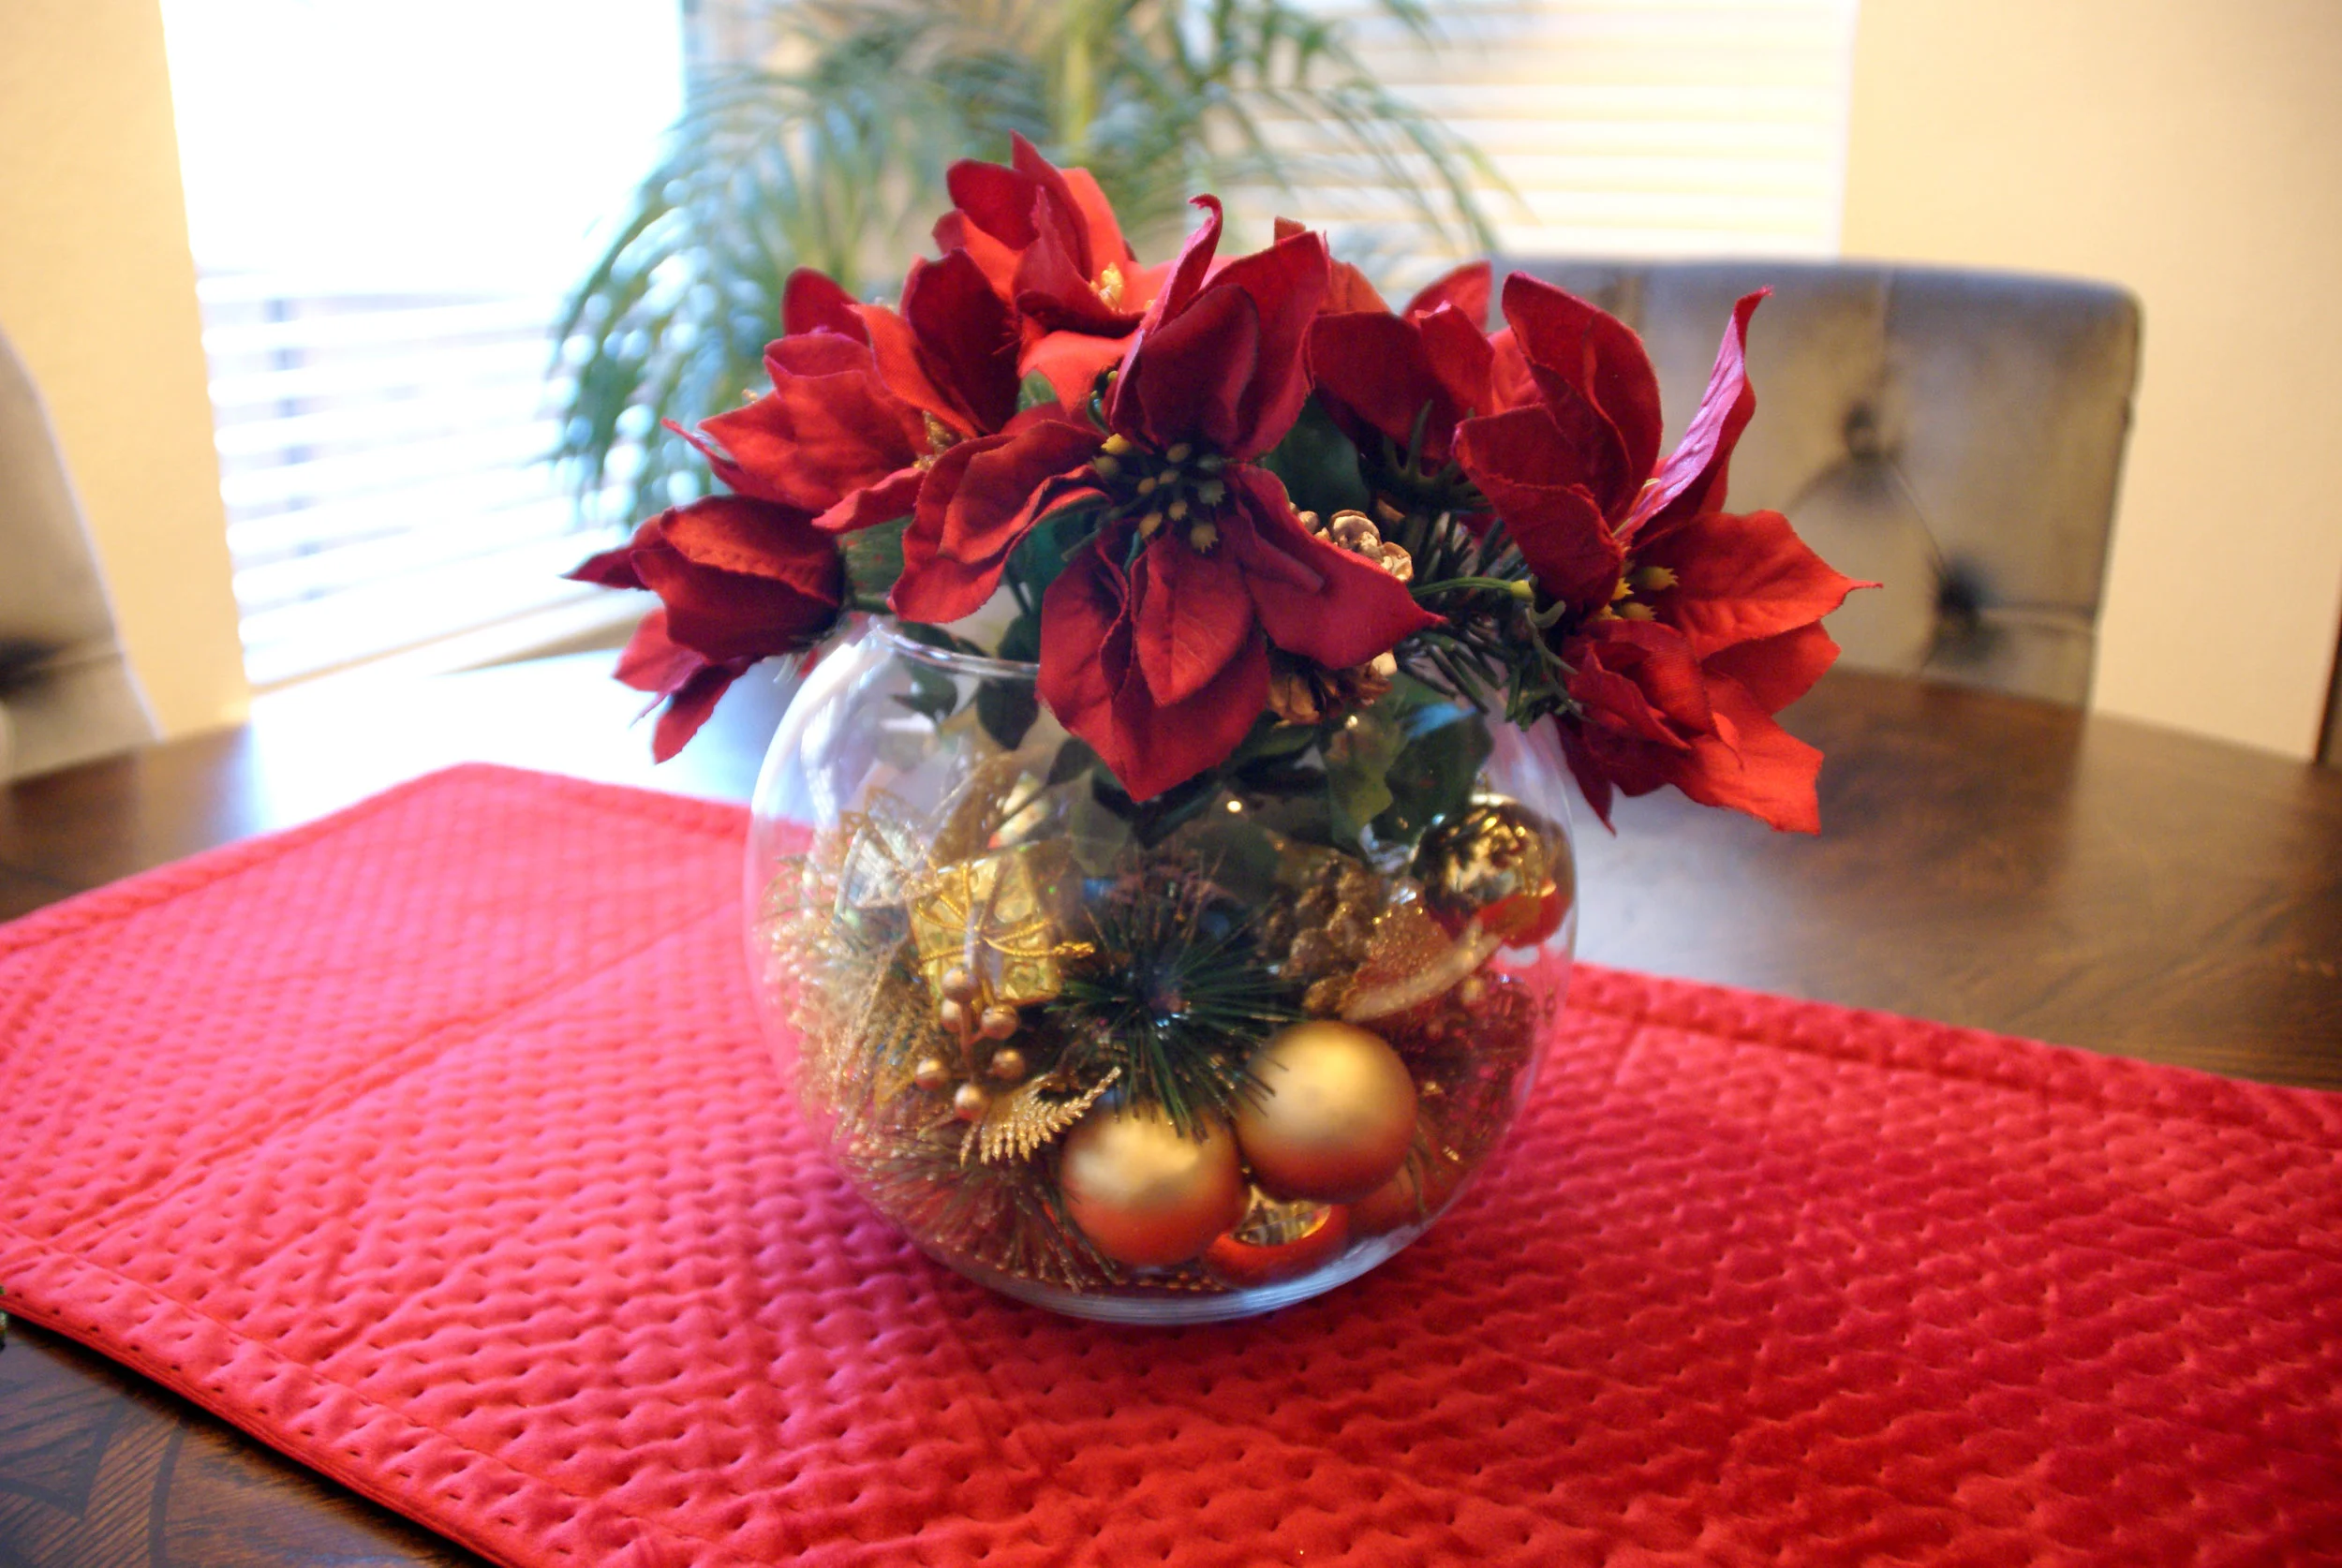
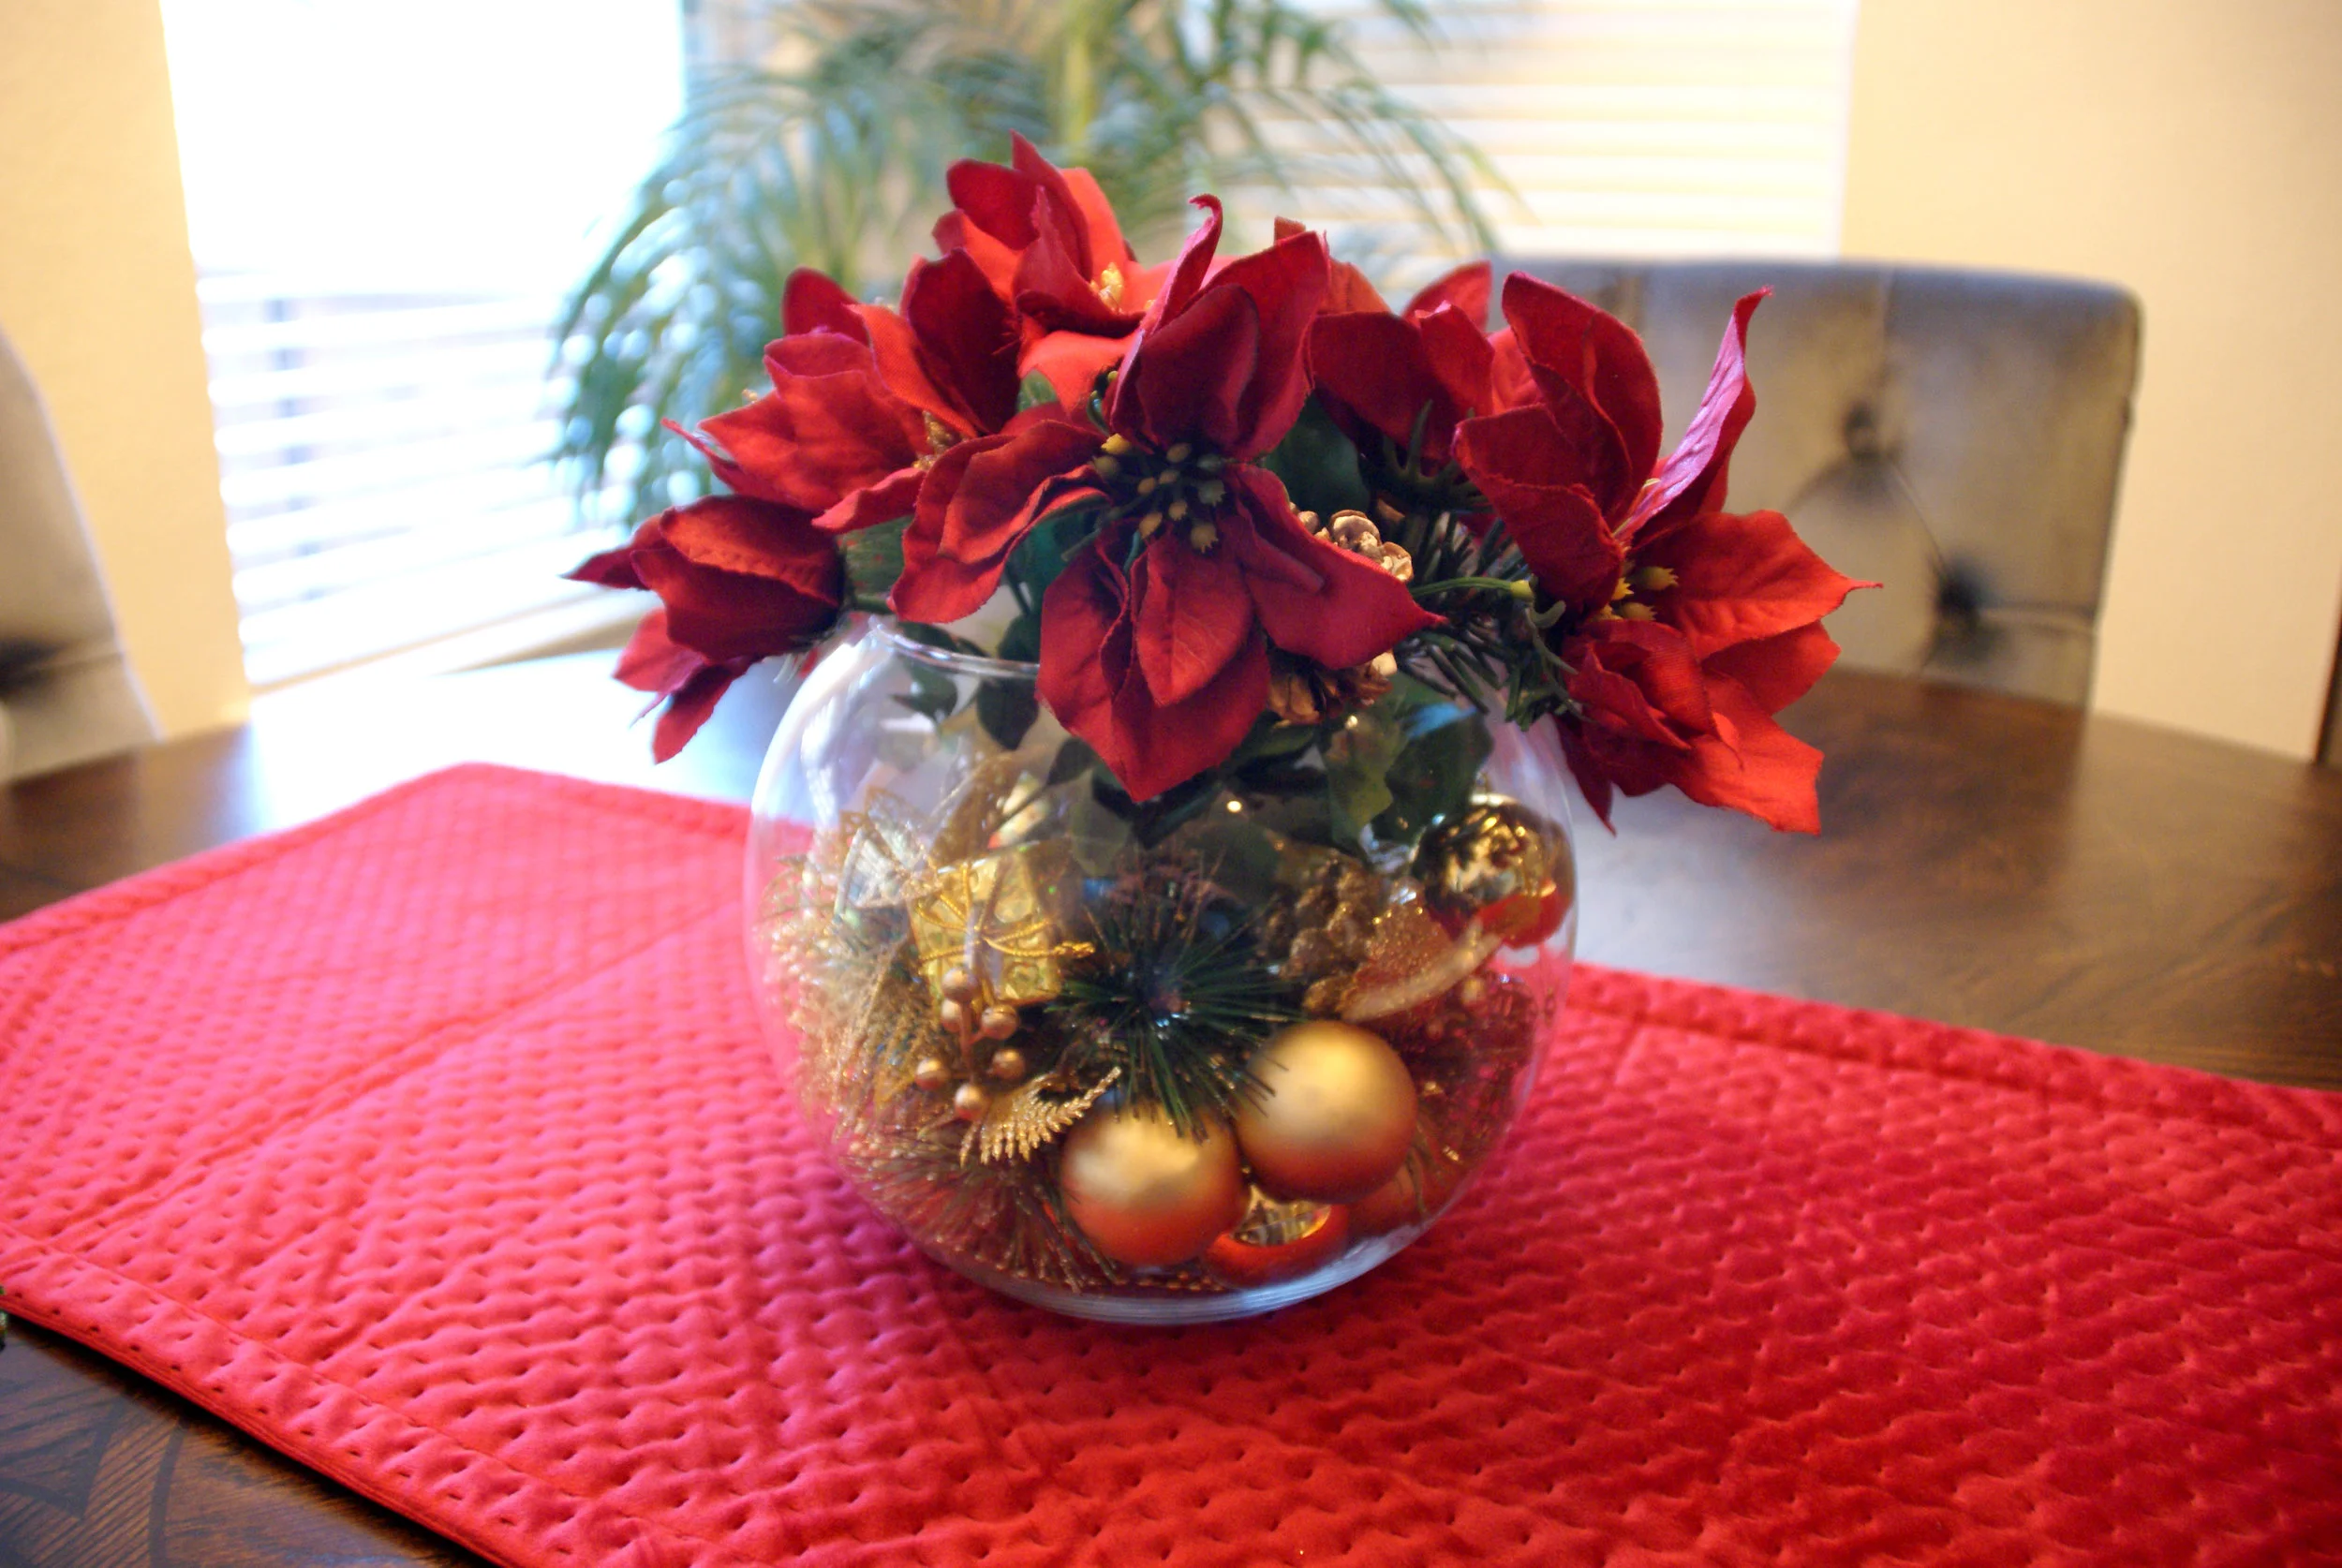
Want to know how to make this gorgeous Christmas centerpiece for $10? Keep reading to find out just how easy it was. Or, if you like, you can watch a video tutorial right here.
Since I will be doing my formal dining room Christmas tablescape in an upcoming post, I decided to create this post featuring the centerpiece for my dinette area, which is attached to the kitchen. You can see this small table from the main living space, so I wanted to make sure not to forget about this highly visible area for holiday decorating.
For fall, I had done this cute DIY with little felt pumpkins and rattan ball lights. If you want the details on that and want to see how I decorated the rest of my house for fall, I will link that post right here. This fall centerpiece has been warm and cozy to look at for the past month. So, to save money, I am going to use that same globe vase for my Christmas centerpiece. This centerpiece could be created with any shape vase that you already have and you can go with whatever colors you like to use for the holidays, so this is a very flexible DIY that you can customize to your taste.
The first thing I did was go to the Dollar Tree because I knew I could find some really low cost options for the filler of my vase. They had these packs of ornament garland. They are 1 inch matte gold plastic ornaments with a gold beaded chain linking them together. These would also be perfect wrapped around garland. I picked up 2 because I thought they would be great to fill the vase.
I also picked up this garland. It can be used for wrapping around banisters but I was thinking it might be nice just left in a ring like this and the perfect size to set the round vase in. They also had these poinsettia flower arrangements and I picked up 3. They are nicely made and had a little pinecone with a bit of glitter around the edges. They have quite a few Christmas floral options at dollar tree right now, so it was hard to choose. They also had this exact one in a deeper maroon shade.
Next, I found these little accessories that I thought would work as filler, and since these little gold poinsettias have a clip on the back, I had the option to clip to the garland at the base of the glass bowl, if I didn’t need any more filler. I love how these have a clip because they would also be perfect for clipping on garland on the mantle. They had other colors at the Dollar Tree, like red ones with little apples on them and silver ones too. I was impressed with the quality of these and the little bit of garland on them looks very realistic. I also grabbed a bag of gold glitter pinecones. They are full of gold glitter – I really don’t like glitter, so I had to do a major cleanup after this project! Just warning you!
// Step 1
The first step is to arrange the gold ornaments at the bottom of the vase. The two bags of filler only filled up about half of the space, so I used those gold poinsettias with the clip inside the vase too. I just made sure to arrange them so the clips were facing the inside. Then I took the pinecones and equally distributed those around the other items in the vase.
// Step 2
The second step is to arrange the florals in the vase. Three sprigs of florals ended up being perfect for this DIY. I bent the bottom of the florals so they would pop up just at the top of the vase. This makes the whole piece look more full and festive. Place the stems right in the middle, so that they are hidden by the gold filler inside the vase. I think making sure the florals are arranged perfectly makes any centerpiece look finished. I like to turn and look at the florals from every angle and bend sections of the flowers so that they fill then empty areas and this will help the centerpiece look symmetrical from any part of the table. Just a little finessing here can make a big difference.
// Step 3
The garland can be opened up and used long, but I left it in the round shape and just fluffed up the edges so it looked more natural. I think the garland wreath around the bottom of the bowl looks nice on a plain table, but when I put down the table runner, it just looked a little too busy. So, I ended up just removing that garland at the bottom.
// Finished DIY Holiday Centerpiece
Here is the finished product. This DIY is so simple and I love that it was only $10. I hope this DIY gave you some creative ideas. I think this is great on the kitchen table, but it would also be nice as part of a tablescape in the formal dining room. It would even look beautiful on an entryway table or on a coffee table in the living room.


